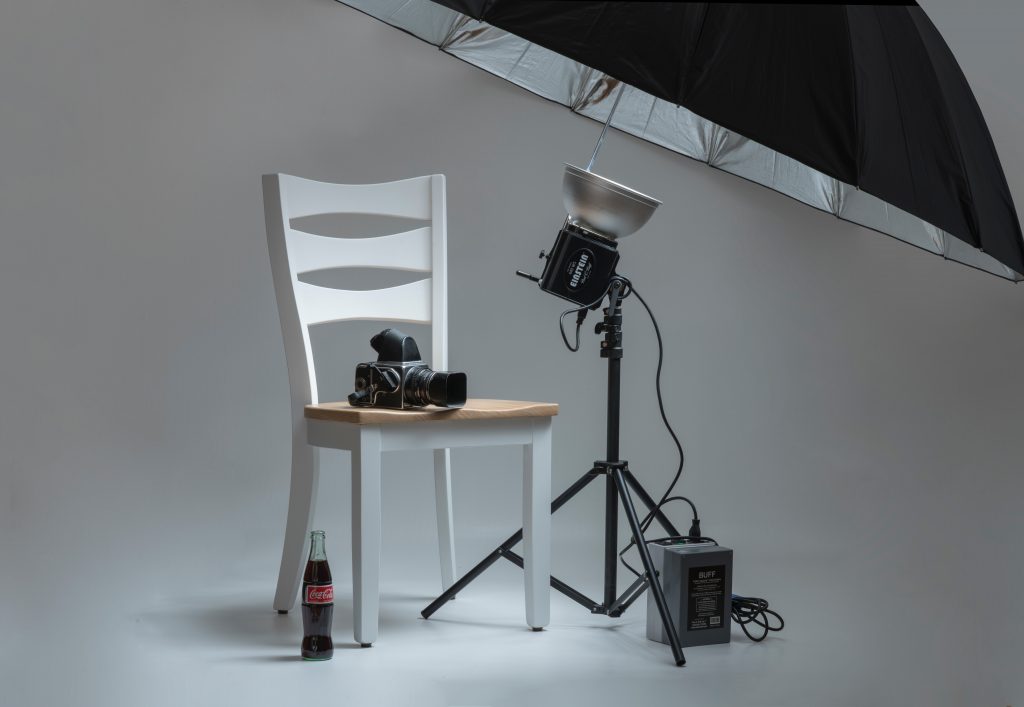
Product Photography is one of the most profitable photography styles out there. While this is true, you first should be able to create eye capturing photos involving everyday products. These photos serve as advertisements and should gather attention from the get go. There are many simple techniques you can apply to spice up your product photography.
Unlike other photography styles, you capture small scenes thus you can control a lot of variables in your setup. We’ll talk about lighting, composition, and unconventional techniques for product photography. Make this post your guide in creating stunning product photography!
Table of Contents
Product Photography
Product photography is a photography style that is mainly used for advertising, marketing, and business. While other photography styles aim to inspire, product photography aims to sell the item. By capturing intricate details, selling points, and key features, product photography is posted in social media to attract buyers and future loyal customers.
Equipment for Product Photography
How expensive should your gear be in product photography? What is the necessary equipment to start practicing this photography style? Answers to these and more in this section of your guide to product photography.
1. Camera
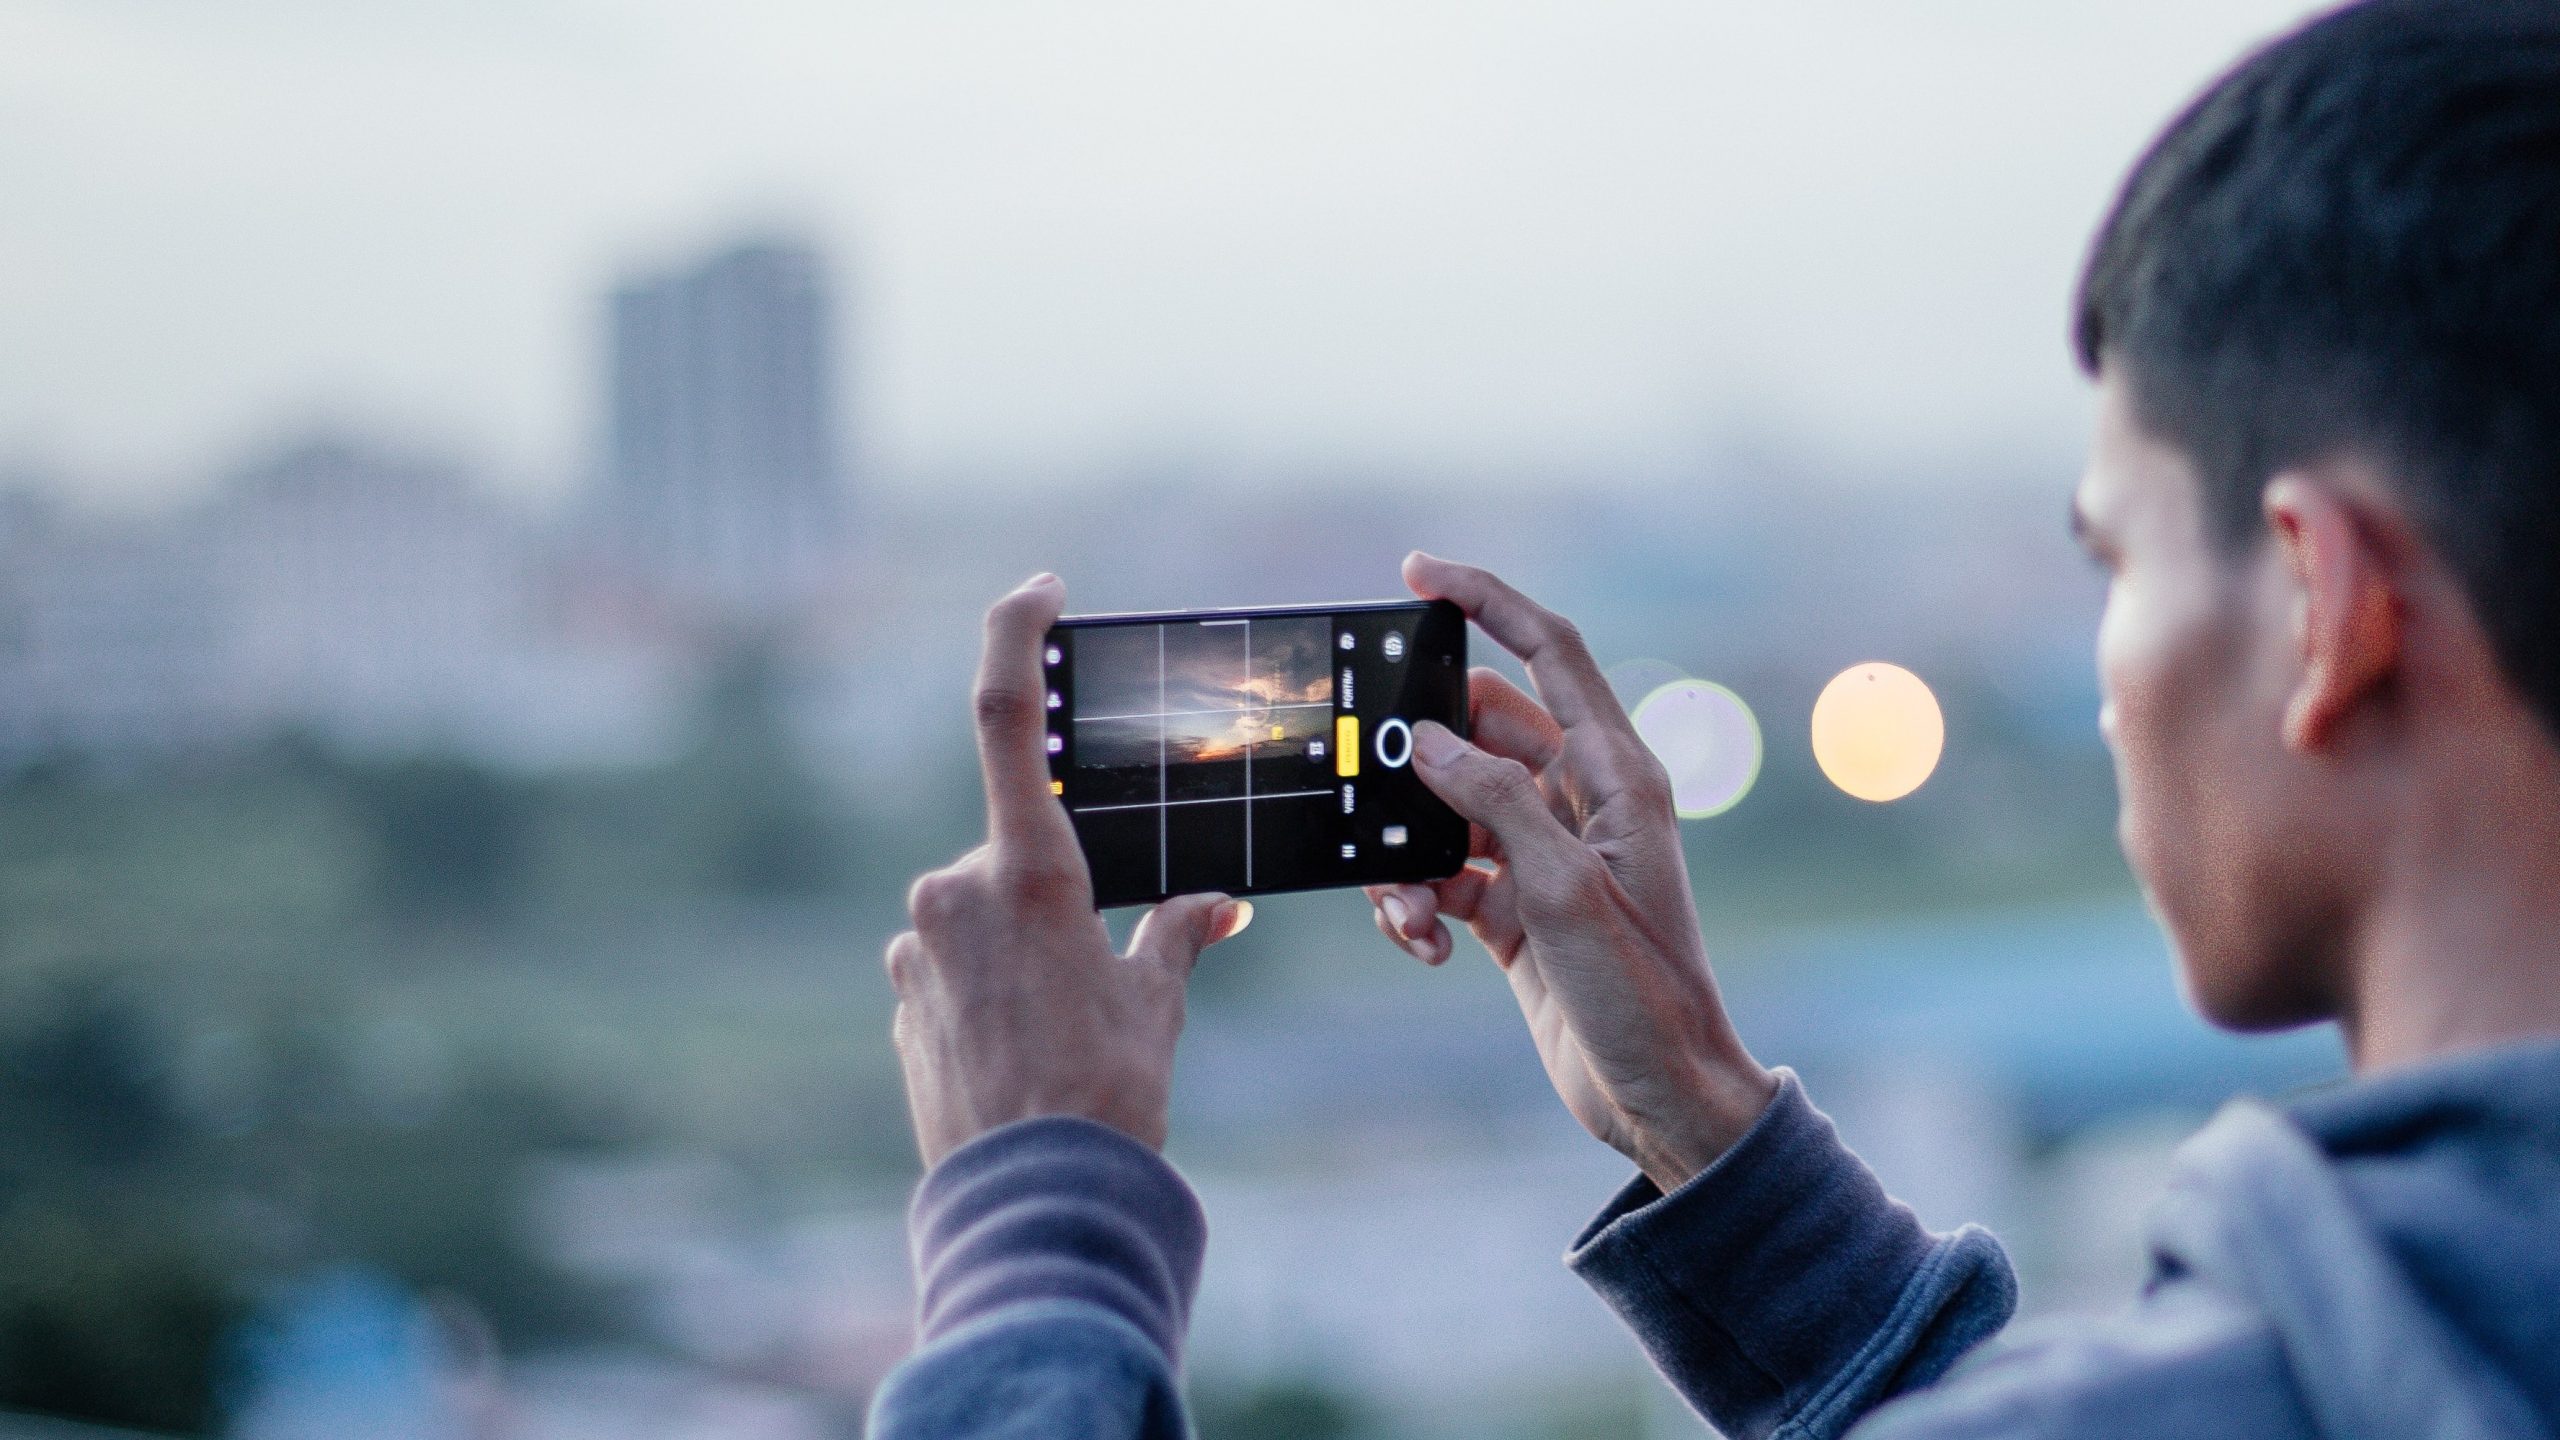
Getting straight to the point, your phone camera is enough for capturing high quality product photos. Yes, there comes a time where you finally will need to get a DSLR camera. Prior to this, you are better off practicing and learning all the fundamentals in product photography with a phone camera.
The cameras in smartphones nowadays are high quality and prioritized in manufacturing. The phone you have now is enough for product photography. The more necessary equipment are those that follow.
2. Lights
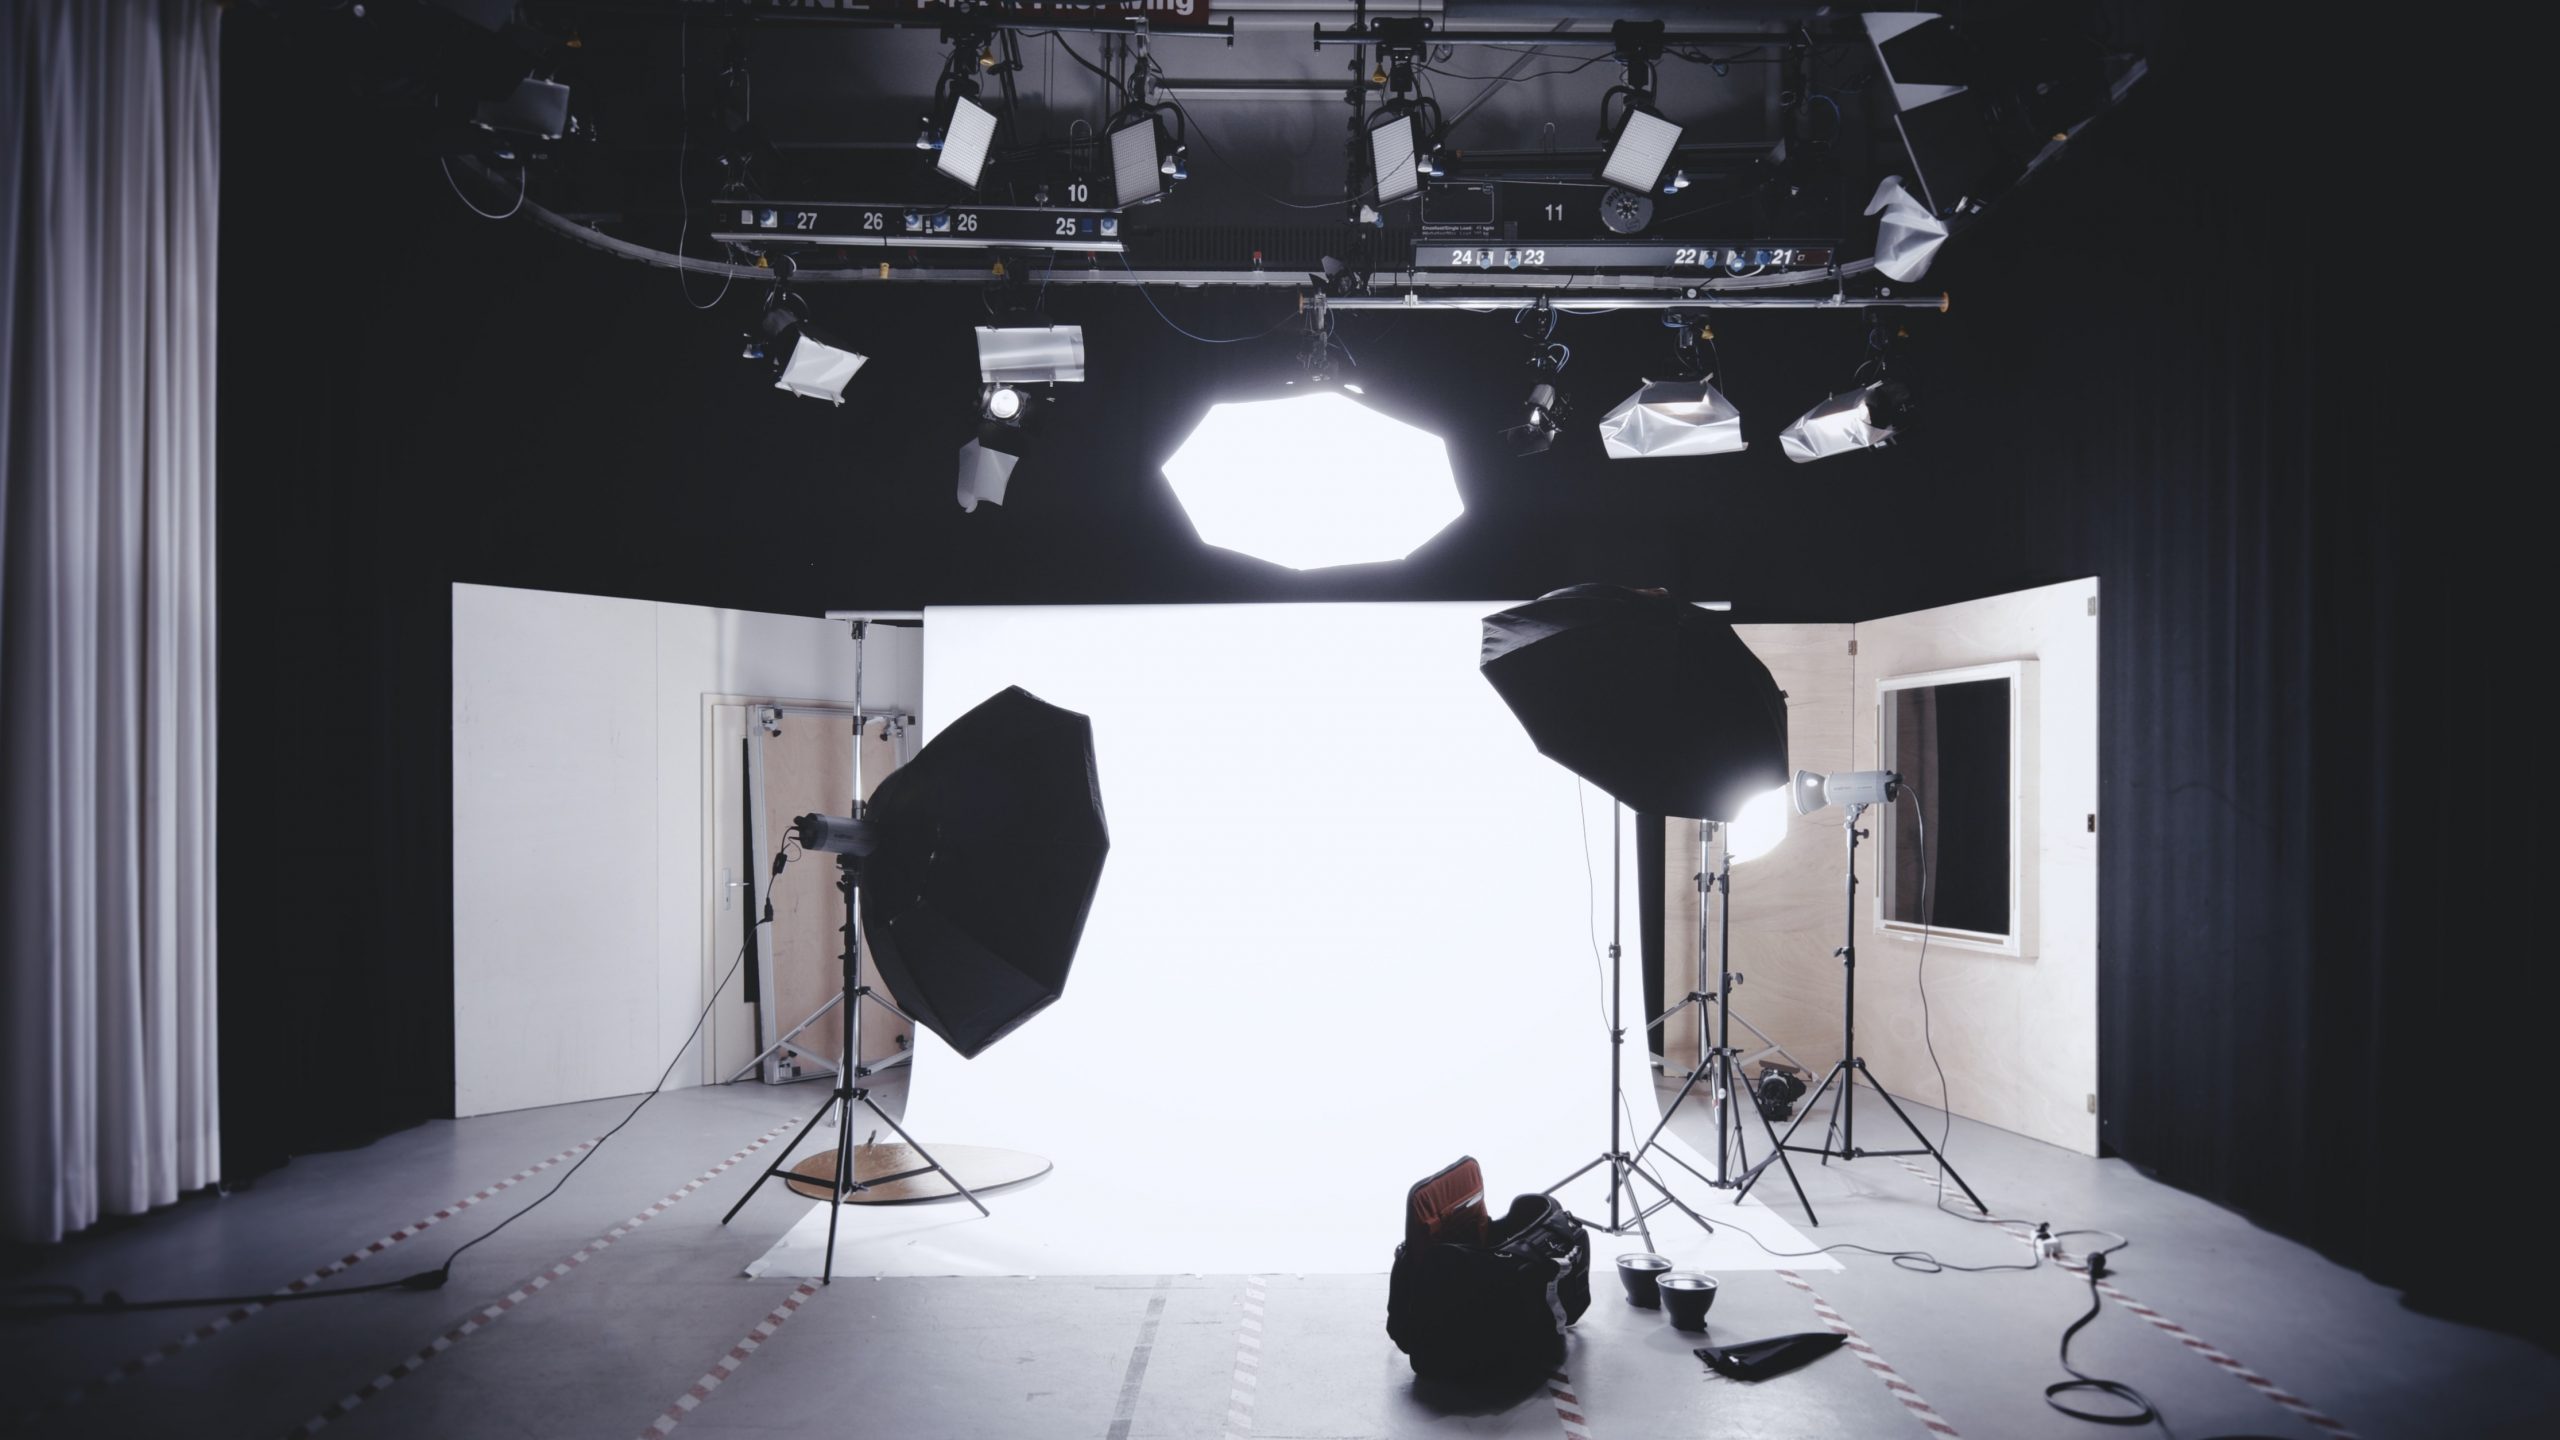
Lighting is extremely important in photography in general. More so in product photography since the details of the product pops out if given the proper lighting setup. Since product photography is on a smaller scale than portrait photography, you don’t need big studio lights.
There are smaller lights available in the market with brands like Lumecube and Ulanzi. Ring lights, which are often used for doing makeup, can also serve as a cheap alternative to pricey lighting equipment. Get yourself three variable light sources you’re set. There are already a number of lighting techniques available to you with three lights. This is enough for starting with product photography and practicing your skills.
3. Setup and Props
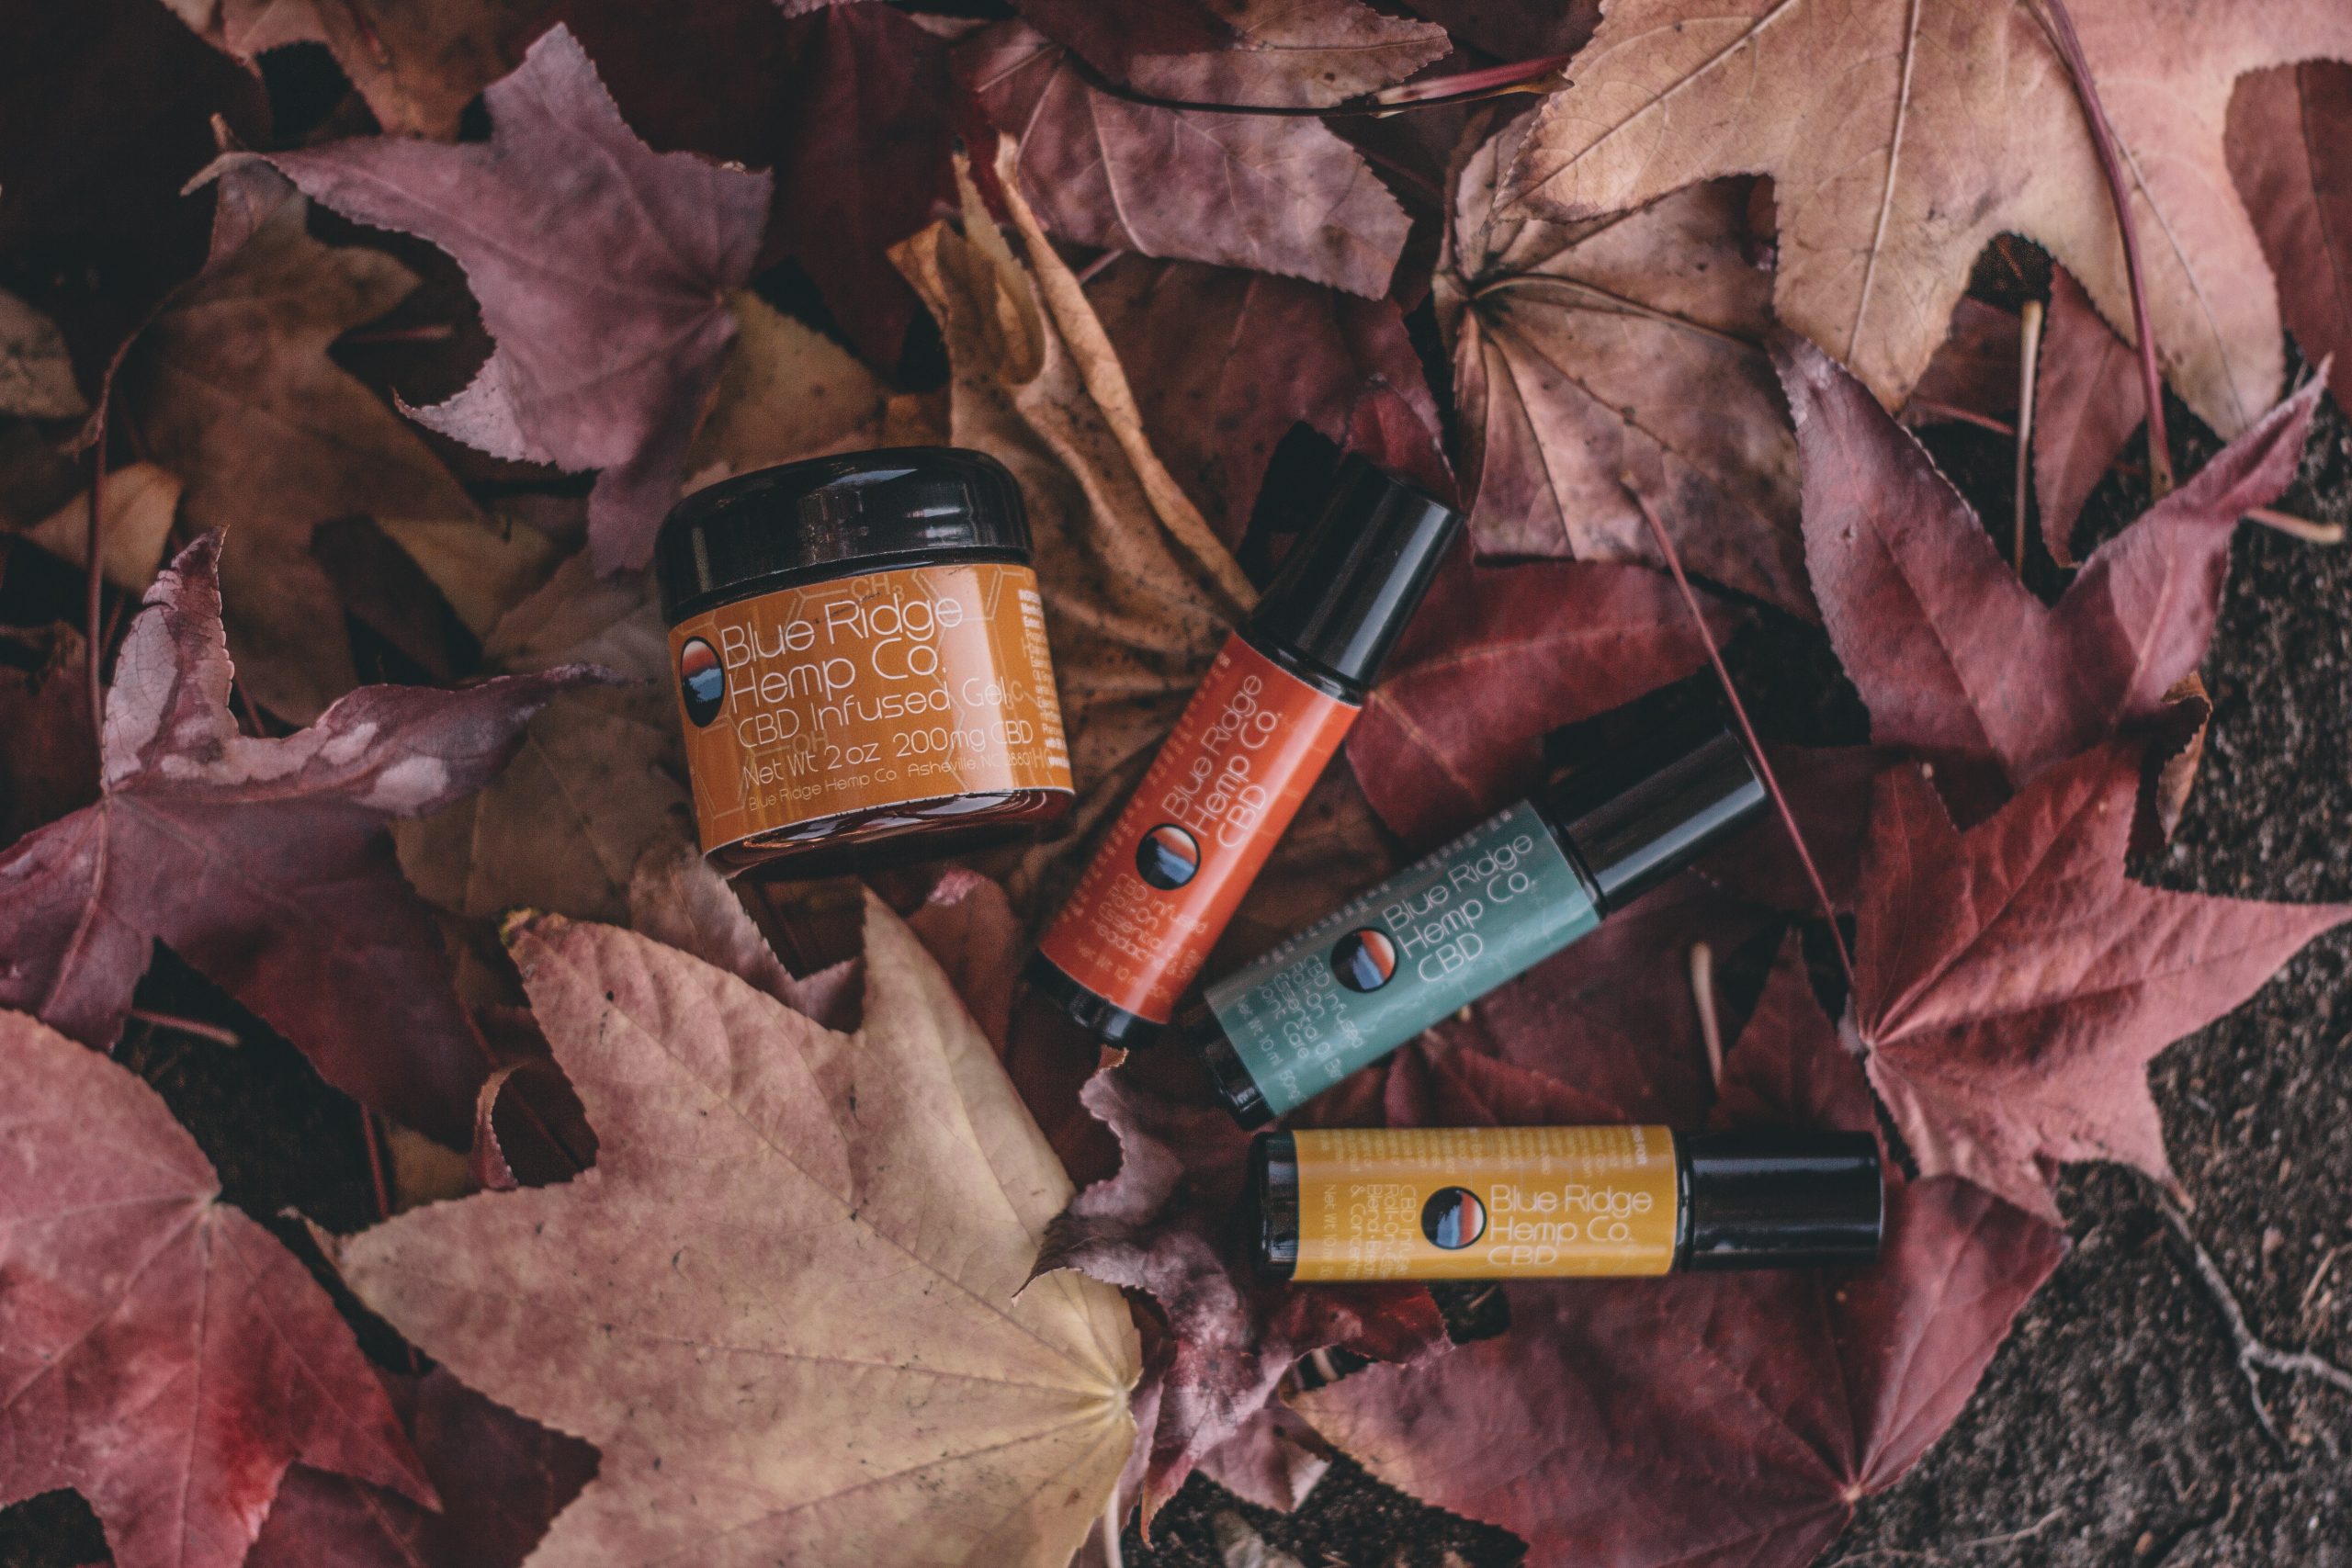
Next, while not necessary, props can help sell a product. If a product is commonly paired with other items, adding a couple of props yields excellent results. While browsing on social media, you may have already noticed the dominance of smoke in product shoots.
Smoke adds to the mood of the photo, this time either being freshly prepared or classy. Other elements to spice up your product photos are water droplets. This is typically used on beverages, showing how cold and refreshing these are.
Majority of product photos also use the flat lay technique. This involves the use of a surface where products are laid down. Some surfaces are wood, marble, and fur. Flat lay can also be done using colored paper or cartolina. These offer plain colored backgrounds that can emphasize your products.
4. Tripod
An essential tool for all photography styles is the tripod. This keeps your camera stable and enables you to control multiple elements. These elements in your setup include lighting equipment and props for composition.
Lighting Techniques for Product Photography
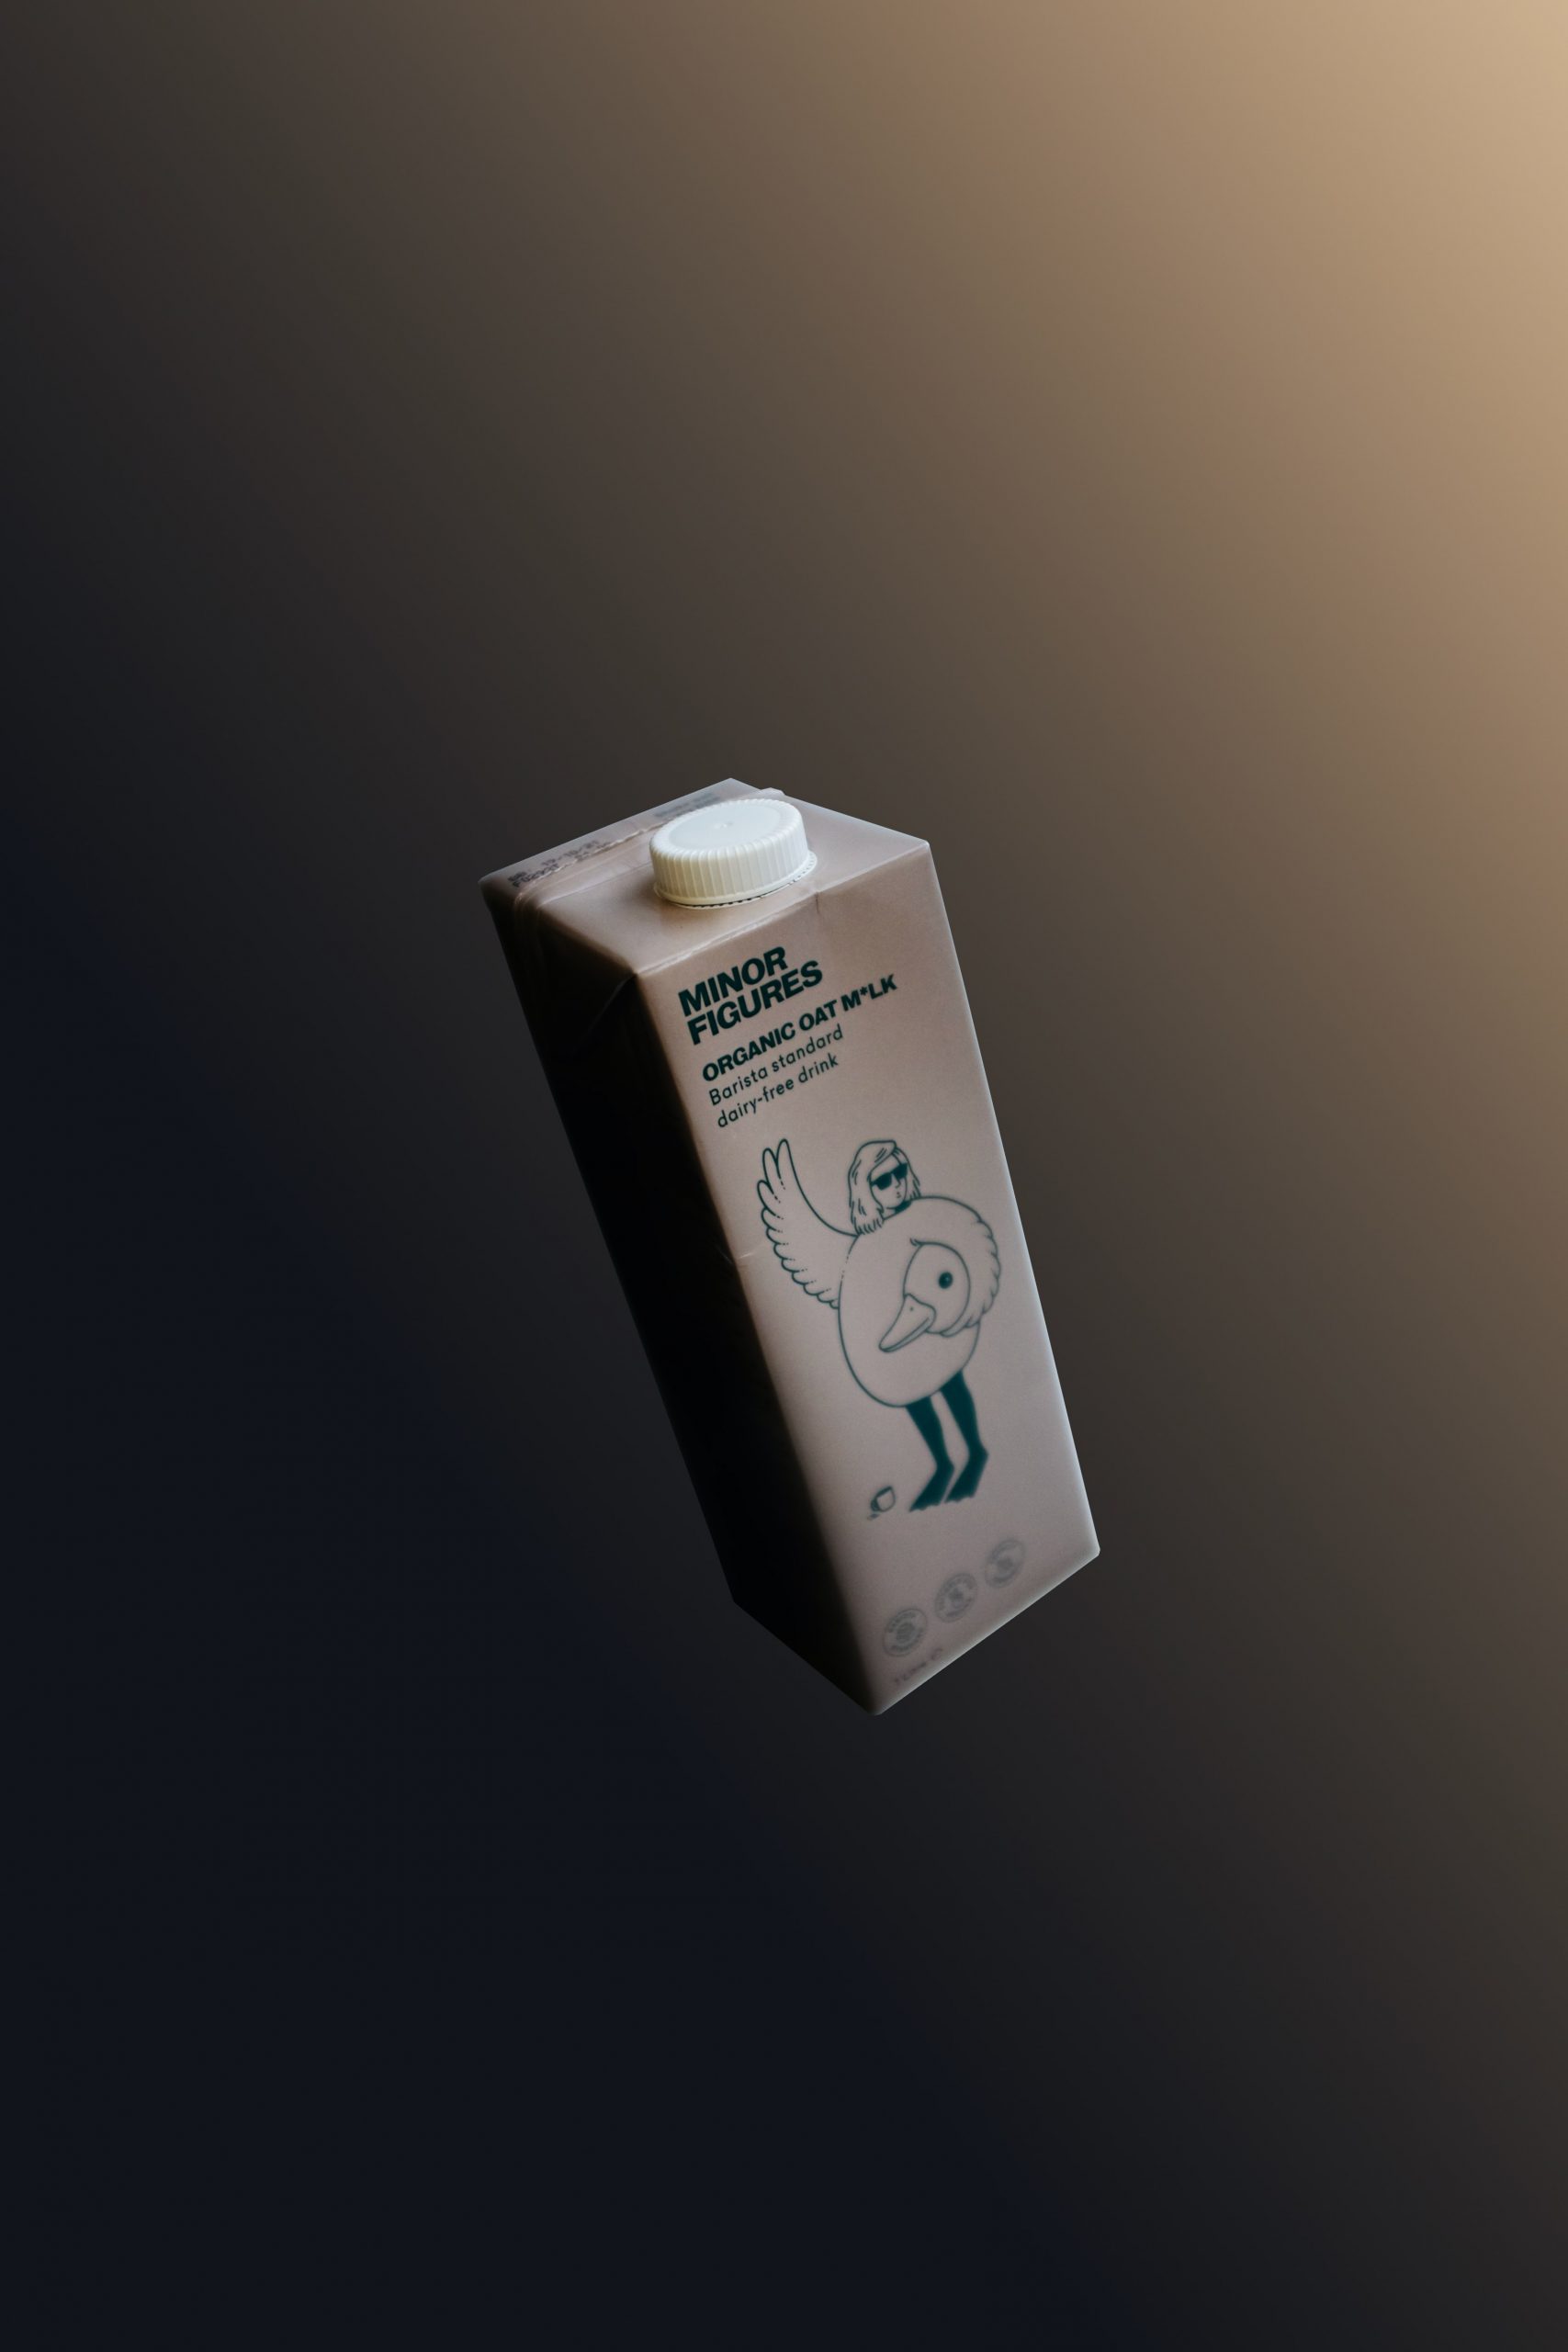
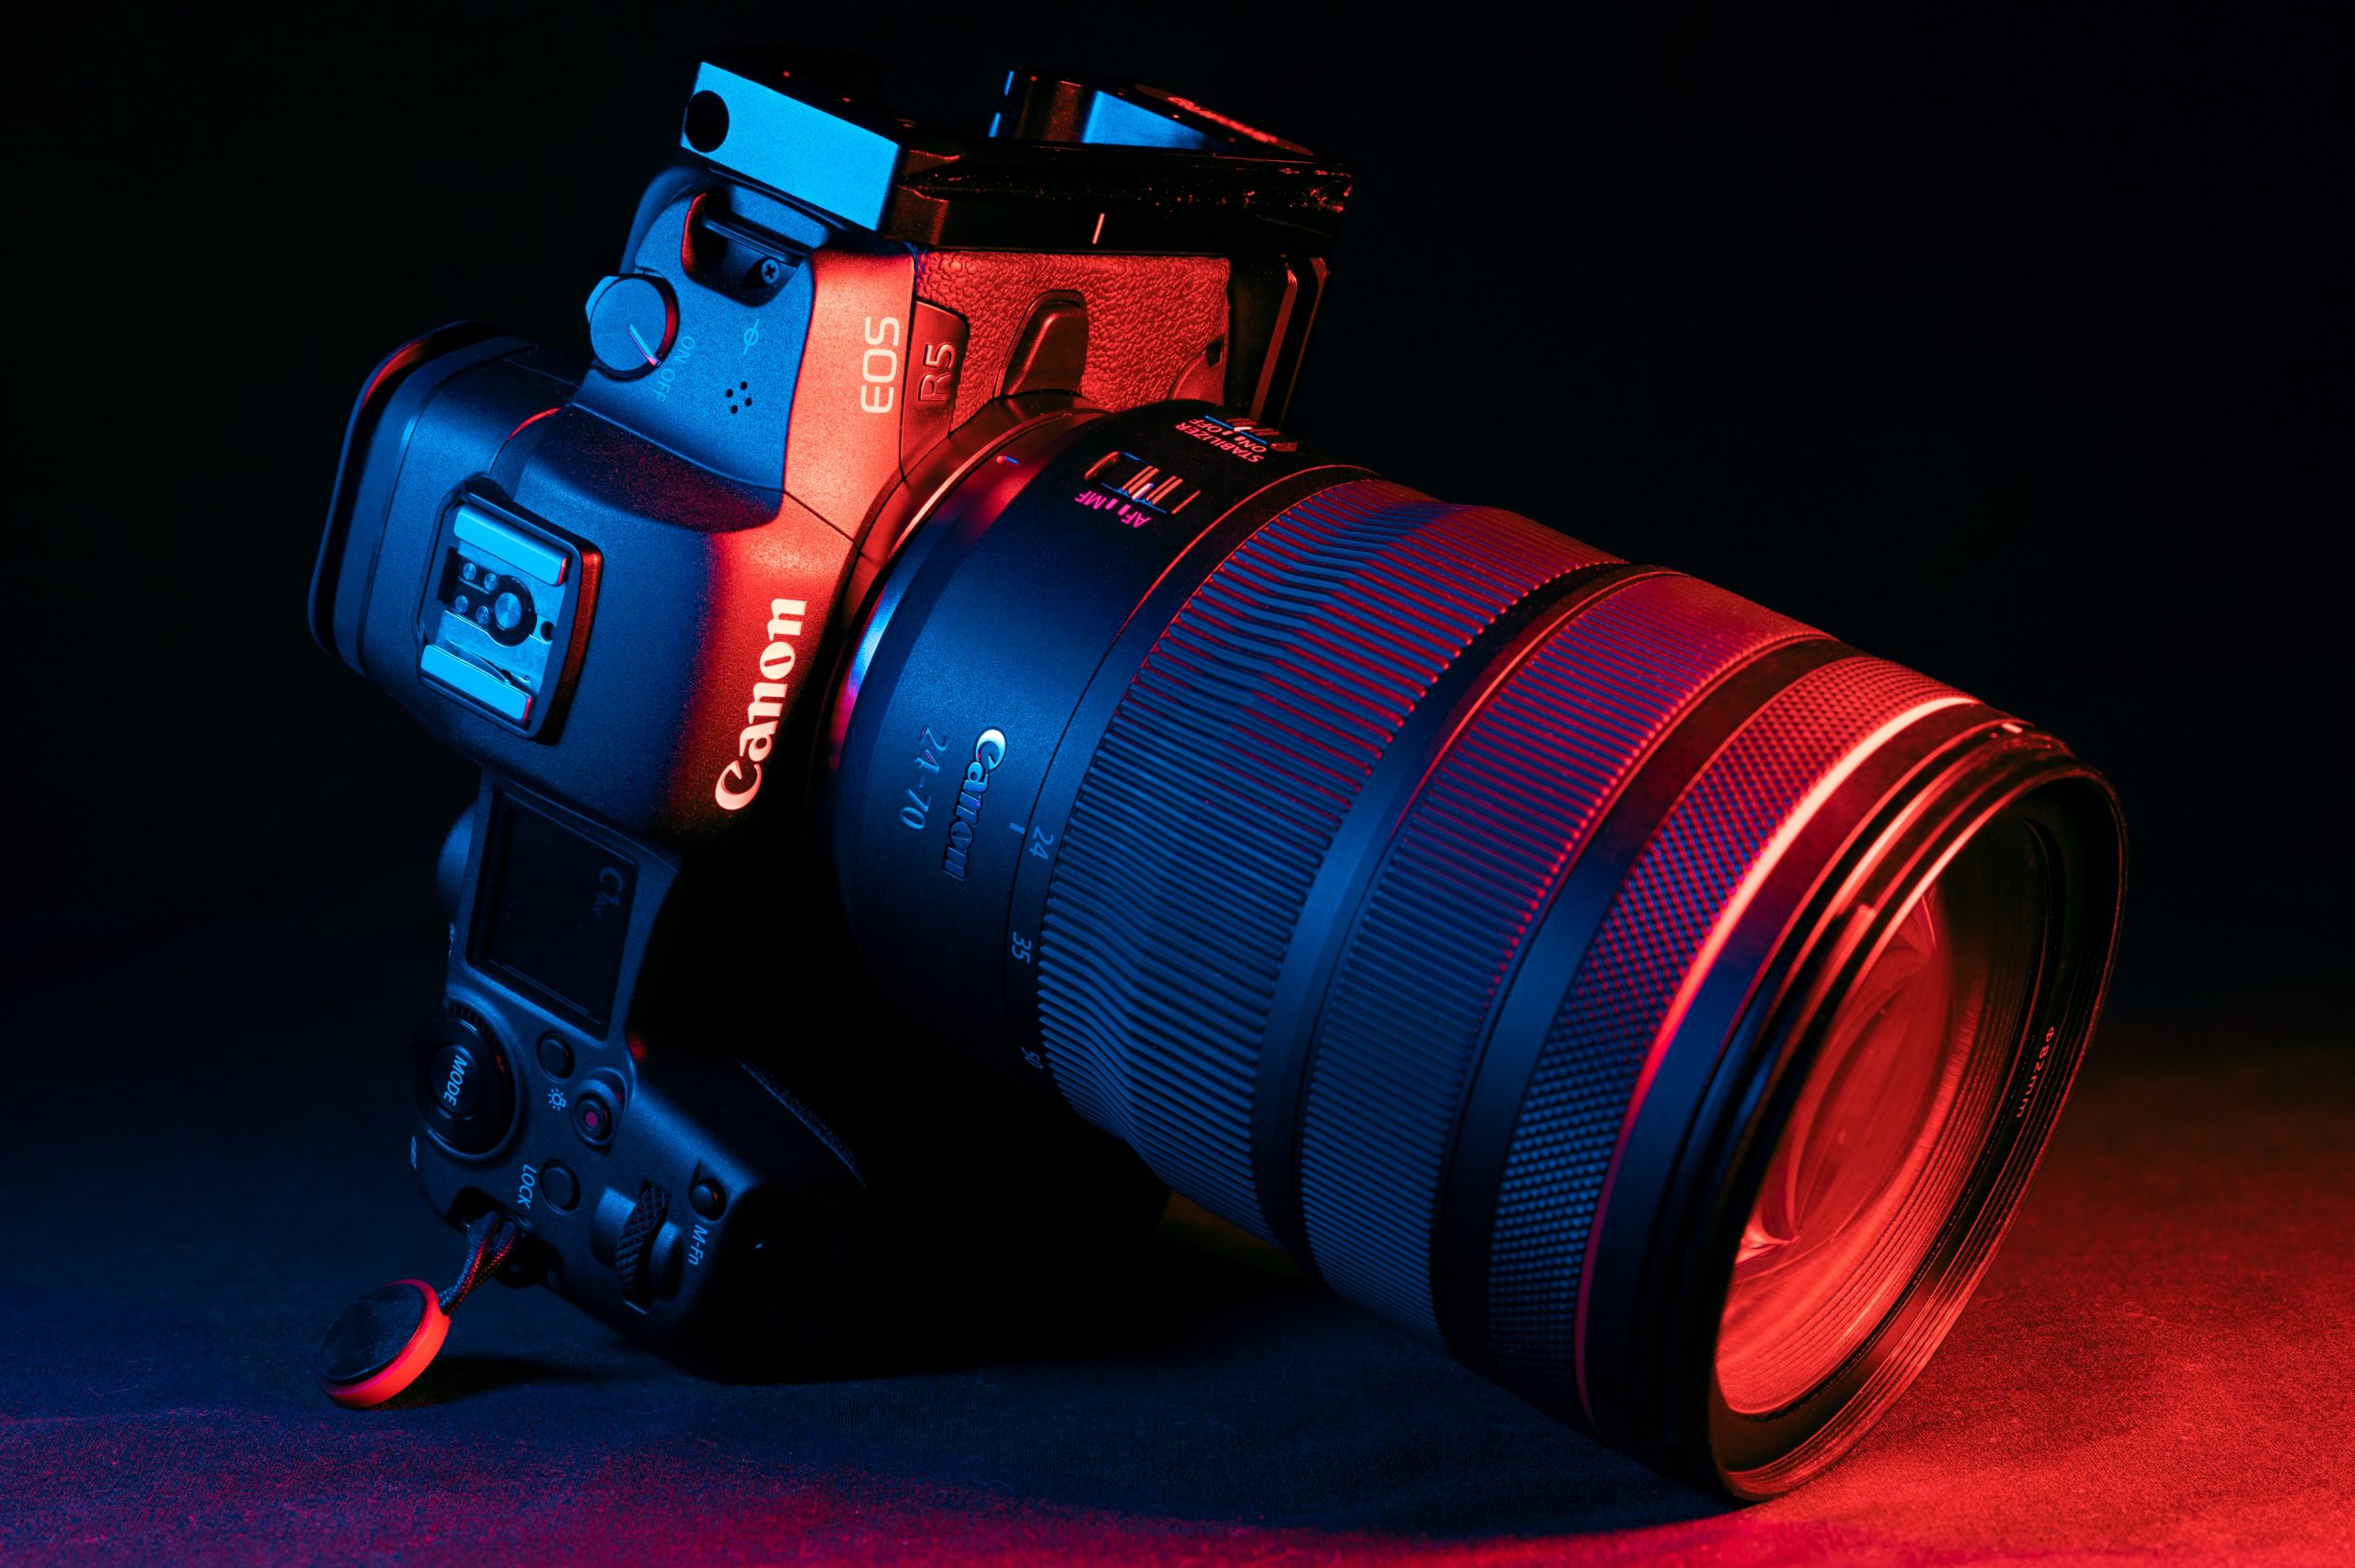
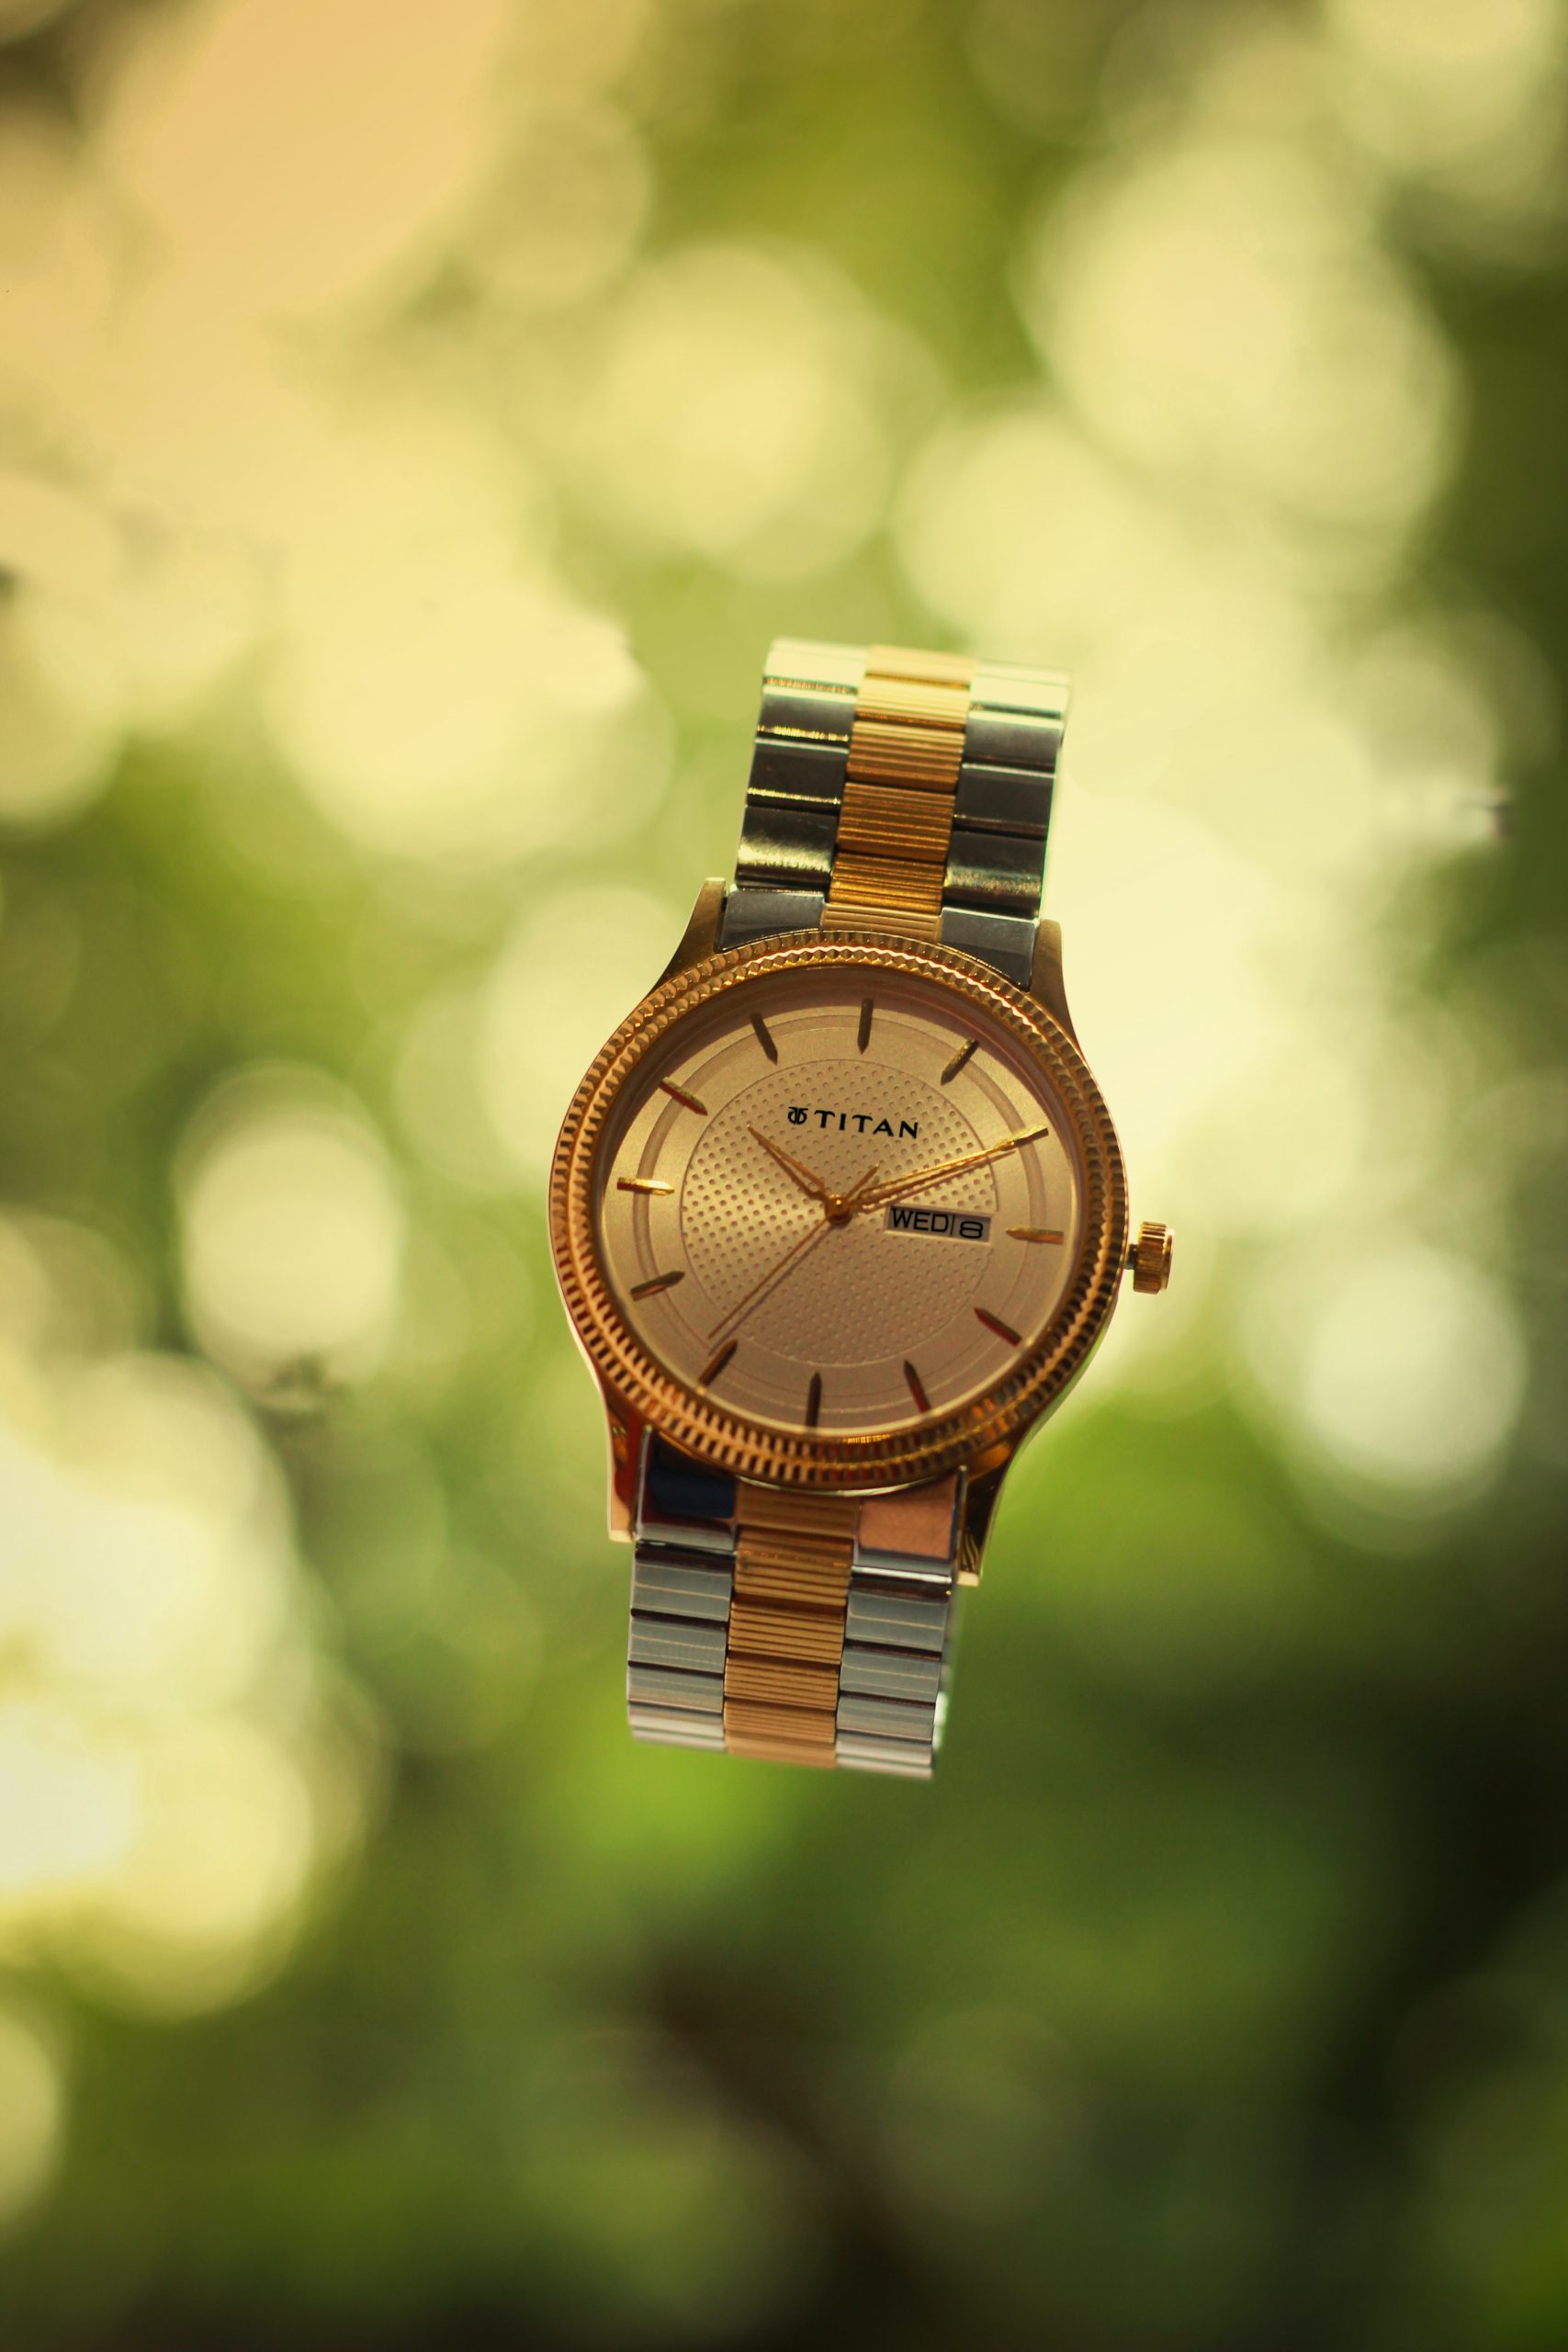
Lighting heavily affects photography as it is the backbone of it. Photography literally is drawing with light. There are lighting setups which involve one light source while others involve three. Practice and see how different lighting setups make your product look in photos. In the meantime, here are our recommended lighting setups for product photography!
1. Frontal Lighting
This is the simple and go to lighting setup for product photographers. This setup fully encompasses the front view of your product. The product’s front features are fully visible and “sells” the product in a direct manner.
Note that this lighting setup however offers minimal background separation. So if your setup involves a background with notable elements, frontal lighting may not be your setup of choice.
2. Overhead Lighting
Second, Overhead Lighting adds a drop shadow effect on your photo. A shadow is casted on your product adding elegance to it. Use this for products that are expensive, classy, and fancy.
There are multiple variations to overhead lighting. The main difference with every variation is the angle of which they hit the product. Among all of these, the most used is the 45 degree tilt overhead. This creates highlights on top of the product and slowly casts a shadow to half of it. Experiment how changing the angle of your overhead light affects the shadows and highlights on your subject.
3. Even Lighting
Third, even lighting is used to eliminate reflections on products. This utilizes two lights placed on 45 degree angles on the left and right side of the camera. Reflections harm your product photos because they eliminate essential details on it. For example, a bottle’s inscription on its front is an important detail on the product. Using frontal lighting causes glare and reflections to appear in this area.
By using the Even Lighting setup, you cast shadows in this section that eliminates glare. The amount of highlights produced by this technique on the product’s front is also enough to still show detail.
4. Coverage Lighting
Next, the Coverage Lighting setup aims to capture all the details of a product. Here, three lights are used. The position of two lights are directly on the left and right of the product. The last light’s position follows the frontal lighting setup. In this manner, all the details of the product receive highlights and maintain a clear appearance.
Note that coverage lighting has some variations. The previously discussed orientation works well for most products. However, there are times where reposition is necessary.
Maintain frontal lighting with one light source and alter the placement of the other two. Continue changing the placement of the two lights until you’re satisfied with how the details pop out in your photo.
5. Form Lighting
The next variation of three point lighting setup is Form Lighting. The orientation of the three lights are as follows. One light follows the front lighting setup. The other two are placed behind both at 45 degree angles towards the subject. This creates a three dimensional look that emphasizes the subject’s form.
The shadows in this setup give the product its form. Shadows create contrast within the product thus separating every depth within it.
6. Separation Lighting
This photography setup also follows the three point lighting concept. Much like Triangle lighting, the placement of the lights are the same. The only difference is where the back lights are facing. Instead of towards the subject, the light sources are directed towards the background.
The main goal of this lighting setup is separation of the subject to the background. This setup creates a lighting cast that makes the subject appear at a distance from the background.
7. Natural Lighting
Lastly, you can never go wrong with natural lighting. Most photographers prefer natural lighting than indoor setups because of how the lighting falls on the subject. With natural lighting, there are still techniques you can use to enhance your photo.
The main technique you can use to enhance natural lighting is the use of reflectors. These provide soft lighting to areas on your subject which become dominated by shadows. Even out these areas by bouncing the natural light using reflectors and bouncing it towards them.
Composition Tips for Product Photography
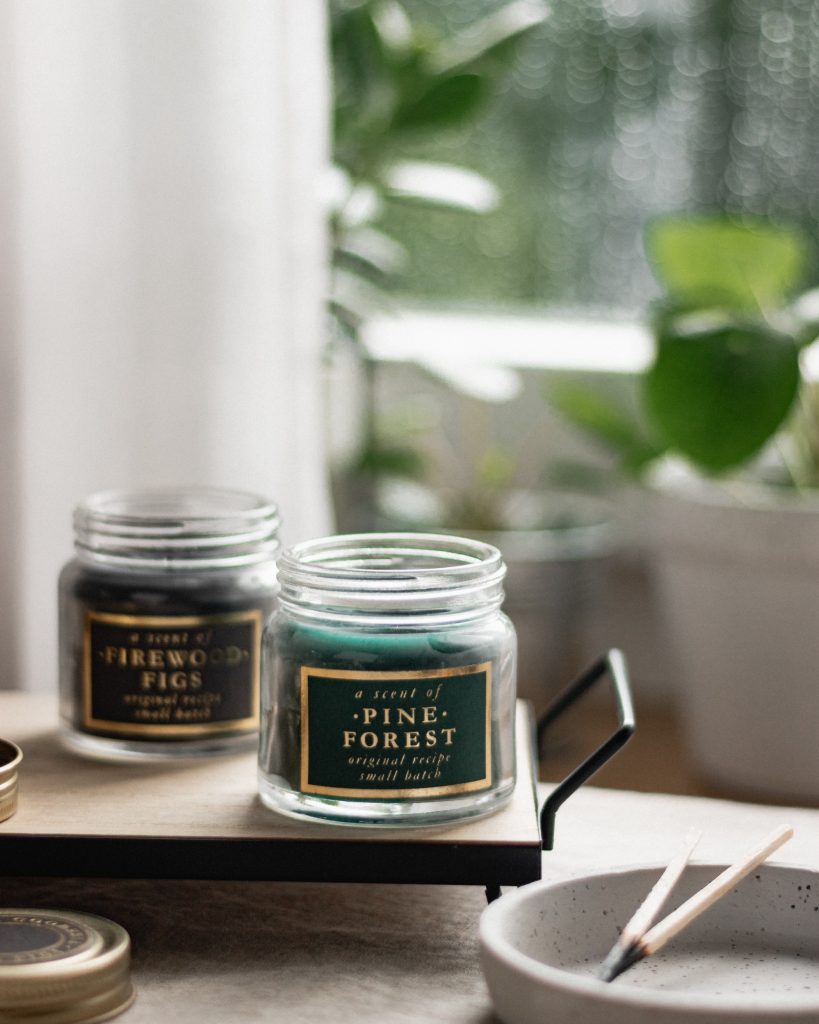
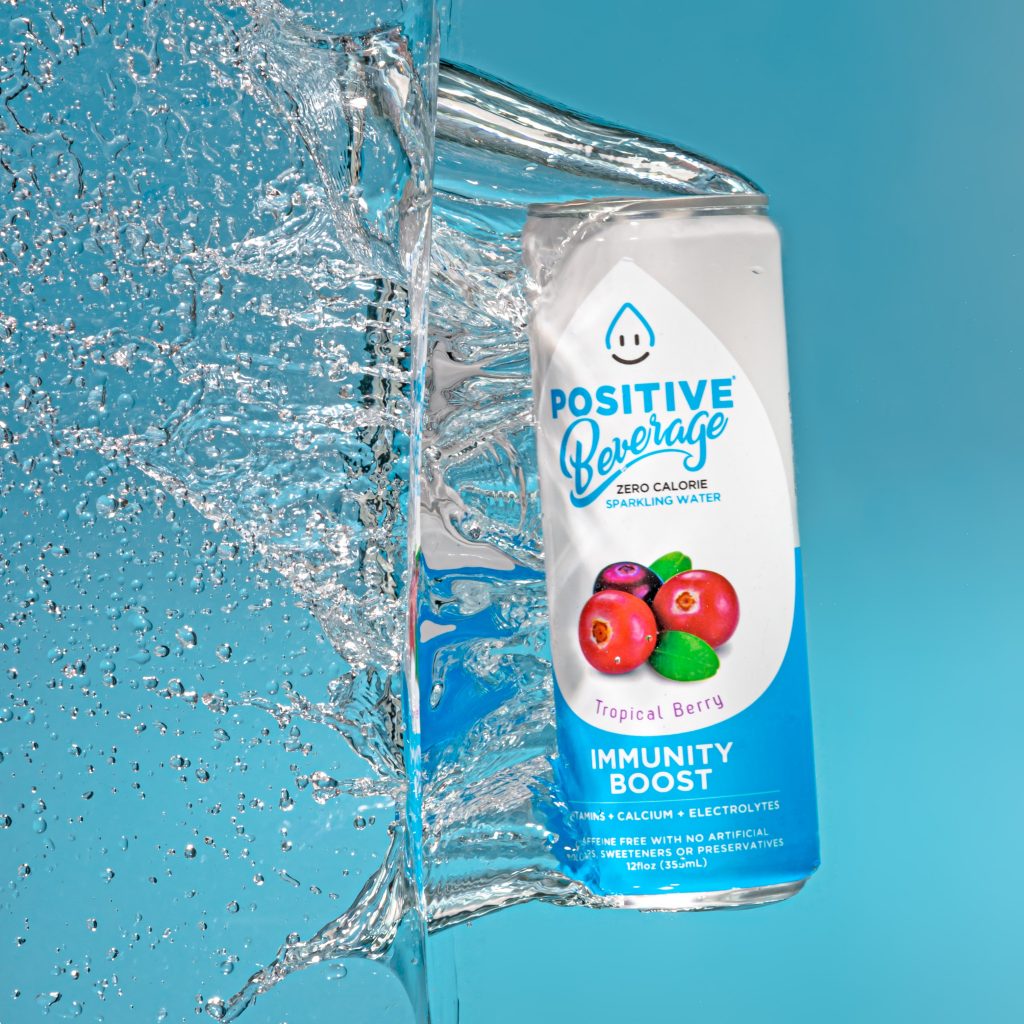
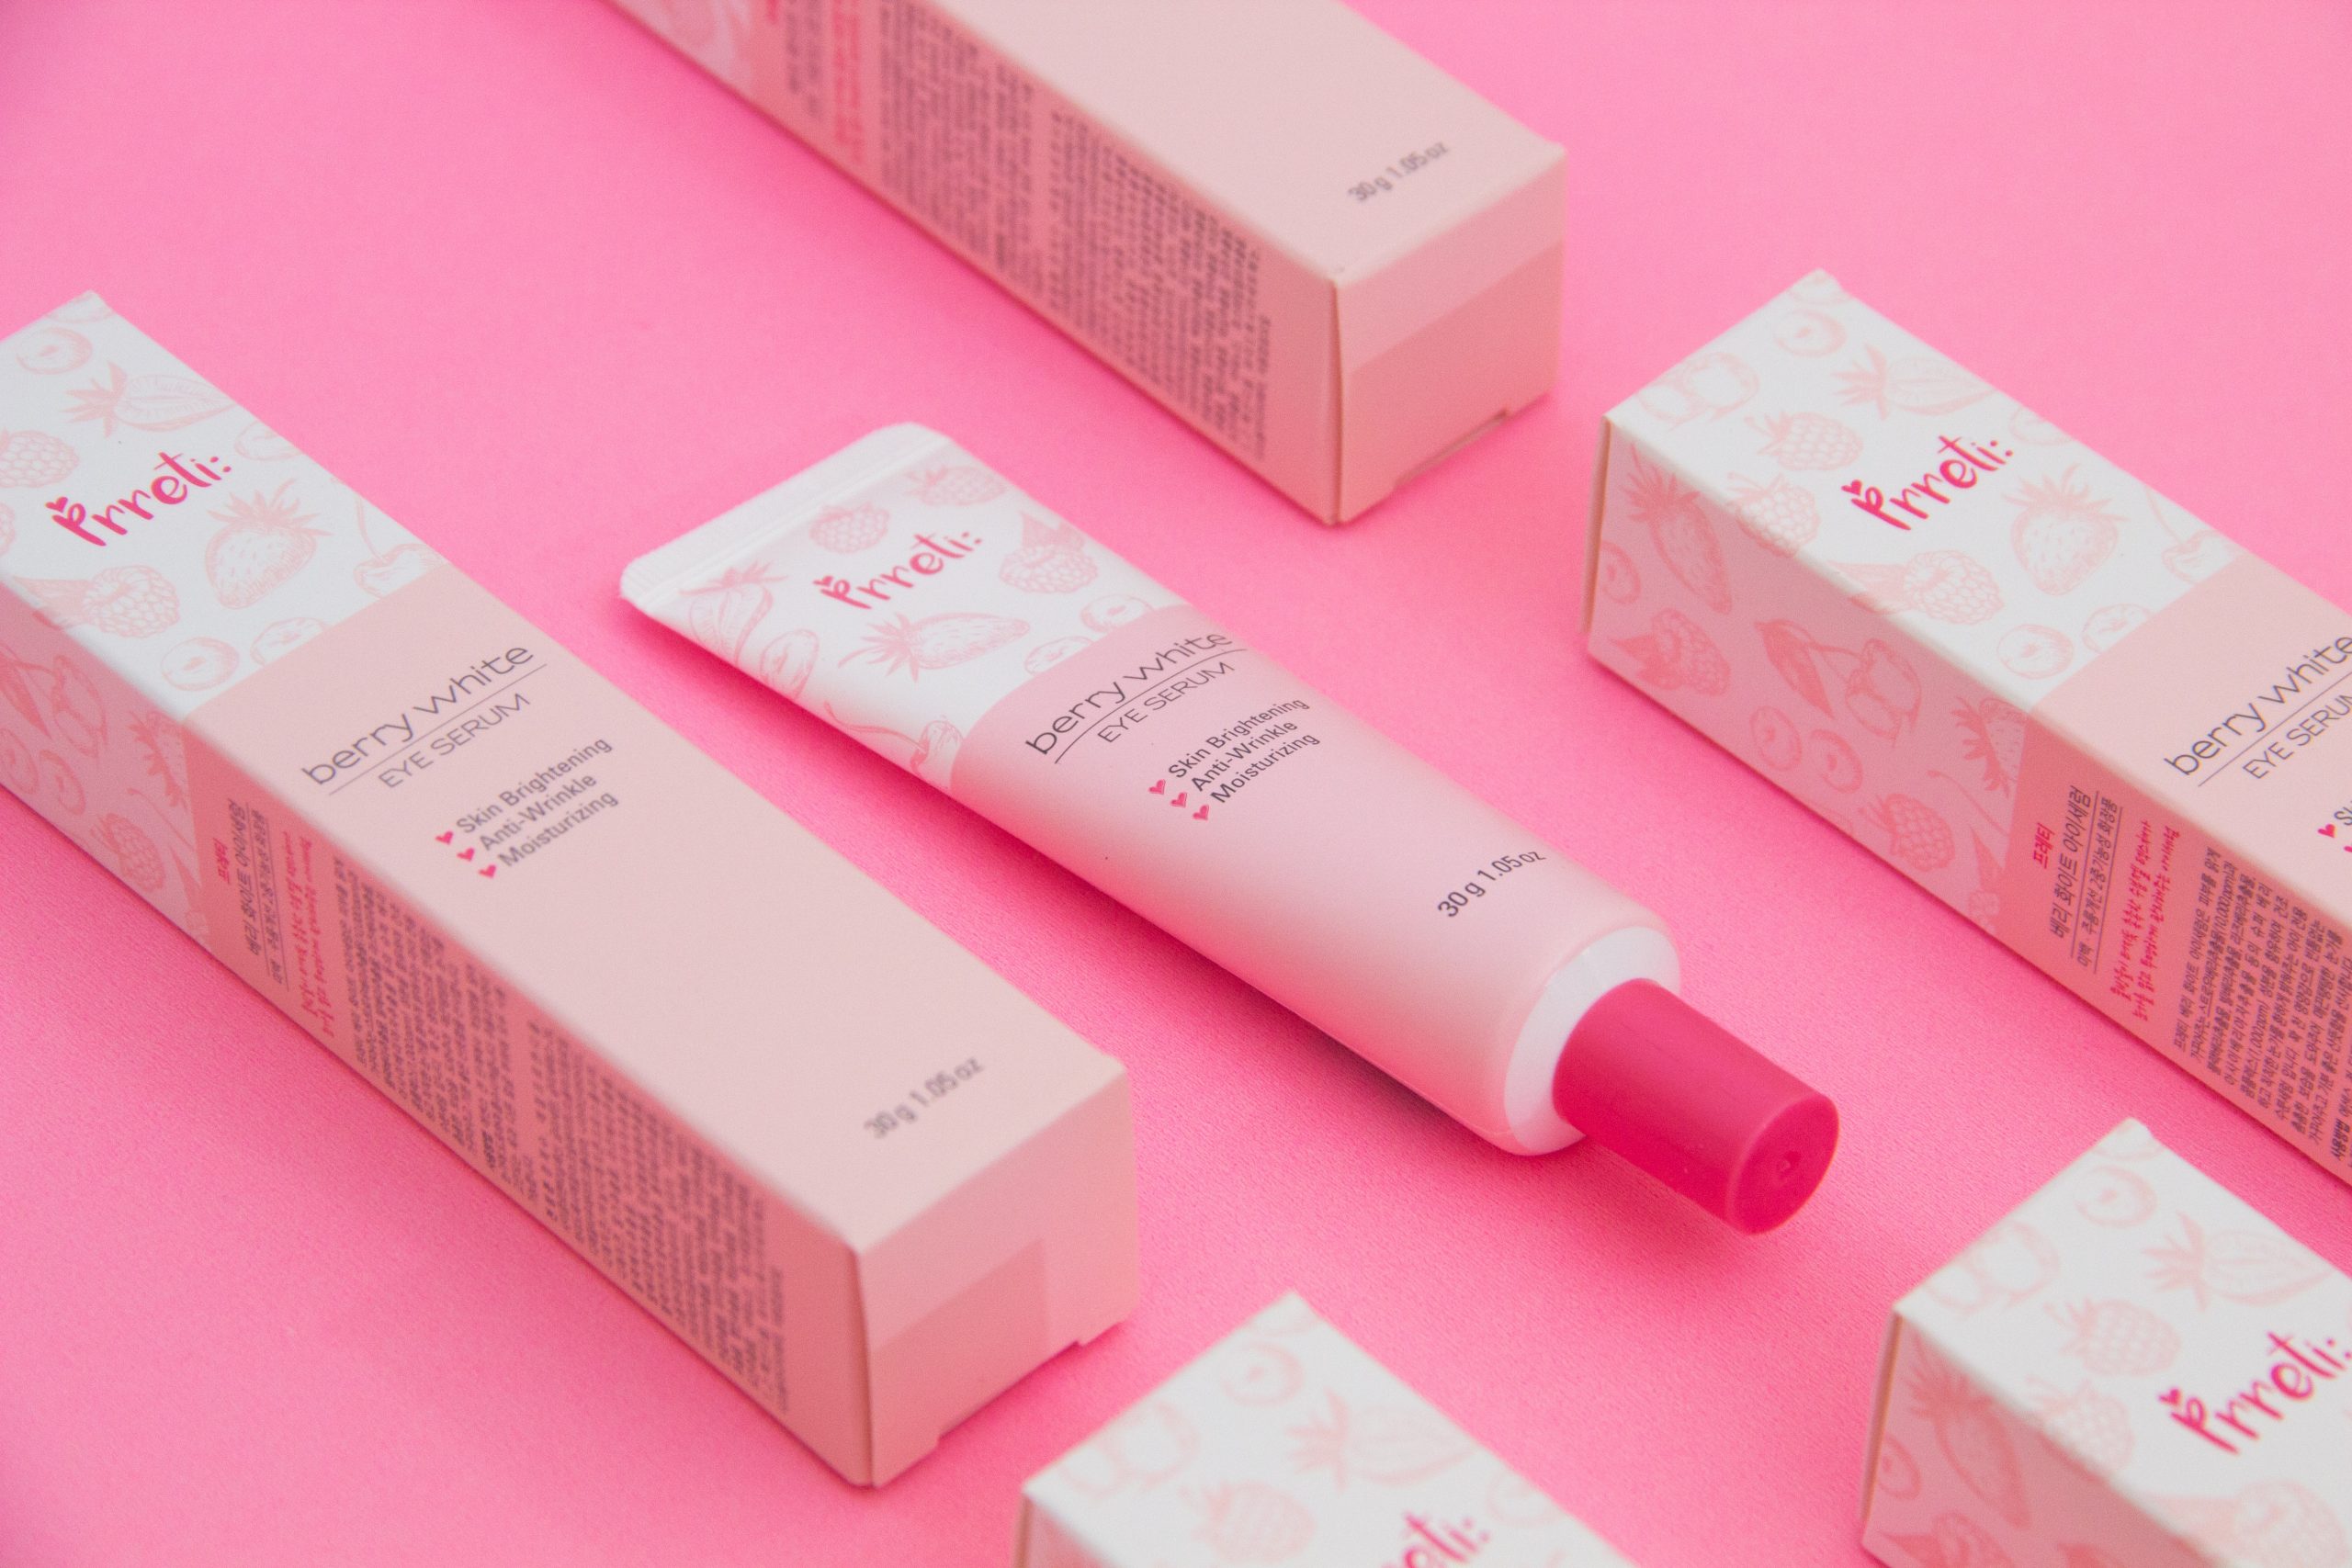
While there are numerous composition tips for photography, not all can be applied in product photography. Most of the time, the product fills the frame. This emphasizes that the main focus of the viewer should be the product itself, its details, and features.
On the other hand, you can still apply composition in product photography with flat lay or prop use. In both of these approaches, place additional elements that relate to the product to create composition.
Colors and contrast speak the most out of all the composition techniques you can use. This keeps the focus on the product but still makes for a stunning photo because of contrast. This is the widely used technique for product photography and is achievable by altering background or lighting colors.
3 Additional Tips for Product Photography
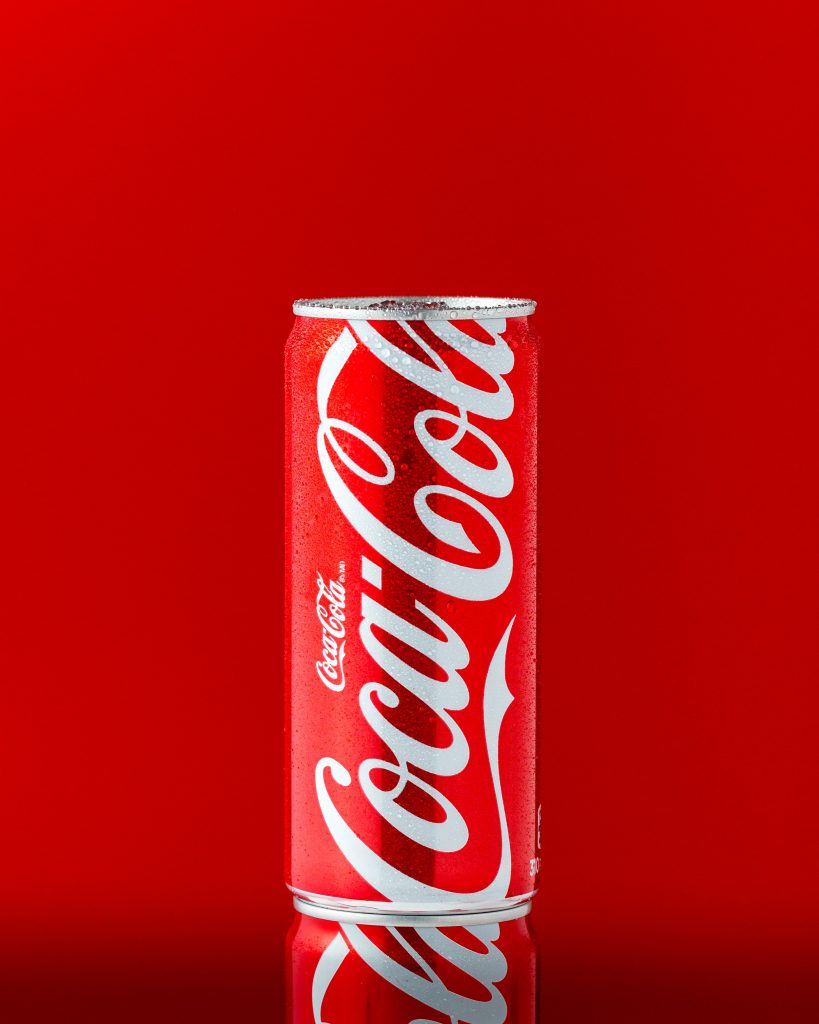
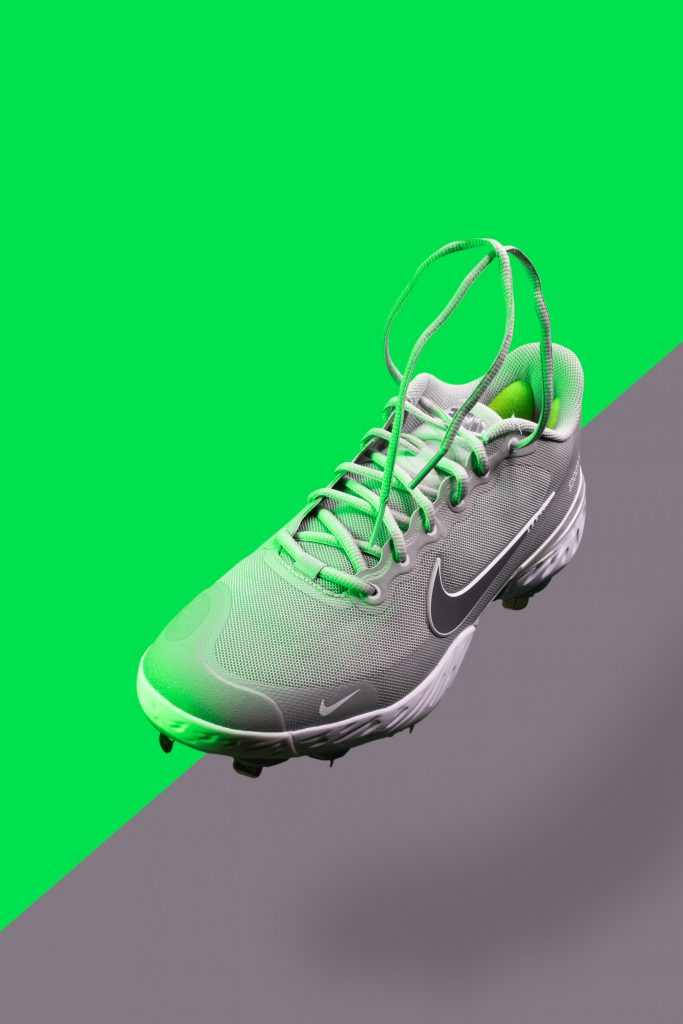
Congratulations on reaching this far into the article! You are now equipped with fundamentals in jumpstarting your product photography journey. Here are three additional tips for product photography that you should check out!
1. Play with Angles
First, never constrain yourself with shooting from top (flat lay) or front facing. Diversify your photos by capturing the product from different angles. This gives you a brand new perspective and gives you the chance of showcasing the product more.
Shoot at a low angle to make the product appear tall, shoot from the top to highlight details not typically seen while front facing, and many more! The amount of possibilities in your composition is limitless. Explore and find that selling photo!
2. Gather Inspiration
Second, scroll through social media pages of different brands and gather inspiration. Think about the lighting setup used in a specific photo and mimic it to achieve similar results. See how props are placed to enhance the selling point of the item. Apply these inspirations in your next product photoshoot and you’ll improve drastically!
3. Plain White
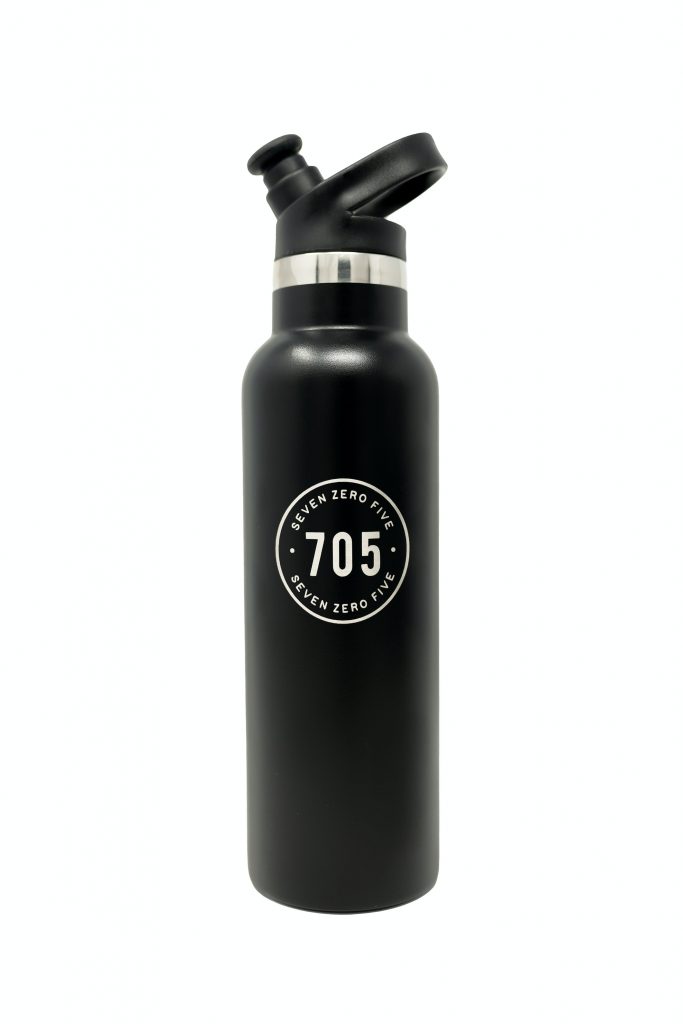
Lastly, plain white backgrounds can never go wrong. (Unless your product color is plain white too!) This automatically brings the attention of your audience to the product itself. They have nothing else to look at except the product.
While this is true, you must create stunning imagery by applying lighting techniques that bring out detail and form. Make your product stand out more by adding contrast to it with shadows and highlights.
Conclusion
Product photography applies photography fundamentals in creating photos used for advertising. This is the most profitable photography niche with the constant need of photos for selling products.
This article equips the reader with lighting and composition fundamentals extremely helpful for product photography. A section of this article also highlights the equipment you need.
Explore different tones and styles for different products and gather inspiration from big brands.
The best move in creating provoking product photos is practice. Continue capturing products and changing your lighting setup as well as composition. Check out Pensacola Photographers.
Enjoyed this article? Find more inspiration for your next photo shoot with our articles:
1. World Photography Day 2022
2. Guide to Portrait Photography
3. Guide to Travel Photography
4. Guide to Landscape Photography
Also, look into turning your digital photos into prints with these posts:
1. The Printing Mediums of Wall Art
2. Acrylic Printing Companies
3. Wood Printing Companies
4. Canvas Printing Companies
Lastly, refresh your skills with these photography fundamentals:
1. Lighting in Photography
2. Aperture in Photography
3. Composition in Photography
4. The Art of Editing Photos

