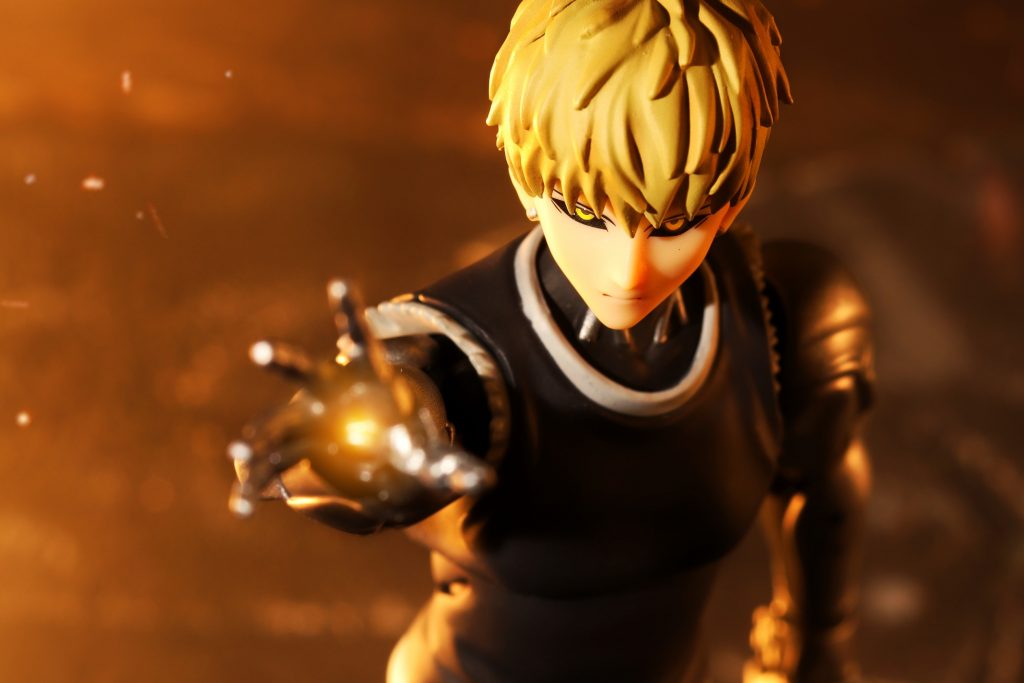
Toy photography is a photography style that turns all kinds of toys or action figures into life. Similar to all photography styles, this is culminated with the application of photography fundamentals and techniques. Toy photography is arguably the least practiced style of photography and very few know about it.
This article brings you into the world of toy photography at the same time giving some tips for jumpstarting your toy photography journey.
Table of Contents
What is Toy Photography?
Toy photography is the capture of any kind of action figures, die-cast cars, and toys. What’s stunning about this photography niche are the scenes you can pull off with their scale. As you may know, the size and scale comparison of these figures range from 1/18, 1/12, and 1/6 for action figures and smaller for die-cast cars.
Dioramas are custom made for creating scenes and miniature worlds for these toys. In addition to this, photo manipulation and compositing are also accepted forms of toy photography. Digital addition of props and backgrounds done in photoshop also contribute to toy photography.
What do Toy Photographers do?
Majority of toy photographers capture toys as a hobby while some partner with brands like toy manufacturers, Disney, and the NBA. Toy photographer hobbyists built a community on social media where everyone shares their work. Though the community is small, the amount of support everyone receives from each other is huge. There are feature pages on Instagram like @toypic_community, which features the best toy photos for a chance to win cash prizes weekly.
Toy photographers who partnered with major companies create photos that serve as advertisements for an upcoming toy release or an event. Just like product photography, toy photography showcases the features and details of their respective subject.
Recommended Gear for Toy Photography
A good starting point for toy photography is fandom focus. Fandom focus is the selection of what character or toy line inspires you the most. There are figures from Marvel, DC, Disney, NBA, Anime, and many more. When you choose the character/s that inspire you the most, you are more likely to capture more photos of them. Once you have your figure, let’s move on to the camera, lenses, and equipment helpful in toy photography.
1. Camera
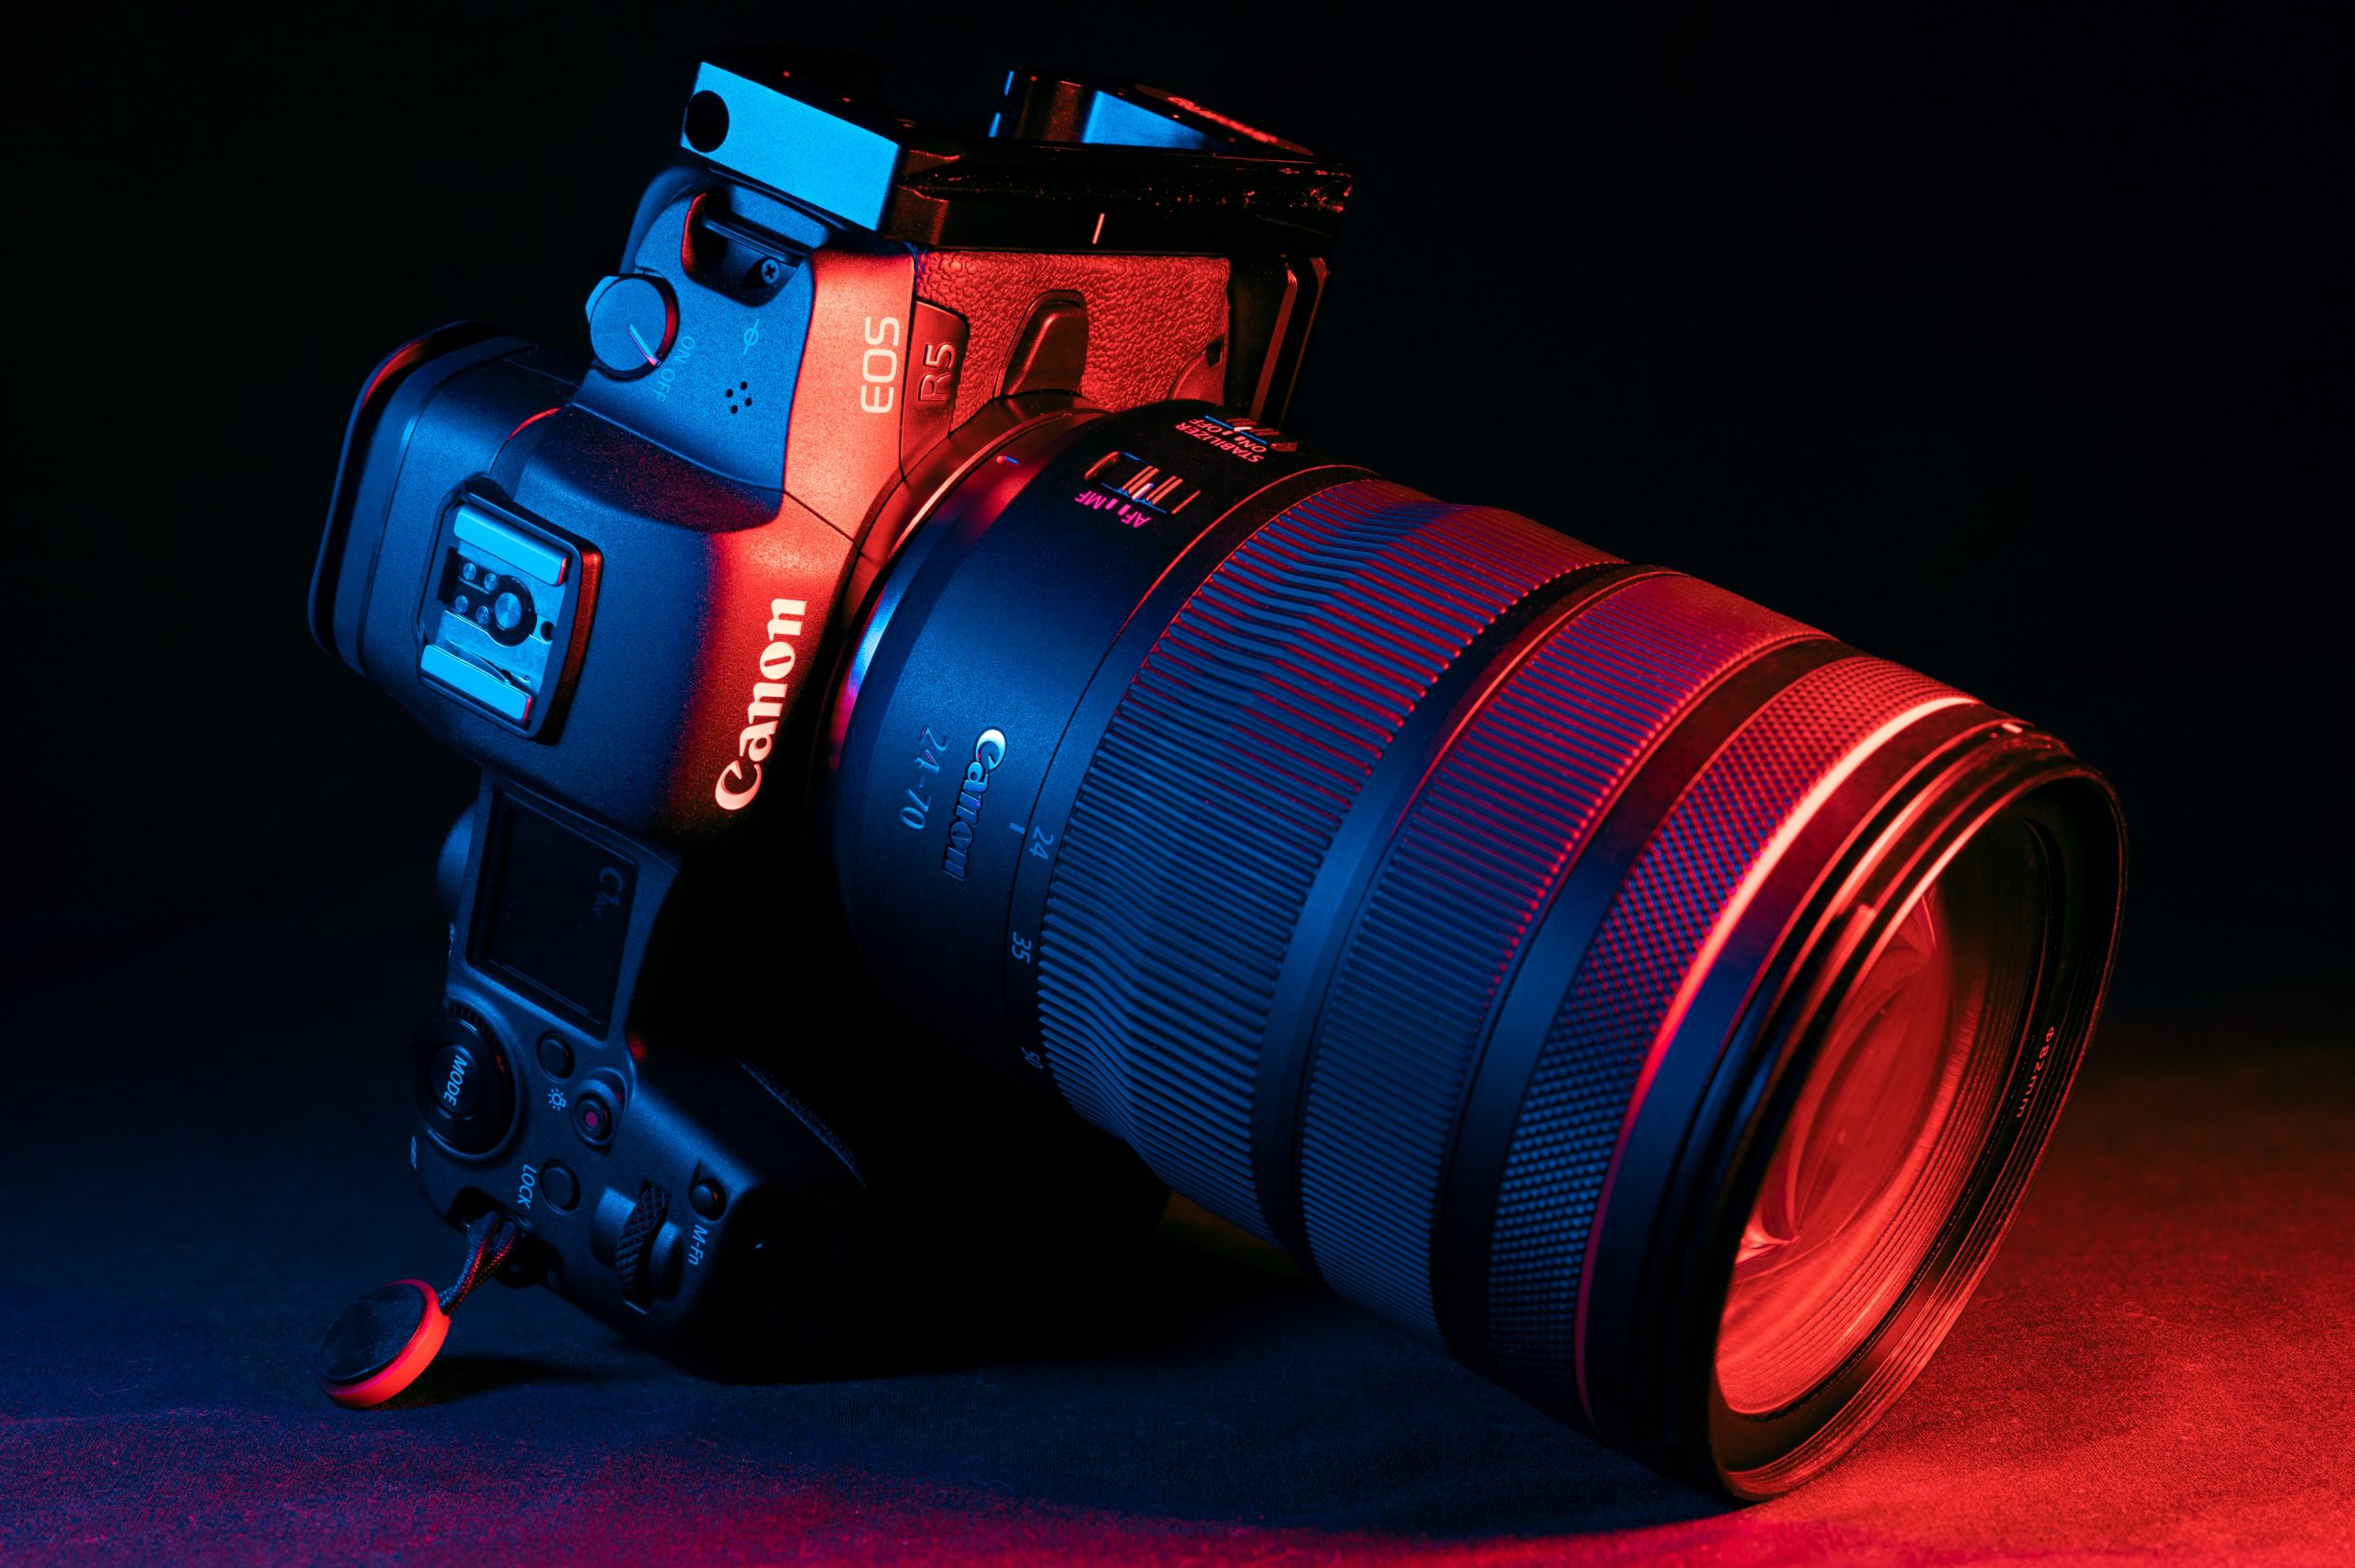
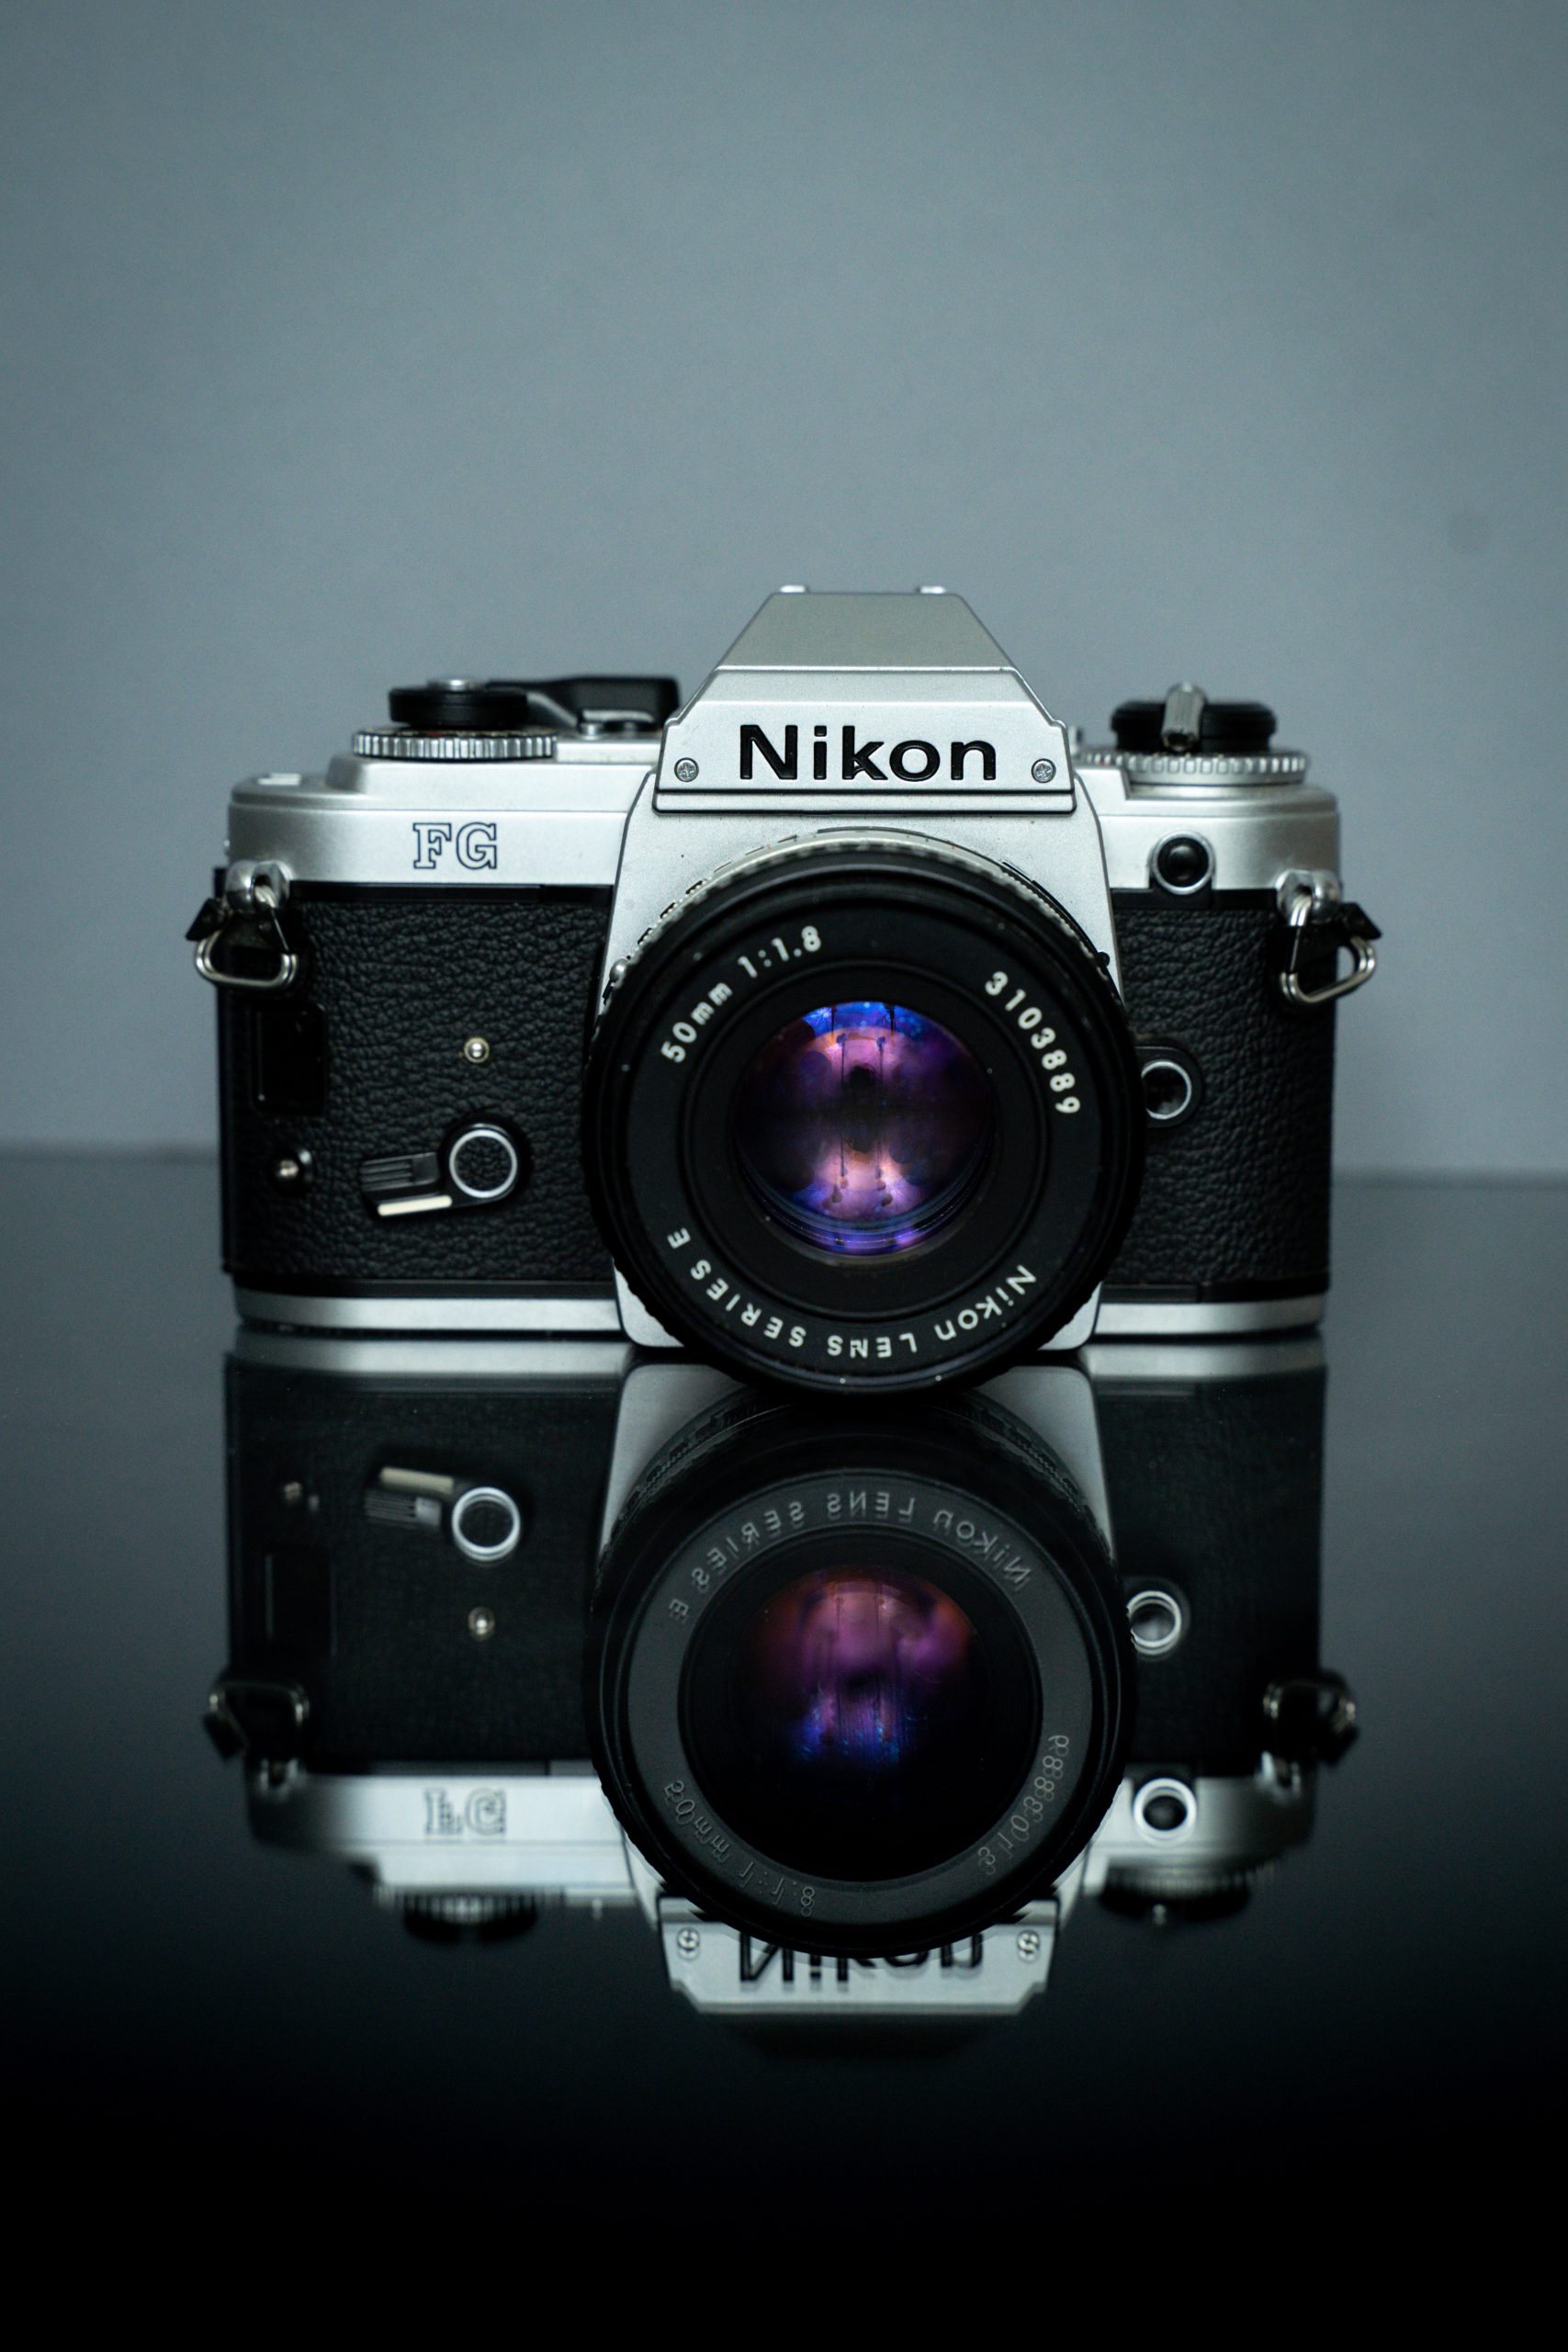
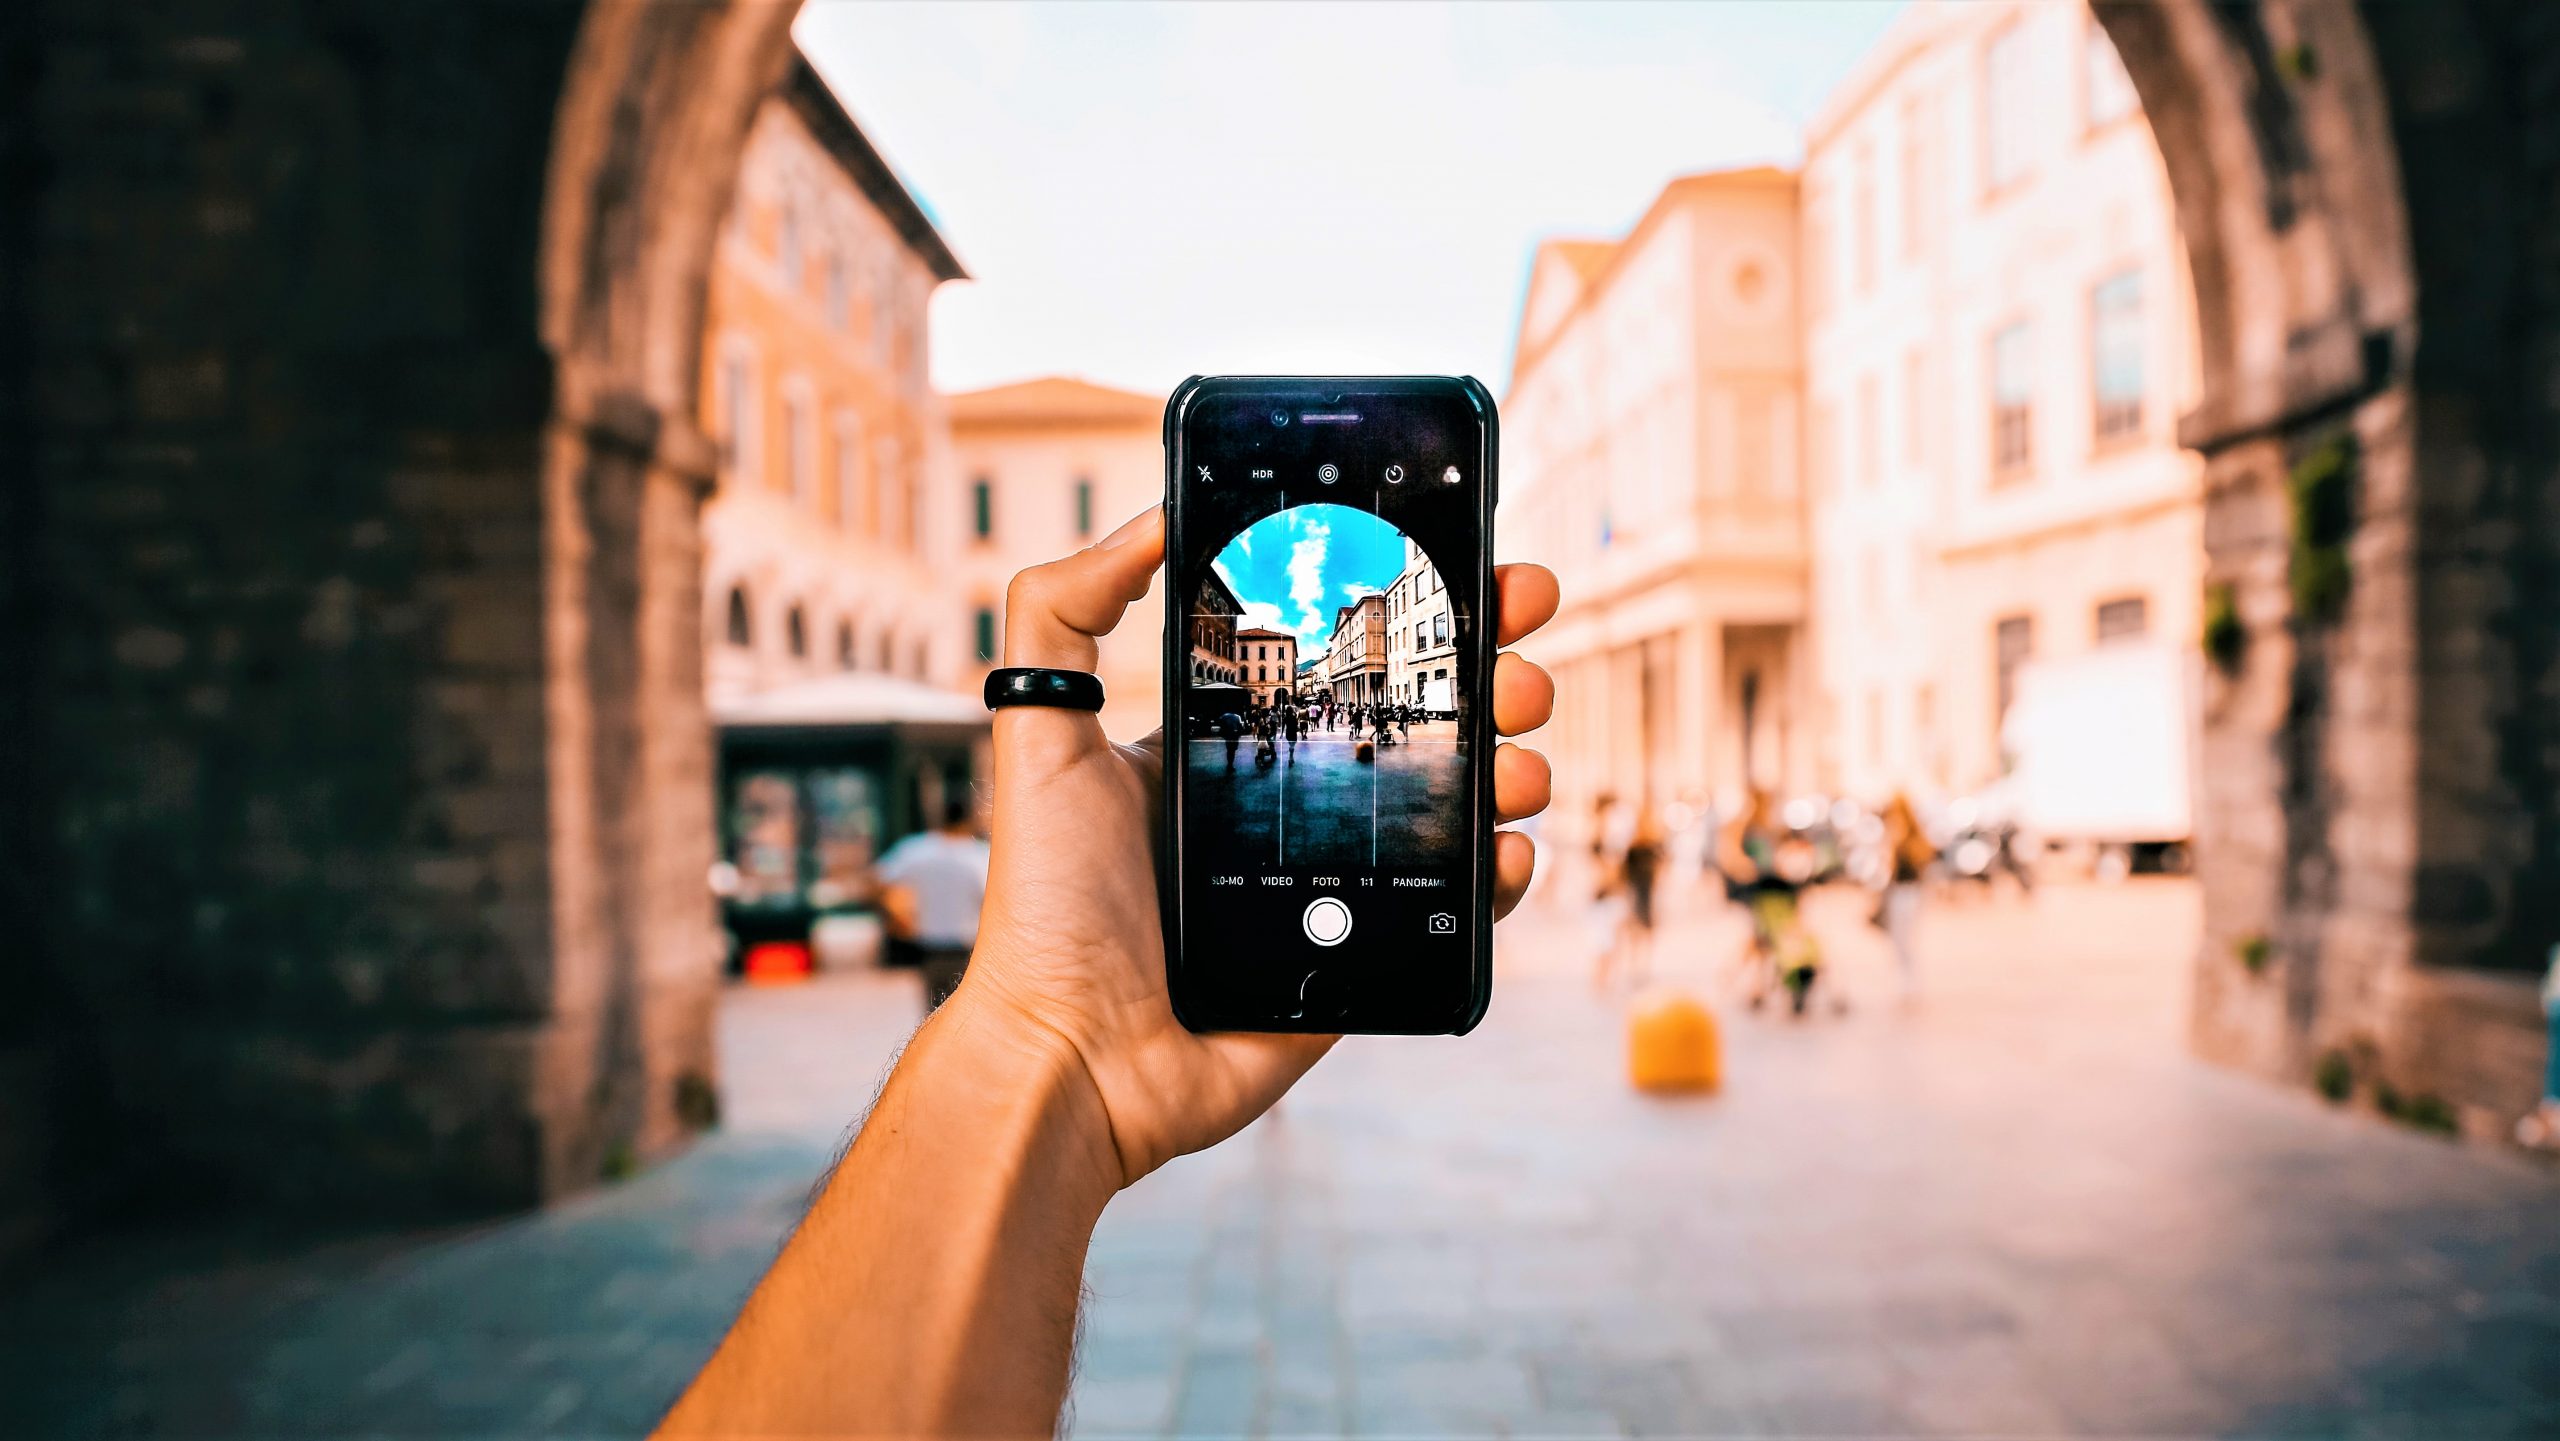
In getting into any field of photography, I always recommend learning the fundamentals with a phone camera. The same is true in toy photography. You can start capturing photos of your toys with your phone and practice lighting, composition, and editing with it.
When upgrading, mirrorless cameras are a great choice. They are lightweight compared to traditional DSLR’s and provide a realistic view of your photo from the get go.
2. Lenses
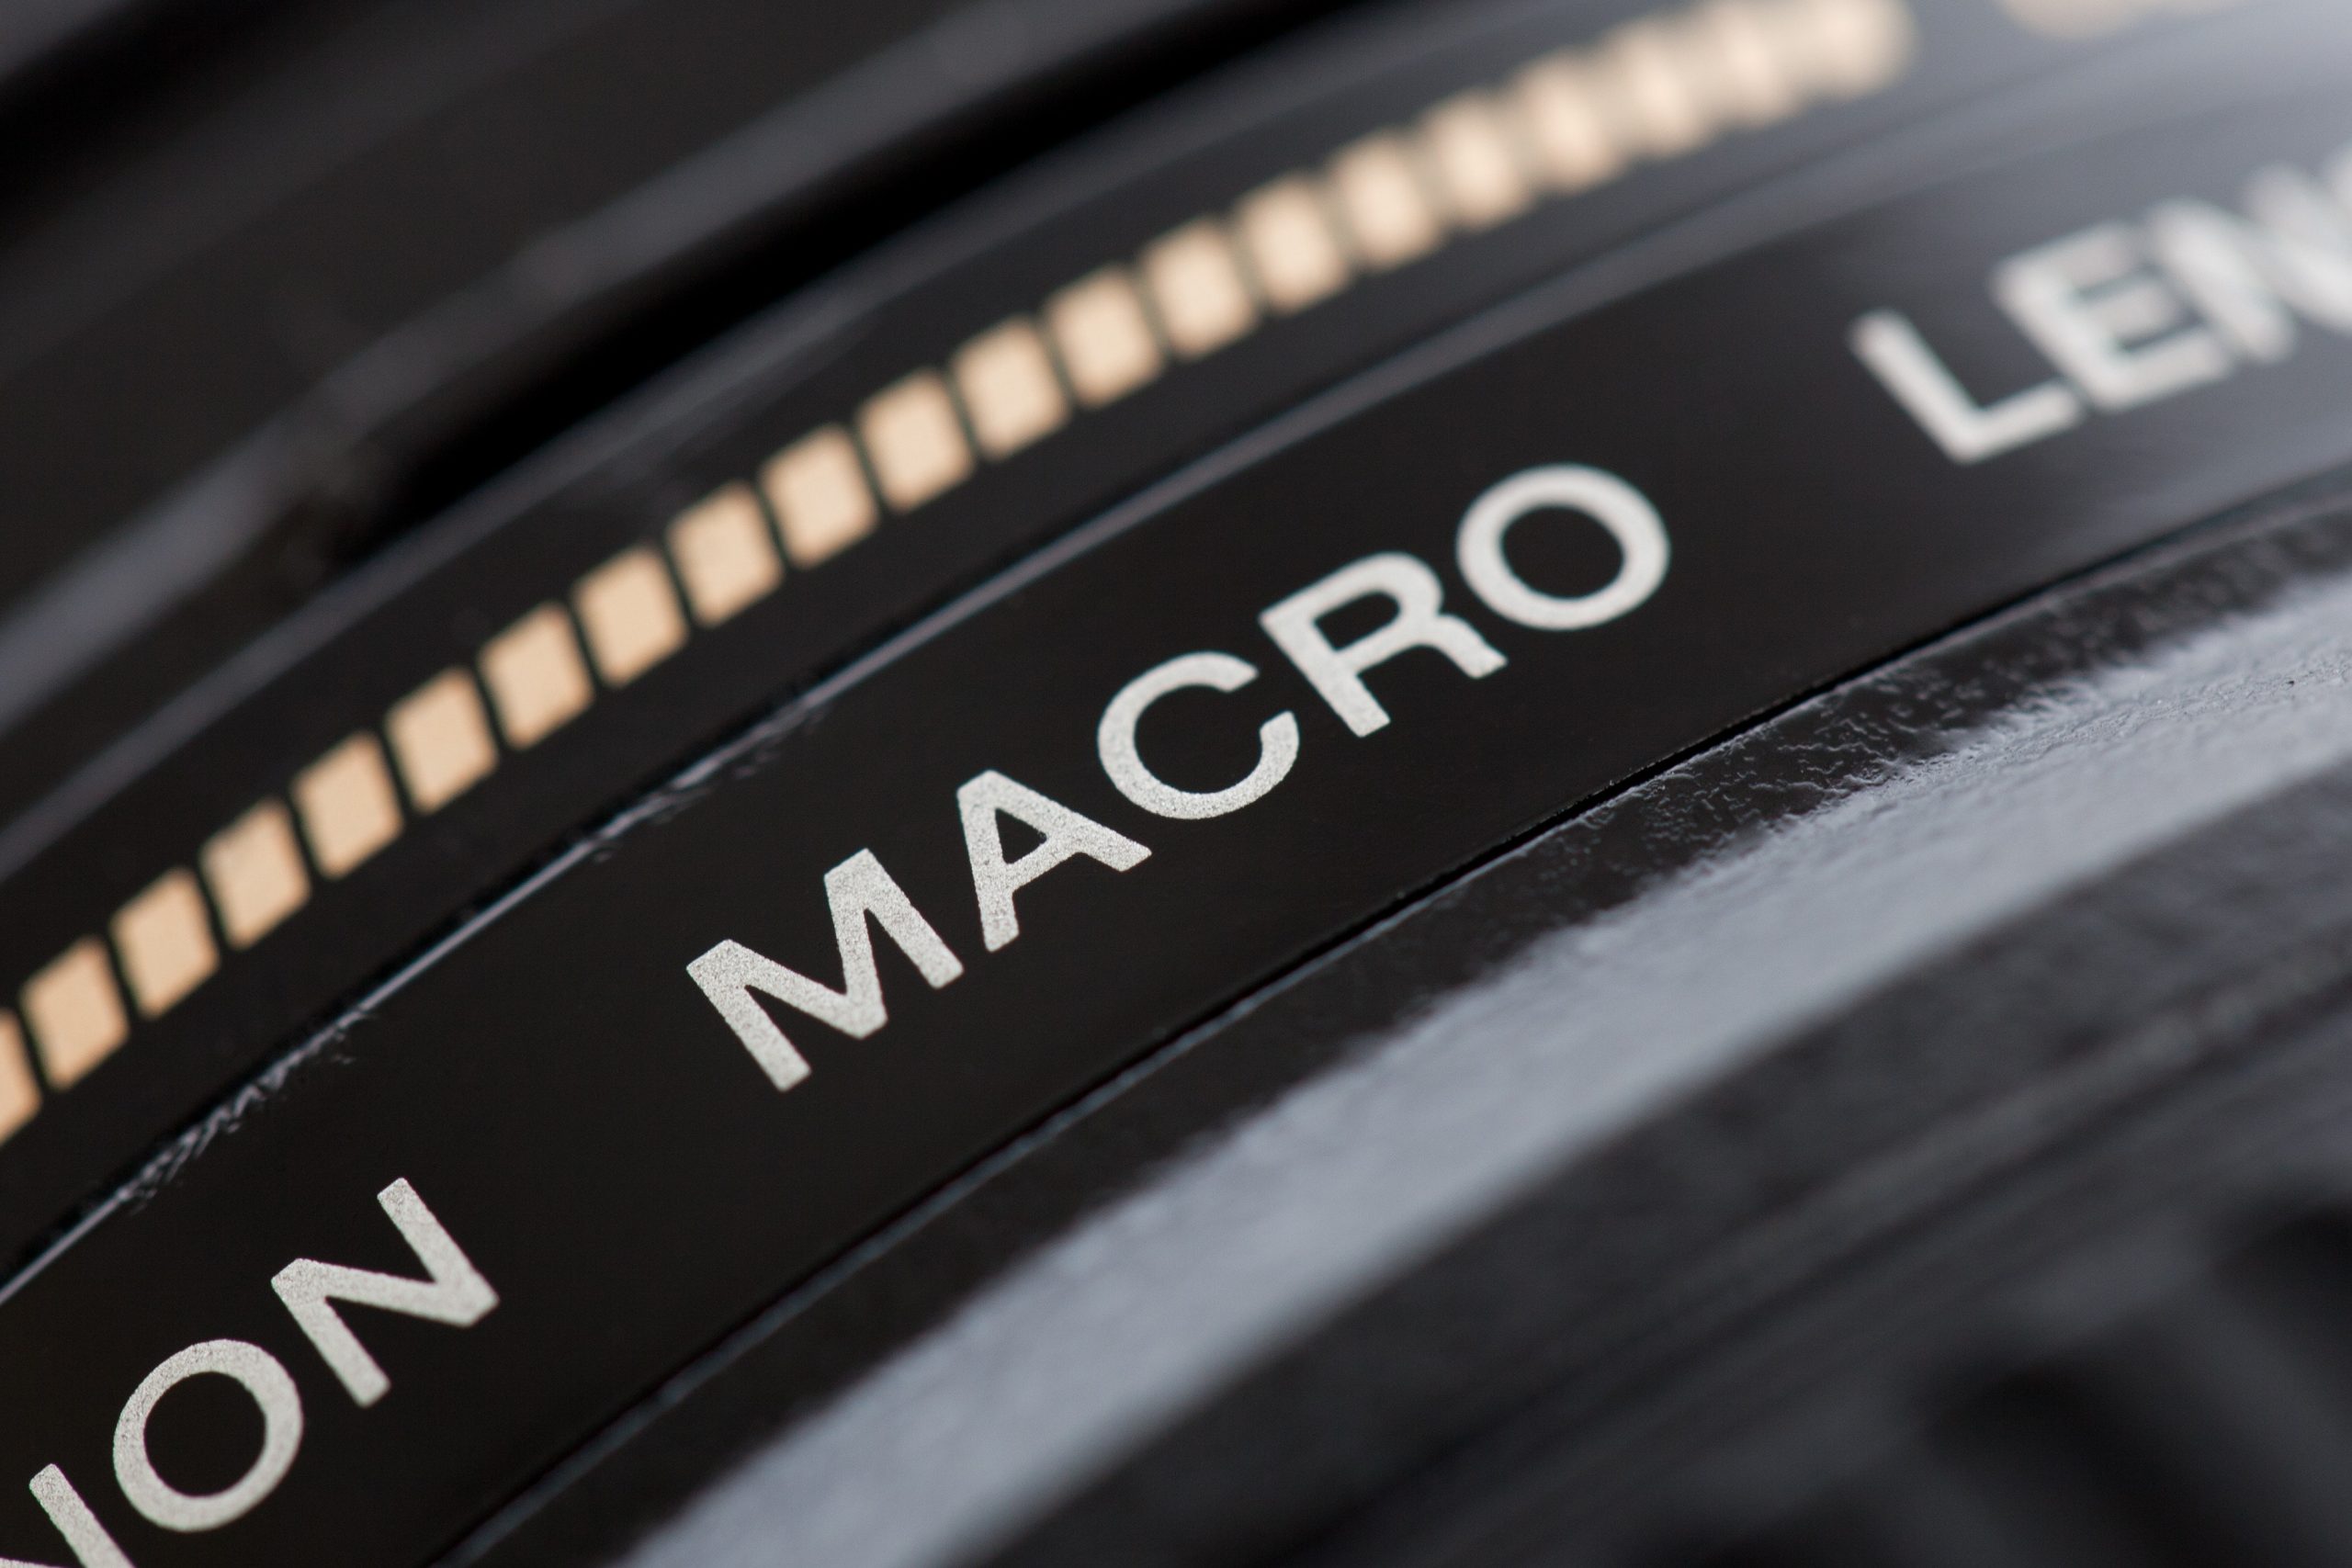
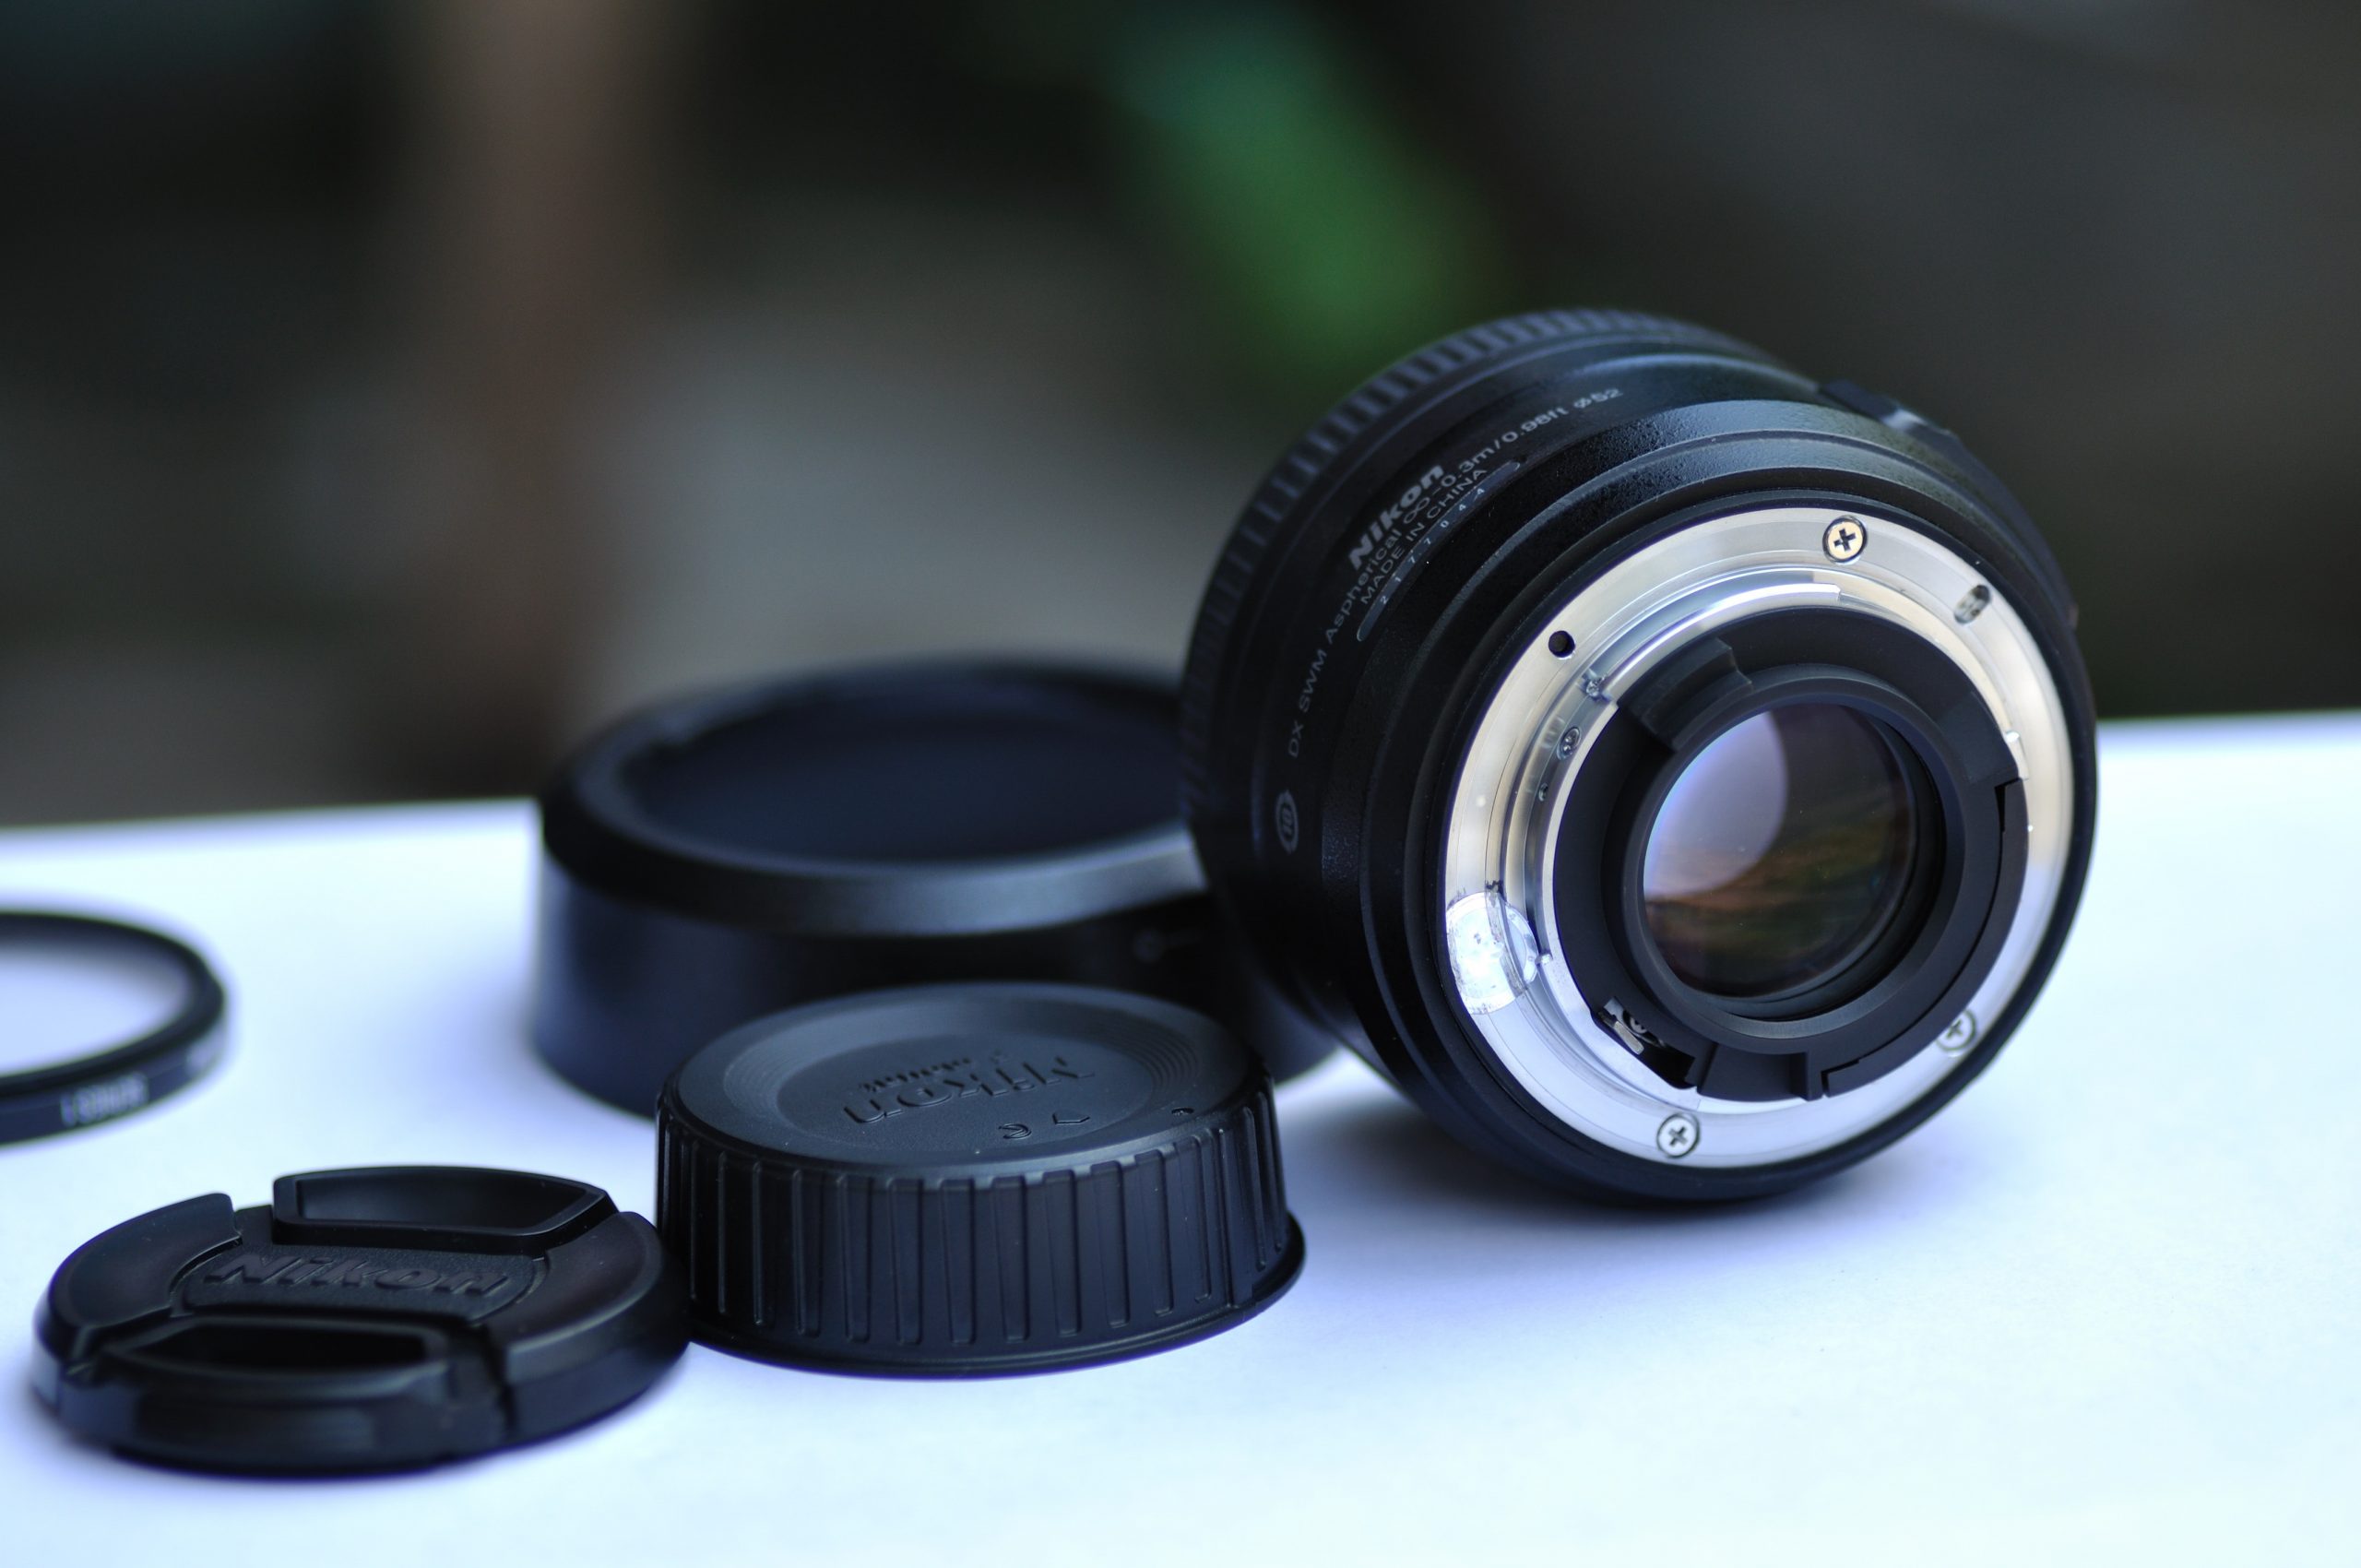
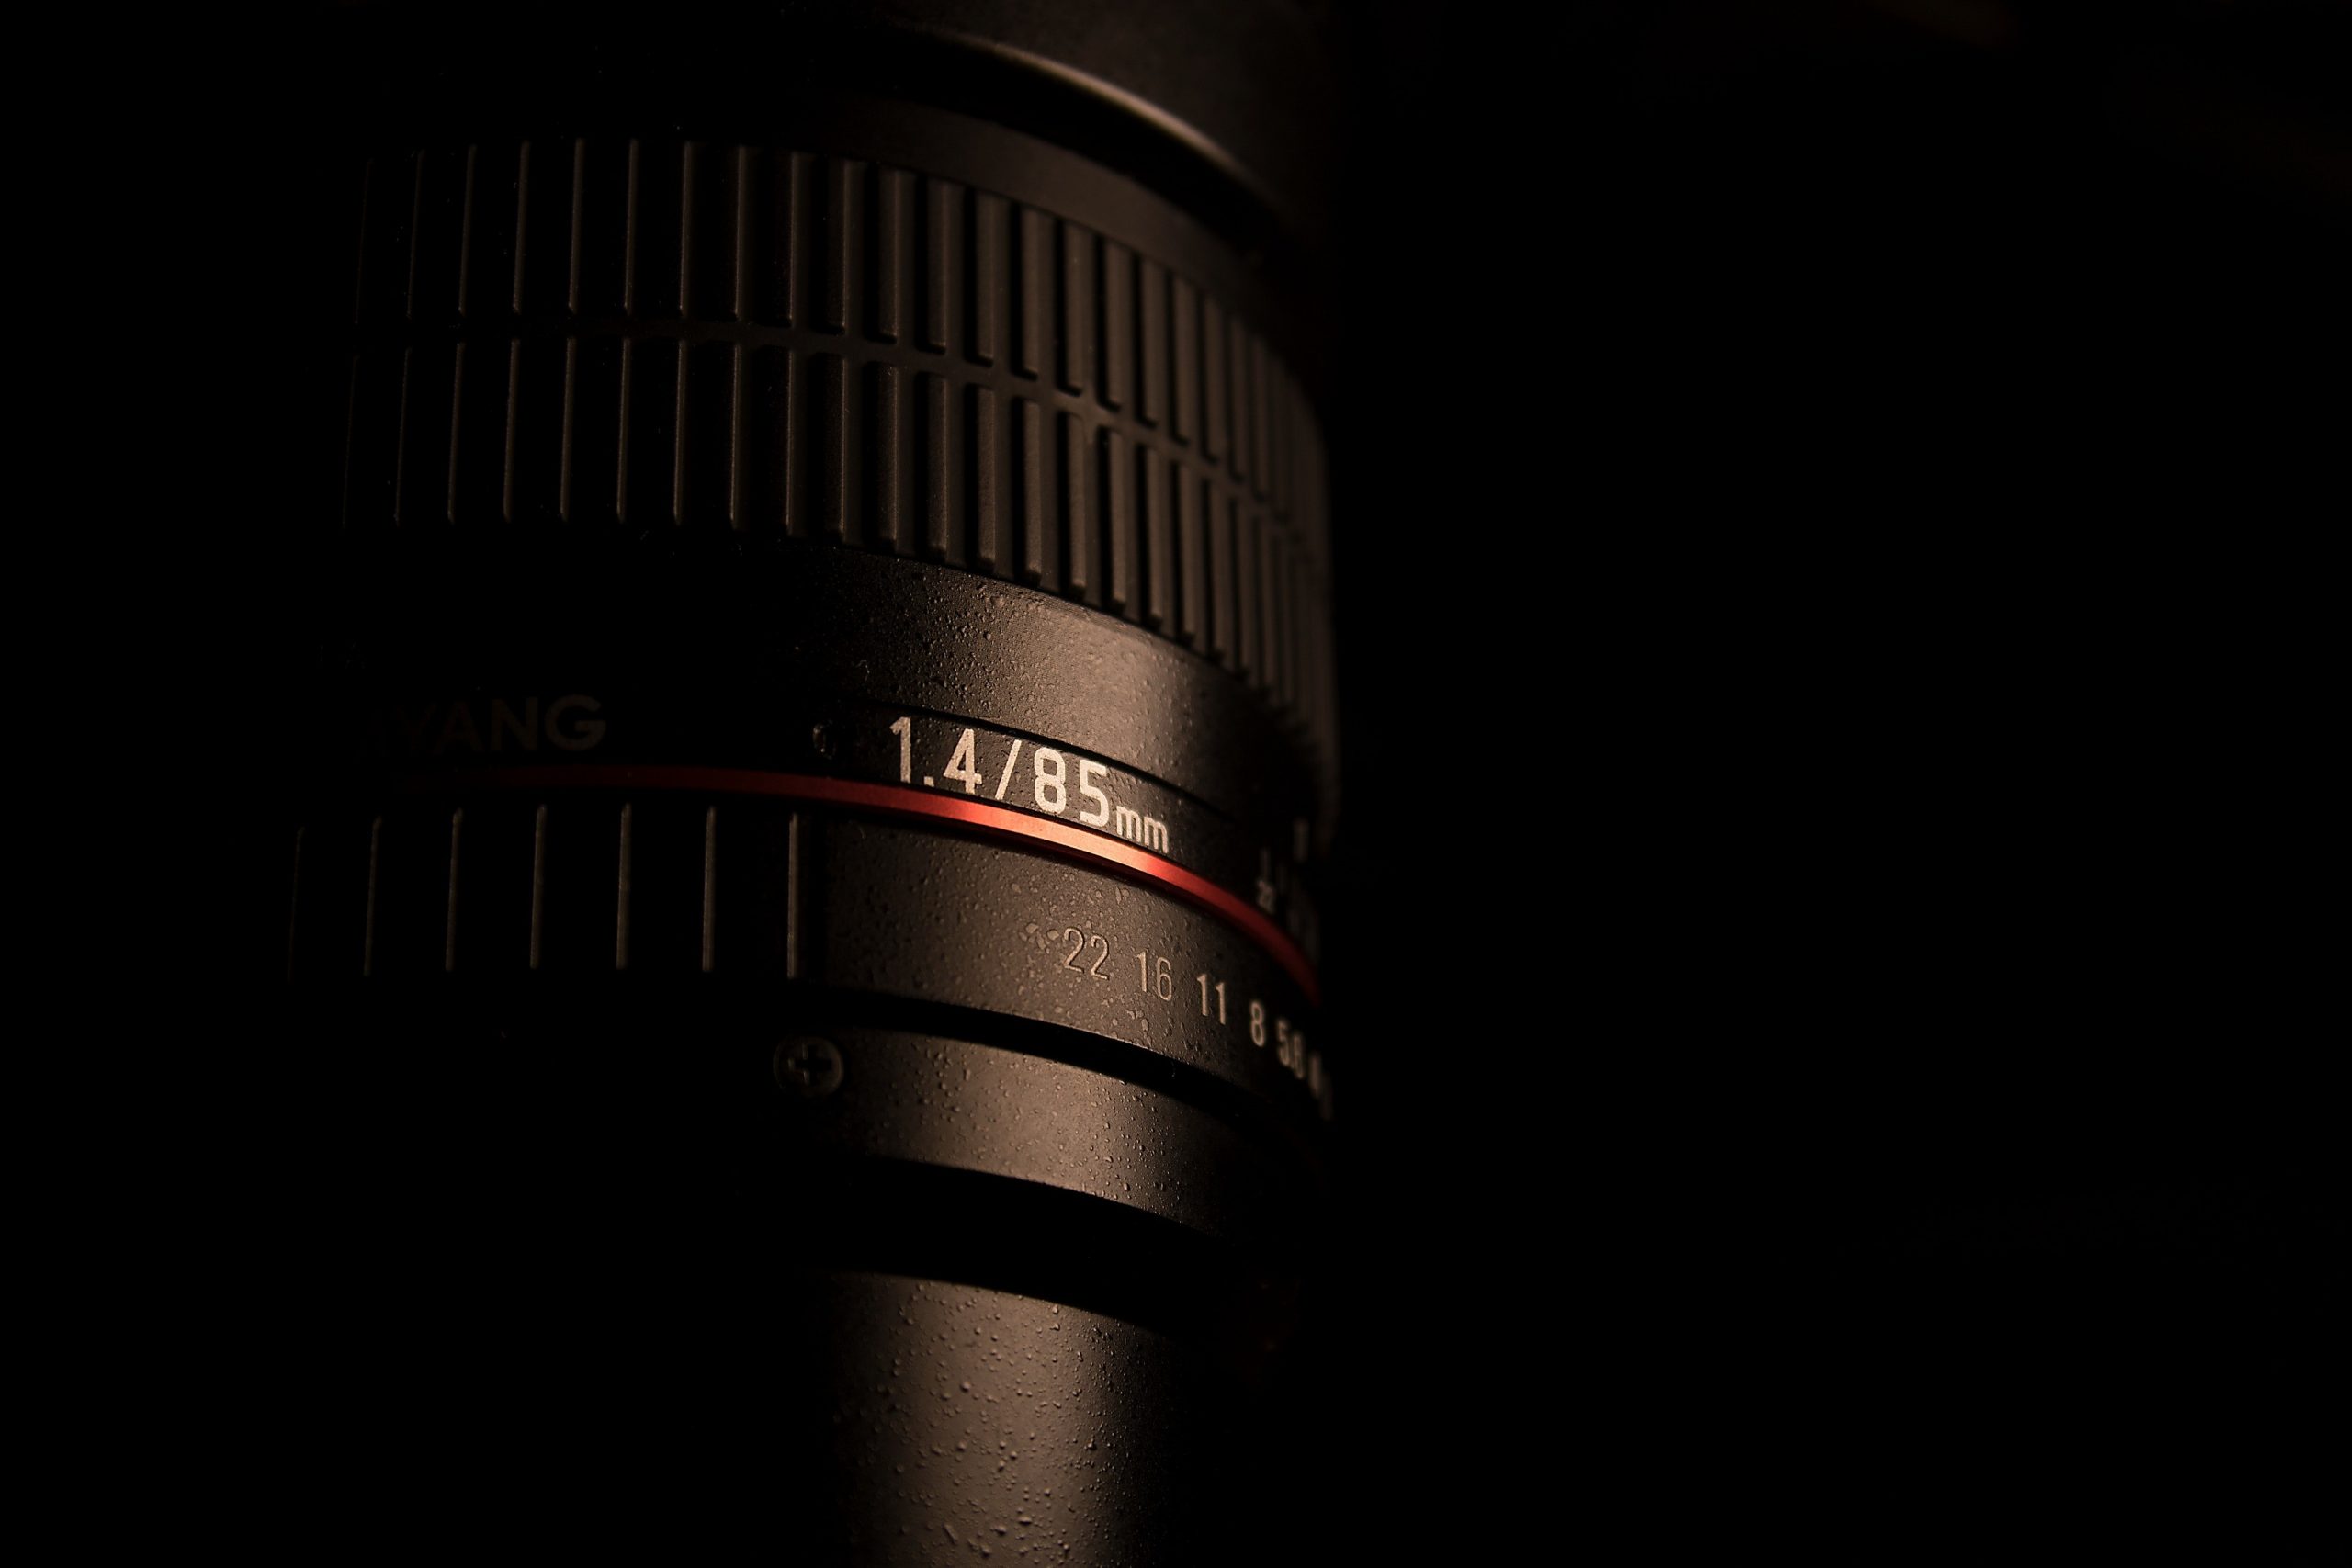
A kit lens can go a long way in toy photography. Since you’re capturing small scale subjects, you can achieve great depth of field with just a kit lens. In addition to this, if you choose pursuing toy photography applying photo manipulation techniques, any lens will do.
Moving forward, the nifty-fifty (50mm f/1.8) is a common recommendation of toy photographers. It provides a great range of depth of field with its ability to reach apertures of f/1.8. This lens captures these small scale figures nicely providing great sharpness and clarity.
Lastly, macro lenses are also viable options for toy photography. Once again, considering the scale of these subjects, macro lenses offer fantastic close up shots. There are 1/6 scale figures from Hot Toys that are stunningly life-like. Macro lenses offer great portrait shots of these figures focusing directly on their faces.
3. Lights
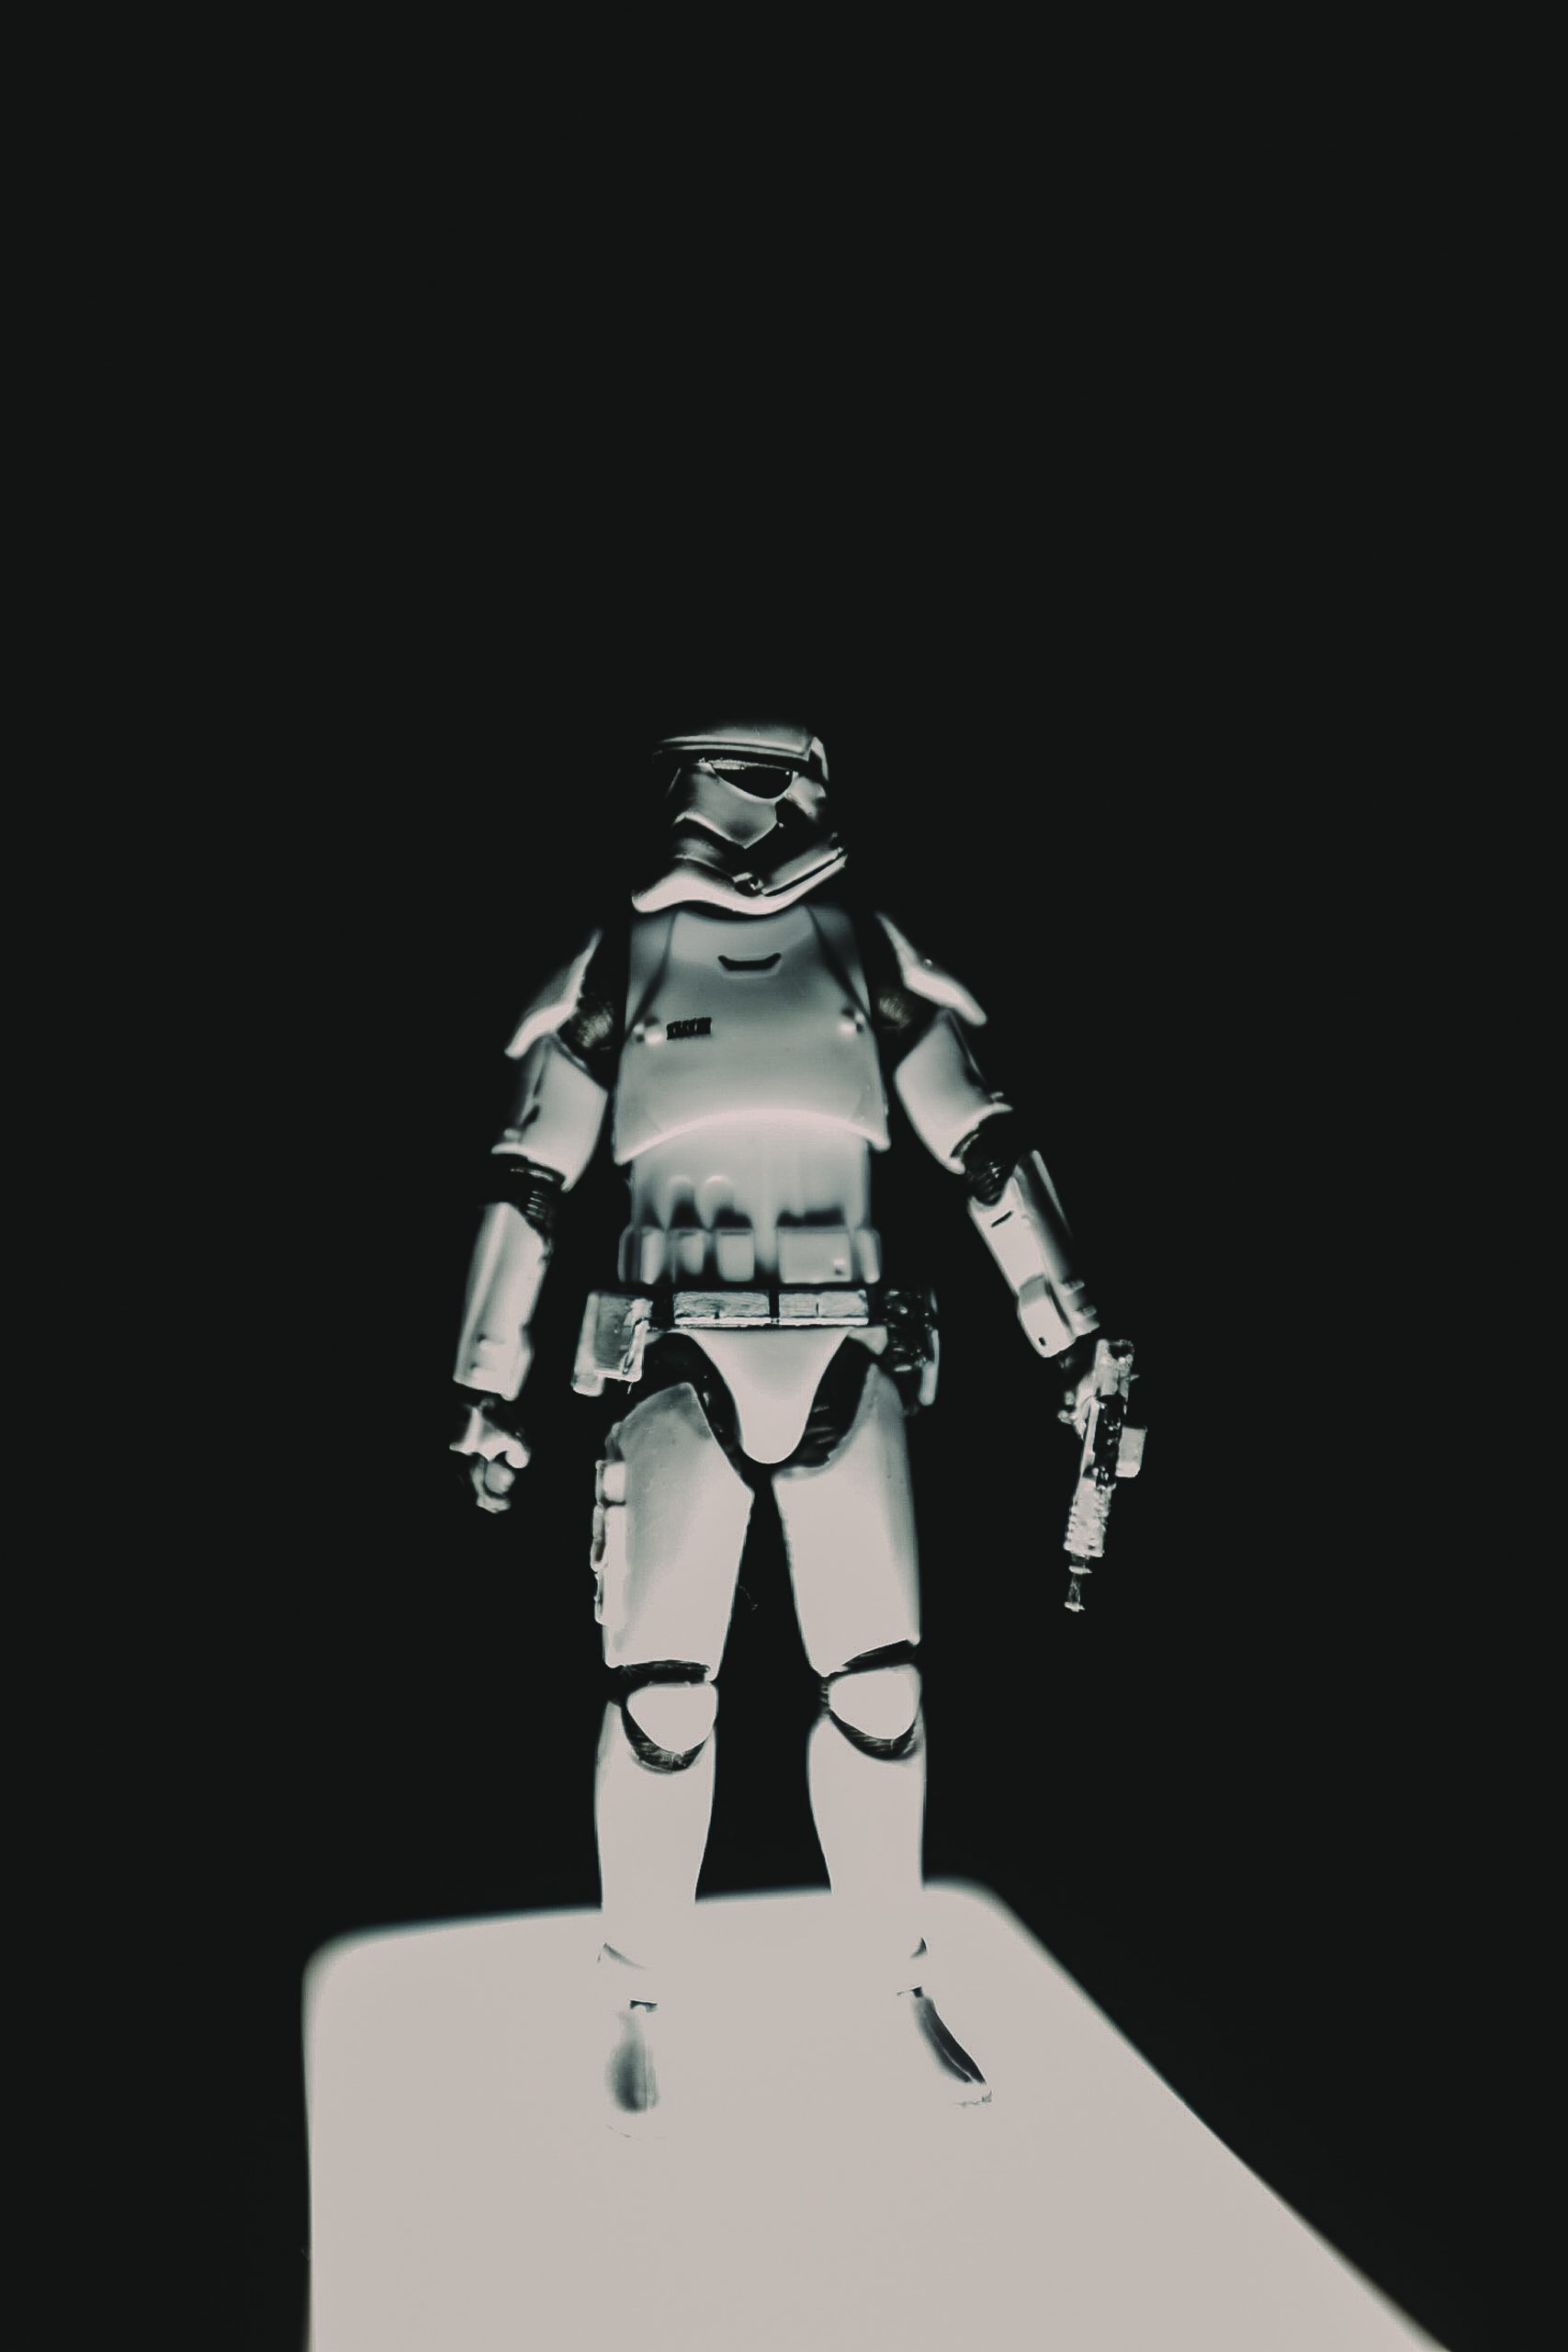
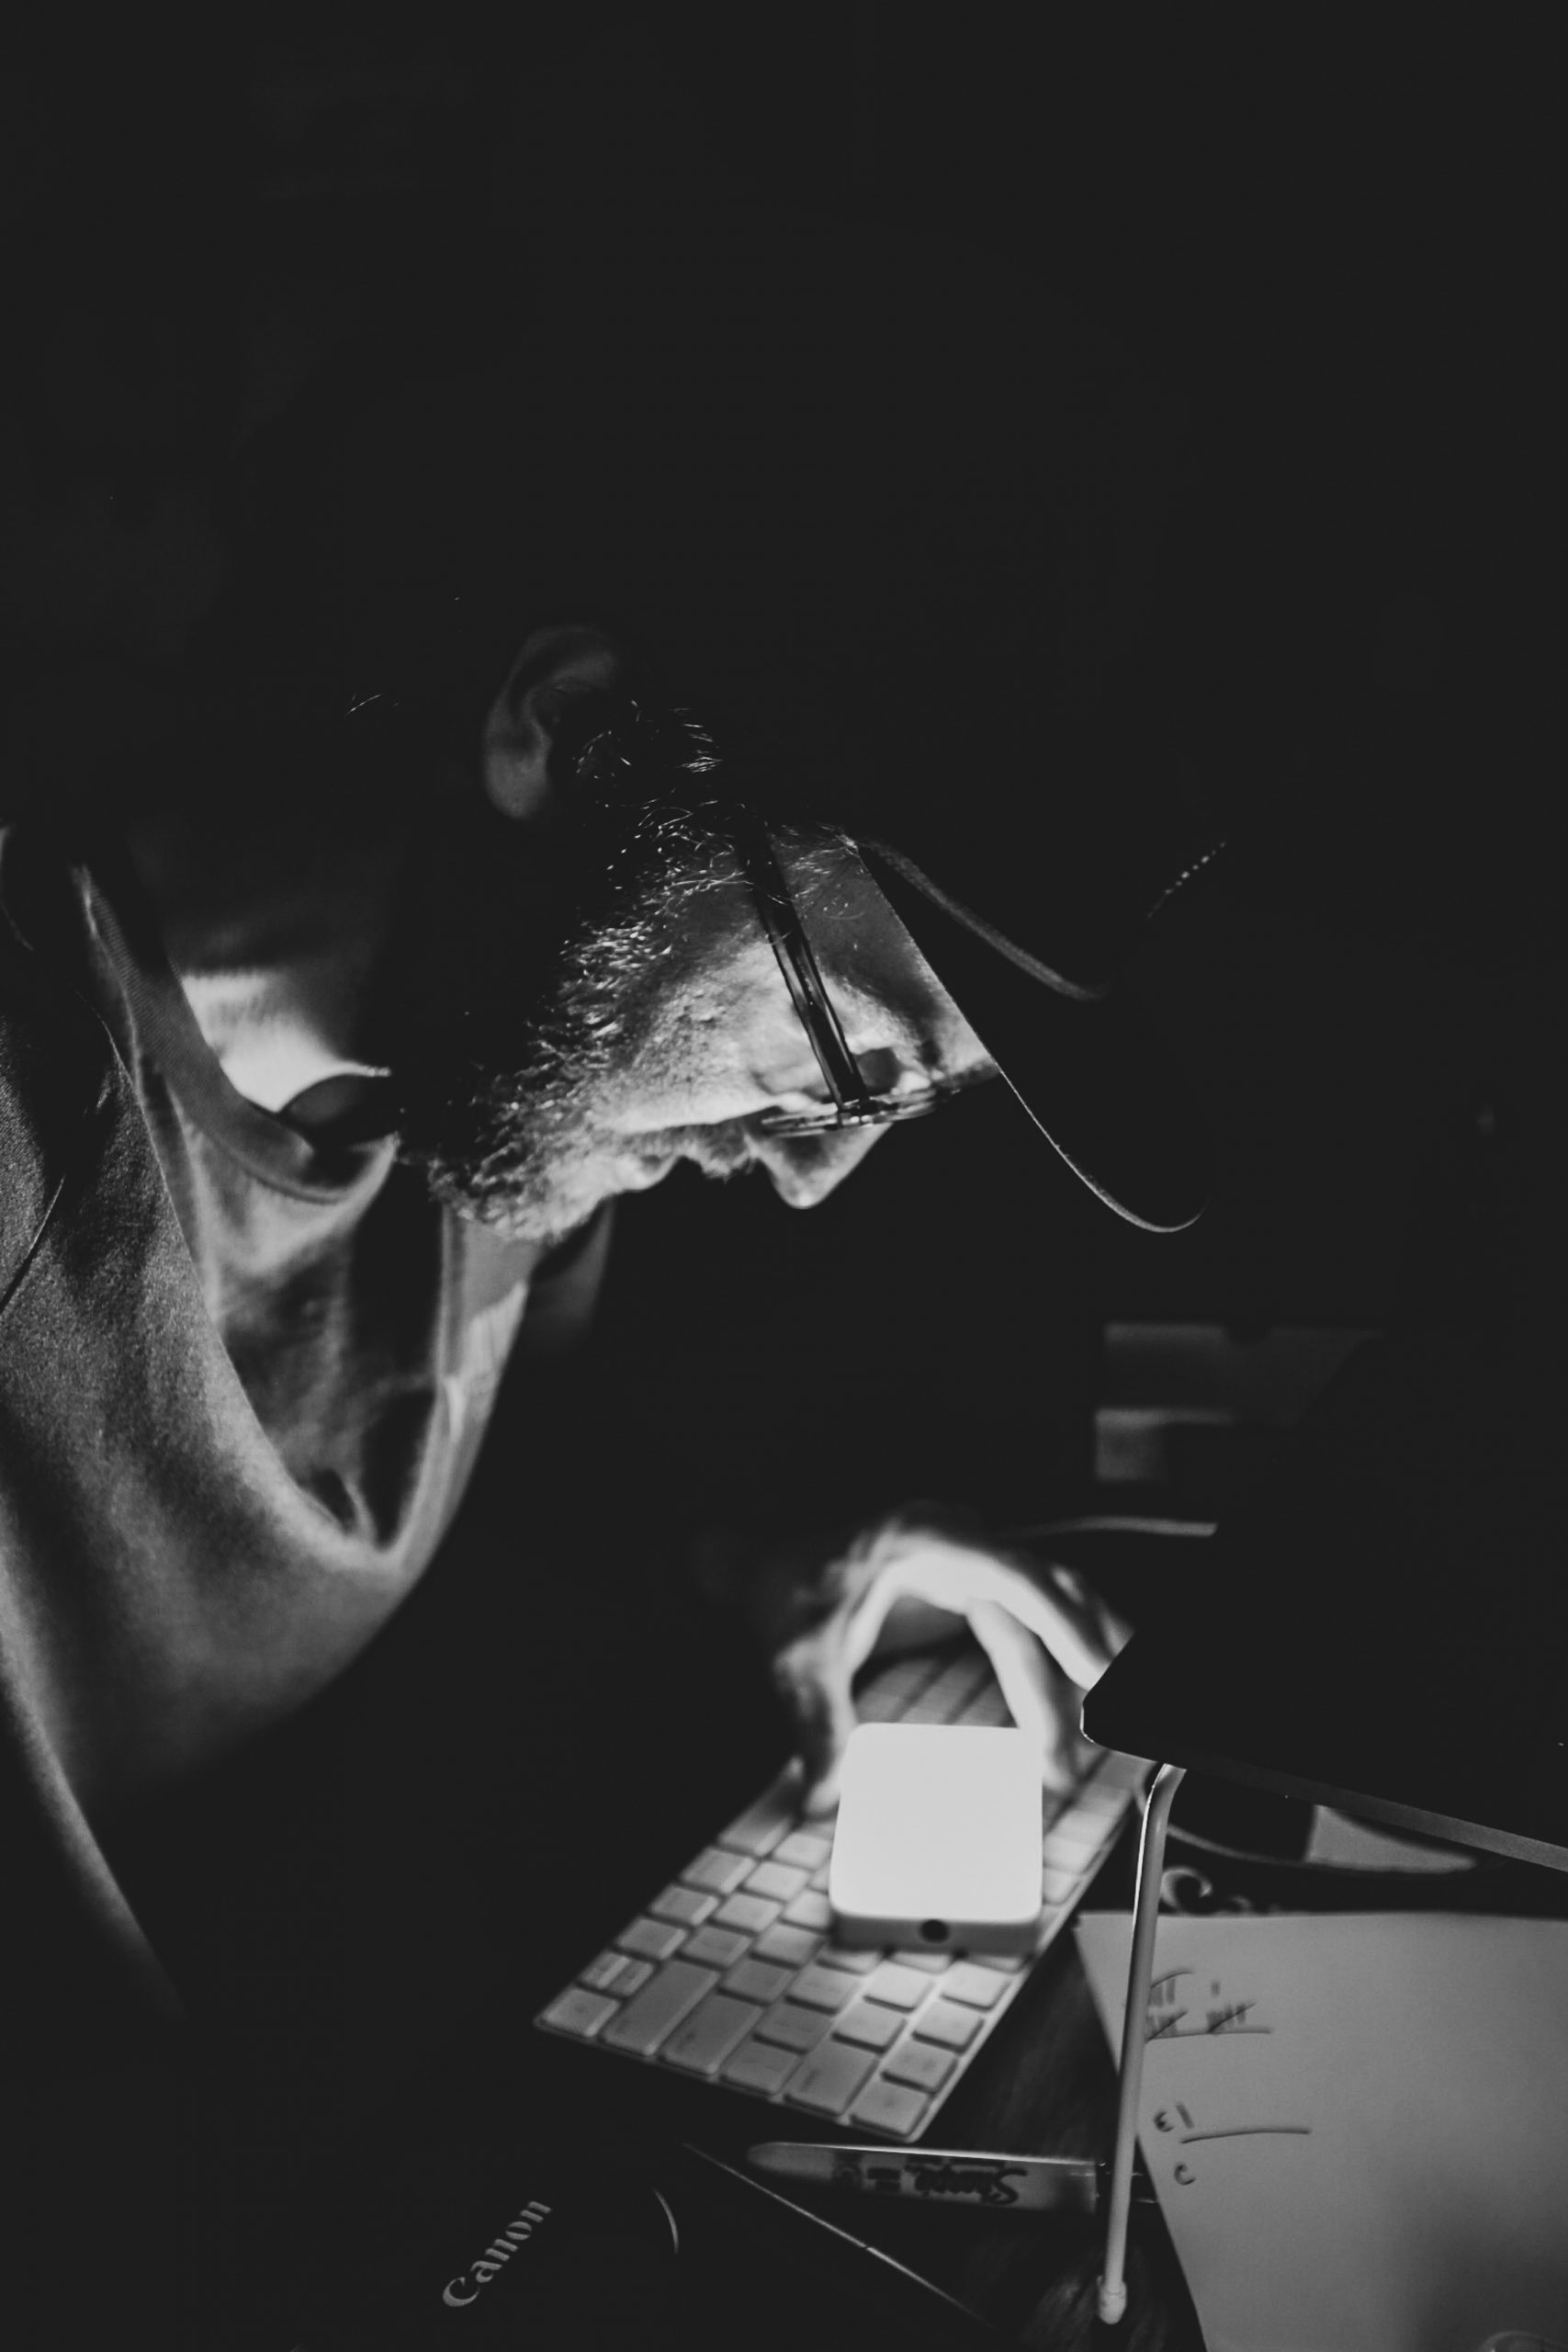
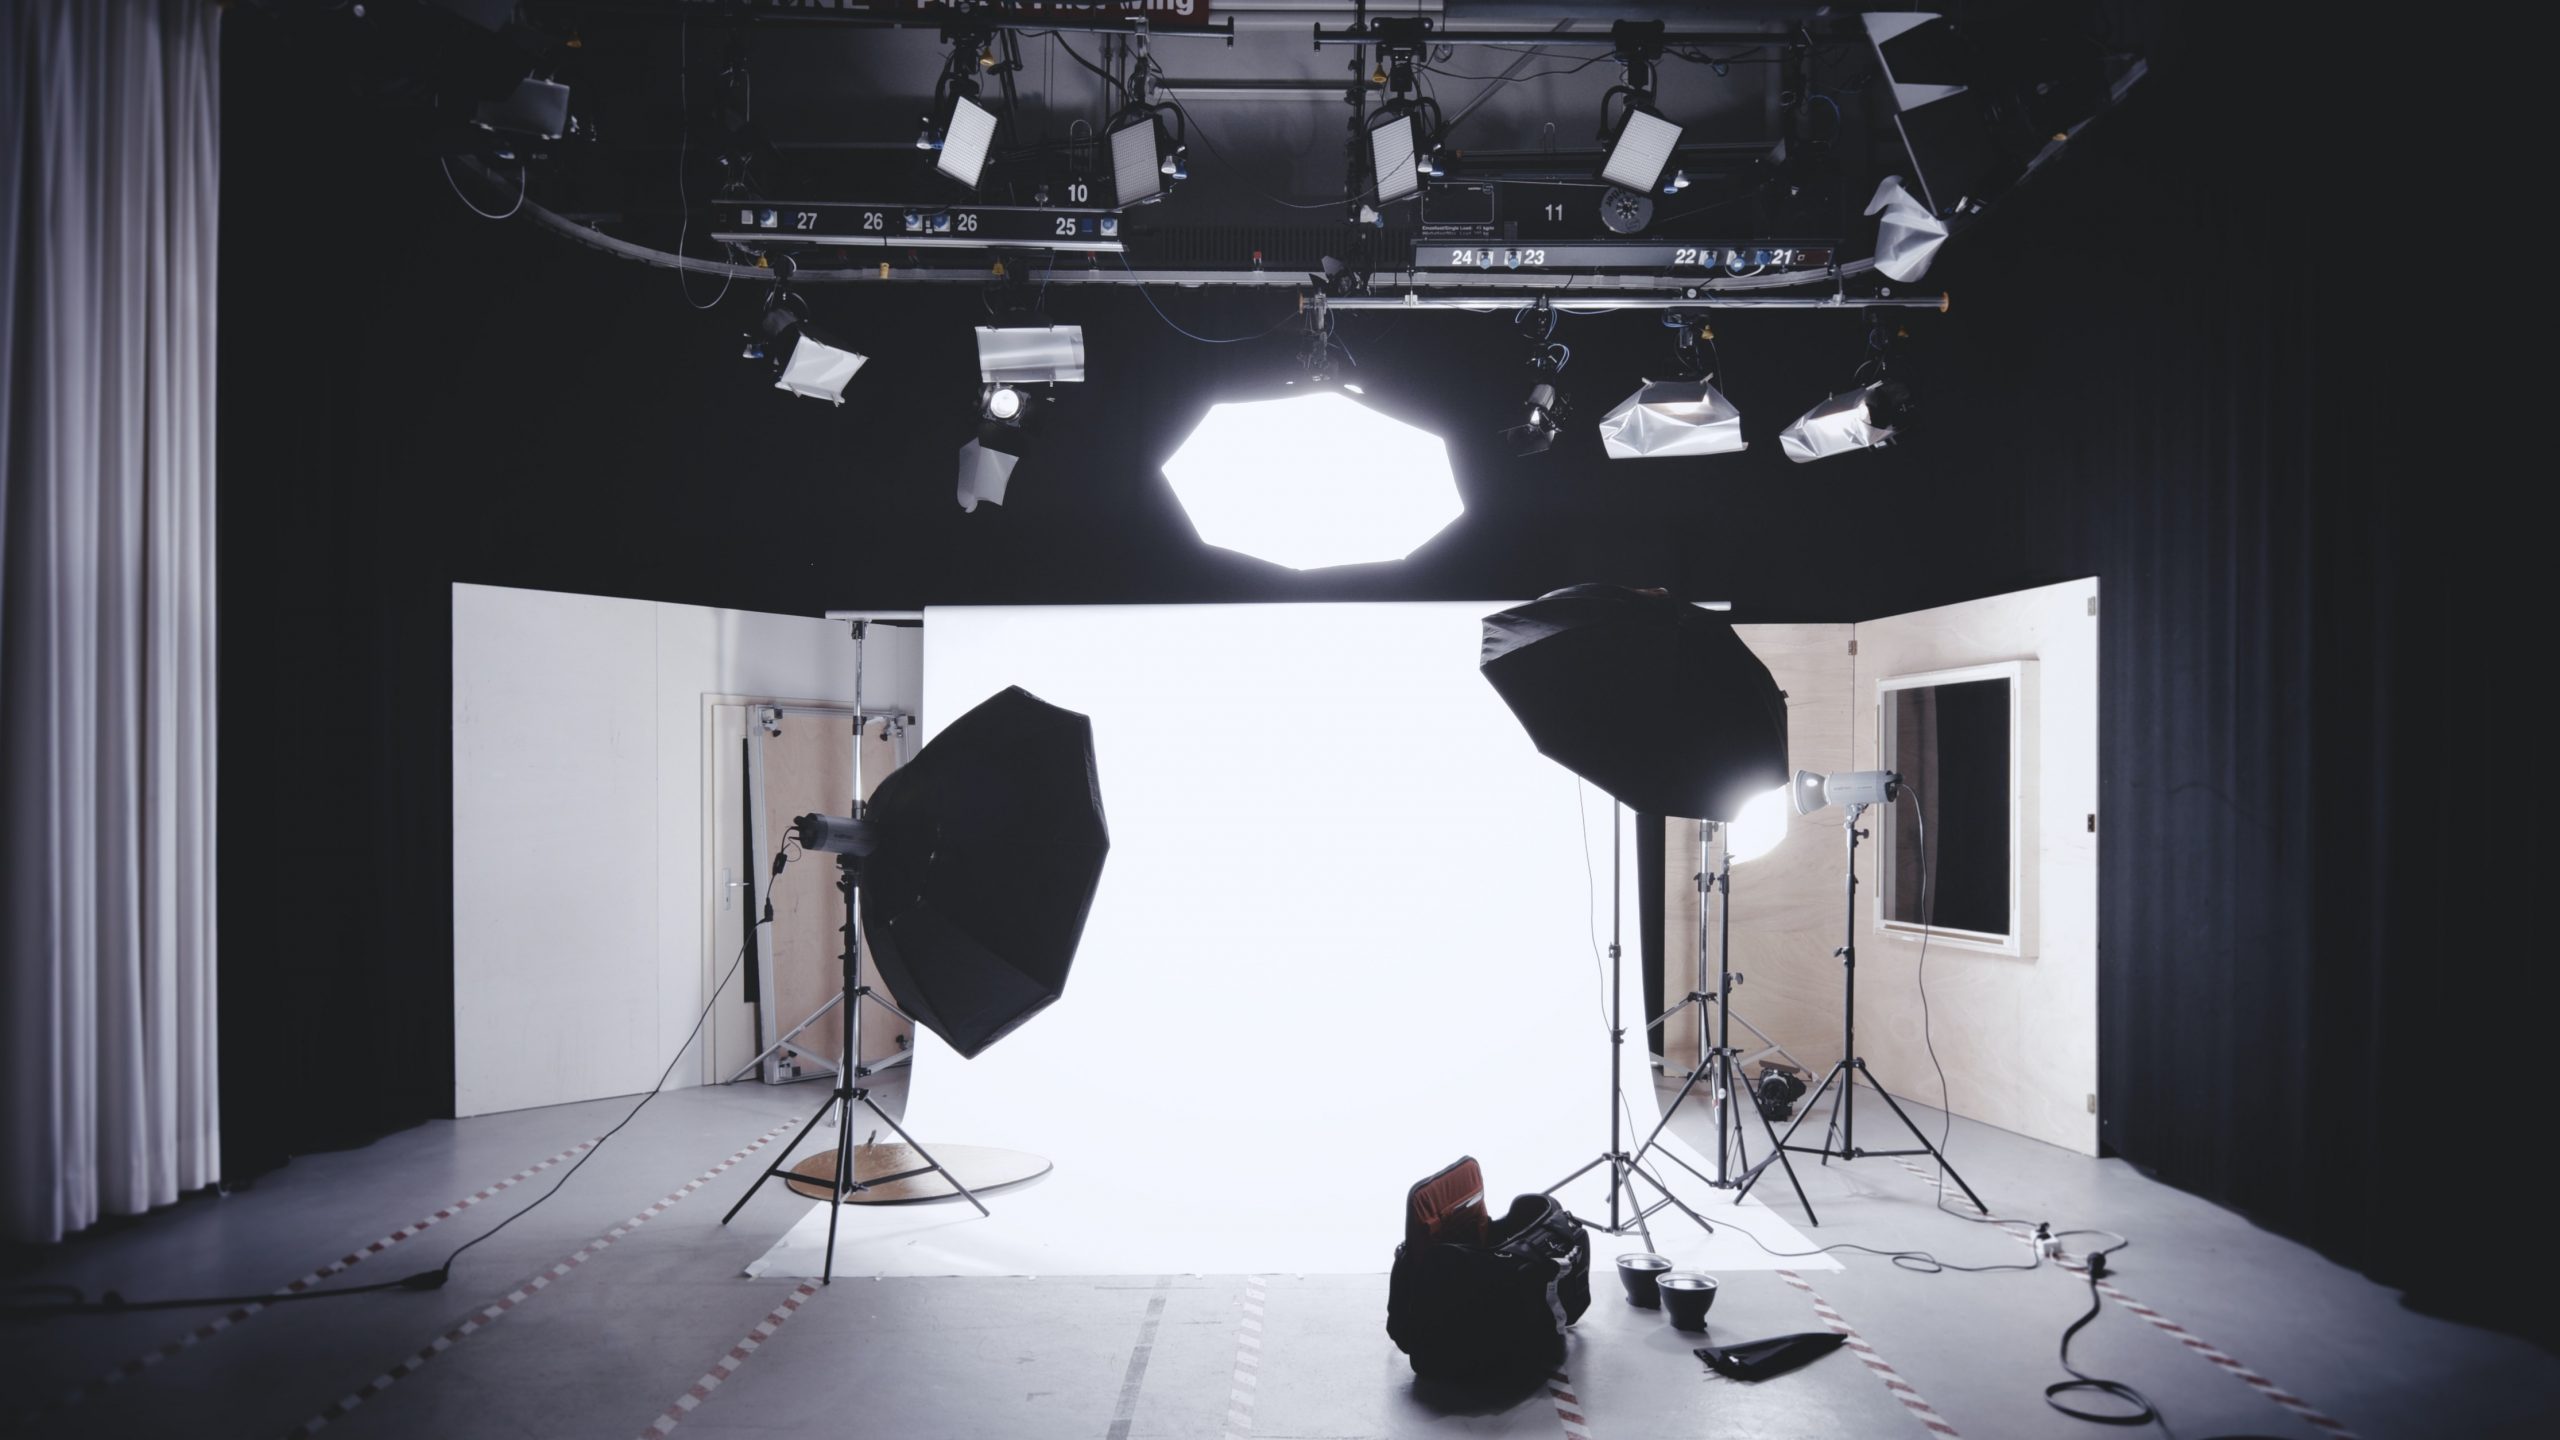
A number of toy photographers partner with Lumecube. Lumecube is leading the revolution in portable, durable, powerful lights for photo and video devices such as phones, cameras and GoPro’s. These are portable lights enough to artificially light your scene.
There are also cheaper alternatives from other brands like Ulanzi and Andoer. Of course, ring lights also are perfect alternatives for lighting your toy photos.
4. Tripod
A Tripod no matter what photography niche is extremely helpful. This provides stability for your camera and lets you focus on other aspects like composition and lighting. With your camera being steady, you can set your ISO to the lowest possible setting thus giving you the clearest output.
You can also apply lighting techniques with a steady camera. One particular technique is light painting. This technique utilizes the slow shutter speed of a camera and uses that time in moving light sources in the frame. This results in a photo in which the light appears to be moving.
5. Diorama
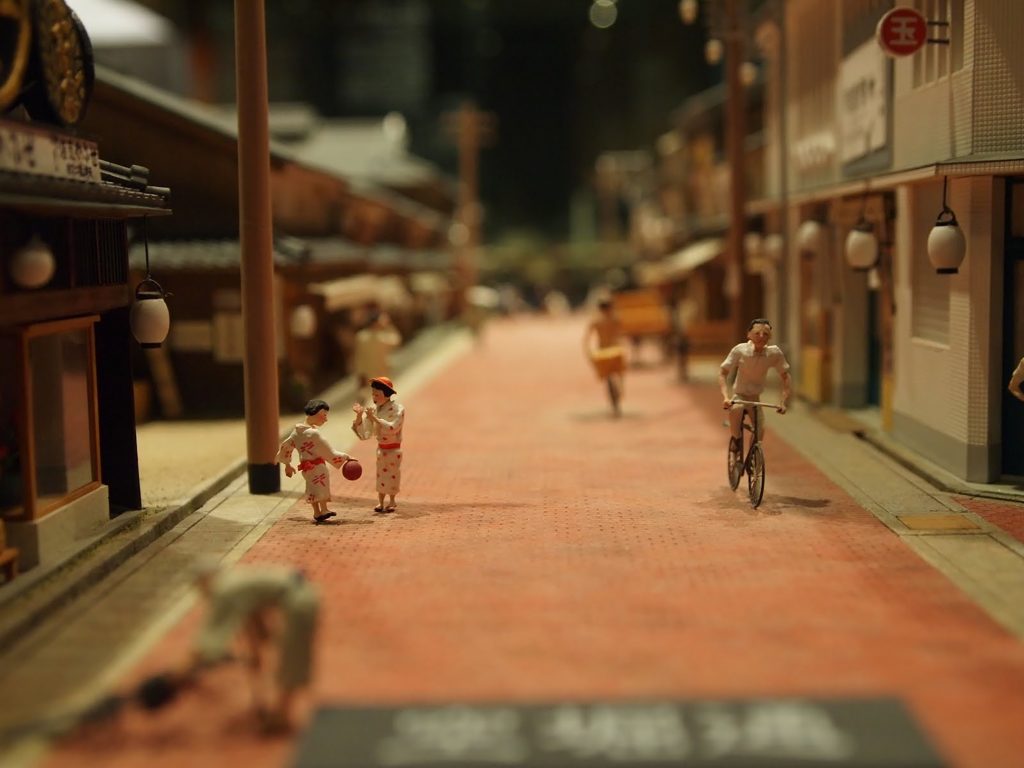
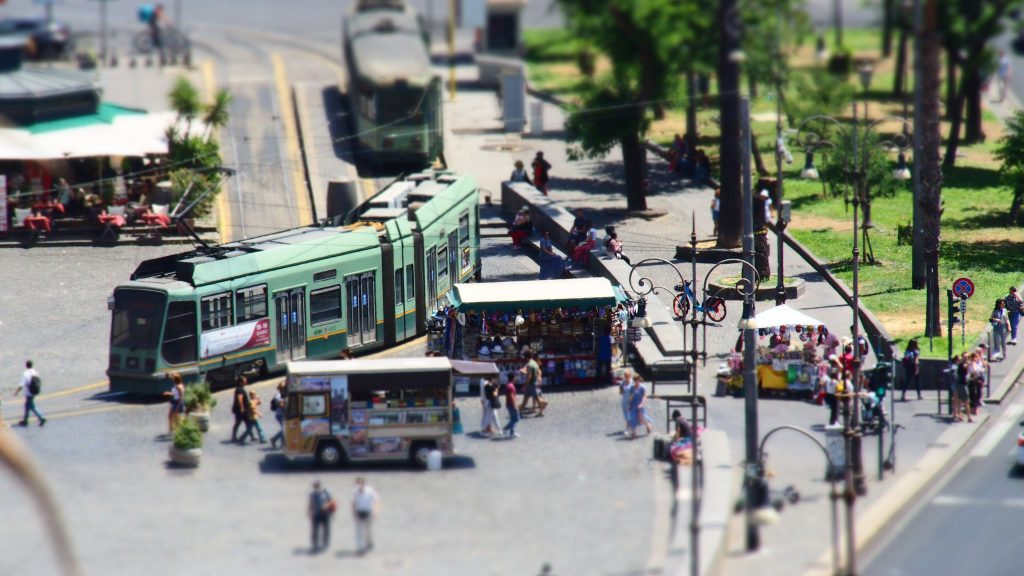
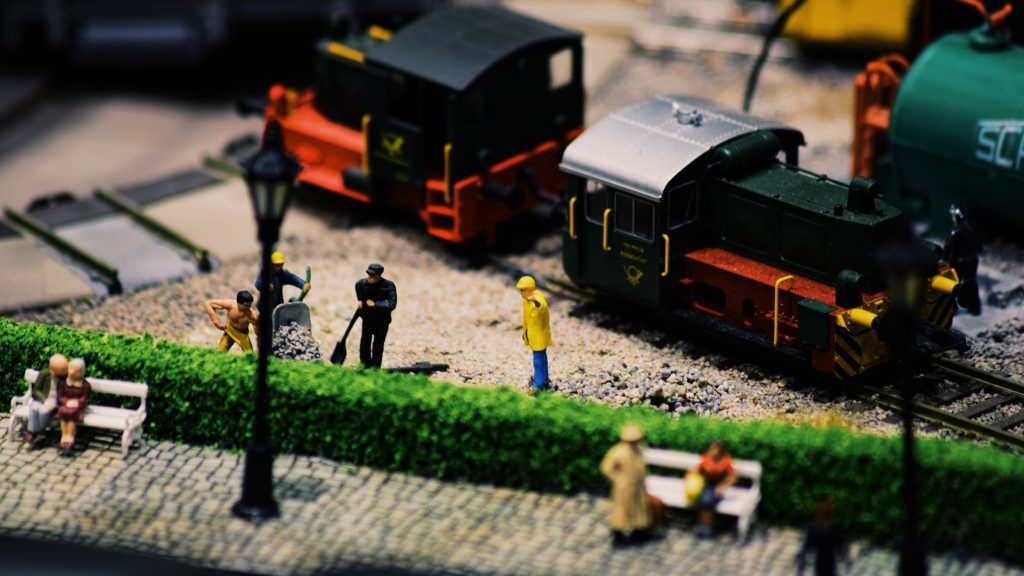
Last but not the least is a diorama. A diorama is a replica of a scene, typically a three-dimensional full-size or miniature model. These miniature replicas offer great dimensions for toy photography. Some props to add detail to a diorama are miniature trash cans, light poles, tires, drums, and many more! Almost everything has their miniature counterpart and a number of people from the toy community handcraft these themselves.
Essential Skills for Toy Photography
All photography fundamentals are transferable no matter what scale. You can anticipate that these skills are applicable to all sorts of photography. Once you have a great understanding of these, you’re set for your photography journey!
1. Lighting
Lighting in photography manifests how your light source aims at your subject. There are numerous ways in setting up your lighting such as natural light, front light, back light, etc. Natural light always produces the most realistic outputs in toy photography. Reflectors offer control over natural light by bouncing off some light toward areas that are rich in shadows.
Lighting Orientations
The basic lighting orientations are front, back, and side lighting. Front lighting positions the light source directly in front of the subject. Using the camera’s flash is an example of front lighting. This lighting setup shows all the features and details of the front of your figure. Its downside is that your subject appears to be flat and loses its depth.
Backlighting is the opposite of front lighting. Here, the light source is oriented behind your subject and gives outer highlights to it. Lastly, side lighting places your light sources on the sides of your subject. This creates the best contrast on your photo having one side lit and the other half with shadows.
Lighting Setups
Combination of these lighting orientations bring us to the different lighting setups. The most notable of which is three point lighting. As the name implies, this uses three light sources to evenly light your subject from various angles. There are a variety of these and I recommend you check out this article to find out more.
2. Composition
Composition in photography serves as the guide for the viewer’s eyes. Your composition takes control of what the viewer sees. At the same time you also are capable of directing their view point to go towards a section of the photo.
The compositional techniques from other photography styles such as street photography is transferable to toy photography. You can choose to apply the rule of thirds, leading lines, symmetry, and more for producing beautiful outputs.
The camera’s grid lines are helpful in framing your photograph. Understanding this lets you place your subject in areas within the gridlines and apply compositional techniques.
The rule of thirds is simple yet provoking. Place your main subject in focus at the intersection of one horizontal line and one vertical line and you’re already following the rule of thirds! See how the result lets you gaze upon the scene then draw your attention toward the subject.
Next, leading lines are helpful in directing your viewer’s point of interest. Frame your toy photography with lines converging at one point. This directs the viewer’s eyes to it and at the same time adds depth because of the multiple directions where the lines originate.
Lastly, symmetry is also a simple compositional technique you can apply in your toy photos. Naturally, humans are attracted to balance. This composition technique is the epitome of balance and is the most pleasing to the eye. Symmetry refers to the perfect balance between two sides of a photo.
3. Editing
Post-processing your photos adds a finished look to it. You can play with various settings such as contrast, highlights, shadows, and warmth with the use of powerful editing softwares. Not only this, you can also use Photoshop and explore photo composites.
By doing photo composites, you can get away with toy photography without a diorama. Although the learning curve is pretty high, this lets you create digital masterpieces that are unique among others.
Building your Toy Photography Portfolio
A number of toy photographers build their portfolio with social media websites. The toy photography community is active and very supportive on Instagram and Vero. There are numerous feature pages that host daily photo sessions. These daily photo sessions let toy photographers interact with their peers under the same hashtag.
Your social media page also hosts all of your works throughout the years and lets you build a loyal following. There’s also a possibility of monetization on Instagram once you reach their criteria. Not only will your page be an awesome way to showcase your work but you’ll also have the opportunity for earning with monetization from social media sites.
Conclusion
Toy photography is a less known photography style but has a loyal and supportive community. There are social media feature pages dedicated to toy photography where the best photos have chances of winning prizes through contests.
It is extremely rewarding when toys come to life with a single snapshot. Capture different scenes and poses as a way of telling a story. Use photography fundamentals paired with dioramas and you’ll create stunning works of art.
Toy photography can be divided to fully tangible and photo manipulated. Fully tangible toy photography are those that do not need major editing. On the contrary, photo manipulated toy photos are those in which take on major processes such as changing backgrounds, adding objects on different layers, and many more.
Next, toy photography is also similar to product photography where you can partner with brands. Brands that partner with toy photographers showcase their toy line or upcoming events. With social media, toy photographers can also earn through monetization policies by these companies.
Lastly, give toy photography a try and see how fulfilling it is turning these stationary objects to life. You’ll be amazed at how lifelike some of the scenes there are! Pick up your old action figure or doll and take a snapshot of it. You’re already one step forward towards the creativity of the world of toy photography.
Enjoyed this article? Find more inspiration for your next photo shoot with our articles:
World Photography Day 2022
Portrait Photography
Travel Photography
Landscape Photography
Also, look into turning your digital photos into prints with these posts:
The Printing Mediums of Wall Art
Acrylic Printing Companies
Wood Printing Companies
Canvas Printing Companies
Lastly, refresh your skills with these photography fundamentals:
Lighting in Photography
Aperture in Photography
Composition in Photography
The Art of Editing Photos

