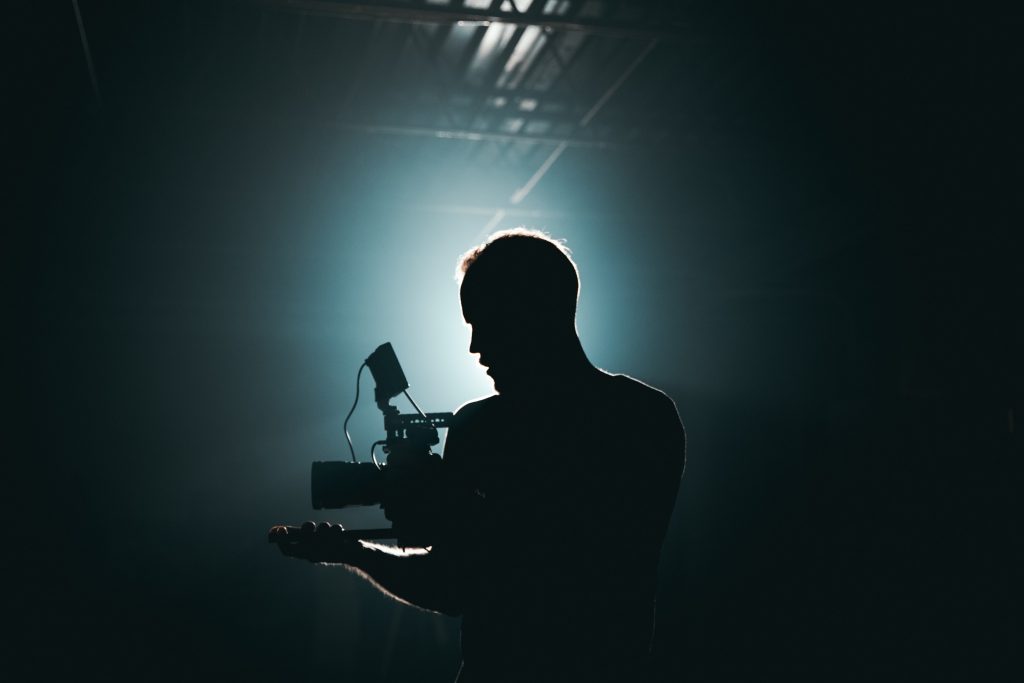
Continuous lighting for photography deals with the use of a steady and constant light source. Unlike flash photography, continuous lighting allows photographers to directly observe the effect of light on their subject in real-time. This blog post talks about how to apply continuous lighting in your photos. Learn how easy it is to compose and adjust your shot with various continuous lighting tips and techniques!
Table of Contents
Introduction
First and foremost, lighting is one of the fundamental elements in photography. It helps shape and define any subject. Lighting also creates mood and atmosphere as well as convey depth and dimension. Good lighting makes an average image look great. Meanwhile, poor lighting ruins even the well composed set up.
The multiple types of lighting for photography include natural light, flash, and artificial light. Each of these has its own strengths and weaknesses. Therefore, understanding all of them in depth leads to different ways to create various effects.
Focusing on continuous lighting, it offers a consistent light output. This makes it easier to achieve a desired color temperature. Continuous lighting offers more flexibility when adjusting the light intensity and color. This is helpful for photographers who seek a wide range of lighting effects.
Understanding Continuous Lighting
Continuous lighting comes in many forms. The several types of continuous lighting for photography include LED, fluorescent, and tungsten lights. The perfect type of continuous lighting varies depending on your intended use. Each type offers its own advantages and disadvantages.
First, let’s talk about LED lights. LED lights are energy-efficient meaning they have long lifespans. They also come in a variety of color temperatures. These lights are a good choice for studio or portrait photography. However, LED lights may be more expensive than the other types of continuous lighting.
Next, fluorescent lights are also energy-efficient but have a shorter lifespan. Aside from this, they also have the chance to flicker. These are a good choice for location or outdoor photography. Lastly, tungsten lights produce warm lighting. They are relatively cheap but consume more energy. These are perfect for food or product photography!
As a bonus tip, the intensity of continuous lighting can be controlled. This is possible by using diffusers or reflectors to soften the light. The color temperature of continuous lighting is adjustable by using color gels or filters. Have the knowledge about each type of continuous lighting. After which, you can make informed decisions about which type of lighting is best for their needs.
Using Continuous Lighting for Studio Photography
Starting new with photography? Setting up a home studio with continuous lighting setups provides a cost-effective way for professional results. Continuous lighting for photography creates various looks for portrait and product photography.
As a general rule of thumb, follow these to set up your home studio:
- Choosing a room with large windows to allow natural light in
- Using light stands and clamps to securely mount lights
- Using a light meter to measure the intensity of the light
- Experimenting with different light positions to find the best angles for your subject
In portrait photography, continuous lighting creates a natural and flattering look. For product photography, continuous lighting casts a bright and clean look. Sometimes, dramatic and moody looks also show with the help of continuous lighting setups. Moreover, continuous lighting can also be used to create a sense of movement or motion, or to create abstract and experimental lighting effects.
Finally, modifiers are useful in shaping and controlling the light from continuous lighting sources. Some common types of modifiers include softboxes, reflectors, and diffusers. First, Softboxes soften and diffuse the light. Next, reflectors bounce light back onto the subject. Finally, diffusers reduce the intensity of the light and create a softer and more natural-looking light.
Using Continuous Lighting for Special Effects

Ever wanted to create practical effects such as smoke, fog, or rain? These effects are all achievable with the help of continuous lighting! Firstly, a smoke machine assisted by continuous lighting provides a dramatic and moody effect. Secondly, a fog machine in combination with continuous lighting creates depth and dimension. Lastly, a spray bottle or water hose creates an illusion of rain with the proper continuous lighting setup.
Moving forward, motion is also achievable with the help of continuous lighting and slow shutter speeds. Pan your camera while the shutter is open and see how the background gets blurred with motion. Enhance this by using continuous lighting that creates a trail of light behind the moving subject.
Lastly, create interesting and imaginative photographs with continuous lighting. Experiment with colored gels or filters as well as surfaces like mirrors or prisms. Additionally, try experimenting with different camera settings and techniques such as long exposures, multiple exposures or intentional camera movement. These are all effective ways in creating ethereal and fantasy like photographs.
Combining Continuous Lighting with Other Lighting Techniques
Firstly, flashes combined with continuous lighting adds depth and dimension to an image. It also freezes motion at the same time. Continuous lighting is also capable of shaping and controlling light from flash sources. Moreover, continuous light sources add color and temperature to a scene easily and effectively.
Secondly, natural light combined with continuous lighting creates enhanced effects. Natural light is oftentimes plain and simple. Continuous lighting adds color and warmth to a scene. This adds interest in photographs. Additionally, reflectors and diffusers control the intensity and direction of natural light. This produces a well-balanced look.
Some techniques for mixing artificial and natural light include:
- Using continuous lighting to fill in shadows created by natural light
- Utilizing flash to freeze motion in combination with ambient light
- Using continuous lighting to add color or warmth to a scene lit by natural light
- Combining different types of artificial light sources to create a layered and interesting image.

Gear and Accessories
This section is divided into three sections: Essentials, High-Quality, and Budget Friendly. While your gear is important, practice the fundamentals and learn about lighting setups.
Firstly, some essential gear and accessories for working with continuous lighting include:
- Continuous lighting fixtures and bulbs
- Light stands and clamps
- Power supply and extension cords
- Reflectors and diffusers
- Gels and filters
- Light meter
- Color temperature meter
- Barn doors or snoots
- Light control tools like flags, scrims, etc
- Remote triggers or wireless controllers
Secondly, high-quality continuous lighting equipment are an investment. However, it’s important for achieving professional results. Some of our recommendations for high-quality continuous lighting equipment include:
- LED panels from brands like Aputure, Godox, or Rotolight
- Fluorescent lights from brands like Kino Flo or Lowel
- Tungsten lights from brands like Arri or Mole Richardson
Lastly, building a continuous lighting kit on a budget is possible! Some tips for building a kit on a budget include:
- Starting with a basic kit and adding additional lights as needed
- Choosing a more affordable brand or model of light
- Renting equipment rather than buying it
- Shopping for used or refurbished equipment
- Investing in a few essential accessories like stands and diffusers, and making do with natural reflectors or DIY solutions for the rest.
Safety and Maintenance
As we all know by now, light sources produce heat. Continuous lighting equipment generates heat over time. The longer you spend on photo shoots, the hotter these light sources become. Therefore, it is important to observe proper safety precautions. Additionally, use your equipment according to the manufacturer’s instructions and observe power ratings.
First, ensure that your continuous lighting equipment lasts as long as possible. Some tips for maintaining and caring for continuous lighting equipment include:
- Cleaning the equipment regularly to remove dust and debris
- Storing the equipment in a dry and cool place
- Not overloading the equipment with too much power
- Keeping the equipment away from moisture and humidity
- Using the equipment according to the manufacturer’s instructions.
Additionally, continuous lighting equipment is prone to certain problems and issues. Some common problems include:
- Flickering or uneven light output usually caused by a loose bulb or a faulty ballast.
- Overheating usually caused by too much power or poor ventilation.
- Dead or dim bulbs usually caused by a faulty ballast or a problem with the power supply.
Take note of these common problems and be prepared to troubleshoot and fix them when they occur.
BONUS: Continuous Lighting for Video and Film
In video and film production, continuous lighting is often used for interviews, vlogs, and other scenarios where a consistent lighting source is needed. This allows the actors to see how they are lit which is helpful for getting natural looking performances.
Next, to create a cinematic look, continuous lighting can be used in combination with editing and post-processing techniques such as color grading. Tangible techniques such as depth of field and motion blur also add to this.
Some tips for creating a cinematic look include:
- Using a soft and diffused light to create a natural and flattering look
- Applying a hard light to create a more dramatic and moody look
- Using color gels or filters to add color to a scene
- Using a shallow depth of field to create a separation between the subject and background
Conclusion
In summary, continuous lighting is a powerful tool for photographers of all levels. It allows for precise control over the light in a scene and is useful in creating a wide range of effects. This guide covered the basics of continuous lighting. This includes the different types of continuous lighting available. It also included how-to’s for choosing the right continuous lighting and adjusting the intensity of the light. We also discussed advanced techniques such as using continuous lighting to create special effects. More advanced techniques include working with continuous lighting in outdoor and challenging environments. Lastly, we also discussed continuous lighting with other lighting techniques such as flash and gels.
Moreover, continuous lighting also has a wide range of applications in video and film production, creating cinematic looks and depth and dimension in a scene. Additionally, take your photography to the next level with continuous lighting, it’s important to practice and experiment with different techniques, and to have a good understanding of the gear and accessories available.
Lastly, we encourage our readers to try out continuous lighting themselves and see the difference it can make in their photography. Don’t be afraid to experiment and try new things, and remember to have fun! We hope you found this guide helpful and informative! Consider sharing it with others who may also be interested in learning about continuous lighting.
Check out our other blogs:
The 5 Best AI Art Generators
Why Choose Metal Prints using Chromaluxe?
Guide to Product Photography
Guide to Toy Photography
The Art of Editing Photos
Best Outdoor Print and Signage Options
The Best Metal Print Companies
The Printing Mediums of Wall Art
We enjoy reading your comments and insights with our posts! Should you have any questions or concerns, feel free to leave them below! -Mark

