

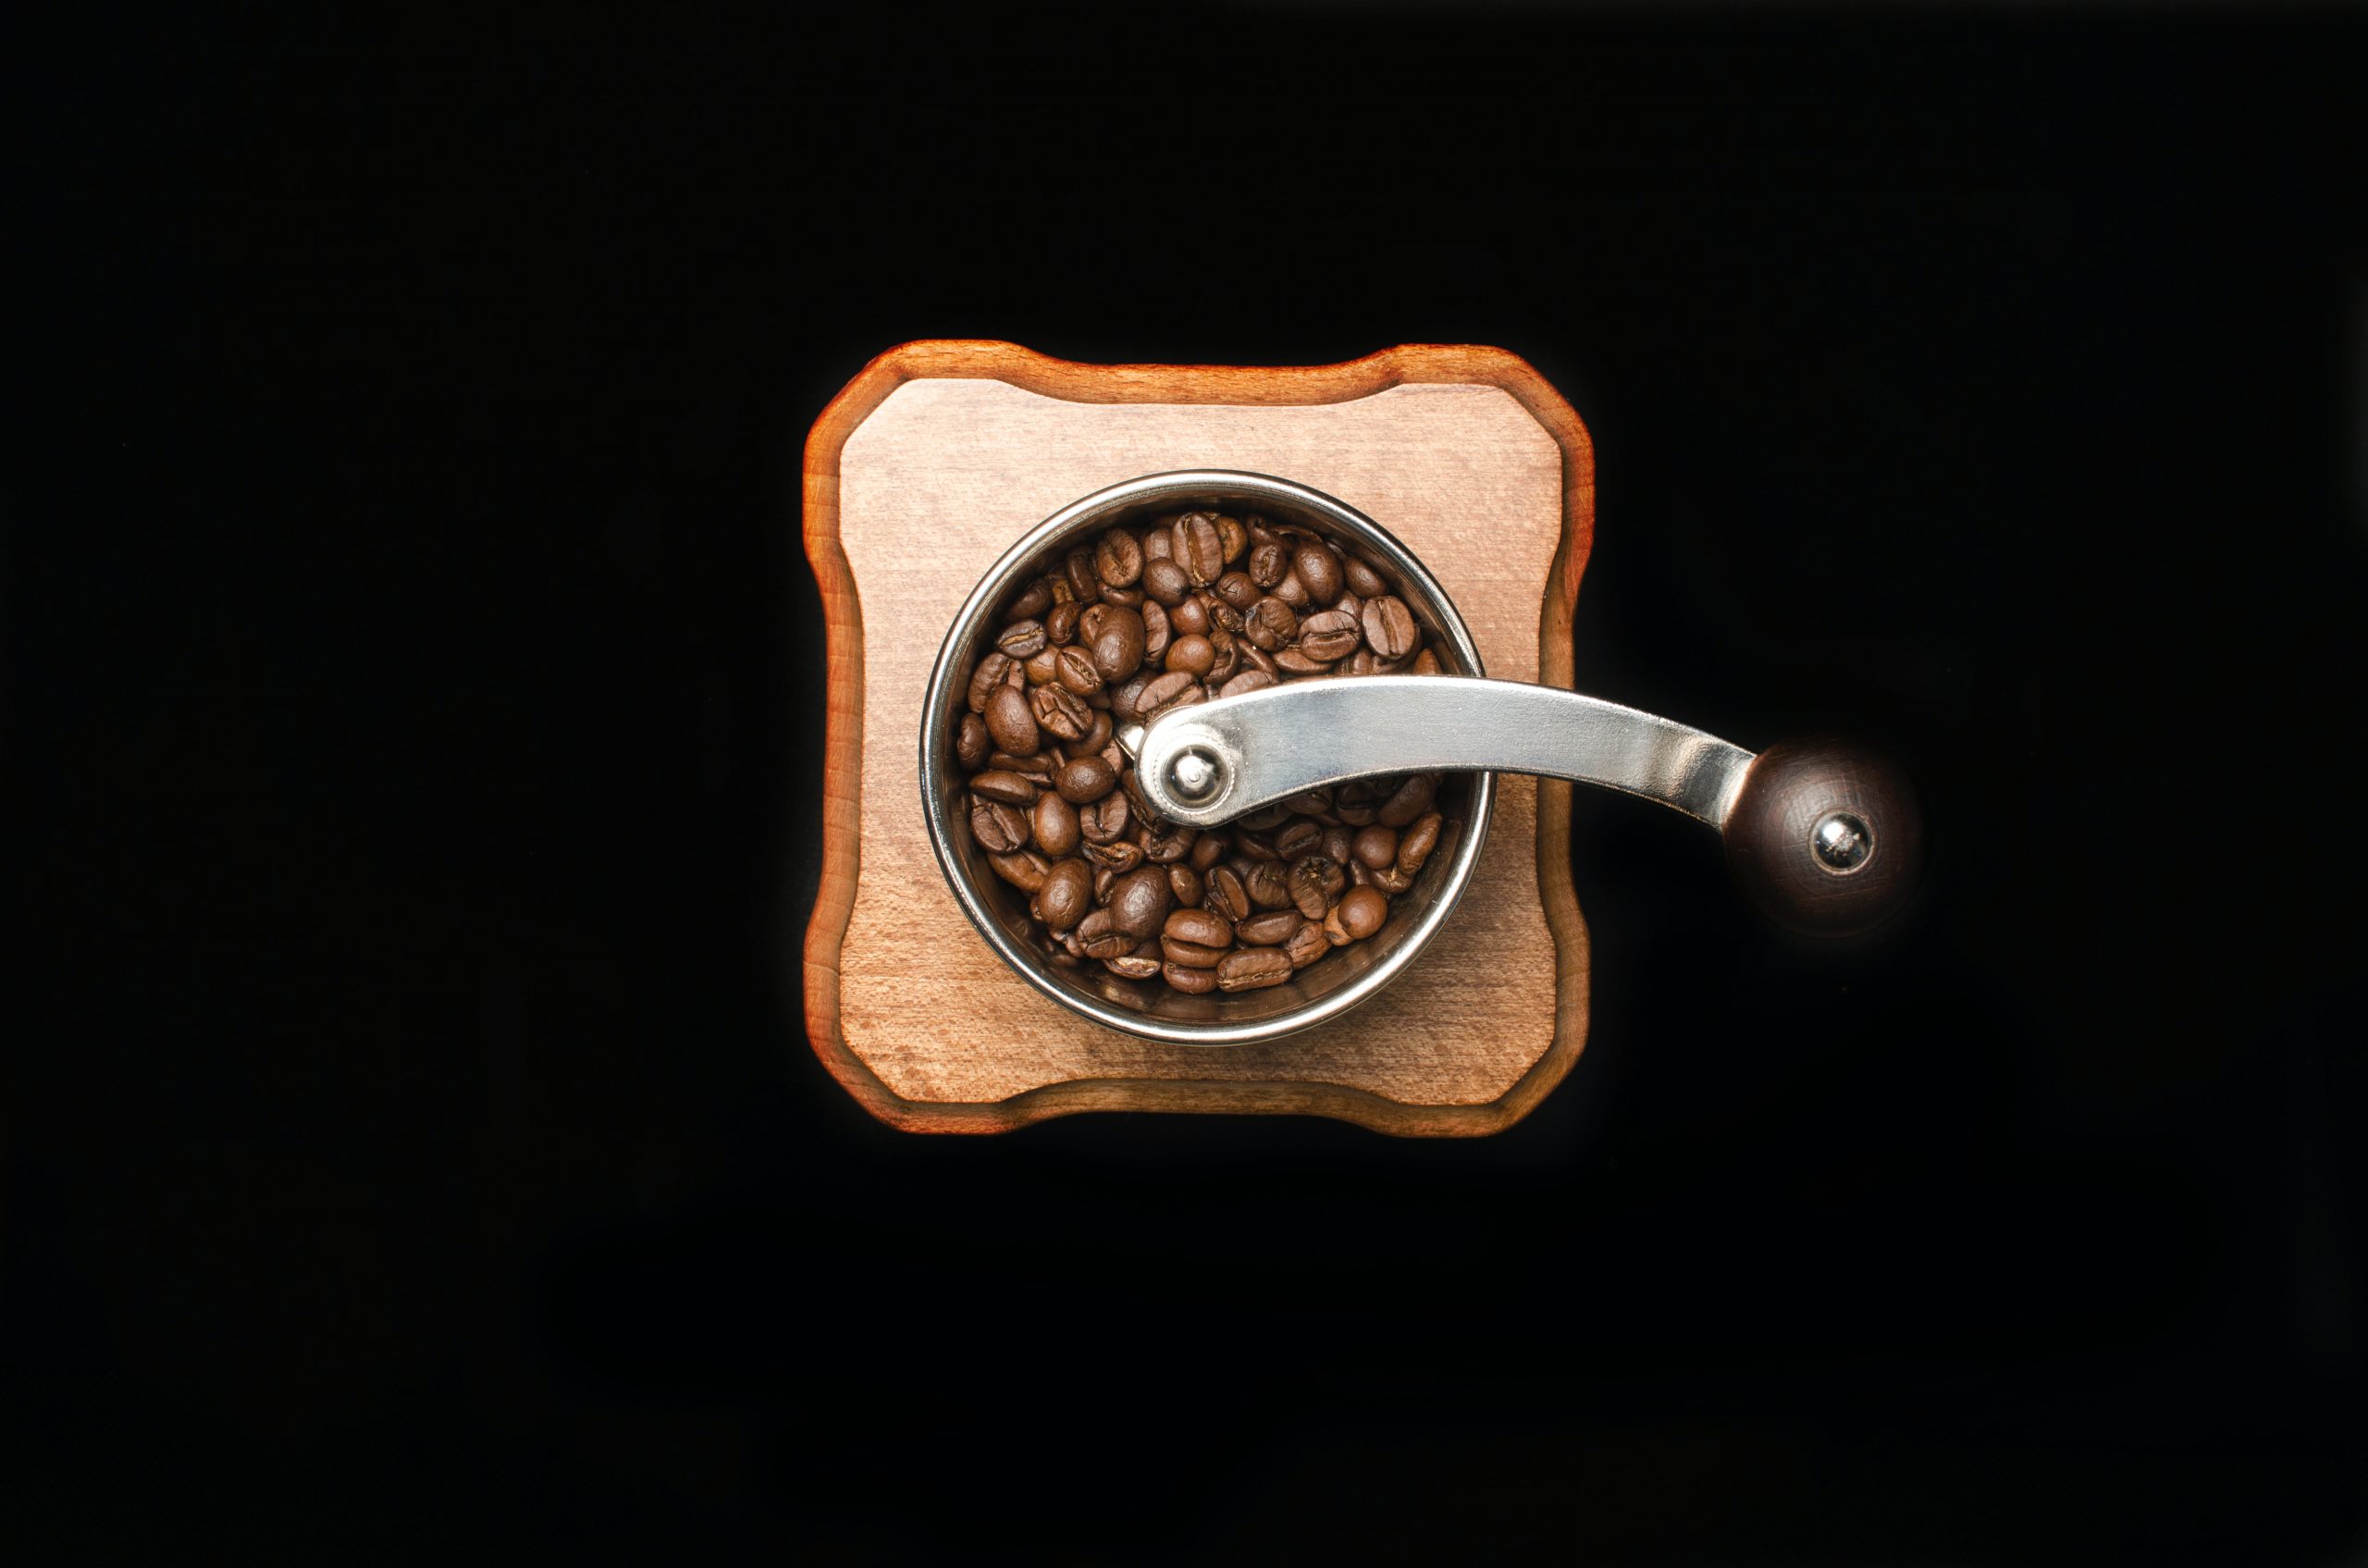
Focus on that detail and make it pop! Food photography is an art form that requires a keen eye for detail and the right equipment. One of the most important tools in a food photographer’s arsenal is the macro lens. Macro lenses are capable of capturing close-up images with incredible detail and sharpness. This makes them perfect for capturing the mouth-watering textures and colors of food.
In this blog post, we’ll take a closer look at macro lenses, including what they are, how they work, and how to choose the best one for food photography. We’ll also cover bonus tips and techniques for achieving professional-quality food photos. Sit back, relax, and munch in on this goodness!
Table of Contents
The Basics of Macro Lenses for Food Photography
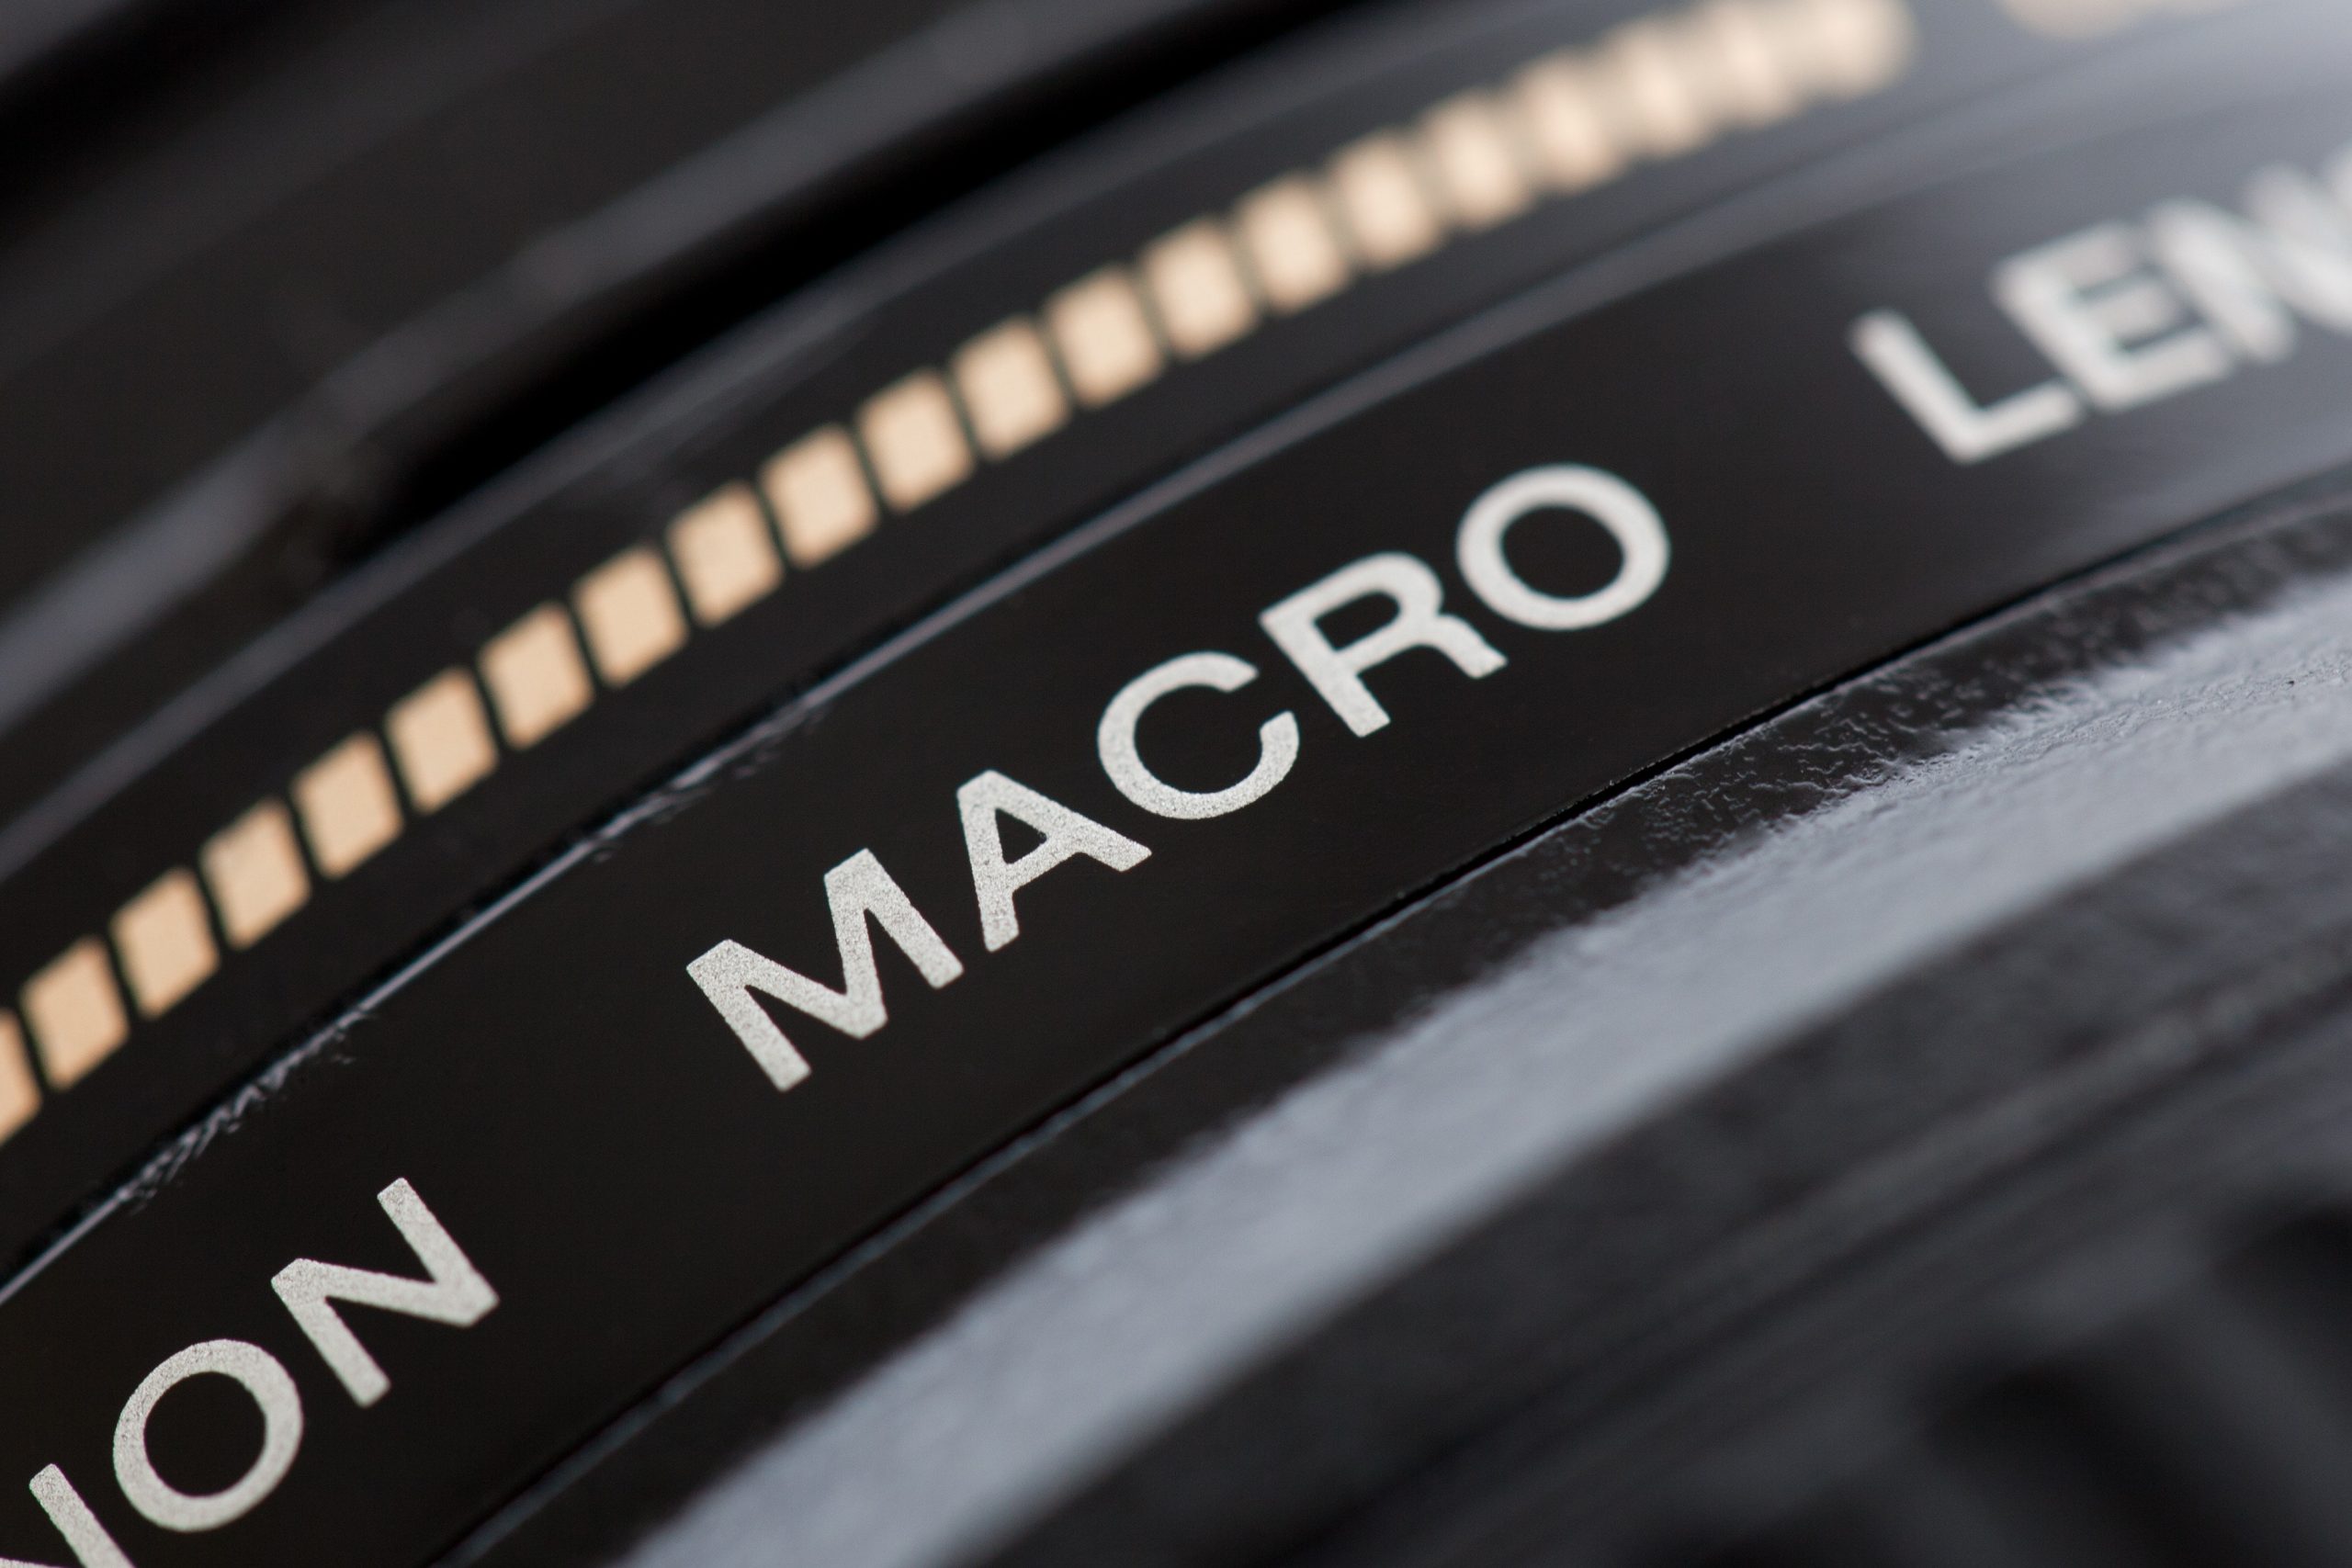
A macro lens is a type of lens that is specifically designed for capturing close-up images. The term “macro” refers to the lens’s ability to produce images that are larger than life size. Macro lenses have a high magnification ratio. The magnification ratios for macro lenses are typically 1:1 or greater. This means that they are capable of capturing images at life-size or larger.
Needless to say, macro lenses are different from other types of lenses. Macro lenses have a fixed focal length, which means that they cannot zoom in and out like other lenses. This makes them more specialized but also more precise.
The focal length of a macro lens is measured in millimeters (mm) and is usually between 50mm and 105mm. A 50mm macro lens is considered a “normal” lens and is best suited for portraits, while a 105mm macro lens is considered a “telephoto” lens and is best suited for capturing small subjects from a distance.
Best Macro Lenses for Food Photography
Now we move on to the main section of this blog. The following are the stars of the show, the best macro lenses for food photography:
- Canon MP-E 65mm f/2.8 1-5x Macro Lens: This lens is perfect for extreme close-up photography and allows you to capture stunning details of your food.
- Nikon Micro-Nikkor 105mm f/2.8: This lens is ideal for food photography and is known for its sharpness and clarity.
- Sony 90mm f/2.8 Macro Lens: This lens is perfect for food photography and offers a wide range of focusing distances.
- Olympus 60mm f/2.8 Macro Lens: This lens is ideal for food photography and offers a fast and accurate autofocus.
- Tamron SP 90mm f/2.8 Macro Lens: This lens is perfect for food photography and offers a fast and accurate autofocus.
By using the right macro lens, you’ll be able to capture the details and textures of your food in a way that a standard lens simply can’t.
Magnification in Macro Lenses for Food Photography
The magnification ratio of a macro lens is the ratio of the size of the image on the camera’s sensor to the size of the subject in real life. For example, a 1:1 magnification ratio means that the image on the sensor is the same size as the subject in real life. A 2:1 magnification ratio means that the image on the sensor is twice the size of the subject in real life.
When choosing a macro lens for food photography, consider the magnification ratio. First, a higher magnification ratio allows you to capture more detail in your shots. However, it will also make it more difficult to achieve sharp focus and control depth of field.
Lastly, a lower magnification ratio makes it easier to achieve sharp focus and control depth of field. However, take note that it will also limit the amount of detail you can capture in your shots. This is where we learn more about aperture for macro photography.
Aperture for Macro Photography
Getting the right focus in Macro Photography can be quite difficult when trying it out for the first time. You’ll notice that the amount for focusing only ranges between a few millimeters. Choosing a higher aperture would result in a sharper image but with lack of enough light. On the other hand, choosing a lower aperture produces well lit subjects but it’s difficult to find the proper focus to have a clear image. The following are workarounds in capturing clear close up photos.
1. Use a Tripod
The best workaround for macro photography is using a tripod. At 1:1 magnification, the slightest movement affects the photo tremendously. It eliminates the shakiness of going handheld.
When using a tripod, you can also use the autofocus on your camera. Using the autofocus while handheld is difficult since the camera’s sensor cannot keep up with the movement of your camera with respect to your subject. As mentioned before, a slight movement at high magnification is a great deal in terms of focusing.
2. Manual Focus
Moving forward, Manual Focus while handheld is the way to go when shooting without a tripod. Contrary to capturing photos outside of macro photography, your focus must be kept fixed. When doing other photography styles, you turn your focus as you position yourself from the subject. This is not feasible for macro photography because of the amount of time it takes to focus at high magnification levels.
Instead, choose a fixed focus point at a certain magnification then position your camera away or towards the subject until you find that sweet spot. This yields the most positive results than any other technique when going handheld.
3. Use Flashes
Flashes help a lot with lighting for close up photography. These allow you to go for higher apertures such as f/16 or f/22 and still keep your photos properly lit. Also, add a diffuser to your flashes as this softens the light. You’ll notice a huge difference between applying a diffuser and not to your close up photos. Highlights will be extremely noticeable and the contrast between the shadows is high.
4. Go for Length
Capture a subject where its length is visible. The distance of the whole subject, for instance a long plate, with respect to the camera is kept most likely the same all throughout its length. When choosing to capture it from one site to another, you’ll most likely only be able to focus on its head and the other parts will remain out of focus.
5. Multiple Exposure
If you can, take multiple photos of your subject with different focus points. This allows you to combine these photos using Multiple Exposure to achieve a full clear image of your subject where everything is in focus. This is an extremely handy tool to achieve extraordinary close up photos and will surely put your photos to a higher level.
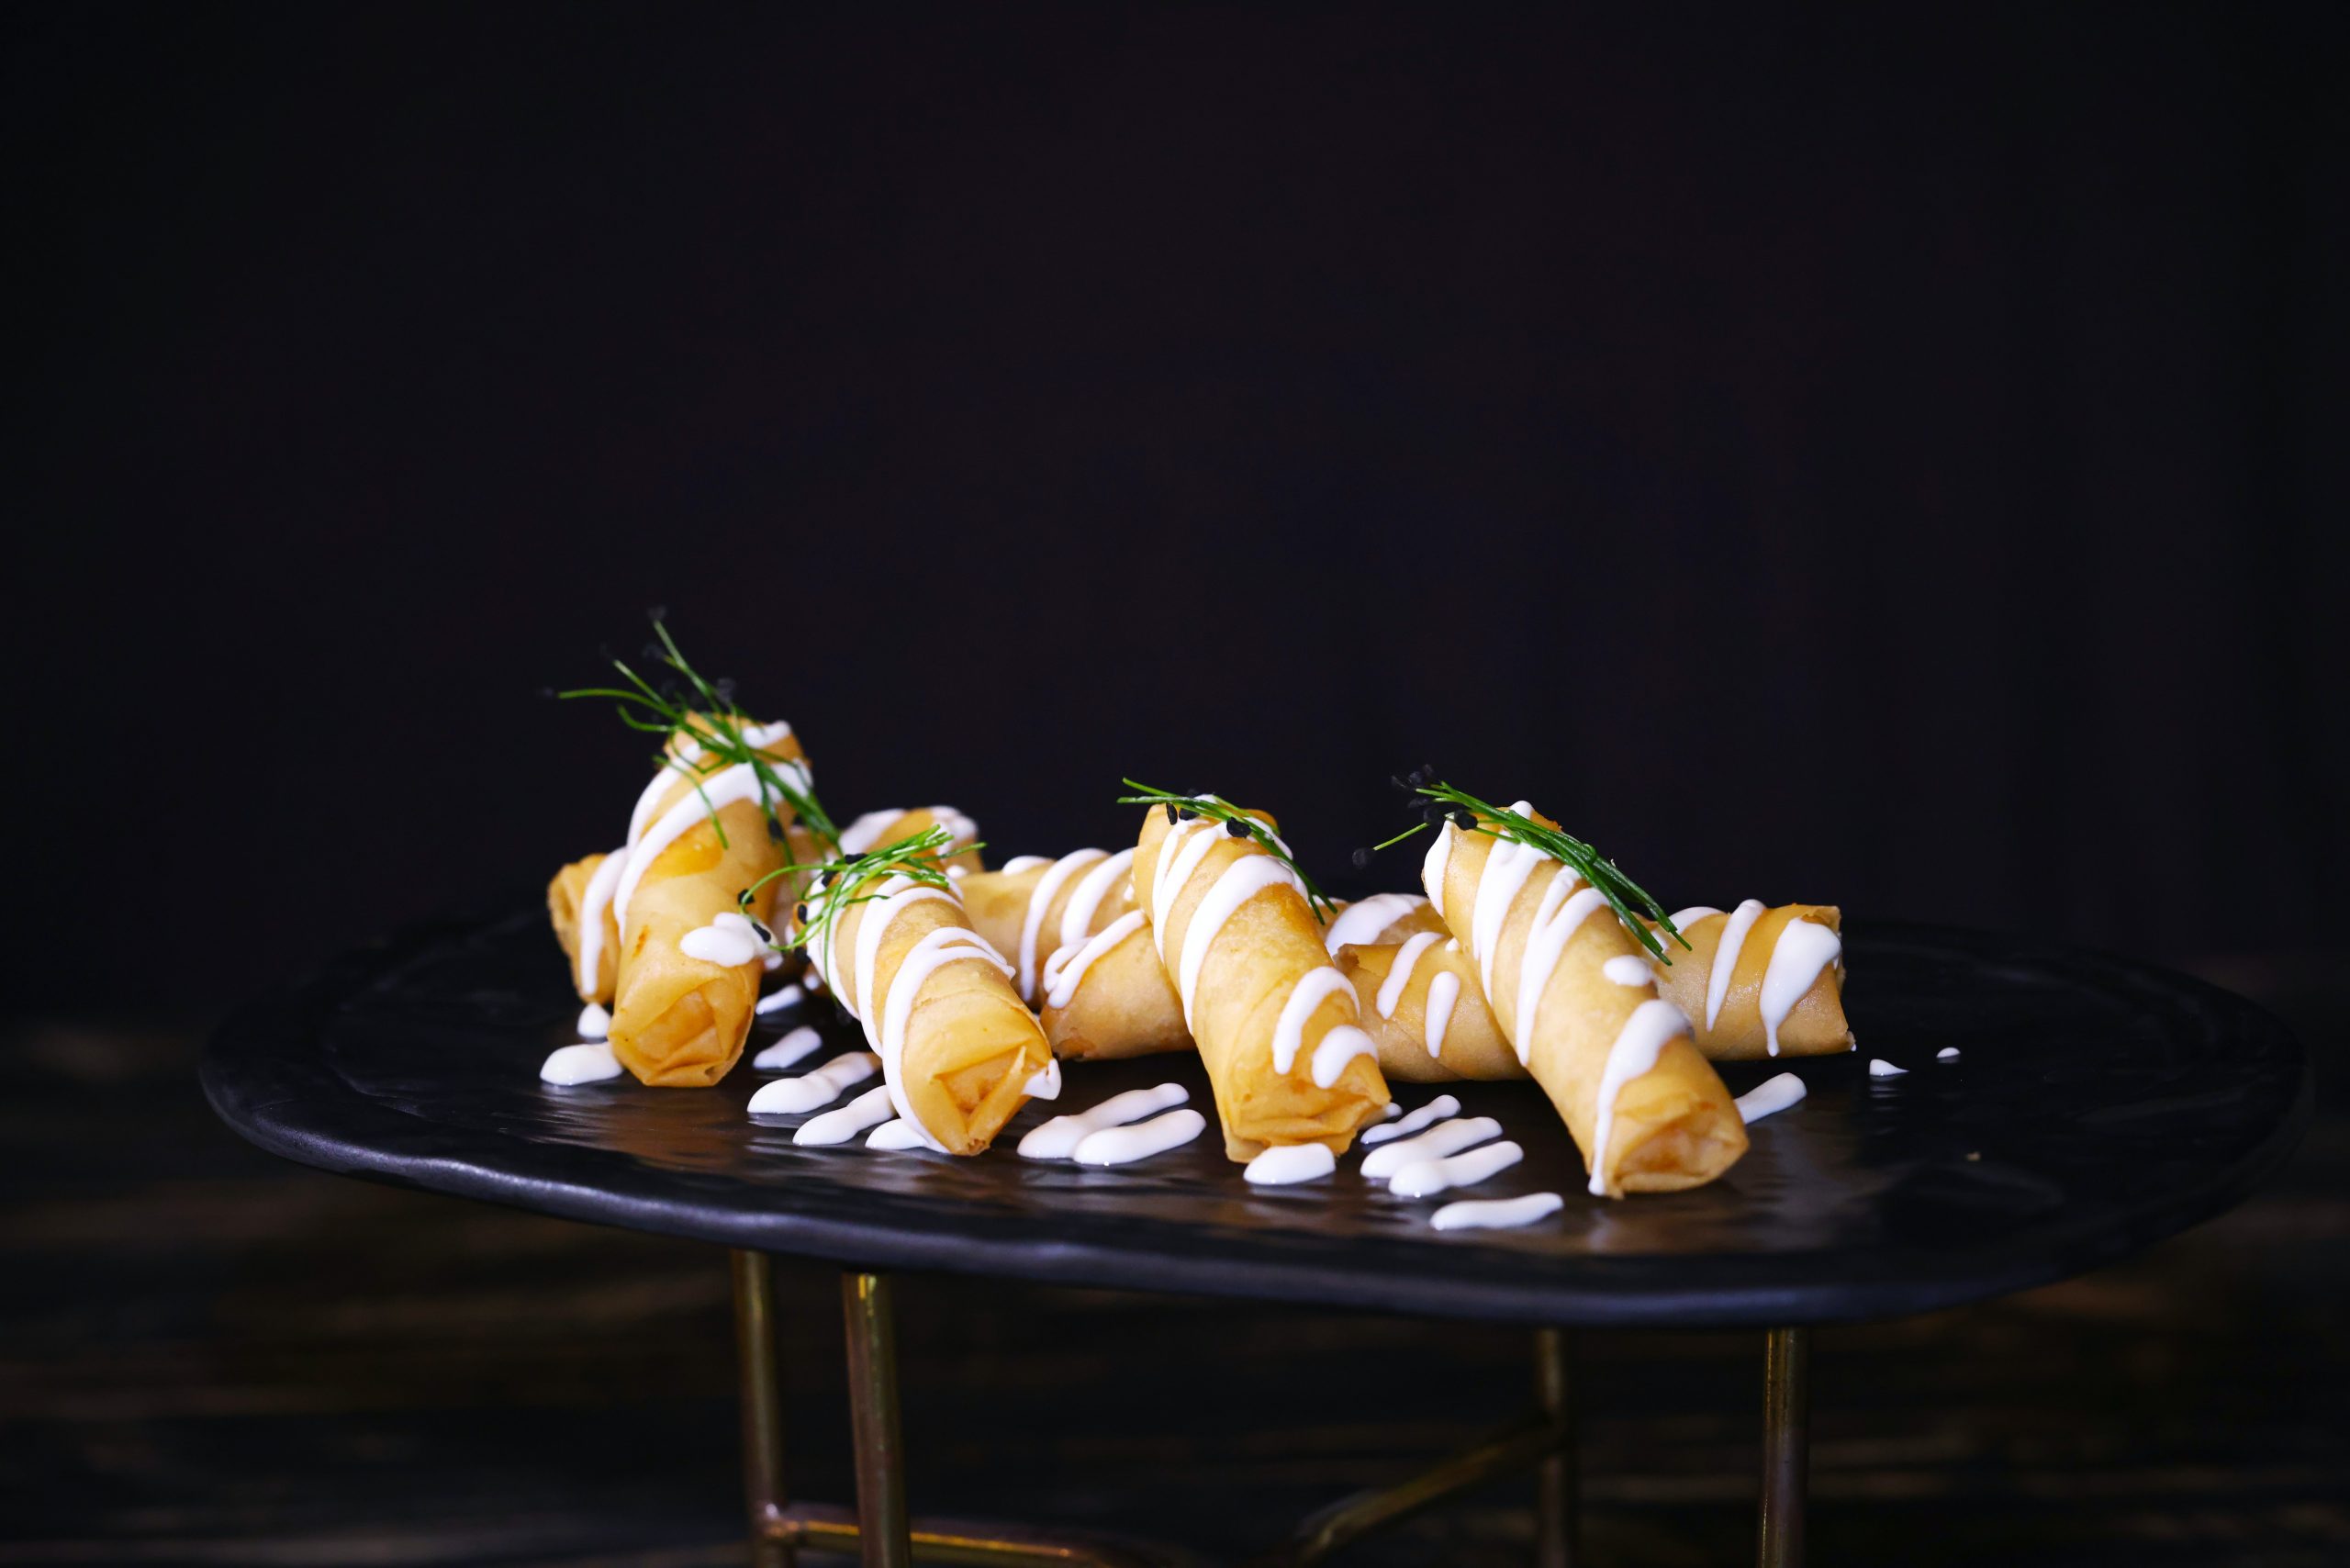
Best Practices for Food Photography Lighting
When it comes to food photography lighting, there are a few best practices you should follow to achieve the best results. One tip is to always shoot in natural light when possible. This will give your photos a natural and warm look that is perfect for food photography.
Another tip is to be mindful of the direction of light. Shooting with the light coming from the side or behind the food can create interesting shadows and highlights that will make your food stand out.
Another common mistake that many photographers make is using too much artificial light. This can make the food look unnatural and unappetizing. To avoid this, try to use natural light or a minimal amount of artificial light to enhance the food.
It’s also important to create a consistent look and feel in your food photography. This can be achieved by using the same type of light, the same editing techniques, and similar compositions in all of your photos. This will create a cohesive look that will make your food photography stand out.
Angles and Composition

Moving on, we also introduce the idea of angles and composition. A properly lit image is good to look at. However, pairing this with a properly composed image makes it reach a level of perfection.
Angles and composition are crucial in food photography. The angle at which you photograph your food greatly affects the overall look and feel of the photo. Shooting from above makes the food look more natural, while shooting from below can make the food look more dramatic. Experimenting with different angles can help you achieve the perfect shot.
Composition is also important in food photography. It’s essential to think about the placement of the food in the frame, as well as the placement of other elements in the photo. Using the rule of thirds, where you divide the frame into thirds horizontally and vertically, can help create a visually pleasing composition.
Finally, using foreground, middle ground, and background can create depth in food photography. The foreground is the area closest to the camera, the middle ground is the area in the middle of the frame, and the background is the area furthest from the camera. By using these three elements, you can create a more dynamic photo that will draw the viewer’s eye into the frame.
Editing Your Images
Once you’ve captured your images, it’s time to edit them. Here are a few tips to help you create mouth-watering images of your dishes:
Use a high-quality image editor: A good image editor will give you the tools you need to adjust exposure, color, and other settings. Some useful and famous editors are Photoshop and Snapseed.
Remove any unwanted elements: Use the clone tool or spot healing brush to remove any unwanted elements from your images. This maintains focus on your subject.
Sharpening: Use the sharpen tool to sharpen your images. This can help make your dishes look more crisp and appetizing.
Adjust colors and contrast: Use the color balance tool to adjust the colors in your images. Meanwhile, use the levels or curves tool to add contrast to your images. Doing this makes your dishes look more appetizing and have distinct textures.
Conclusion
Capturing mouth-watering images of your dishes takes more than just a good camera and lens. It takes a combination of the right equipment, proper technique, and a bit of creativity. By following the tips outlined in this article, you’ll be able to take professional-quality food photos that will make your dishes look delicious. And remember, practice makes perfect, so keep experimenting and learning to improve your skills. Happy shooting!
Check out our other blogs:
The 5 Best AI Art Generators
Why Choose Metal Prints using Chromaluxe?
Guide to Product Photography
Guide to Toy Photography
The Art of Editing Photos
Best Outdoor Print and Signage Options
The Best Metal Print Companies
The Printing Mediums of Wall Art
We enjoy reading your comments and insights with our posts! Should you have any questions or concerns, feel free to leave them below! -Mark