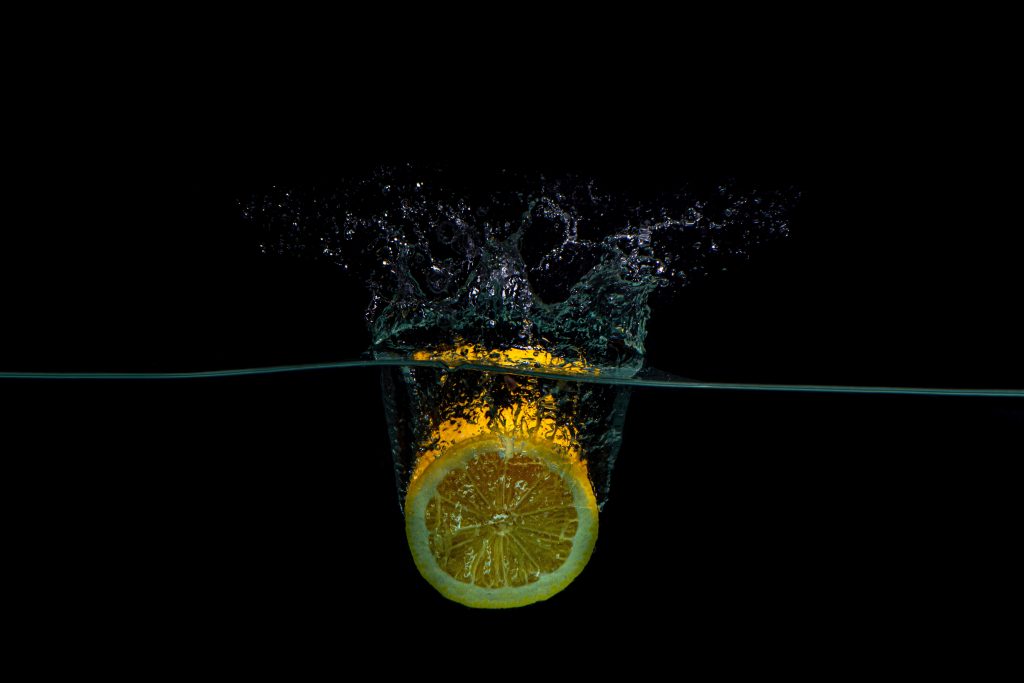
Off-camera flash photography is an excellent way to elevate your photos. This technique helps in capturing amazing portraits, action shots, and other types of photos that would otherwise be impossible. It also provides additional control over the lighting which paves way to unique effects and moods. In this post, we explore the different types of off-camera flash units, equipment, and techniques that are useful in leveling up your photography!
Table of Contents
Equipment and Setup
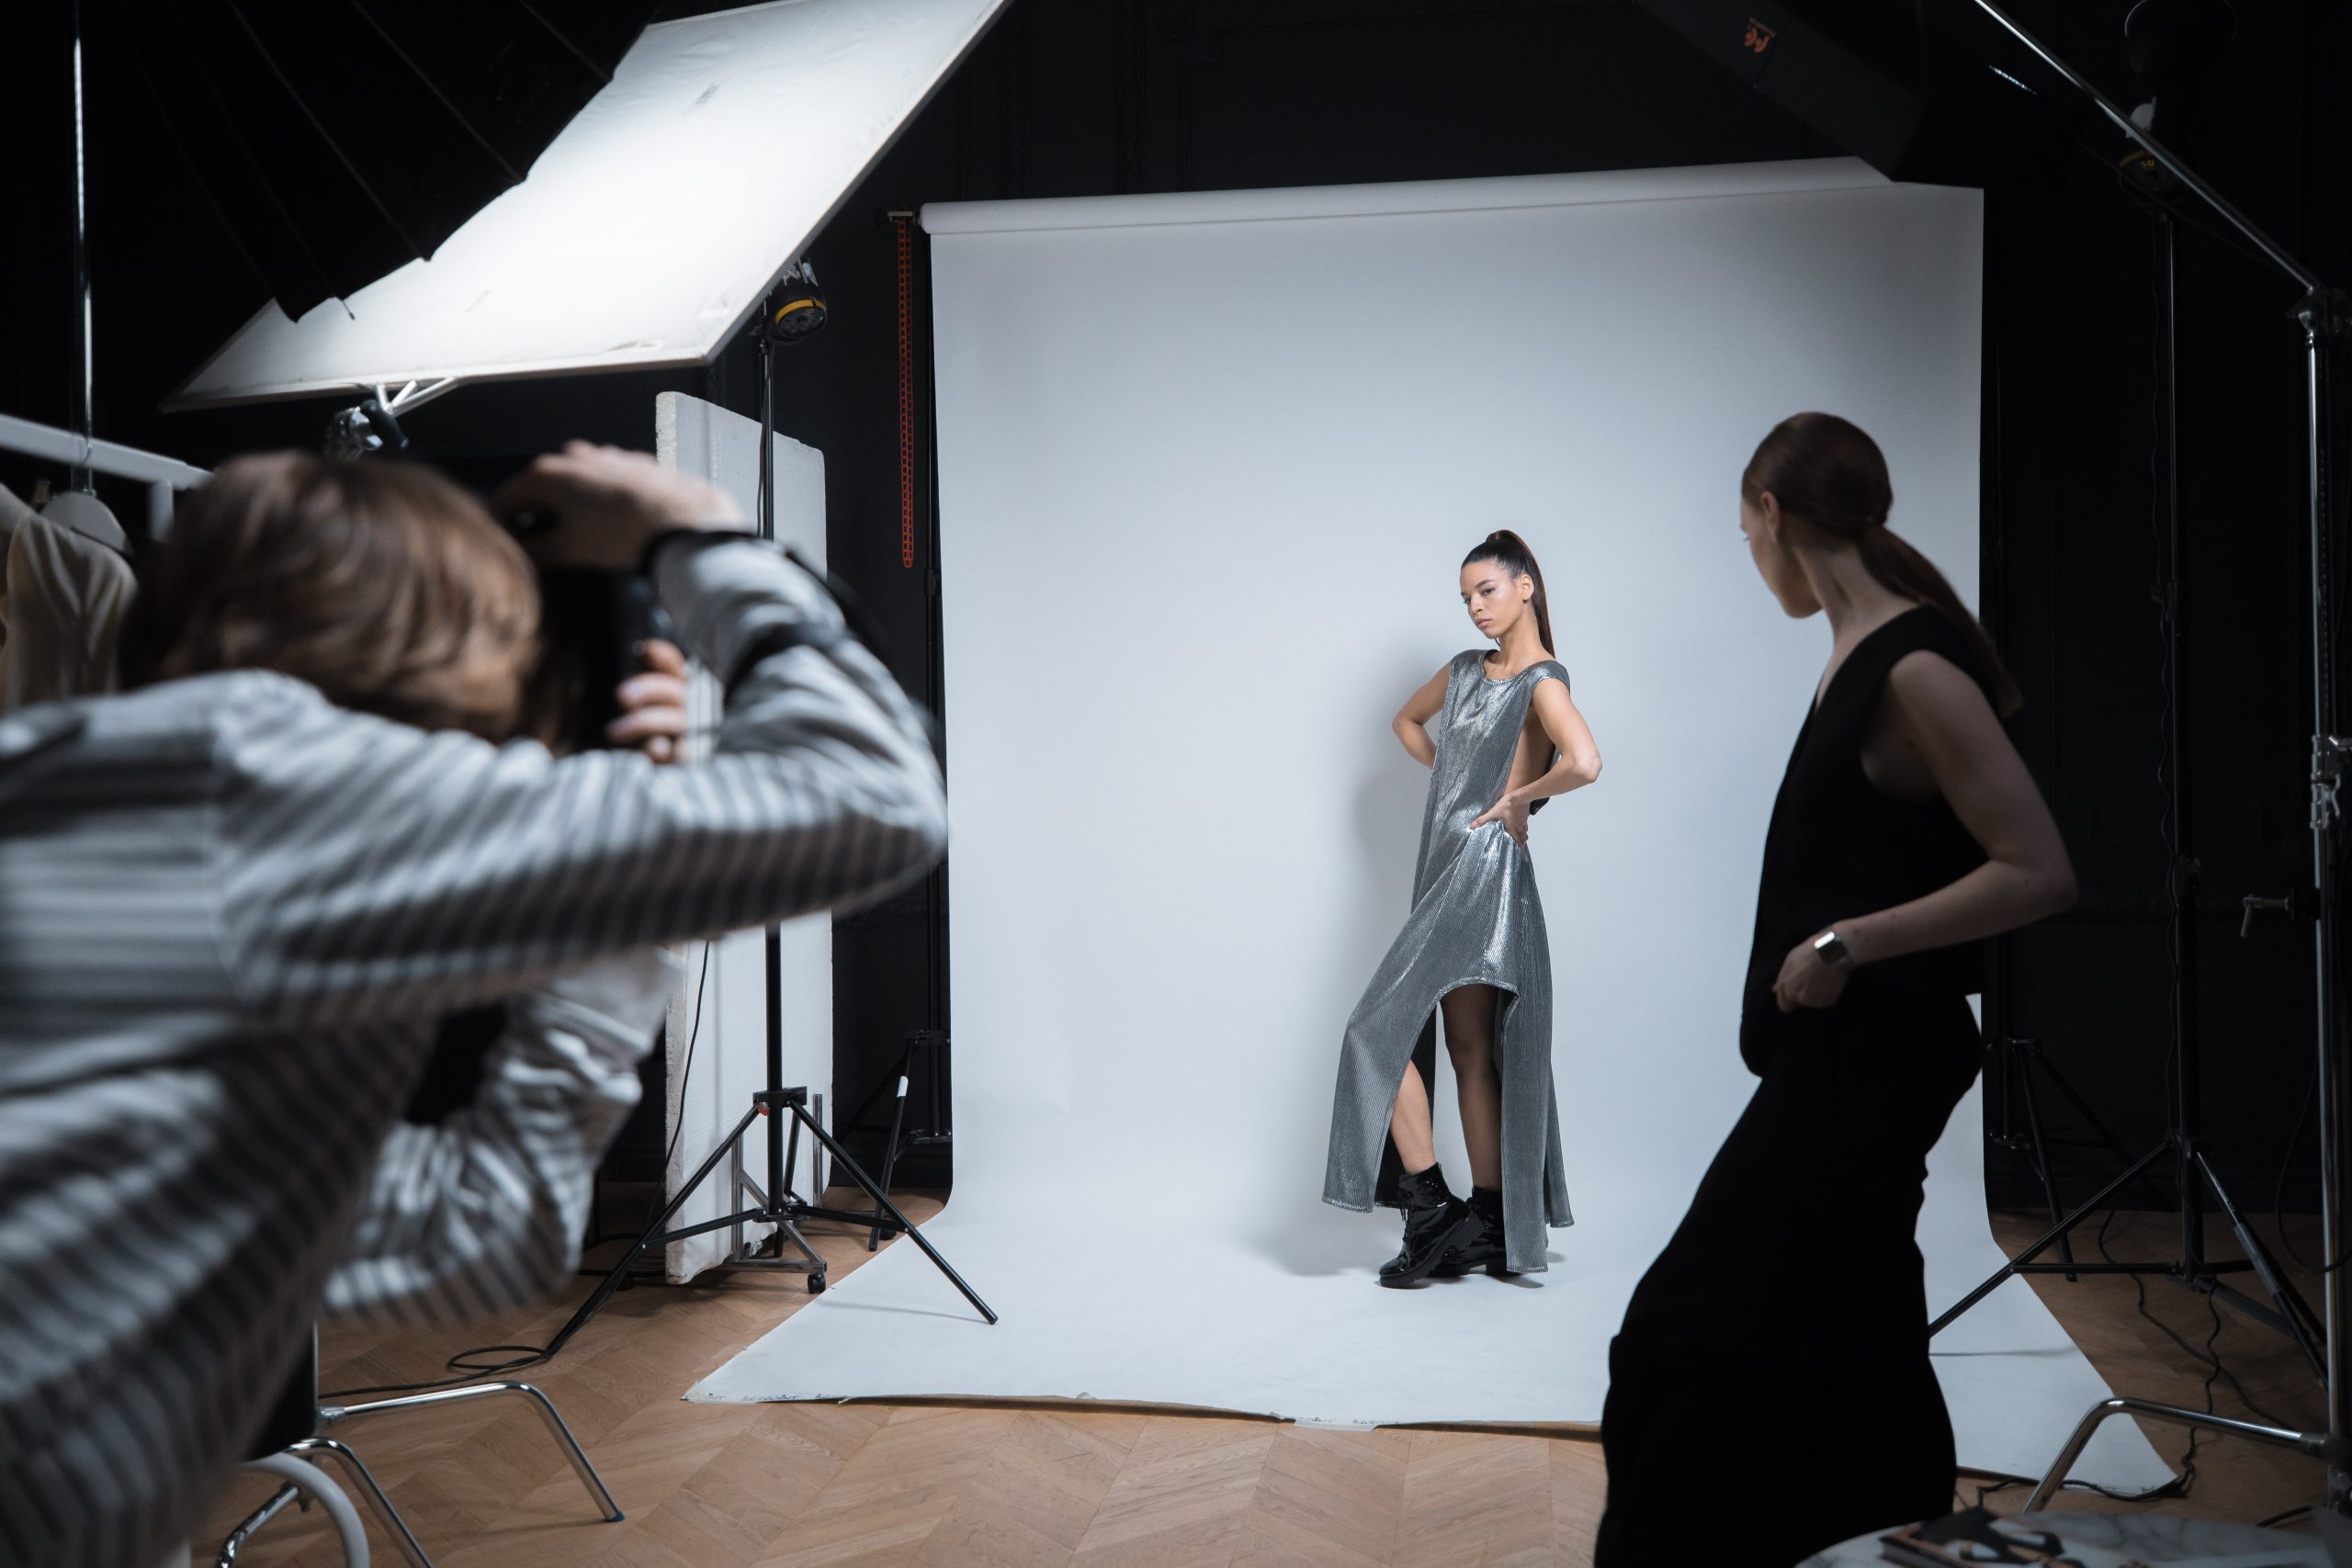
First, it is essential to fully understand the equipment needed for this type of photography. Off-camera flash units include speedlights (hot shoe flashes or external flashes), monolights, studio strobes, and portable continuous lighting systems. Speedlights are small, lightweight, and inexpensive compared to the other types of external flash units. On the other hand, monolights are more expensive but able to provide more power and control over the light output. Moving forward, studio strobes are ideal for larger studios because they produce very bright lights with a high level of accuracy and precision.
Additionally, a number of accessories is essential to make full use of off-camera flashes. These include triggers, diffusers, and reflectors. Triggers allow remote control of your flash from a distance. Diffusers soften harsh light while reflectors bounce light onto specific areas of your subject. More useful items include stands, umbrellas, snoots, grids, and gels. All of these are specifically designed for shaping the quality of your images working with off camera flash.
Lastly, placement of these equipment is essential. Your positioning creates shadows and highlights that help control contrast. Application of proper positioning directs the flow of light minimizing reflections and glare.
Off-Camera Flash Photography Techniques and Tips
Off-camera flash photography is an excellent way to elevate your photographs. The two main types of off-camera flash control are manual and TTL (through-the-lens). Manual mode requires you to manually adjust the power output of your flashes for each shot. On the other hand, TTL automatically adjusts based on exposure meter readings from the camera.
Off-camera flash is effective in many different types of photography. This includes portraits and headshots to capture flattering lighting that flatters the subject and action shots to freeze motion and provide dramatic lighting. Additionally, it enhances product photography by highlighting details and textures. Landscape or architecture shots get more pleasing with creative fill light for nighttime image while studio or environmental portraiture gets beautiful natural-looking light at any time of day or night.
Finally, here are some tips and tricks that can help you get even better results when shooting with an off-camera flash setup. Balance out any ambient light with additional fill lights. Next, use faster shutter speeds combined with high speed sync mode. This freezes motion and creates amazing lighting at the same time.
Moreover, experiment with different positions and angles when setting up your lights. These include bouncing the light off walls or ceilings for a softer look, using grids or snoots for more directional lighting effects, or combining multiple flashes together for complex light painting effects.
Also try playing around with colored gels if you want some extra color in your shot! These include bouncing the light off walls or ceilings for a softer look, using grids or snoots for more directional lighting effects, or combining multiple flashes together for complex light painting effects.
Advanced Techniques
Off-camera flash can be used to take your photography skills to the next level by incorporating more advanced techniques. These techniques include using multiple flash units, creating creative effects with off-camera flash that may not be achievable with natural light, and utilizing off-camera flash in challenging lighting situations such as low light environments or high contrast scenes.
By using multiple flash units, photographers can create more complex and dynamic lighting setups. Using two or more flash units allows photographers to create a main light, a fill light, and a hair light. Use flash triggers and receivers to implement this technique easily.
Achieve creative effects, such as freezing motion or creating dramatic shadows. Use a fast shutter speed and a flash to freeze motion and capture a sharp image of a moving subject. Meanwhile, place a small flash unit close to the subject and pointing towards the background to create shadows.
Off-camera flash can be used to overcome difficult lighting situations, such as backlit subjects, low light, or high contrast scenes. Use a flash to add light to a backlit subject, which helps in illuminating the subject’s face and reduces the amount of shadows. In low light situations, a flash unit adds light to the scene, which freezes motion and creates a sharp image. Lastly, flashes add light selectively to different parts of low light scenes.
Adding Dimension and Drama Using Off-Camera Flash Photography
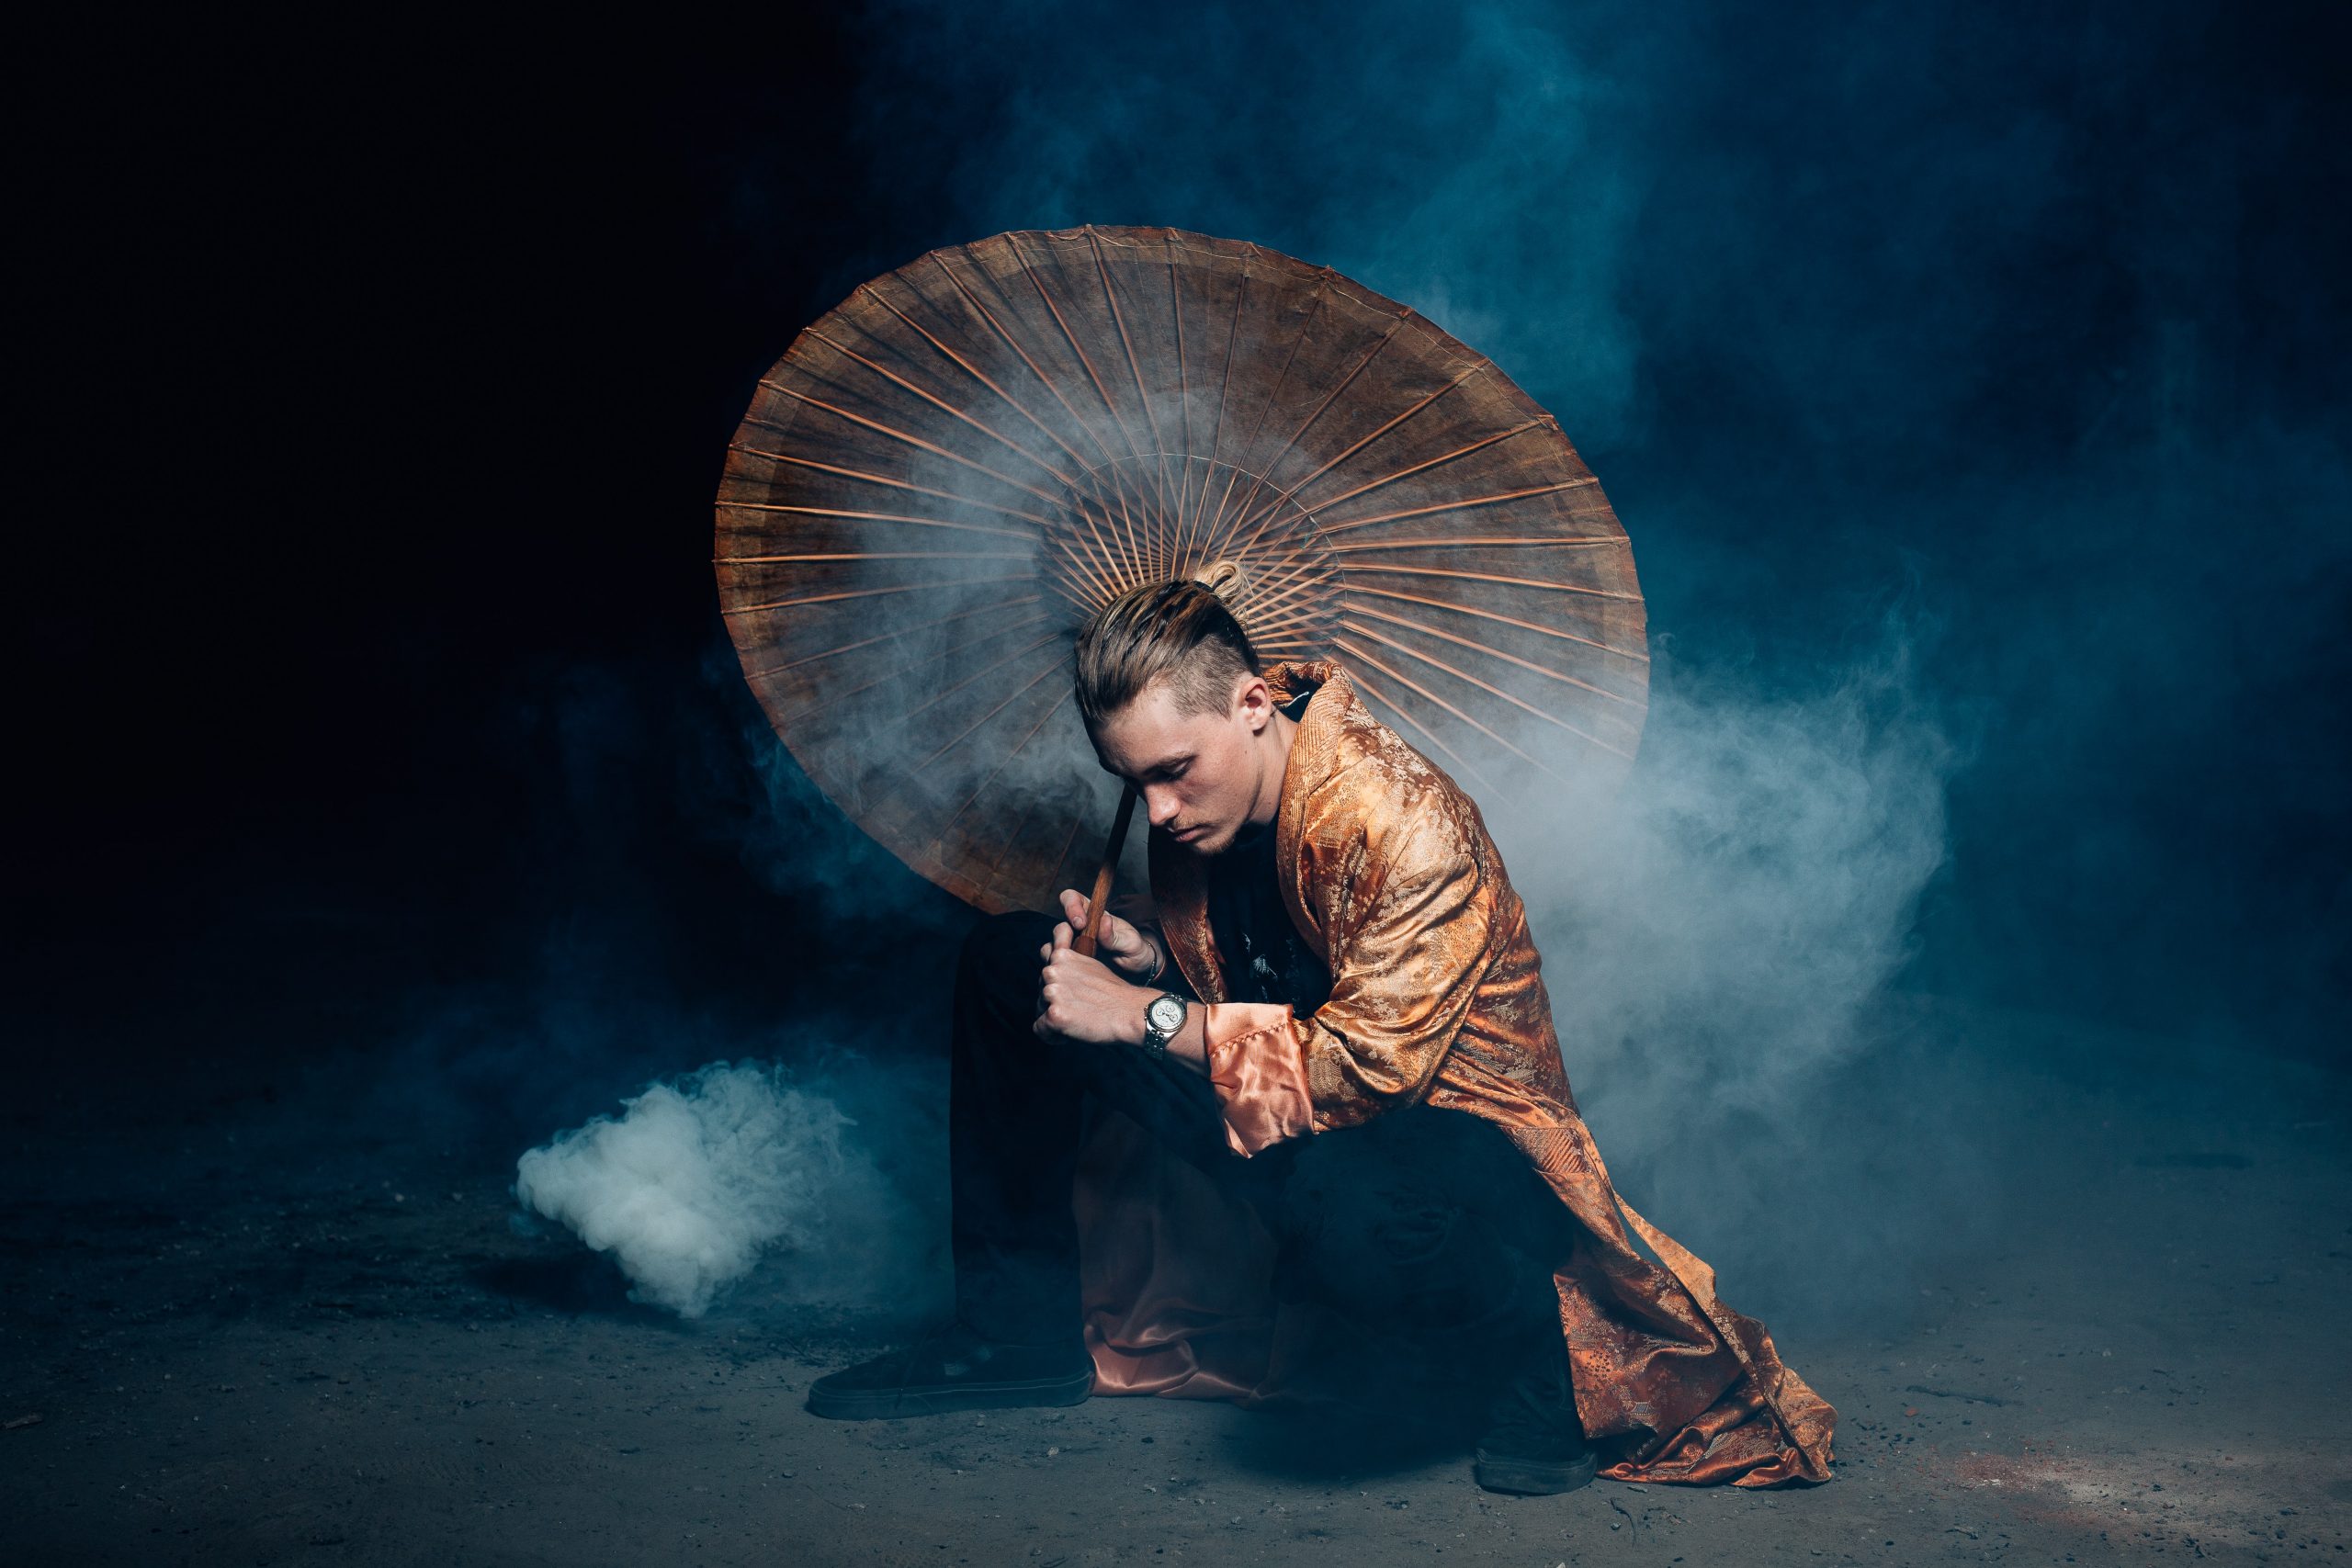
Drama and dimension adds story and depth to your photos. It’s always a great idea to invest in applying these into your work. Introduce intentional shadows and highlights that add more interest, mood, and atmosphere. Hard light produces strong shadows that provide great contrast and structure. Soft lighting on the other hand is great for subtle gradations of shadows. Top this off with off-camera flash which adds character and unique elements that soft and hard lights aren’t capable of producing.
Play with off-camera flashes and learn how it interacts with your subject. The inverse square law helps photographers understand how far their lights must be placed from their subject. Additionally, learning about the different outputs of umbrellas, snoots, and grids adds more options for control with lighting. By experimenting with various off-camera flashes set up at different angles you can create any number of stunning photography effects.
Using Off-Camera Flash in Different Environments
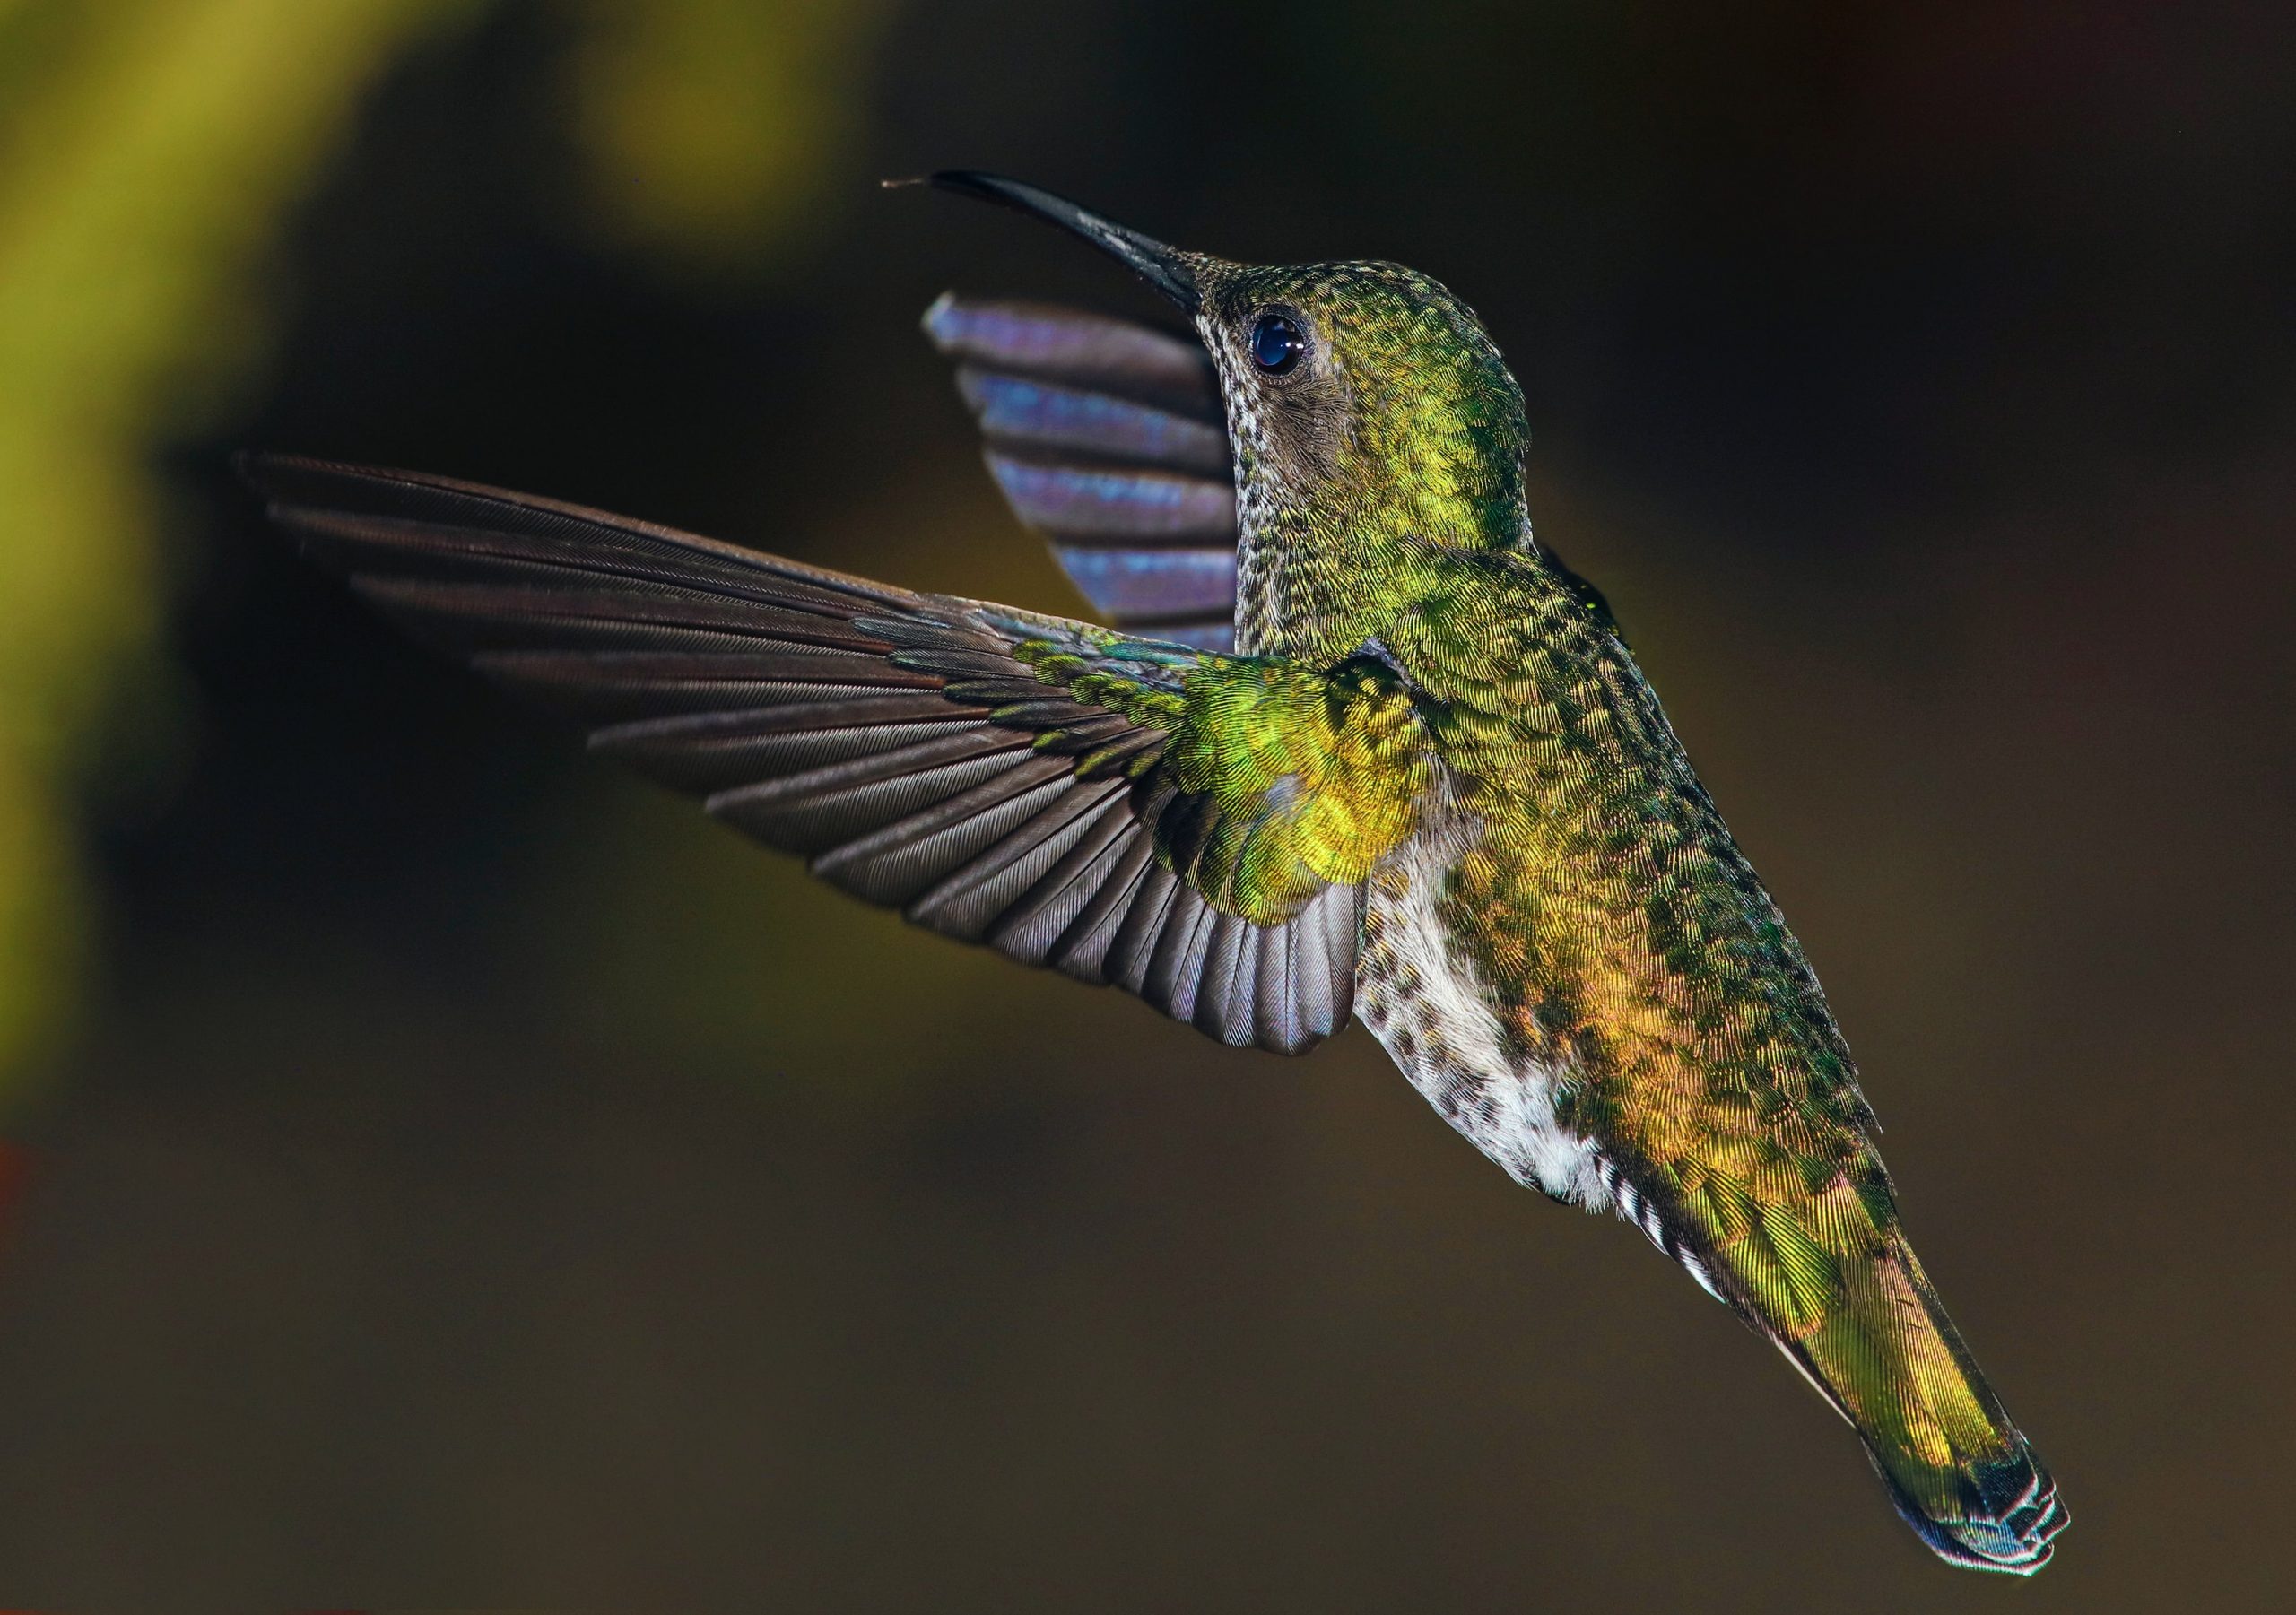
We all know that not all environments are the same. Most times, the lighting is not ideal for photography. This section discusses how using off-camera flashes help in elevating the quality of your photos no matter the environment.
In outdoor setups, off-camera flashes fill in shadows, add highlights, and create unique lighting effects. Meanwhile in indoor setups, the lack of available light often means that flashes are mandatory for professional results. In summary, low light conditions require powerful flashes while high light conditions require less powerful flashes. Either way, understanding your camera settings is important for each environment.
Balancing flash and ambient light requires careful consideration depending on the environment. To balance these two sources effectively, look at both their intensity levels as well as their color temperatures. If one is significantly brighter than the other then this could cause issues such as blown out highlights or overly dark shadows.
Syncing Flash with Camera
Syncing flash with the camera can be done in a couple of different ways. These include manual syncing, through the lens (TTL), or high-speed sync (HSS). First, manual syncing involves physically pressing the trigger to send out and receive signals between your flash and camera. Next, TTL is an automated system which allows for more accurate exposures by reading information from the lens. Meanwhile, HSS is a relatively new technology which enables faster shutter speeds than traditional manual or TTL systems.
Each method of syncing has its own advantages and disadvantages. Manual syncing offers complete control but can be time consuming. Whereas both TTL and HSS are quicker but may require additional equipment such as radio triggers depending on your setup.
Generally speaking, manual synchronization works best when shooting portraits where accuracy isn’t of great importance. TTL is ideal for situations like weddings where speed and consistency are essential. Lastly, HSS is beneficial when shooting sports/action shots with fast shutter speeds greater than 1/200s.
Although it’s not always easy to troubleshoot any issues that arise during flash synchronization, there are some tips to help you get up and running again quickly. First, make sure all batteries are fully charged before starting. Second, check your connection cables for wear/tear. Third, ensure that all settings are correct on both devices (i.e., ISO, shutter speed). Lastly, if using radio triggers – turn them off then back on again after each use.
Flash Modifiers
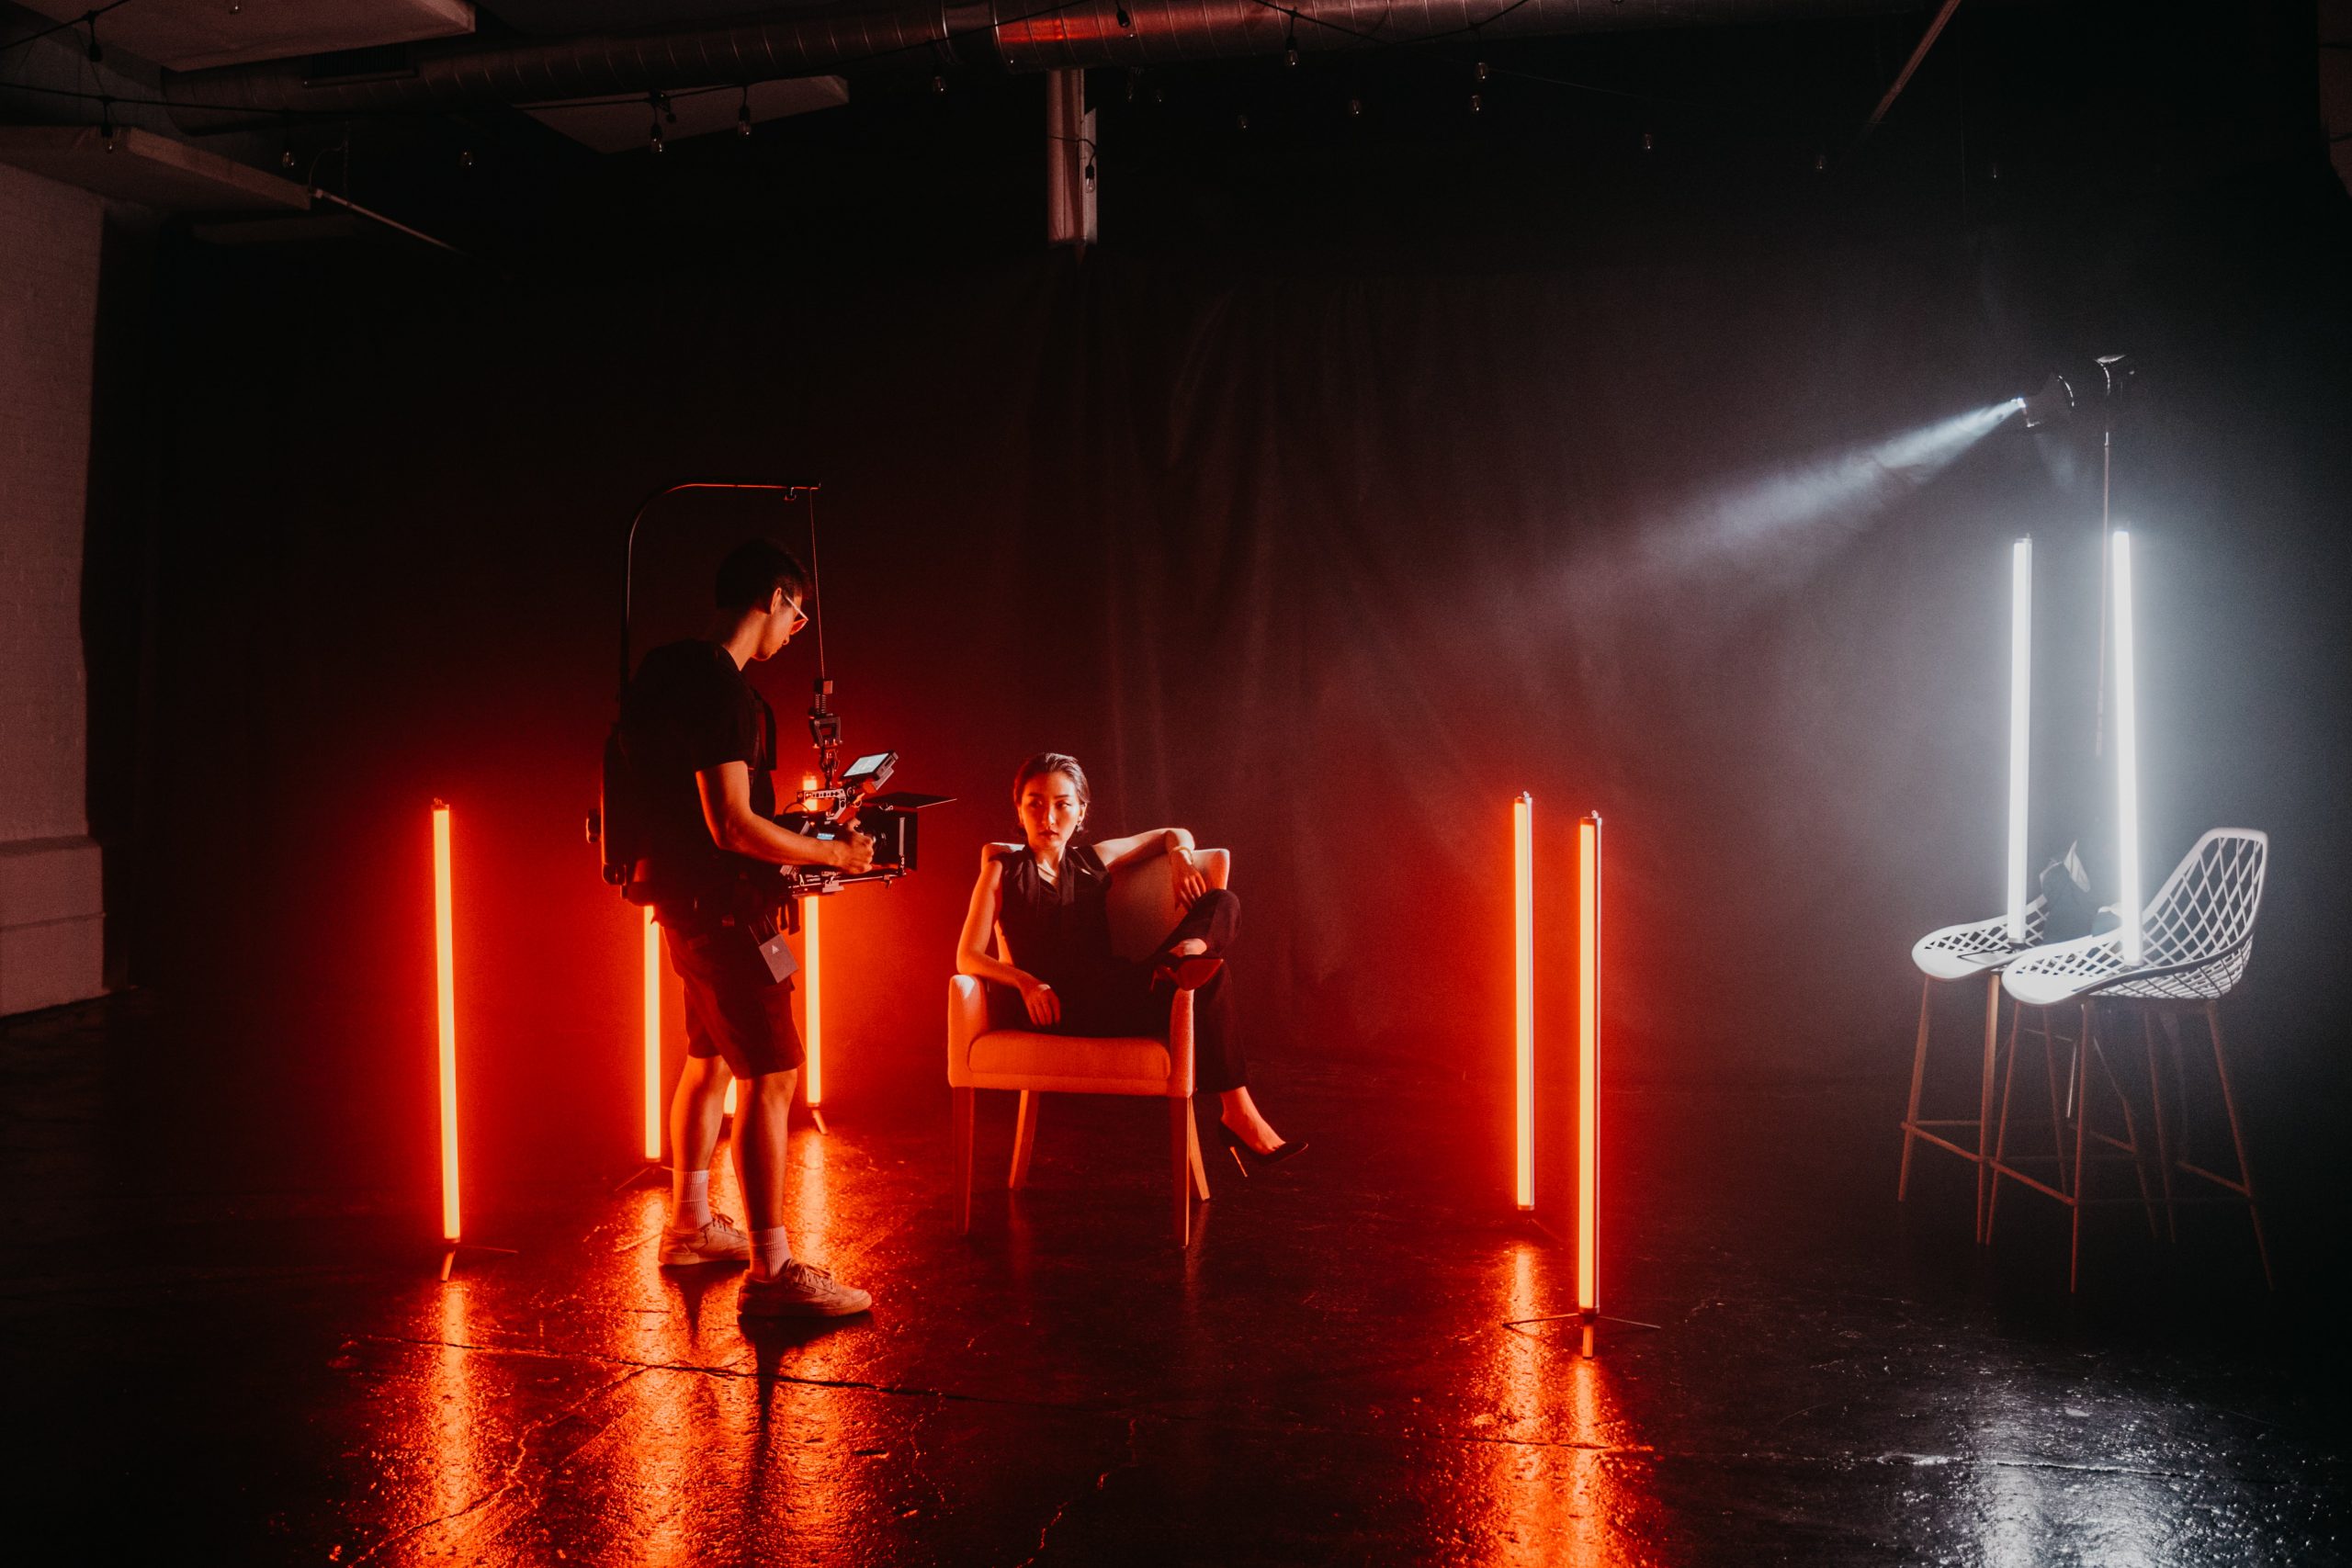
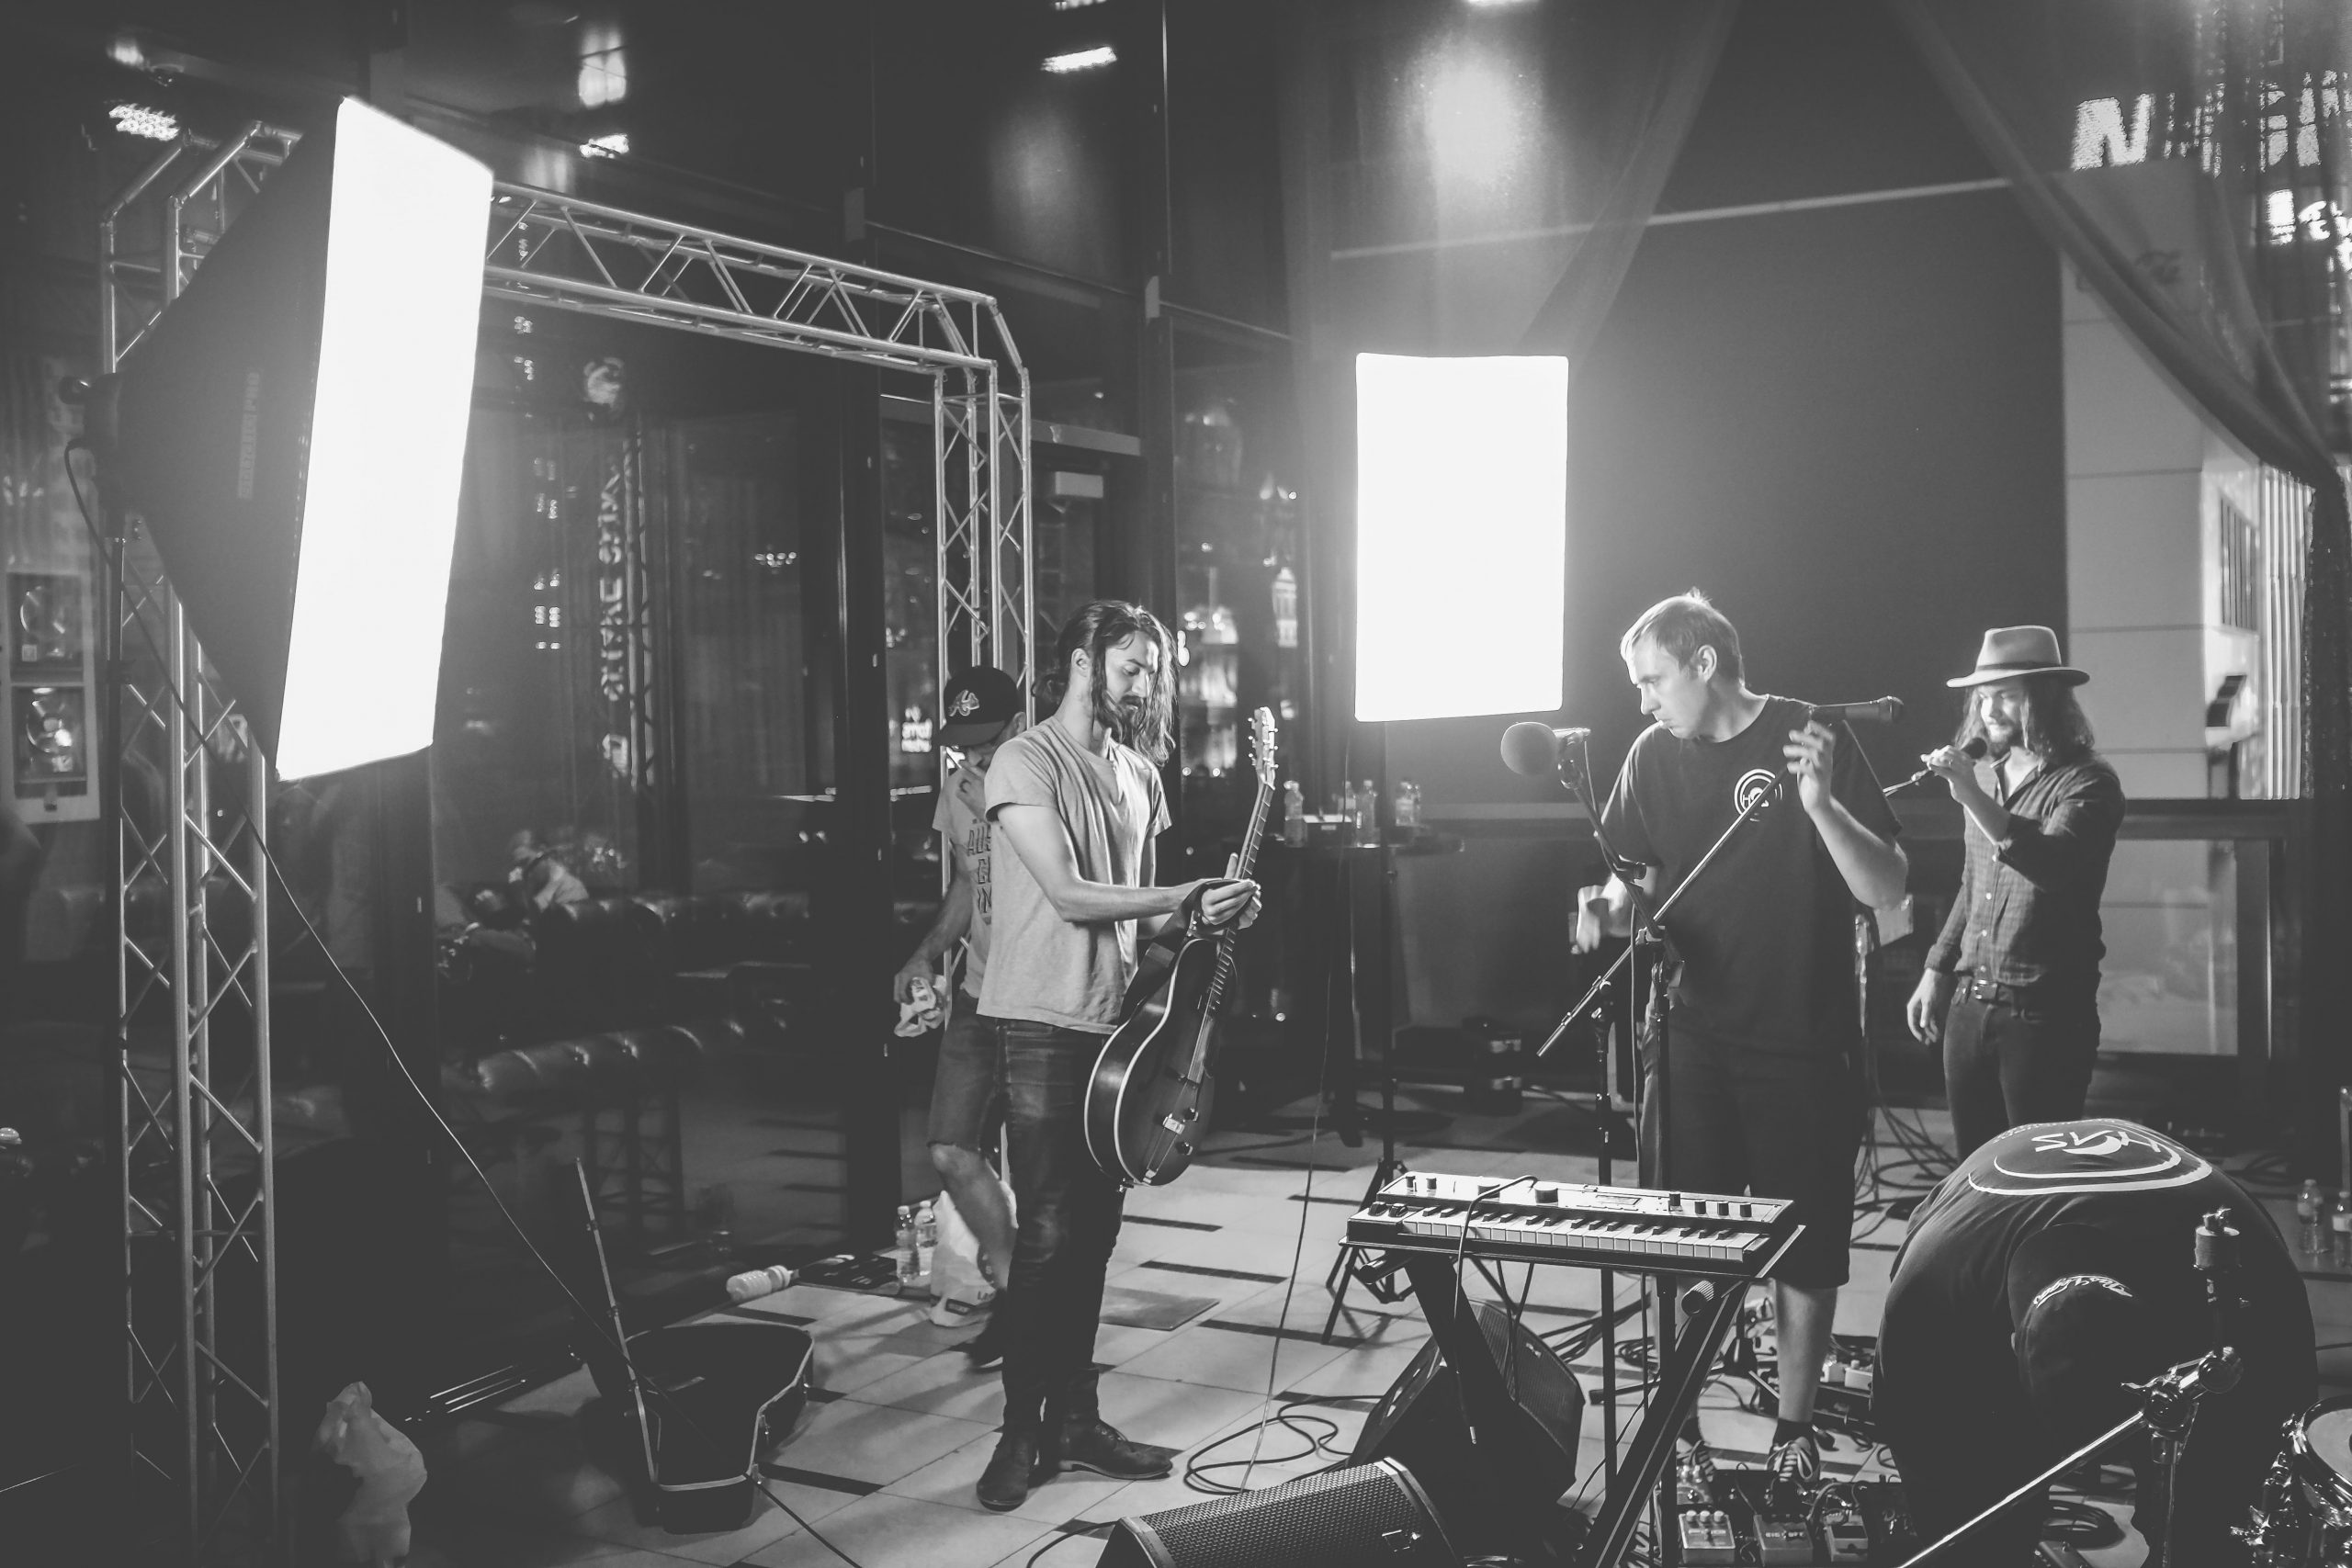
Flash modifiers come in a variety of shapes and sizes, each providing unique benefits for photographers. Softboxes are perfect for creating soft and diffused lighting that wraps around your subject. Umbrellas on the other hand provide a broad spread of light that illuminates large areas quickly and efficiently. Grids help you control where the light falls by concentrating it into narrow beams or patterns. Snoots are also effective at directing light precisely to small spots within a scene and can be used to create dramatic effects such as backlighting or rim-lighting your subjects.
Each type of modifier has its own distinct advantages. Umbrellas diffuse the light over larger areas which reduces harshness while softboxes soften the light even further and wrap it around objects more evenly than umbrellas do. Grids concentrate the flash’s output into narrow beams which allows you to achieve pinpoint accuracy when illuminating certain features. Lastly, snoots are extremely useful if you want dramatic effects like backlights as well as highlighting details on smaller objects within your frame.
To use any flash modifier effectively, you need to understand what kind of effect each one produces. This ensures that you can apply them correctly in order to get your desired results.
Flash and Camera Settings
When working with off-camera flash, there are a few key camera settings that can dramatically impact the outcome of your photography. These include: ISO, shutter speed, aperture and white balance. It is important to understand how each of these settings works and how they will affect the results you get from your photos.
The ISO setting determines the sensitivity of your camera sensor to light, while shutter speed controls how long it takes for the image to be exposed on the sensor. Aperture is used to control depth of field – how much or little area is in focus. White balance adjusts tones within an image so that colors appear more accurately represented in different lighting conditions. All of these settings are essential when using off-camera flash. They have direct effects on exposure levels, color accuracy and overall picture quality.
Conclusion
Off-camera flash is a great way to elevate your photography by adding dimension and drama to your images. With the right equipment and techniques, you can take stunning photos that would otherwise be impossible without using off-camera flash. We hope this post has given you some ideas and inspiration for using off-camera flash in your own work. If you’ve enjoyed this post, please share it with others who may find it useful!
Check out our other blogs:
The 5 Best AI Art Generators
Why Choose Metal Prints using Chromaluxe?
Guide to Product Photography
Guide to Toy Photography
The Art of Editing Photos
Best Outdoor Print and Signage Options
The Best Metal Print Companies
The Printing Mediums of Wall Art
We enjoy reading your comments and insights with our posts! Should you have any questions or concerns, feel free to leave them below! -Mark

