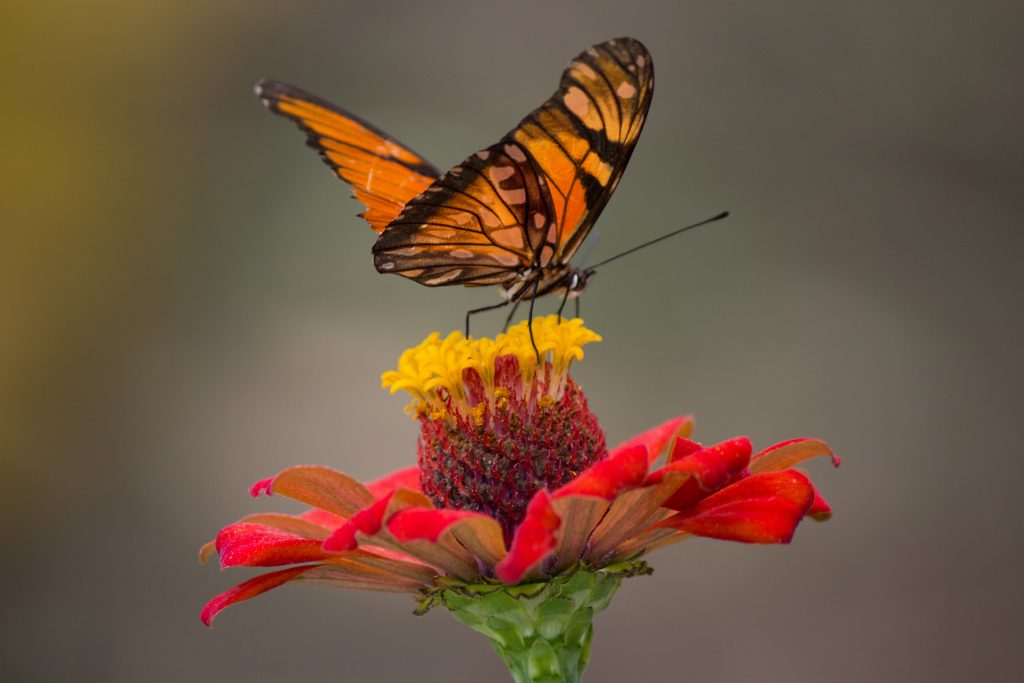
Macro Photography offers a brand new perspective of the world! Everyday objects that seem unphotogenic can be great subjects for close up photos. Close up photography offers interesting photos that aren’t normally seen with the naked eye. Give your audience a brand new point of view of the world by capturing tiny objects with macro photography!
Table of Contents
Macro Photography
Macro photography is extreme close-up photography, usually of very small subjects and living organisms like insects. This photography niche gives the spotlight to the details unusual to the naked eye. Macro photography utilizes macro lenses in capturing these photos. These lenses give the photographer the ability to get up close and personal with small subjects and ensure that focus isn’t lost.
Equipment for Macro Photography
The proper tools to do a specific job is very important when it comes to Macro Photography. It is difficult to capture close up images with the conventional photography gear. In this section, realize the necessary equipment to get you started with macro photography.
Lenses
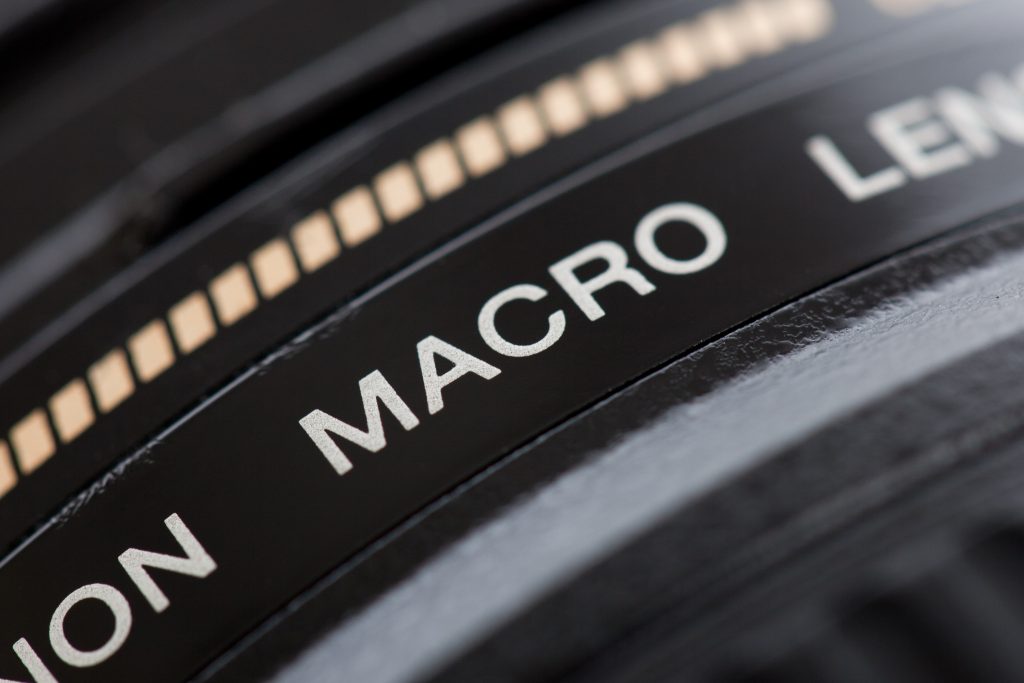
Rather than the camera, the most important equipment to get you started with macro photography is the lens. There are various considerations for the perfect macro lens. The following are properties of macro lenses you should consider when picking one up for the first time.
1. Magnification
Magnification is the property of a lens that describes how closely you’re able to focus on a subject. This is typically noted in ratios such as 1:2. This means that the object is projected as one half its size in the camera sensor than the real world.
In looking towards a macro lens, opt for a 1:1 magnification lens or higher. This gives you the most out of other ratios, and displays the subject in its actual scale. There are other lenses that can go as much as 5:1 magnification. Keep in mind though that these lenses are fixed with capturing macro subjects only and cannot shoot from afar.
Tip : How to Get 1:1 Magnification
Use extension tubes with your normal or wide lenses. This offers an inexpensive way to achieve 1:1 magnification without the need of purchasing a macro lens. Because extension tubes have less glass elements, the sharpness of your photo when shooting without one stays the same.
2. Working Distance
This refers to the distance between the front of your lens and the subject. The Working Distance of most macro lenses are mostly a few inches only. This makes it difficult for lighting and composition. Opt to go for a lens with a wider focal length, 90 mm or higher, to have a longer working distance.
3. Focus
The next comparison you have to make is between autofocus or manual focus lenses. Manual focus lenses yield the more consistent macro photos. This is due to losing more ability to autofocus at higher magnifications. Autofocus lenses are still viable with photographing larger subjects such as lizards or any large household items.
Lighting Equipment
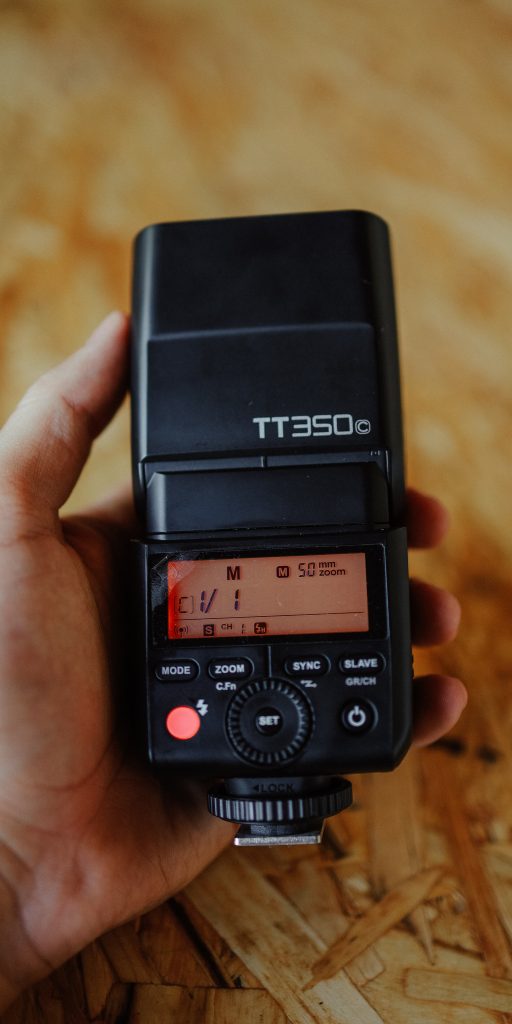
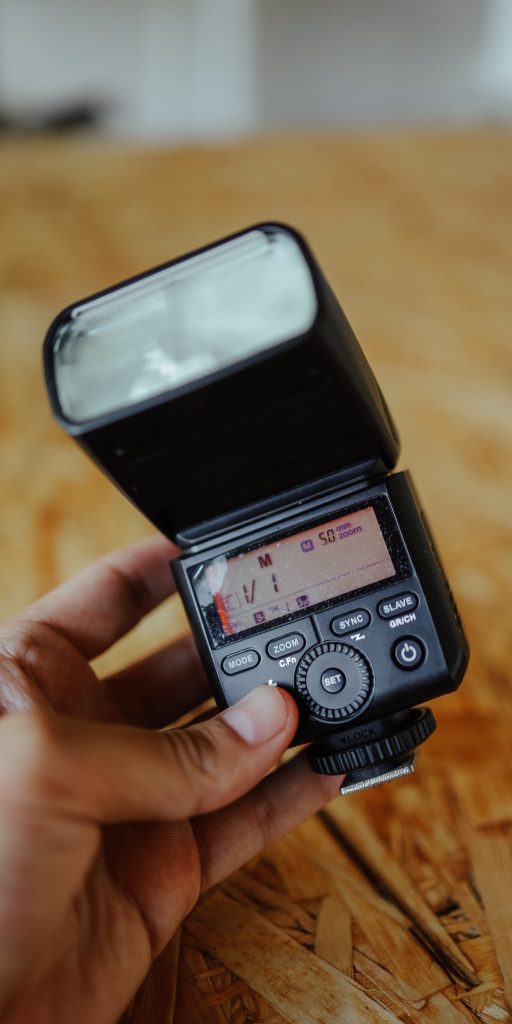
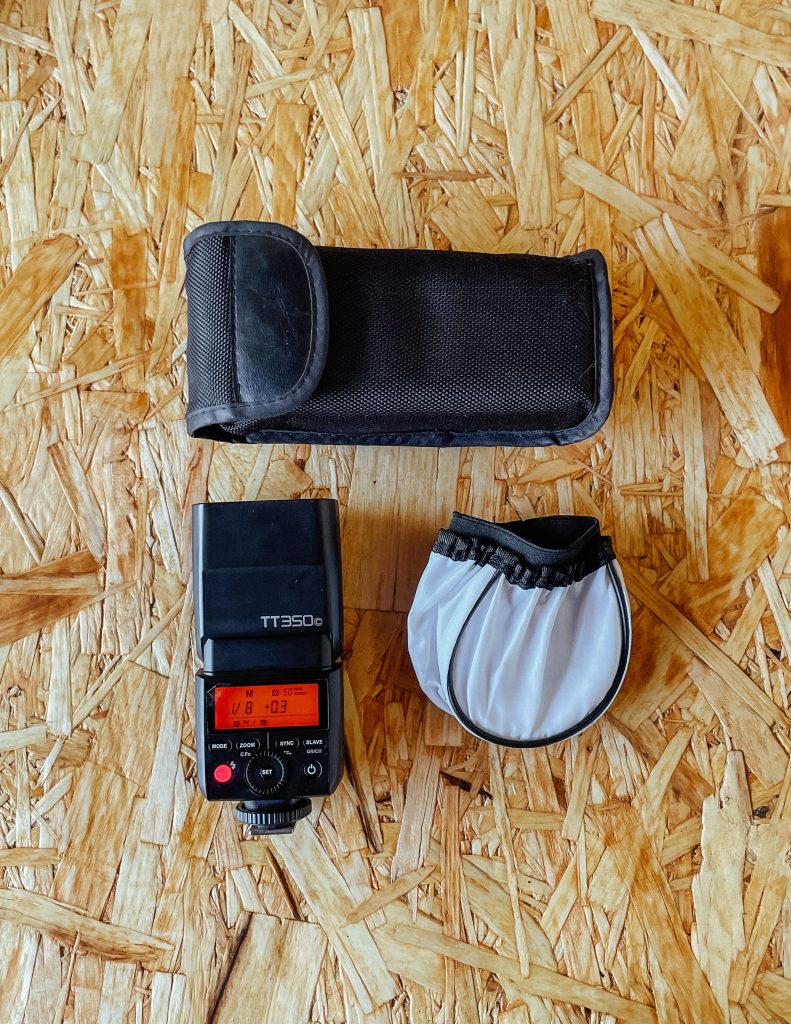
With the camera being very close to the subject, lighting is largely lost. Most of macro photography is done with lighting equipment like flashes and fill lights. Flashes aid in capturing moving subjects as they give the necessary amount of light to expose them.
Generally, fill lights provide little exposure for macro photography. They only remove shadows from the subject and are unreliable with being key lights. The best value for your money is investing in flashes. Pair a diffuser with it to soften the lighting and you’ll achieve wonders in macro photography.
Tripod
It’s important to be stable in close up photography. By using a tripod, not only will you have a stable camera, you’ll also have the ability with the control of your lighting setup. Knowing how essential lighting is with macro photography, a tripod for your camera gives you the ability to focus on other elements for your photo.
Aperture for Macro Photography
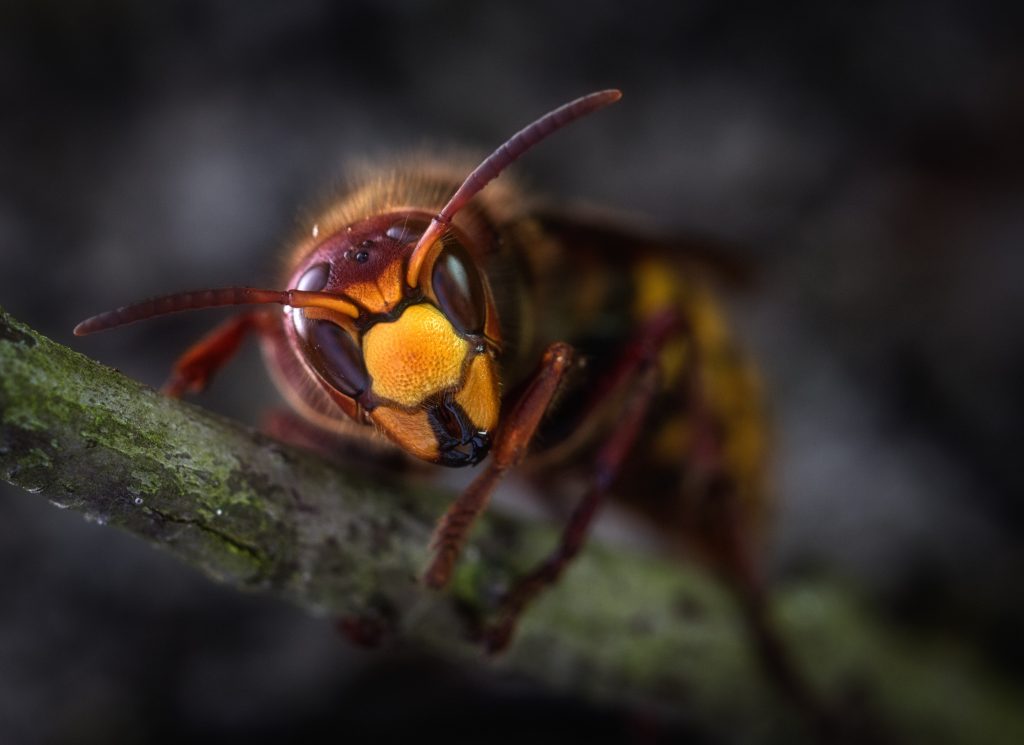
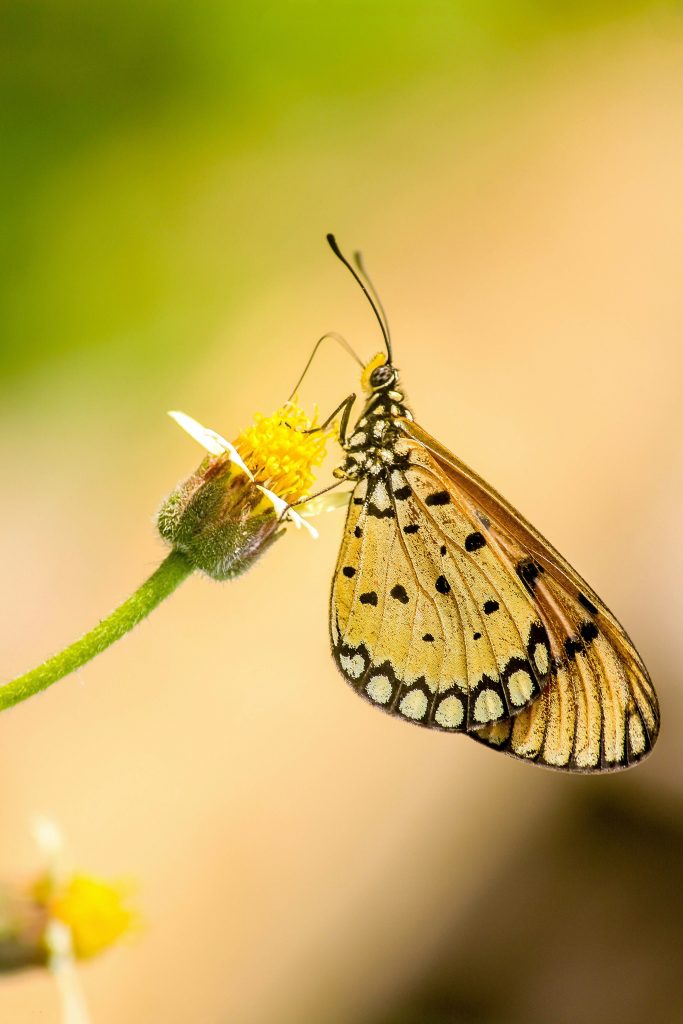
Getting the right focus in Macro Photography can be quite difficult when trying it out for the first time. You’ll notice that the amount for focusing only ranges between a few millimeters. Choosing a higher aperture would result in a sharper image but with lack of enough light. On the other hand, choosing a lower aperture produces well lit subjects but it’s difficult to find the proper focus to have a clear image. The following are workarounds in capturing clear close up photos.
1. Use a Tripod
The best workaround for macro photography is using a tripod. At 1:1 magnification, the slightest movement affects the photo tremendously. It eliminates the shakiness of going handheld.
When using a tripod, you can also use the autofocus on your camera. Using the autofocus while handheld is difficult since the camera’s sensor cannot keep up with the movement of your camera with respect to your subject. As mentioned before, a slight movement at high magnification is a great deal in terms of focusing.
2. Manual Focus
Moving forward, Manual Focus while handheld is the way to go when shooting without a tripod. Contrary to capturing photos outside of macro photography, your focus must be kept fixed. When doing other photography styles, you turn your focus as you position yourself from the subject. This is not feasible for macro photography because of the amount of time it takes to focus at high magnification levels.
Instead, choose a fixed focus point at a certain magnification then position your camera away or towards the subject until you find that sweet spot. This yields the most positive results than any other technique when going handheld.
3. Use Flashes
Flashes help a lot with lighting for close up photography. These allow you to go for higher apertures such as f/16 or f/22 and still keep your photos properly lit. Also, add a diffuser to your flashes as this softens the light. You’ll notice a huge difference between applying a diffuser and not to your close up photos. Highlights will be extremely noticeable and the contrast between the shadows is high.
4. Go for Length
Capture a subject where its length is visible. The distance of the whole subject, for instance an insect, with respect to the camera is kept most likely the same all throughout its length. When choosing to capture it from head first to its opposite end, you’ll most likely only be able to focus on its head and the other parts will remain out of focus.
5. Multiple Exposure
If you can, take multiple photos of your subject with different focus points. This allows you to combine these photos using Multiple Exposure to achieve a full clear image of your subject where everything is in focus. This is an extremely handy tool to achieve extraordinary close up photos and will surely put your photos to a higher level.
Composition for Macro Photography
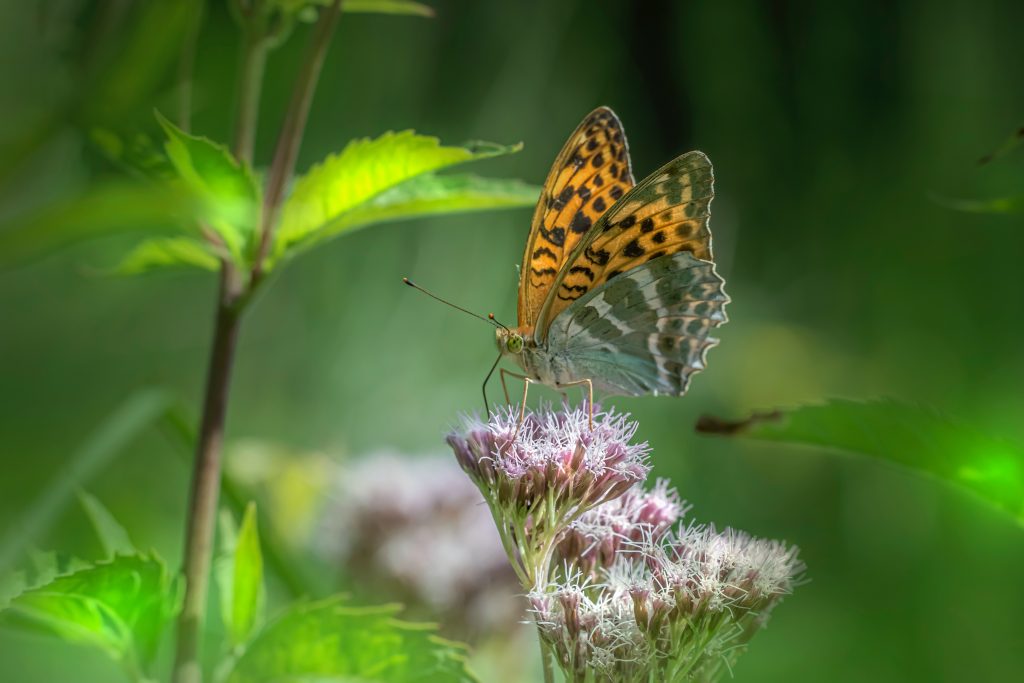
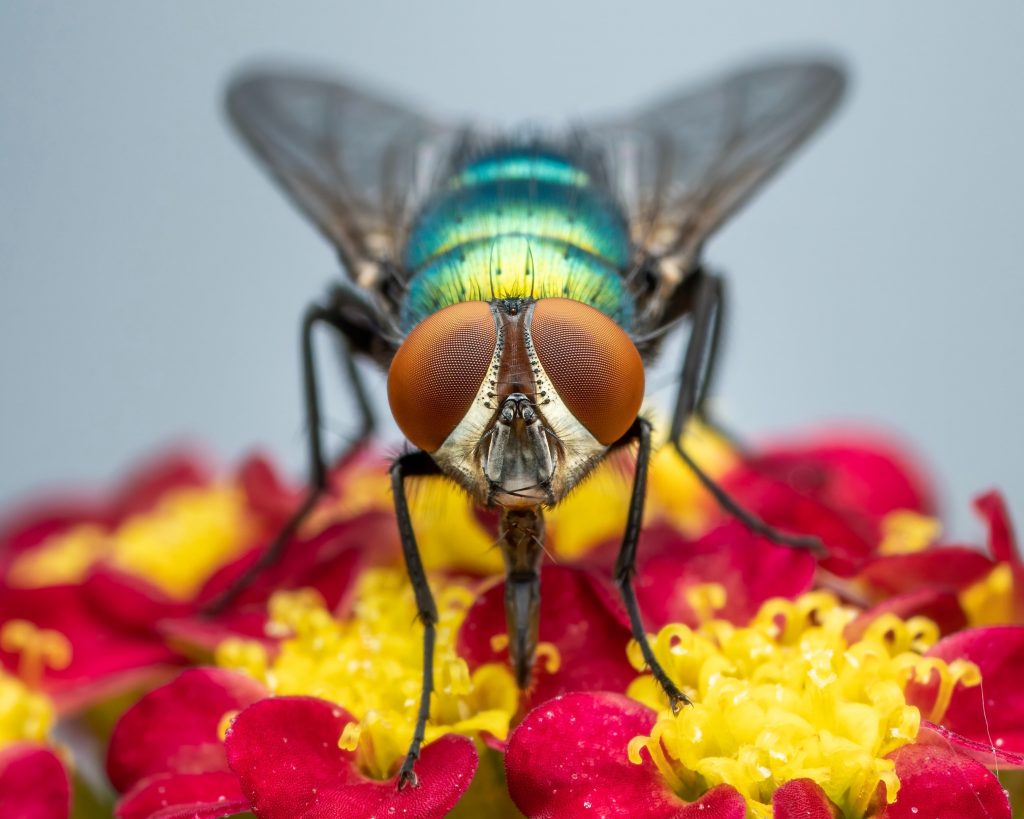
The fundamentals for composition still apply to macro photography. However, there are others that stand out more and are greatly beneficial for this photography style. Read more about composition in photography here.
1. Background Color
In shooting macro photography, it is inevitable that the background will be out of focus. The distinguishing colors of the background elements will pop out as solid colors. Use this information to your advantage and try to set up your point of view to your desired background color. The sky will produce a blue background, leaves show off green, and trees brown.
In addition, using a flash in macro photography can result to black backgrounds. The light coming from your flash is stronger than the ambient light produced outdoors. Even at high noon, the sunlight may not be enough to properly light the background of your scene. Thus your subject, being the first thing to be exposed to the flash will be properly separated from the dark background. This ultimately creates a seemingly studio finish for your photo!
2. Angle
Explore capturing your subject at different angles. Not only does this help with composition but it also helps you achieve clearer focus. In certain angles, most of your subjects’ features are out of focus. Find that angle where the details of your subject pop out and become the sharpest out of all the other elements in frame. The trick here is to create a good compositional balance and at the same time capture a clear view of the subject.
3. Color Contrast
You might wonder how color contrast can be achieved with natural backgrounds. Indeed, most of the time the backgrounds and tones you’ll get will be soft contrast considering the nature of capturing close up photos. The contrast in color is visible with your subject! Some colors appear only with the level of magnification that macro photography offers. For example, some bugs’ eyes are rainbow in color and not seen with the naked eye.
You can also choose subjects that are colorful! The butterfly species offer the most colorful wings to photograph. It’s no doubt that butterflies are the favorite subject of many close up photographers.
Macro Photography Ethics
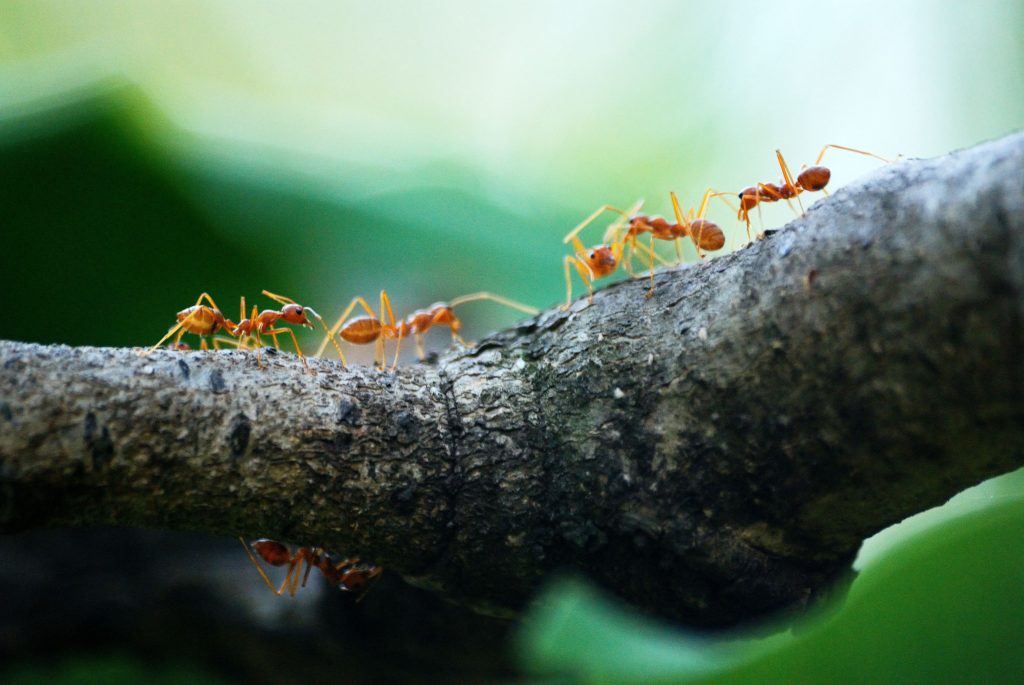
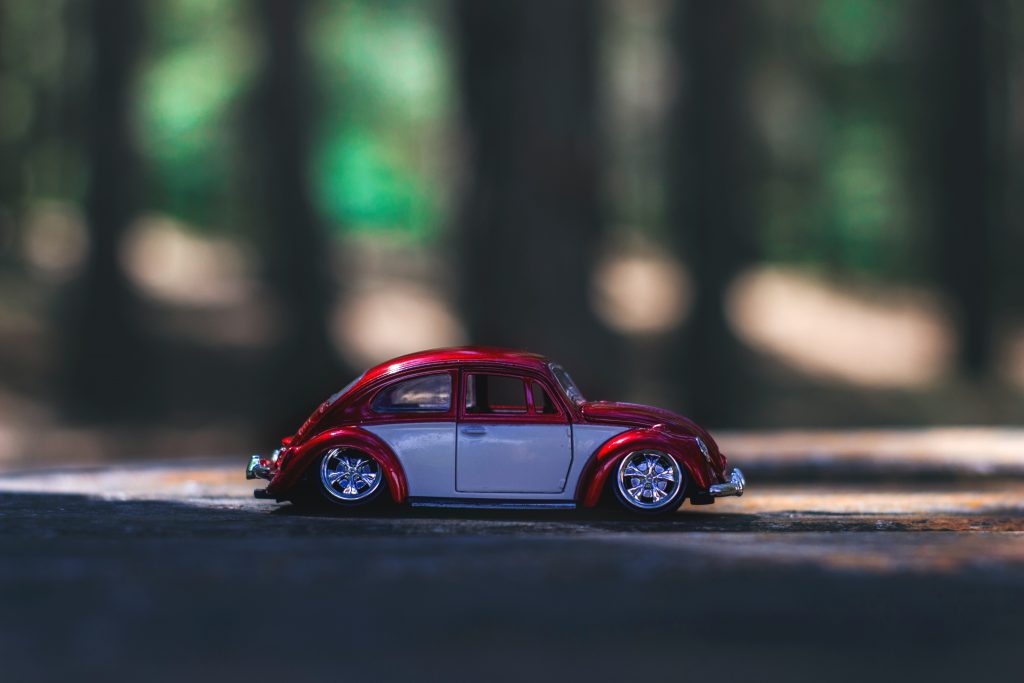
As we all know, the most common subjects of macro photography are small life forms such as insects and lizards. The amount of patience and dedication put into macro photography is also a lot! Dealing with living organisms, proper regard for life should always be observed.
Do not follow the footsteps of a few others that disregard these organisms’ life for the sake of capturing an extraordinary photograph. Also remember that insects are not the only subjects for close up photography! Let your creativity run loose and capture other objects and give a brand new perspective to people using your camera!
Conclusion
As always, trying out a new photography style can be overwhelming. Macro Photography is a very challenging genre of photography as it requires a huge amount of patience to get a keeper. Most of the time, you’ll find yourself going out of focus with your subject and not having the proper balance of light. Do not let this stop you and keep pushing forward.
Macro Photography is extremely rewarding because it provides people a brand new perspective of the world. We get to see intricate patterns, details, and color not usually seen from our own perspective. This photography style really shows how going small can lead to an enormous impact.
Lastly, continuous application of the photography fundamentals no matter what genre stays true. Aperture will always be aperture and lighting will always be lighting. Brush up on these fundamentals if you have to, and go forth exploring the wonders of macro photography!
While you’re at it, check out these options for turning your digital photos to tangible wall art for display or as a gift.

