Photography is more than just snapping a picture; it’s the art of capturing a moment and telling a story through your lens. Whether you’re documenting a family gathering or exploring creative landscapes, mastering the basics can elevate your photography game. I remember feeling overwhelmed by the vast world of photography. But with dedication and a little guidance, I discovered that mastering the basics can significantly improve your photos. The beauty of photography lies in its simplicity—it’s both art and science combined. These basic photography tips will guide you through the essential elements of composition, exposure, and more, helping you capture stunning images that tell your unique story.
Table of Contents
Understanding Your Camera
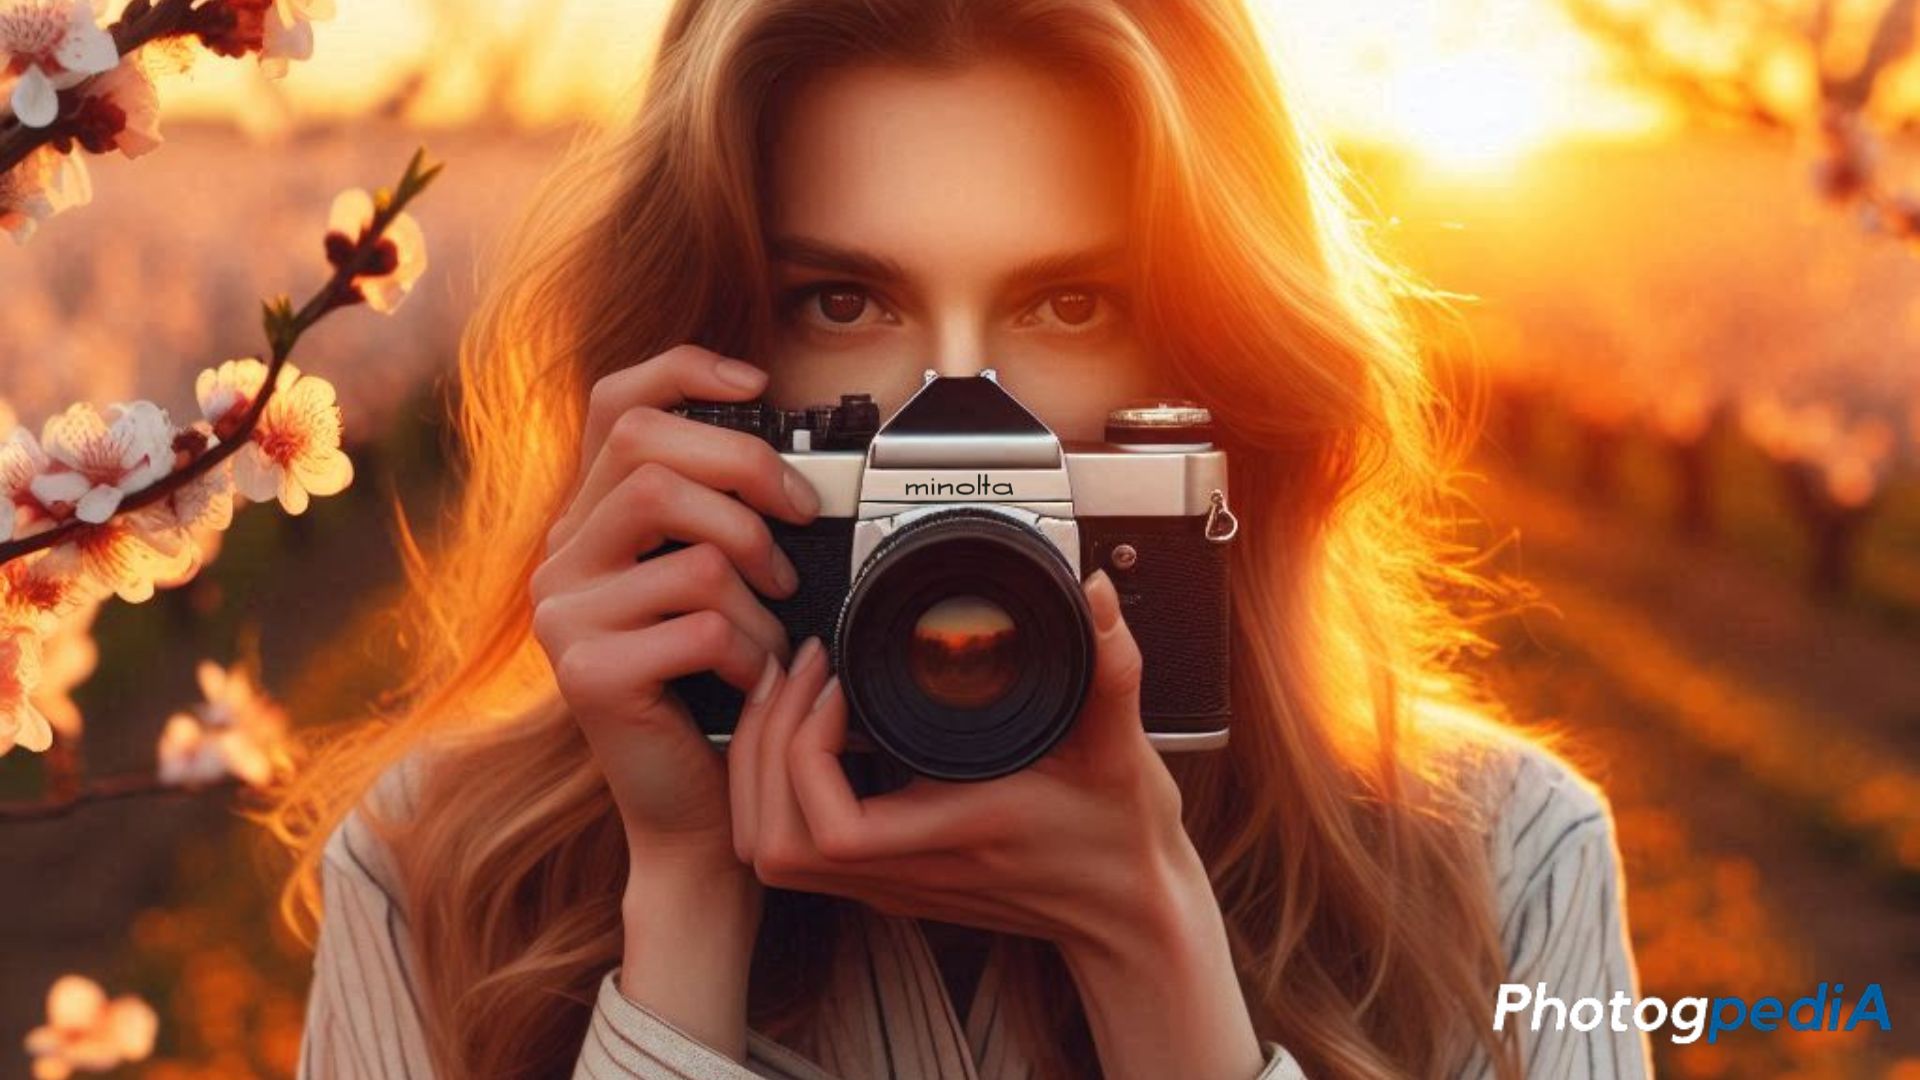
Types of Cameras: DSLR, Mirrorless, and Smartphones
Before we delve into the technical aspects and basic photography tips, it’s crucial to familiarize ourselves with the different types of cameras available. Whether you’re a seasoned photographer or just starting out, understanding your gear’s strengths and limitations is essential.
DSLRs, or Digital Single-Lens Reflex cameras, offer a high degree of control and versatility, making them popular among professionals and enthusiasts alike. Their interchangeable lenses allow for a wide range of creative possibilities.
Mirrorless cameras, on the other hand, provide similar features to DSLRs but in a more compact and lightweight design. They’re often favored by those who prioritize portability without sacrificing image quality.
Finally, smartphones have become increasingly capable of capturing high-quality photos. While they may not offer the same level of manual control as DSLRs or mirrorless cameras, they’re a convenient and accessible option for many photographers.
Regardless of the camera you choose, the key is to understand its capabilities and limitations. This knowledge will empower you to make informed decisions and capture stunning images.
Know Your Camera Settings: Aperture, Shutter Speed, and ISO
Once you’ve familiarized yourself with your camera, it’s time to explore the fundamental settings that control exposure. These three essential elements—aperture, shutter speed, and ISO—work together to determine how light is captured.
Aperture controls the size of the lens opening, affecting the depth of field. A wide aperture (low f-number) creates a shallow depth of field, blurring the background and focusing attention on the subject. Conversely, a narrow aperture (high f-number) results in a greater depth of field, keeping both the foreground and background in focus.
Shutter speed determines how long the camera’s sensor is exposed to light. A fast shutter speed (short exposure time) freezes motion, while a slow shutter speed (long exposure time) creates a sense of motion blur, often used for capturing water or city lights.
ISO represents your camera’s sensitivity to light. A low ISO setting is ideal for well-lit conditions, reducing noise. However, in low-light situations, a higher ISO setting is necessary to capture sufficient light, although it may introduce more noise.
Understanding how these three settings interact is crucial for achieving the desired exposure and creative effects in your photography.
Mastering Exposure
The Exposure Triangle: Aperture, Shutter Speed, ISO
The exposure triangle is a fundamental concept in photography, illustrating the interconnectedness of aperture, shutter speed, and ISO. These three elements work in harmony to create a well-exposed image. If you adjust one setting, you’ll often need to modify the others to maintain the desired exposure.
For instance, increasing your ISO to capture more light in low-light conditions may introduce noise. To compensate, you could also widen the aperture or use a slower shutter speed.
How to Achieve the Perfect Exposure
Mastering the exposure triangle is essential for capturing well-exposed images. The ideal settings will vary depending on the specific lighting conditions of your scene. In bright sunlight, you might opt for a lower ISO and a faster shutter speed to prevent overexposure. Conversely, in low-light situations, you’ll likely need a wider aperture or a slower shutter speed to allow more light to reach the sensor.
By understanding the exposure triangle and experimenting with different settings, you’ll gain the confidence to create beautifully exposed photographs.
Basic Photography Composition Tips
Rule of Thirds
A classic composition technique, the rule of thirds, guides photographers in placing subjects within the frame for a more visually appealing result. Imagine dividing your image into nine equal parts using two horizontal and two vertical lines. By positioning your subject along these lines or at their intersections, you can create a sense of balance and draw the viewer’s attention to the most important elements of your photo.
This technique can be particularly effective for portraits, landscapes, and other genres of photography. Experiment with the rule of thirds to see how it can enhance your compositions.
Leading Lines

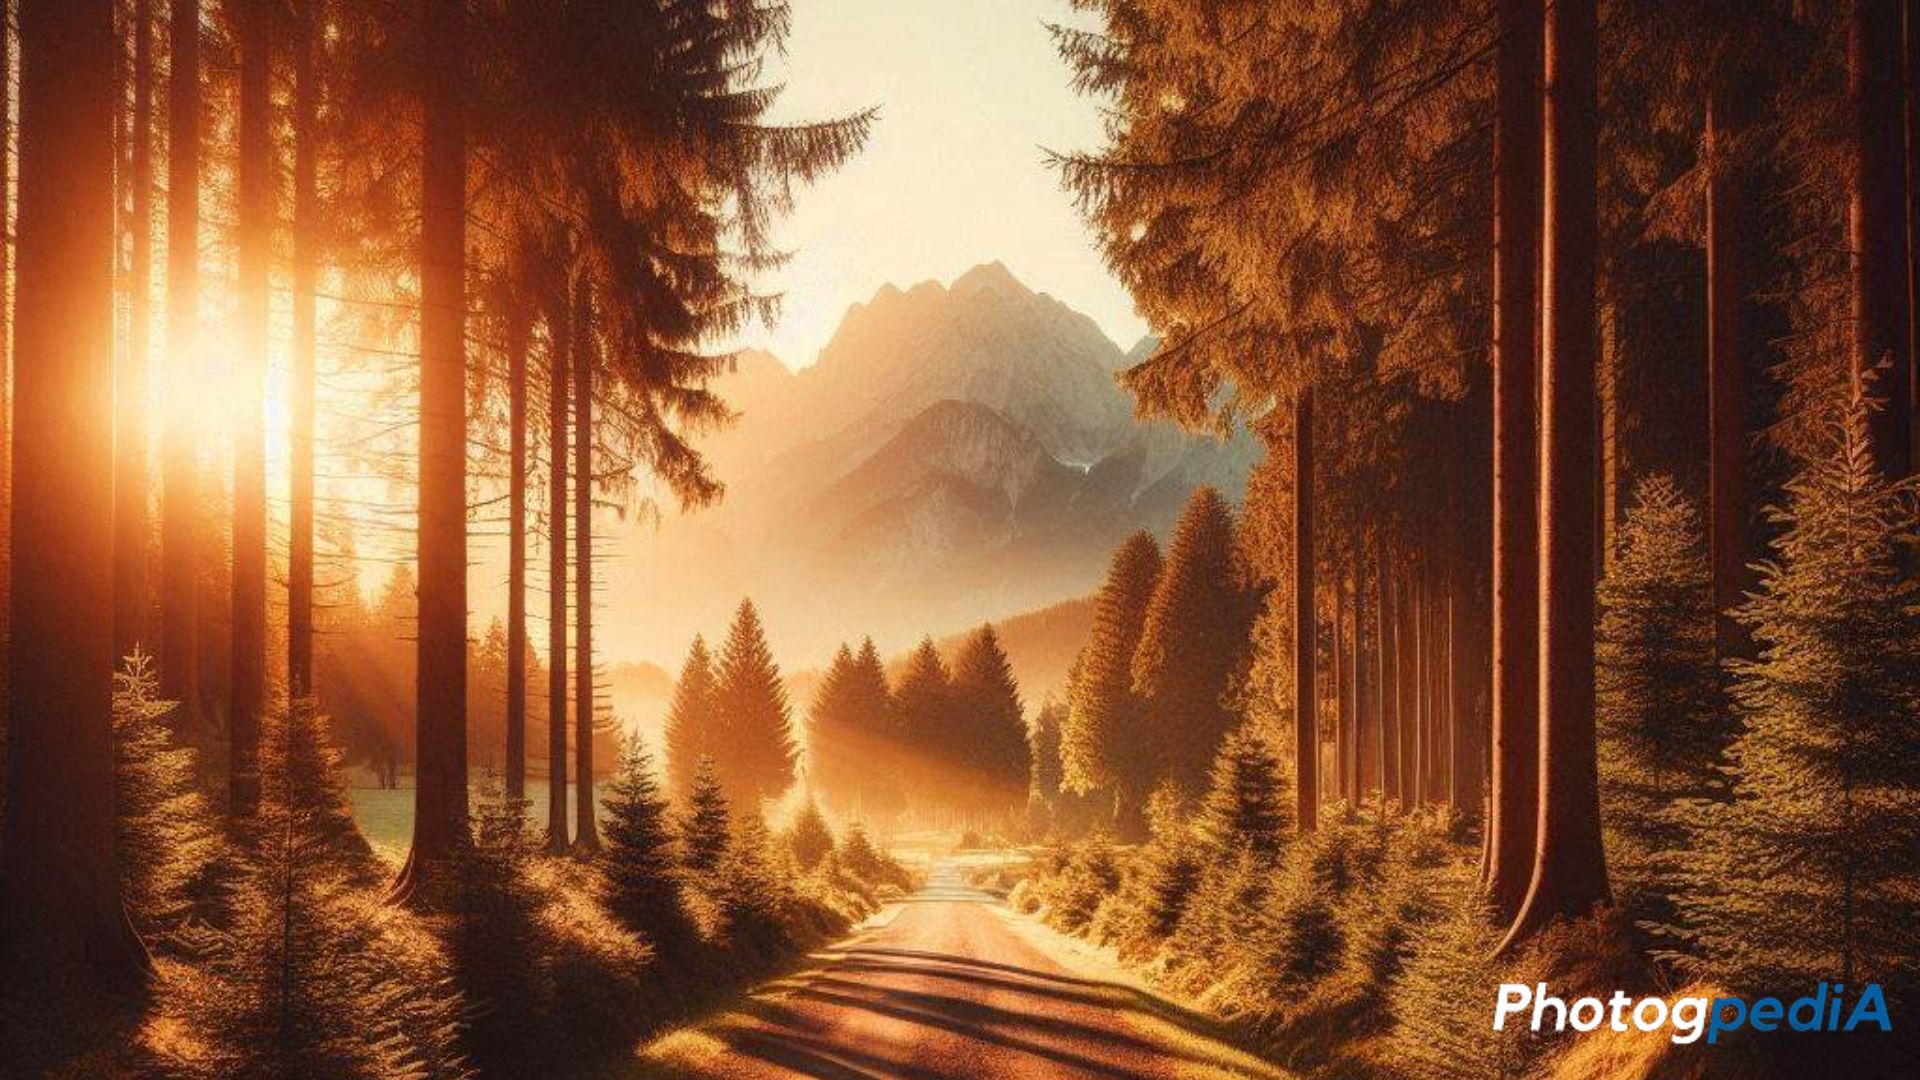
Another powerful compositional tool is the use of leading lines. These are elements within the scene that guide the viewer’s eye towards the main subject. Roads, rivers, railways, or even architectural features can serve as leading lines. When doing so, you can create a sense of depth and direction, making your images more dynamic and engaging.
Symmetry and Patterns
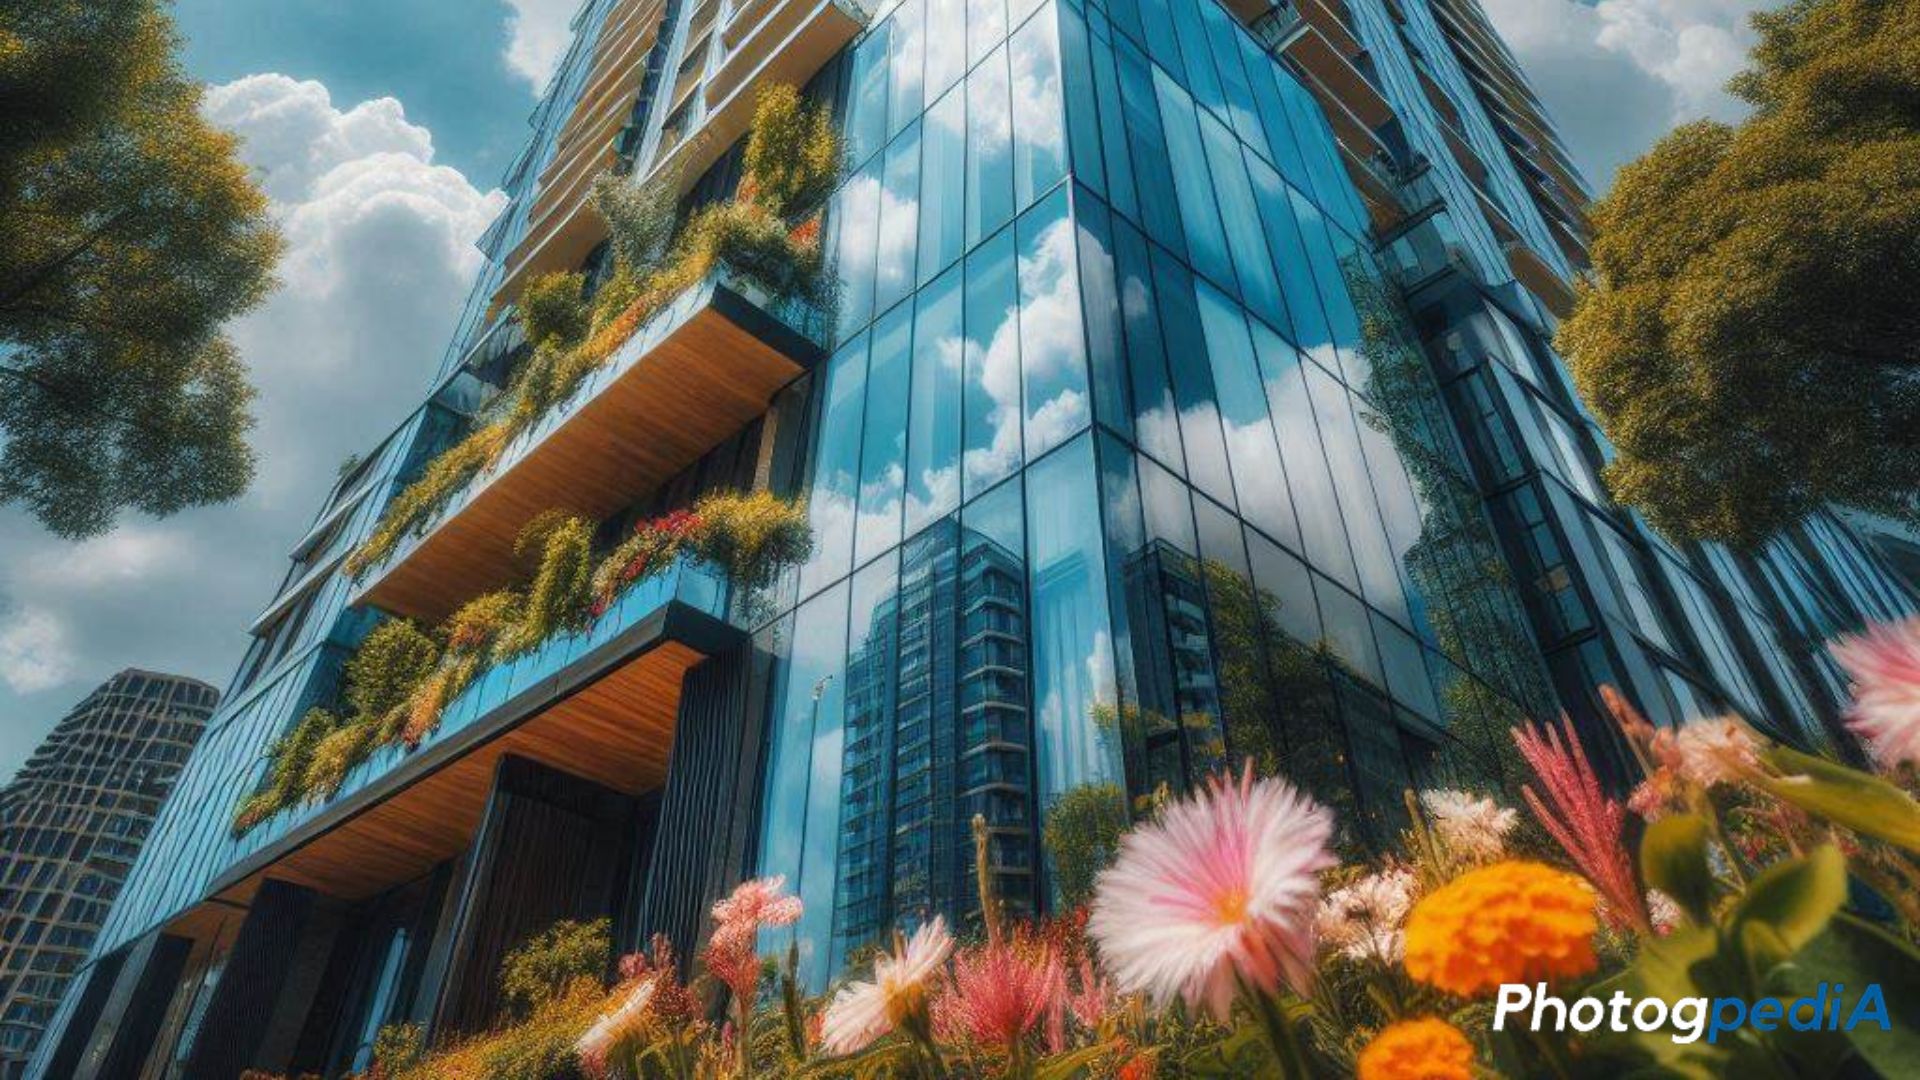
Symmetry and patterns can add a touch of harmony and visual interest to your photographs. Whether you’re capturing the symmetrical facade of a building or the repeating patterns found in nature, these elements can create a sense of order and balance.
Symmetry refers to images where elements are arranged in a way that creates a sense of equality and balance. Patterns involve repeated elements, such as shapes, colors, or textures. Both symmetry and patterns can be used to create visually striking compositions that draw the viewer’s attention.
Framing Your Shot
Framing is a compositional technique that involves using elements within the scene to create a natural frame around your subject. This can be achieved by positioning trees, buildings, windows, or other elements in a way that surrounds your subject. Moreover, you can draw the viewer’s attention to the main focus of your photo and add a sense of depth and context.
Lighting Essentials
Using Natural Light vs. Artificial Light
Lighting can make or break a photograph. Natural light is often softer and more flattering, especially during golden hour—the time shortly after sunrise or before sunset. Artificial light, such as from a lamp or flash, can be harsher, but it’s useful in low-light situations.
Golden Hour and Blue Hour Photography
Golden hour provides warm, soft lighting that’s ideal for portraits and landscapes. On the other hand, blue hour, which occurs just before sunrise or after sunset, gives a cooler, more atmospheric feel to photos.
Shadows and Highlights
Shadows and highlights add depth and dimension to your images. Learning to balance them is key to creating visually interesting photos. For instance, harsh midday sunlight can create strong shadows, while diffused light on a cloudy day produces softer shadows.
Focus and Depth of Field

Achieving Sharp Focus
Focusing on your subject is critical for a sharp, clear photo. Many cameras offer autofocus, but manually focusing allows for greater control, especially in tricky lighting conditions or with moving subjects.
Understanding Depth of Field: Shallow vs. Deep Focus
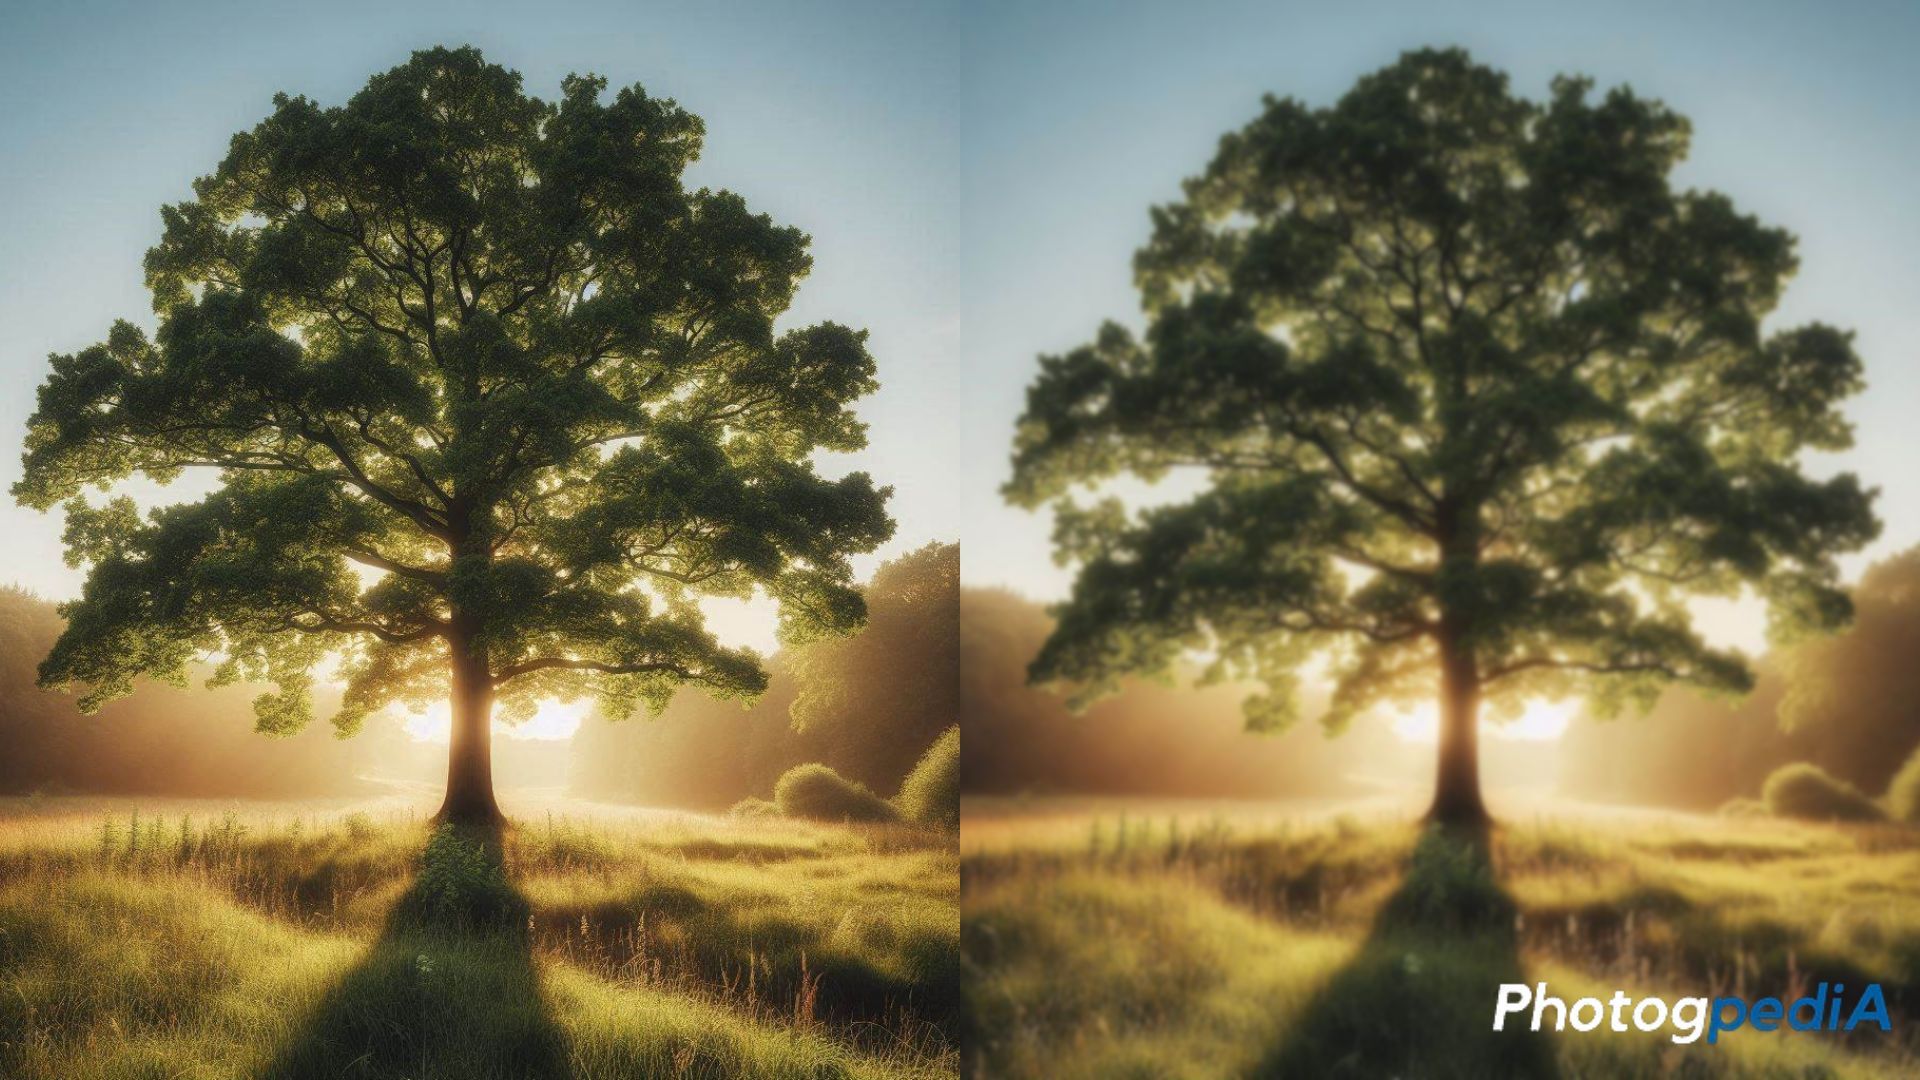
Depth of field refers to how much of your photo is in focus. A shallow depth of field, achieved with a wide aperture, blurs the background, making the subject stand out. Meanwhile, a deep depth of field keeps more of the image in focus, ideal for landscape photography.
Shooting in Manual Mode
Benefits of Using Manual Mode
Manual mode gives you complete control over your camera’s settings. While auto mode can make quick adjustments, manual mode allows you to customize each shot for optimal results. This is especially helpful when shooting in challenging lighting conditions.
Step-by-Step Guide to Shooting Manually
Start by adjusting your ISO based on the lighting, then set your aperture for the desired depth of field. Finally, tweak the shutter speed to balance the exposure. It may take some practice, but shooting manually opens up creative possibilities.
Photography Gear Essentials
Must-Have Accessories: Tripod, Lens Filters, Memory Cards
In addition to your camera, certain accessories can elevate your photography. A sturdy tripod helps stabilize your camera for long exposures. Lens filters can enhance colors or reduce reflections, and extra memory cards ensure you never miss a shot.
Choosing the Right Lenses for Different Photography Styles
Lenses are just as important as your camera. A wide-angle lens is perfect for landscapes, while a portrait lens with a large aperture is ideal for portraits. Choosing the right lens depends on the type of photography you enjoy.
Basic Photography Editing Tips
Importance of Post-Processing
Post-processing helps fine-tune your images, correcting exposure, color balance, and composition. While it’s important not to overdo it, a little editing can turn a good photo into a great one.
Editing Software Recommendations: Lightroom, Photoshop, and Free Alternatives
Lightroom and Photoshop are industry-standard tools for editing photos, offering advanced features for color correction, cropping, and retouching. Free alternatives like GIMP and Snapseed are also great for beginners.
Common Photography Mistakes to Avoid
- Overexposure and Underexposure: Too much or too little light can ruin a photo.
- Not Focusing on the Subject: Make sure your main subject is clear and sharp.
- Poor Composition: Avoid centering your subject too often; try using the rule of thirds.
Experimenting with Angles

Low Angle vs. High Angle
Changing your shooting angle can dramatically alter the mood of your photo. A low angle can make your subject appear more powerful, while a high angle can give a sense of vulnerability.
Eye-Level Shots and Creative Perspectives
Shooting at eye level creates a more intimate connection between the subject and the viewer. Regardless, don’t be afraid to experiment with different perspectives for more creative shots.
Understanding White Balance
Why White Balance Matters
White balance ensures that the colors in your photo appear natural. Different lighting conditions can cast a yellow, blue, or green tint on your images. Adjusting the white balance corrects these color casts.
How to Adjust White Balance for Different Lighting Conditions
Most cameras offer preset white balance settings, such as daylight, cloudy, and tungsten. Manually adjusting white balance allows for more precise color correction based on the scene’s lighting.
Capturing Movement
Freezing Action with Fast Shutter Speed
To capture fast-moving subjects, like a running dog or a speeding car, use a fast shutter speed. This specifically freezes the action and creates a sharp, detailed image.
Creating Motion Blur for Dynamic Shots
Alternatively, slowing down your shutter speed can introduce motion blur, adding a sense of movement and energy to your photos. This is especially effective in sports or street photography.
Telling a Story through Photos
Creating a Narrative
Good photography is not just about following some basic photography tips —it’s about storytelling. Whether you’re capturing a series of travel photos or documenting a special event, think about the story you want to tell.
Emotional Impact and Connecting with the Viewer
Secondly, photos evoke emotions. Capturing a subject’s expression, a fleeting moment, or a dramatic scene can create an emotional connection with the viewer, making your images more impactful.
Conclusion
In photography, practice truly makes perfect. Practice these basic photography tips and you’re on your way to capturing significantly better photos. By understanding your camera, mastering exposure, and learning key composition techniques, you can improve your skills and create stunning images. Keep experimenting, learning, and most importantly, have fun behind the lens!
Afterword
Finally, as you embark on your photography journey, remember that practice is key. The more you experiment with all these basic photography tips, the better you’ll become at capturing stunning images. Don’t be afraid to step outside your comfort zone and try new things. With dedication and a passion for photography, you’ll be well on your way to becoming a skilled photographer.
Want to learn more? Check out these related articles for additional tips and tricks:
About the Author
Hi, I’m Mark – an amateur photographer that first started in 2020. I particularly capture action figures in miniature settings and dioramas. You can follow more of my work at the following social media channels:
- Instagram – iselandmarkventures
- Facebook – iselandmarkventures
- YouTube – The Iselandmarkventures

