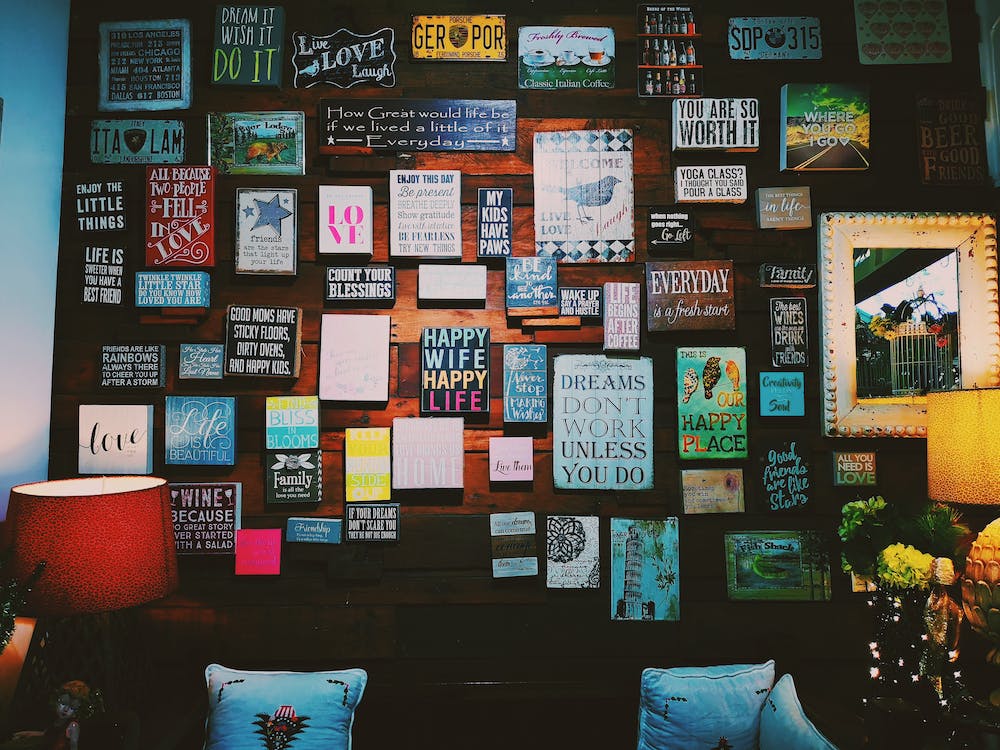
If you’re looking for a unique and modern way to display your favorite photographs, metal prints are a great option. Not only do they offer a sleek and glossy finish, but they’re also durable and long-lasting. However, mounting metal prints can be a bit tricky, especially if you’re not familiar with the process. In this article, we’ll explore the best way to mount metal prints and ensure that they’re displayed in the most professional and secure way possible.
Table of Contents
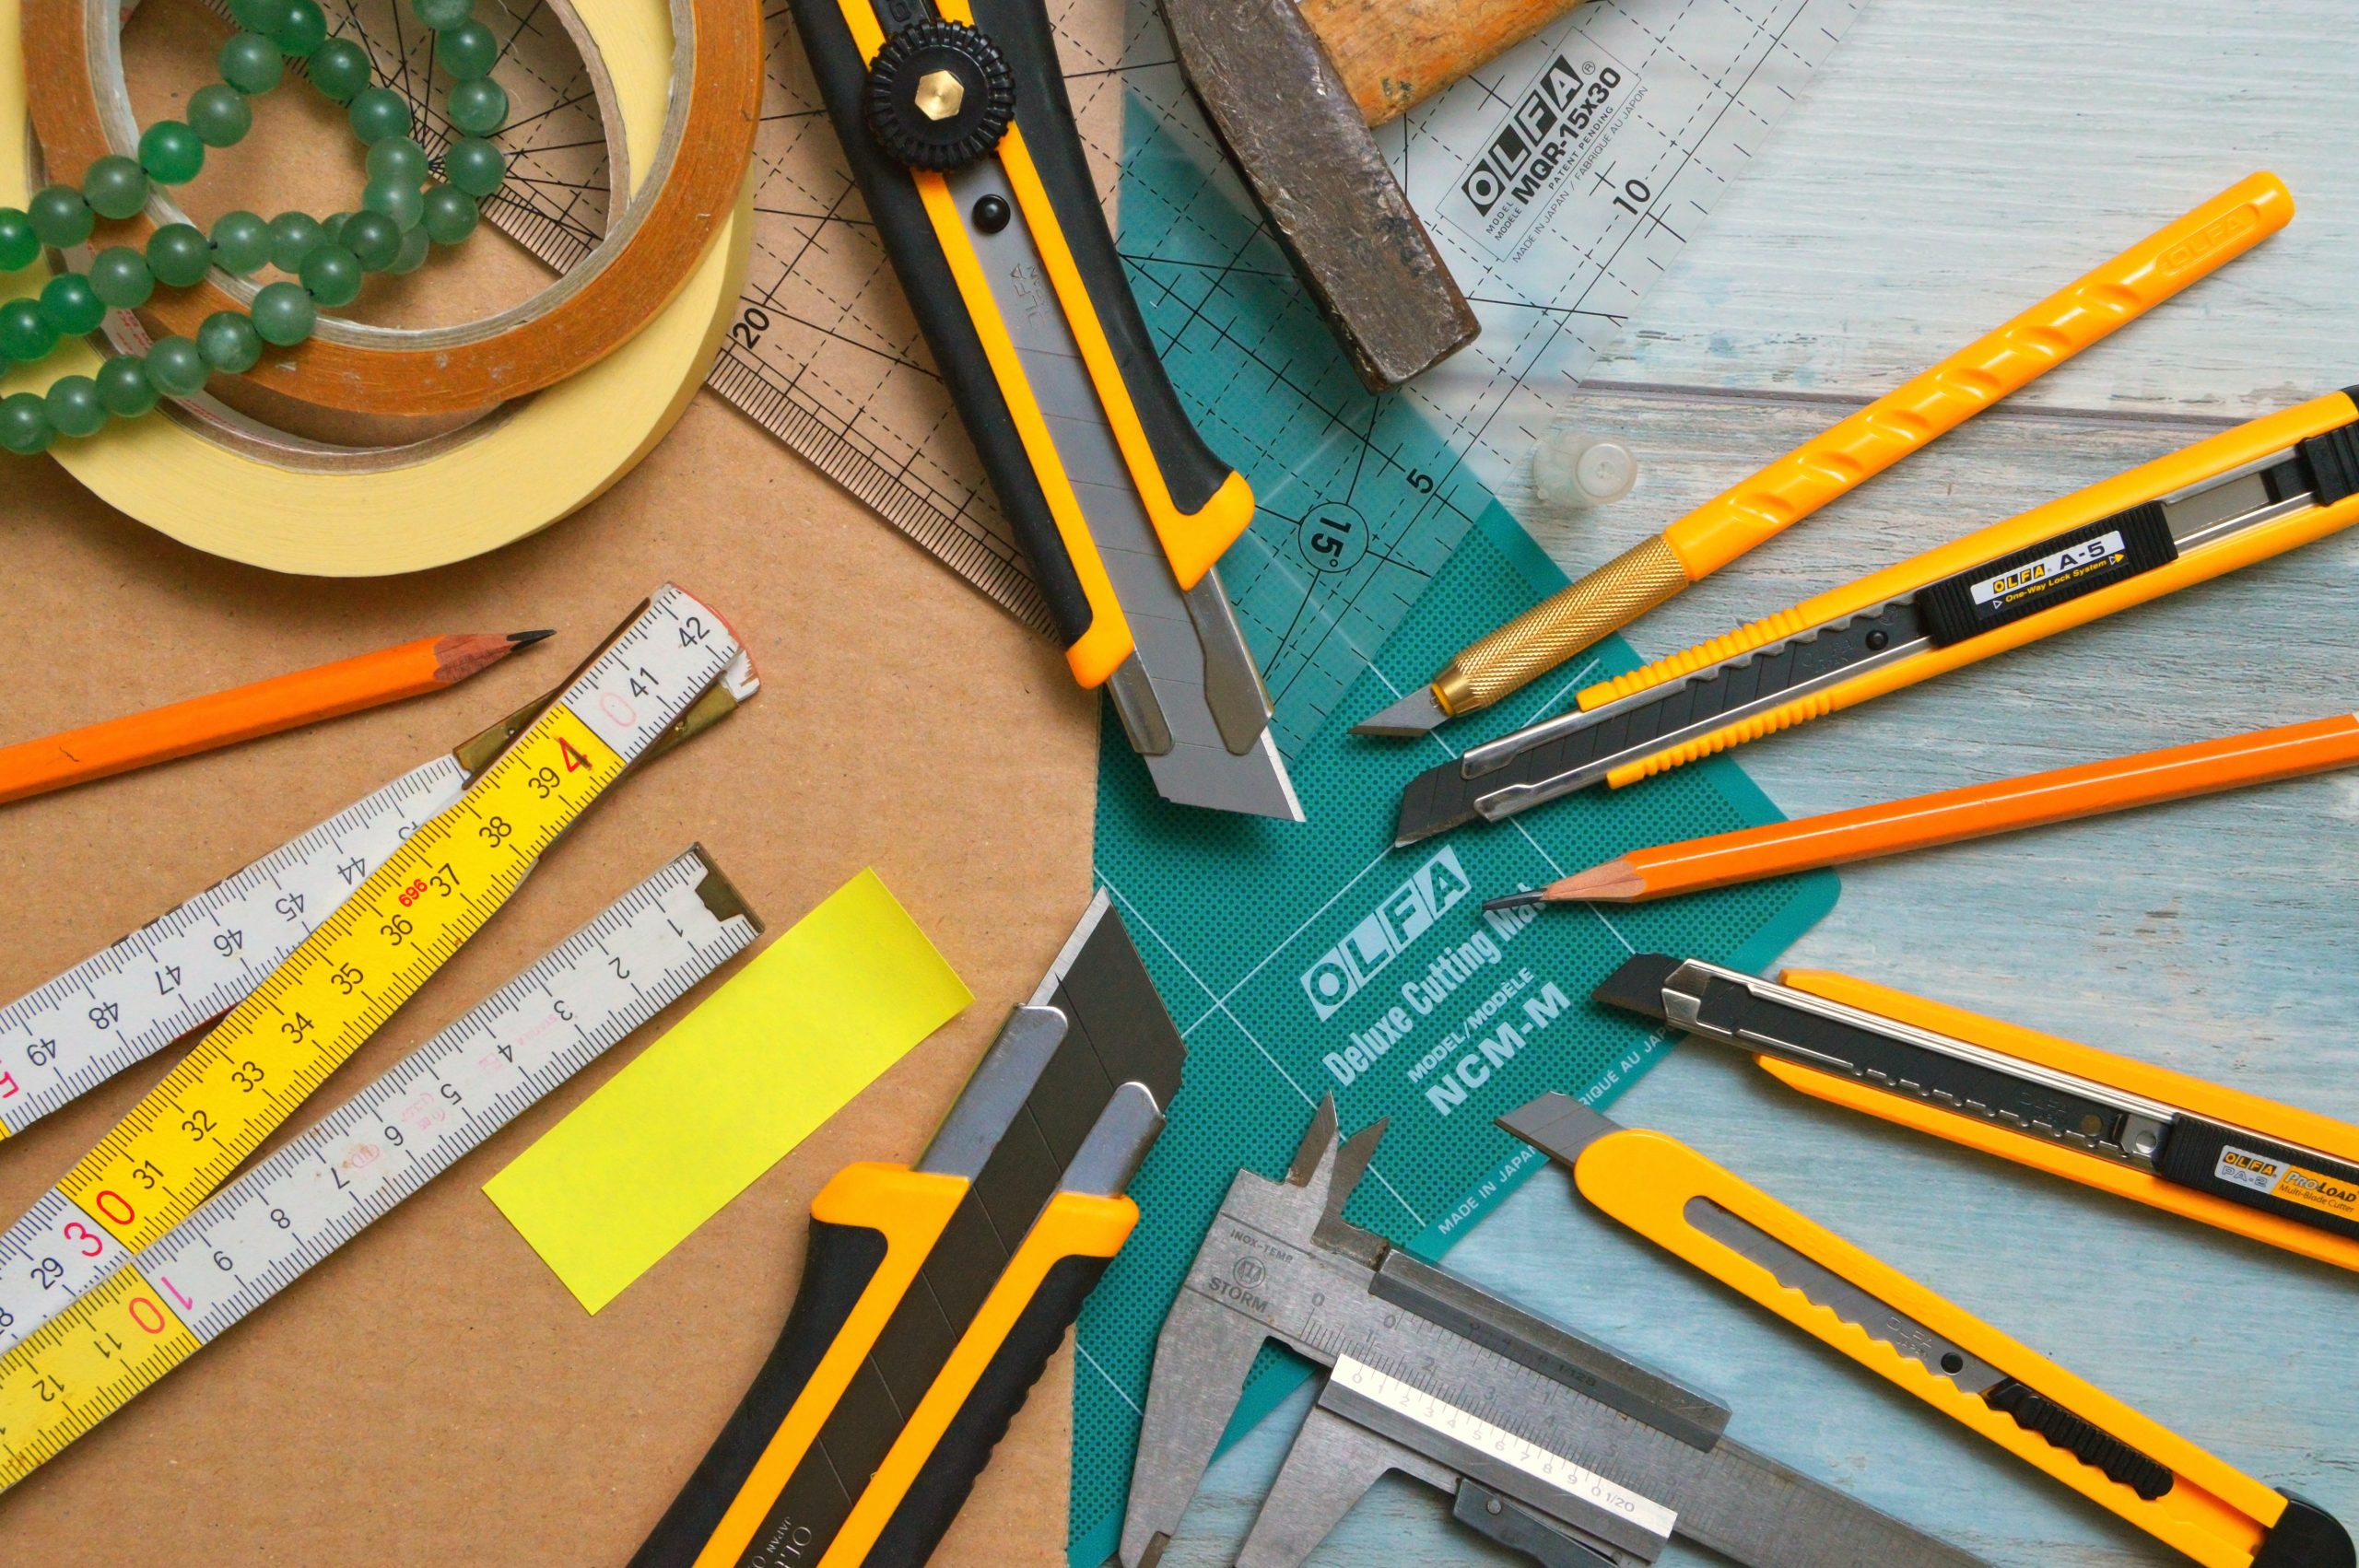
What You’ll Need
Before we dive into the steps, it’s important to have all the necessary materials on hand. Here’s what you’ll need:
- Metal print
- Mounting hardware (such as standoffs or French cleats)
- Power drill
- Level
- Pencil
- Tape measure
- Screws and wall anchors (if needed)
- Soft cloth or microfiber towel
Step 1: Choose Your Mounting Hardware
The first step in mounting a metal print is to choose the appropriate hardware. There are two common options: standoffs and French cleats.
Standoffs
Standoffs are small metal pieces that screw into the wall and hold the metal print away from the wall by a few inches. They come in a variety of finishes and sizes and are a popular choice for modern and minimalist displays.
French Cleats
French cleats are a two-part system that involves a metal bracket that is attached to the wall and a corresponding bracket that is attached to the back of the metal print. The two pieces then fit together to securely hold the print in place.
Both options are durable and can support the weight of a metal print, so it ultimately comes down to personal preference and aesthetic.
Step 2: Measure and Mark

Once you have your hardware, it’s time to measure and mark where the mounting holes will go. Use a tape measure to find the center of the print and mark it with a pencil. Then, measure the distance between the mounting holes on your chosen hardware and mark those spots on the print.
Step 3: Pre-Drill Holes
Using a power drill, pre-drill holes where you marked the mounting holes. Make sure the drill bit is the appropriate size for your screws to ensure a secure fit.
Step 4: Attach Mounting Hardware
With the holes drilled, it’s time to attach the mounting hardware. Follow the manufacturer’s instructions for your chosen hardware to ensure that it’s installed correctly and securely.
Step 5: Hang the Metal Print
Now that the mounting hardware is installed, it’s time to hang the metal print. Use a level to ensure that the print is straight and adjust as necessary. Once it’s in place, use a soft cloth or microfiber towel to wipe away any fingerprints or smudges.
Additional Tips
- Always make sure that your mounting hardware is securely attached to the wall and can support the weight of the metal print.
- If you’re unsure about the weight of your metal print, consider using multiple mounting points or consulting with a professional.
- Avoid hanging metal prints in direct sunlight or areas with high humidity, as this can damage the print over time.
BONUS: Metal Print Gifts After Care and Maintenance

1. Avoid Direct Sunlight
Firstly, sunlight is harmful to any type of prints due to the UV exposure it causes. Direct exposure to sunlight causes changes in color particularly fading.
Proper lighting can bring out the colors of these display pieces. Indoor light sources are preferred rather than placing your prints in areas that are hit with direct sunlight.
2. Avoid Wet and Humid Areas
Secondly, humidity is another factor for wall art deterioration. Humidity causes your prints to be subjected to vapor. Wetness affects the surface of the printing medium and with time, also changes not just the durability but also the color.
General tip for this is to display these wall art in air conditioned rooms if possible. Air conditioners regulate not just the temperature of the room but also the room’s humidity.
3. Avoid Rubbing
Next, when cleaning your wall art, it is of best practice to dust them instead. Rubbing the wall arts causes friction to its surface. Friction causes heat and at times, scratches. Heat also affects the paint applications on your chosen medium. Though most mediums are scratch resistant, it’s still best practice to use a feather duster instead of a cloth.
4. Avoid using Chemicals
Lastly, we know that it’s tempting to use cleaning chemicals to easily clean various surfaces. With regards to prints though, it is best to avoid them. The ink used on your wall art pieces may have certain reactions to cleaning products and affect their overall appearance.
If some areas of your prints are still unclean upon dusting, a wet damp cloth will suffice. If this fails, it would be best to take your display pieces to professional cleaners.
Conclusion
Mounting metal prints can seem intimidating, but with the right tools and techniques, it’s a straightforward process. By following these steps, you can ensure that your metal prints are mounted securely and displayed in the most professional and attractive way possible.
FAQs
1. Can I mount a metal print without drilling holes?
While there are some adhesive options available, they may not be as secure or long-lasting as drilled mounting hardware.
2. Can I use regular screws and anchors to mount a metal print?
It’s important to use hardware specifically designed for metal prints
3. How do I clean my metal print?
Use a soft cloth or microfiber towel to gently wipe away any dust or debris. If needed, you can use a mild soap and water solution to clean the print, but be sure to dry it thoroughly afterward.
4. What size standoffs should I use for my metal print?
The size of your standoffs will depend on the size and weight of your metal print. Consult with the manufacturer or a professional if you’re unsure.
5. Can I mount a metal print on a slanted or uneven wall?
It’s best to mount metal prints on flat and level surfaces to ensure they’re securely and safely displayed.
6. How do I remove a mounted metal print?
Carefully unscrew the mounting hardware from the wall and metal print. Use a soft cloth or microfiber towel to wipe away any leftover residue.
By following these guidelines and tips, you can confidently mount your metal prints in a professional and secure manner. Whether you choose standoffs or French cleats, be sure to carefully measure and mark before drilling and attaching the hardware. With the right tools and techniques, you can create a stunning and modern display that showcases your favorite photographs and memories.
Afterword
We hope that you find this article helpful to mount your metal prints. Thank you for reading and you’re always free to leave a comment. If you find this article interesting, consider checking out one of our recently published posts. A few of them showcase advancements in technology such as AI Art Generators. On the other hand, if you’re looking towards Photography, we also offer great articles for your inspiration. We also have multiple articles that talk about the various printing mediums for wall art. May these articles give you inspiration for your next print!
Find them here:
AI Art Generators : Img2Img
Stable Diffusion Tips and Tricks
Stable Diffusion : AI Art Generator Spotlight
The Printing Mediums of Wall Art
The Top Food Photography Trends to Try Now
We enjoy reading your comments and insights with our posts! Should you have any questions or concerns, feel free to leave them below! -Mark

