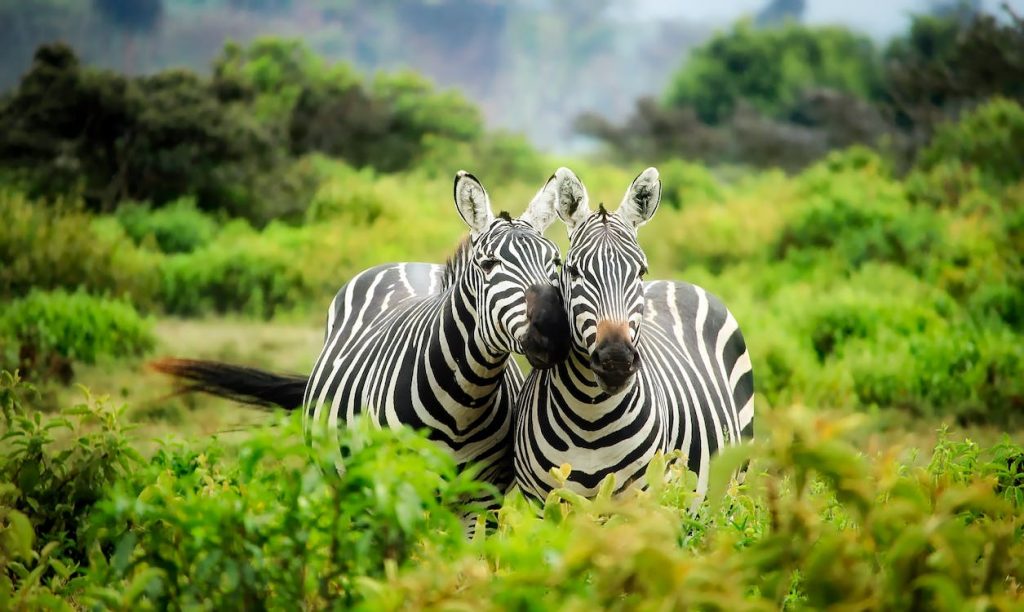
In wildlife photography, capturing the essence of nature often requires more than just a camera click. This is where the art of wildlife photo editing comes into play, transforming ordinary shots into stunning visual narratives. Uncover some invaluable tips to elevate your wildlife photos!
Table of Contents
Introduction
Wildlife photo editing involves enhancing and refining images captured in natural settings. It’s a creative process that aims to bring out the best in wildlife photos, showcasing the beauty of the subject and the environment.
Editing allows photographers to correct imperfections, highlight details, and evoke specific moods, ensuring that the final image conveys the photographer’s vision accurately.
Basic Wildlife Photo Editing Techniques
Adjusting Exposure and Contrast
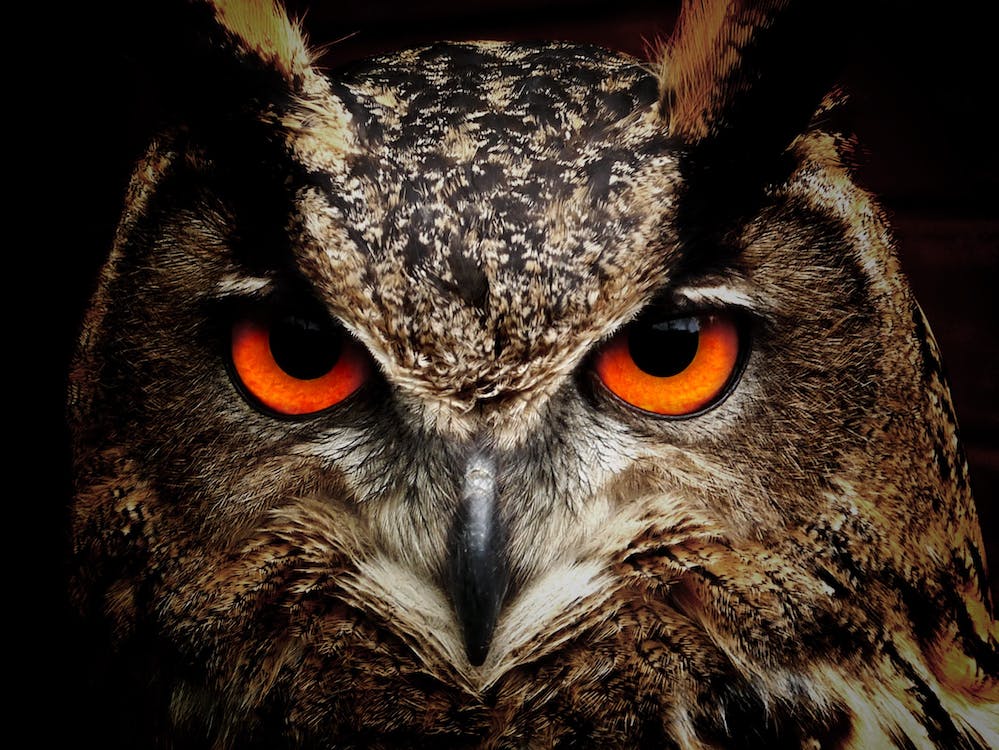
Proper exposure and contrast adjustments form the cornerstone of effective wildlife photo editing. Imagine a wildlife photo where the subject is hidden in the shadows, or the highlights are overblown, obscuring intricate details. Achieving the right balance is crucial in bringing out the best in your shots.
Adjusting exposure involves regulating the amount of light that enters the camera, ensuring that the subject is well-lit without sacrificing the nuances of the environment. This step is particularly essential in wildlife photography, where capturing the play of light on feathers, fur, or scales can enhance the overall visual impact.
Simultaneously, contrast adjustments contribute to the dynamic range of the image. Striking the right balance ensures that shadows retain depth, and highlights remain well-defined. This process allows the subject to stand out against its surroundings, creating a visually appealing and well-balanced photograph.
Enhancing Colors
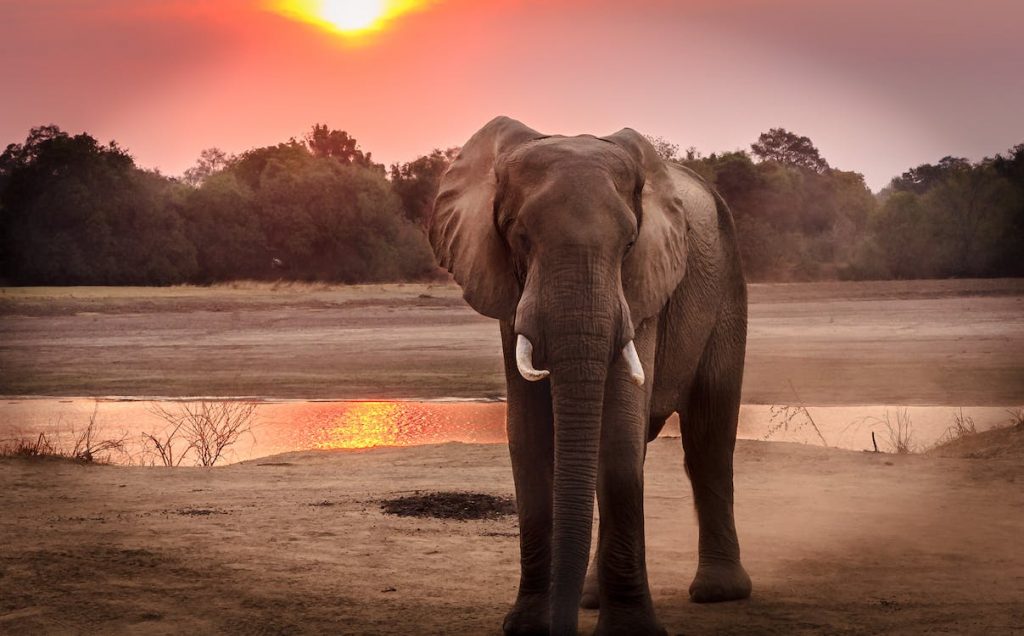
Wildlife photos come alive when colors are vibrant and true-to-life. Careful color enhancement during the editing process can breathe life into your images, making them more visually engaging. Whether it’s the rich hues of a bird’s plumage or the subtle tones of a natural habitat, accurate representation is key.
Begin by identifying the dominant colors in your image and ensuring they are well-saturated without appearing artificial. Adjustments to contrast and saturation can bring out the natural vibrancy of the scene, creating a captivating visual narrative. Strive for a balance that accentuates the beauty of the wildlife without veering into overly saturated or unrealistic territory.
Experimenting with color temperature can also add depth to your images. For example, slightly warming up the tones can evoke a golden hour ambiance, enhancing the warmth and appeal of your wildlife photographs.
Sharpening Images
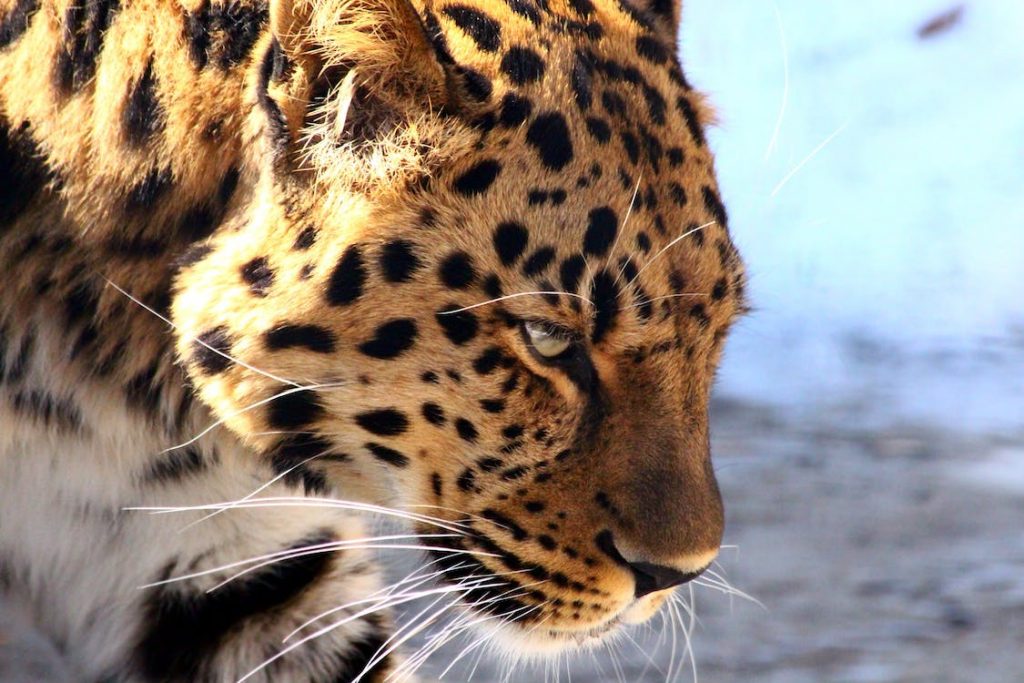
In the realm of wildlife photography, crisp and sharp images are non-negotiable. The intricate details of feathers, fur, or scales often make the difference between a good and an exceptional photograph. Sharpening tools in your editing arsenal become invaluable for this purpose.
However, it’s crucial to use sharpening judiciously. Over-sharpening can lead to unnatural artifacts and diminish the overall quality of the image. Adjust the sharpening parameters gradually, focusing on the areas that require emphasis. The goal is to enhance details without introducing unwanted visual noise or artifacts.
Consider employing selective sharpening techniques to emphasize specific elements within the frame, such as the eyes of an animal or the texture of its coat. This approach ensures that the sharpening process is targeted, preserving the overall natural look of the scene.
Removing Unwanted Elements
Creating a focused and impactful wildlife image often involves removing distractions from the frame. Unwanted elements, such as stray branches or other animals in the background, can divert attention from the main subject.
Utilize tools like the cloning or healing brush to seamlessly remove these distractions while maintaining the integrity of the scene. Take care not to leave noticeable artifacts, ensuring that the editing process remains imperceptible to the viewer. This technique not only enhances the visual clarity of the image but also directs the viewer’s gaze towards the primary subject, creating a more compelling and aesthetically pleasing photograph.
Specialized Editing for Wildlife Photography
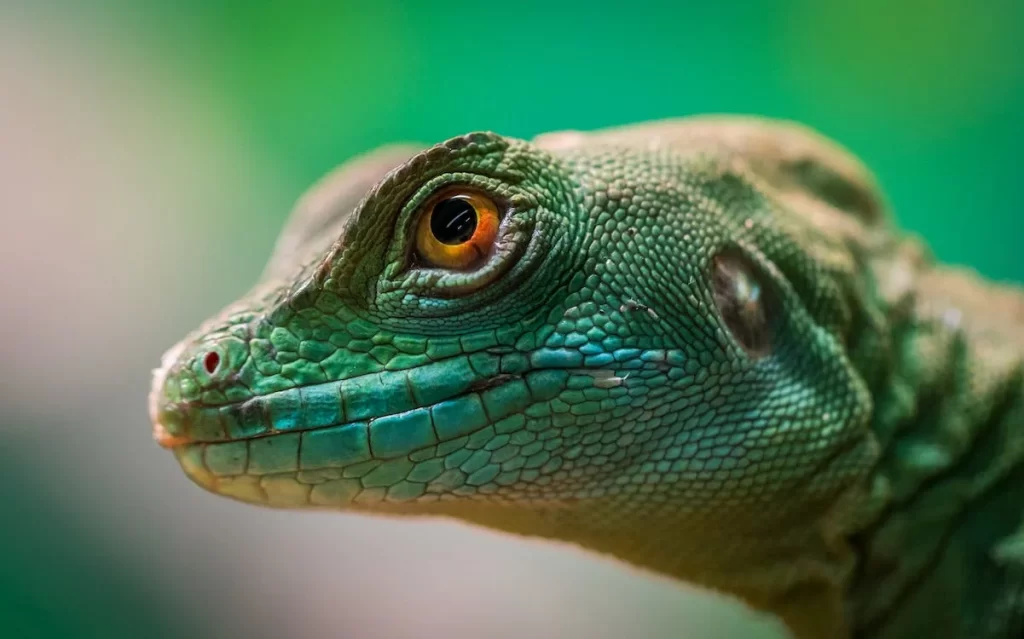
Focus on Eyes and Details
In the intricate world of wildlife photography, the adage holds true: the eyes are windows to the soul. For photographers, capturing the essence and emotion in an animal’s eyes can establish a profound connection with the viewer. During the editing process, prioritize the enhancement of eyes and intricate details to bring out the soulful expression and unique characteristics of the wildlife subject.
Zoom in on the eyes, ensuring they are well-lit and sharp. Adjust the contrast and saturation to emphasize the natural colors and reflections within the eyes. This subtle yet impactful enhancement can create a powerful focal point, drawing the viewer into the soul of the animal and forging a meaningful connection.
Attend to intricate details like fur, feathers, or scales. Employ tools such as the clarity adjustment to enhance the texture without sacrificing the overall natural look. Striking the right balance in highlighting these details contributes to the authenticity and visual appeal of the wildlife photograph.
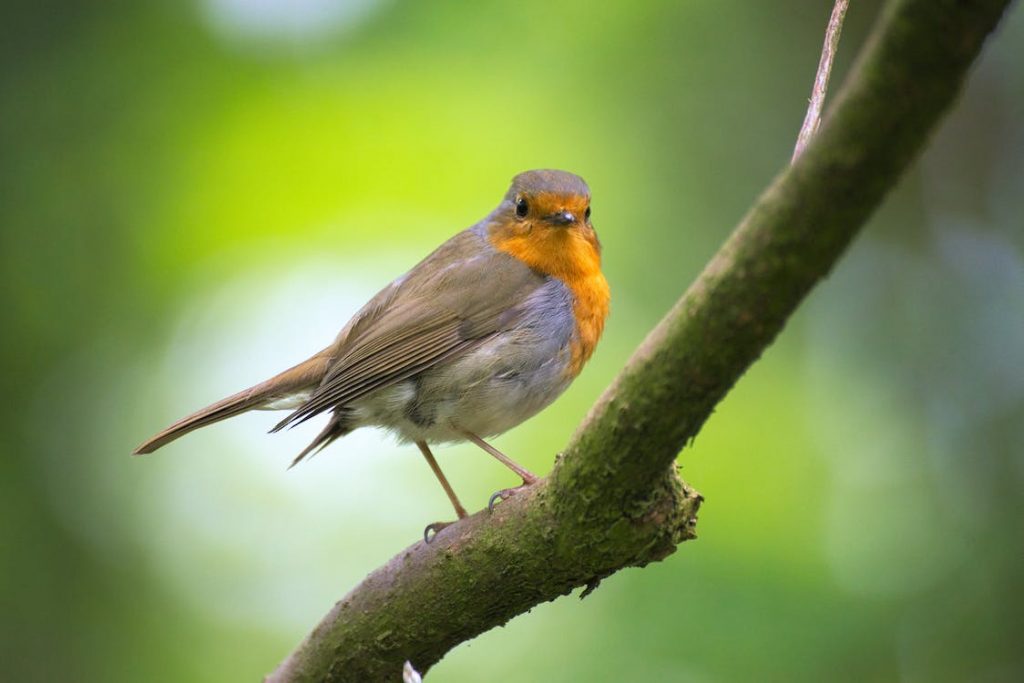
Background Blur for Subject Isolation
Subject isolation is a key aspect of wildlife photography, and achieving it through background blur can elevate your images to a professional level. Techniques like depth of field adjustments play a pivotal role in this process. By narrowing the depth of field, you can intentionally blur the background while keeping the subject in sharp focus.
Consider using a wide aperture (low f-number) to achieve a shallow depth of field. This technique directs the viewer’s attention squarely on the subject, creating a visually compelling image. Experiment with different apertures to find the right balance between subject isolation and maintaining enough context in the background to convey the natural habitat..
Adding Drama with Filters
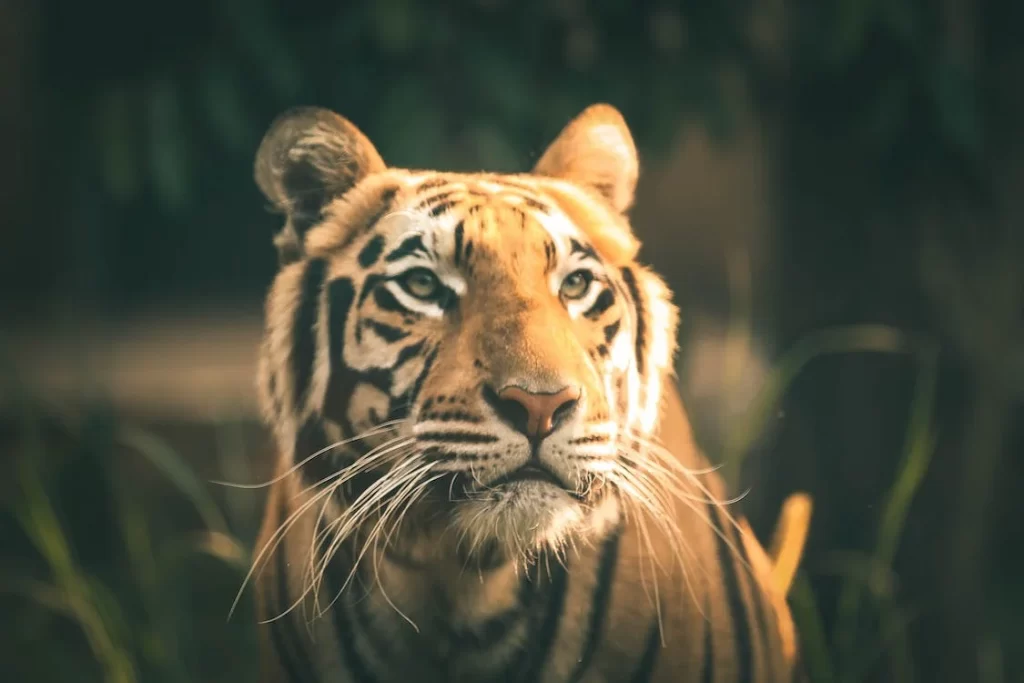
To infuse emotion and drama into your wildlife photos, experiment with filters during the editing process. Filters can evoke specific moods, emphasize certain colors, or enhance the overall atmosphere of the image. However, it’s crucial to use filters judiciously to maintain a natural look and avoid over-stylization.
Explore filters that enhance the warmth of sunlight, intensify the colors of the surroundings, or add subtle vignettes to draw focus. Consider the emotions you want to convey through the photograph and choose filters that complement these intentions.
Remember that subtlety is key; excessive use of filters can lead to an artificial appearance, detracting from the authenticity of the wildlife scene. Strive for a balance that adds drama without compromising the inherent beauty of the subject and its environment.
Cropping for Composition
Strategic cropping is a powerful tool in wildlife photo editing, allowing you to enhance composition and draw attention to the focal point of the image. The rule of thirds is a fundamental principle in this regard.
When cropping, imagine a grid divided into nine equal parts (three columns and three rows). Position the main subject or focal point along the intersecting lines or at their intersections. This technique creates a visually balanced and aesthetically pleasing composition.
Consider the overall balance of the image, ensuring that negative space and other elements contribute to the narrative without distracting from the main subject. Cropping for composition enables you to refine the storytelling aspect of your wildlife photography, guiding the viewer’s gaze and emphasizing the inherent beauty of the captured moment.
Tools and Software for Wildlife Photo Editing
Popular Editing Software
Two standout options are Adobe Lightroom and Photoshop, both renowned for their extensive toolkits tailored for advanced editing and manipulation.
Adobe Lightroom

This software is a staple for photographers, offering a comprehensive set of features specifically designed for photo editing. Lightroom allows you to make precise adjustments to exposure, contrast, color, and more. Its non-destructive editing capabilities ensure that your original files remain intact, providing flexibility in experimenting with different edits.
Adobe Photoshop

Widely regarded as the industry standard, Photoshop goes beyond basic adjustments and opens up a world of possibilities for wildlife photographers. From intricate retouching to complex compositing, Photoshop’s capabilities are virtually limitless. It’s the go-to choice for those seeking unparalleled control over every aspect of their images.
Online Editing Platforms
For quick and hassle-free edits without the need for software installations, online editing platforms come to the rescue. These platforms are particularly handy when you want to make simple adjustments or create social media-ready content. Two notable options in this category are Canva and Pixlr.
Canva

Known for its user-friendly interface and versatility, Canva is a web-based platform that simplifies the editing process. It offers a variety of templates and tools, making it easy to enhance your wildlife photos with overlays, text, and filters. Canva is not just an editing tool; it’s a creative hub where you can design eye-catching visuals effortlessly.
Pixlr

Pixlr provides a robust set of editing tools in a user-friendly online environment. It caters to both beginners and more advanced users, offering features like layers, filters, and color adjustments. Whether you need to quickly enhance colors or add creative effects, Pixlr’s accessibility makes it a valuable resource for on-the-go editing.
Mobile Apps for On-the-Go Editing
In the dynamic field of wildlife photography, being able to edit on the go is a game-changer. Mobile apps bring editing capabilities to your fingertips, allowing you to refine and share your wildlife photos instantly. Two standout mobile apps for on-the-go editing are Snapseed and VSCO.
Snapseed
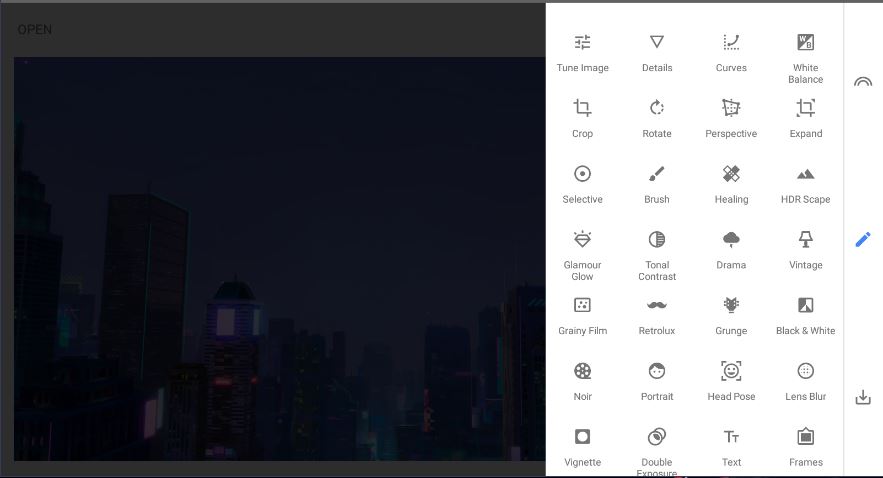
Developed by Google, Snapseed is a powerful and user-friendly mobile app that covers a wide range of editing needs. With features like selective editing, brush tools, and a variety of filters, Snapseed empowers you to enhance your wildlife photos directly from your smartphone.
VSCO

Known for its emphasis on simplicity and aesthetics, VSCO offers a minimalist interface paired with powerful editing tools. It provides an array of filters inspired by classic film tones, enabling you to add a unique touch to your wildlife photos. VSCO’s intuitive design makes it a favorite among mobile photographers seeking both convenience and creative control.
Conclusion
In conclusion, mastering wildlife photo editing requires a blend of technical skills, artistic sensibility, and ethical considerations. By following these tips and staying true to the essence of the scene, you can elevate your wildlife photography to new heights. For aspiring wildlife photographers, embrace the journey of learning and experimentation. Each edit brings you closer to capturing the untamed beauty of the natural world
Afterword
We hope that you find this article helpful. Thank you for reading and you’re always free to leave a comment. If you find this article interesting, consider checking out one of our recently published posts. A few of them showcase advancements in technology such as AI Art Generators. On the other hand, if you’re looking towards Photography, we also offer great articles for your inspiration. We also have multiple articles that talk about the various printing mediums for wall art. May these articles give you inspiration for your next print!
Find them here:
Discover the Secret to High-quality Canvas Prints
The 9 Best Canvas Print Companies in 2023
Acrylic Prints: Add Vibrance to Any Space
The Top Food Photography Trends to Try Now
The Ultimate Guide to Continuous Lighting for Photography
Stable Diffusion Tips and Tricks
Best AI Art Generator for Android Phones 2023
We enjoy reading your comments and insights with our posts! Should you have any questions or concerns, feel free to leave them below! -Mark

