Studio lighting is the backbone of professional portrait photography. It goes beyond just lighting a subject. It sets the mood, defines the atmosphere, and highlights the photographer’s artistic vision. Mastering studio lighting in portrait photography is a skill that can elevate your work to new heights.
Table of Contents
Key Components of Studio Lighting Setup
Understanding the key components of a studio lighting setup in portrait photography is essential for any photographer looking to elevate their photos. Whether you’re working with continuous lighting or strobes, the right selection of components can make all the difference in achieving the desired results.
Lighting Sources: Continuous vs. Strobe
The first decision in setting up your studio lighting is choosing between continuous lighting and strobes. Continuous lighting, as the name suggests, provides a constant source of light, making it easier to visualize the lighting effect in real-time.
On the other hand, strobes produce short bursts of intense light, allowing for freezing fast-moving subjects and creating dramatic effects. Understanding the strengths and limitations of each will guide your decision based on the specific needs of your shoot.
Light Modifiers: Softboxes, Umbrellas, Reflectors
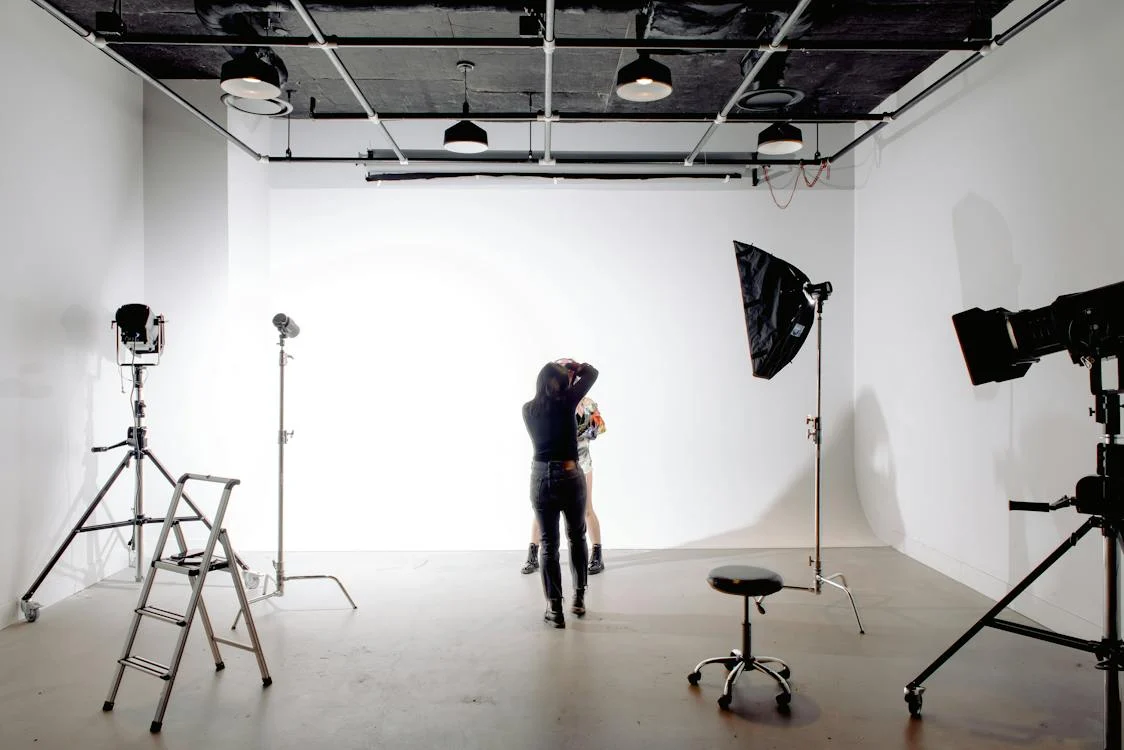
Once you’ve chosen your lighting source, the next crucial step is selecting the right light modifiers. These tools shape and control the light, influencing the mood and atmosphere of your portraits.
- Softboxes: Softboxes diffuse and soften the light, reducing harsh shadows and creating a flattering, even illumination. They are particularly useful for achieving a natural and gentle look in portraits.
- Umbrellas: Umbrellas are versatile modifiers that can be used to bounce or shoot through light. Bounce umbrellas create soft, indirect lighting, while shoot-through umbrellas produce a broader spread of light. Experimenting with different umbrella configurations adds creativity to studio lighting in portrait photography.
- Reflectors: Reflectors bounce light back onto the subject, filling in shadows and enhancing overall illumination. They come in various colors, allowing you to control the warmth or coolness of the reflected light. Reflectors are handy for achieving a balanced and well-lit portrait.
These key components work together to shape the quality and direction of light in your studio. Understanding how each element contributes to the final image empowers you to create visually stunning and professionally lit portraits.
Choosing the Right Light Modifier for the Situation
The choice of light modifier depends on various factors, including the type of portrait you’re capturing, the mood you want to convey, and the characteristics of your subject. Softboxes are excellent for achieving a classic and even illumination, while umbrellas provide versatility in controlling the spread of light. Reflectors, with their reflective surfaces, can add a touch of sparkle to the eyes and fill in shadows on the subject’s face.
Experimenting with different combinations of lighting sources and modifiers allows you to develop your signature style as a photographer. Don’t be afraid to mix and match to create unique effects that suit the specific requirements of each photoshoot.
Understanding Light Temperature and Color Rendering
The Kelvin scale and Color Rendering Index (CRI) are two essential aspects of studio lighting in portrait photography. They determine the color temperature of your lights and how accurately they represent the true colors of your subject. An understanding of these concepts is fundamental for achieving professional-looking portraits.
Kelvin Scale: Setting the Tone
The Kelvin scale is a measurement of color temperature, determining whether the light emitted by your sources appears warm or cool. Understanding this scale allows photographers to manipulate the color temperature to achieve specific effects.
- Warm Tones (Lower Kelvin): Lower Kelvin temperatures, around 2700-3500K, produce warm tones reminiscent of sunrise or sunset. This range is often favored for creating a cozy and intimate atmosphere in portraits.
- Neutral Tones (Mid-Range Kelvin): Ranging from 3500-5000K, mid-range Kelvin temperatures provide a neutral and balanced illumination, suitable for various portrait styles. This range is commonly used for capturing the natural colors of the subject.
- Cool Tones (Higher Kelvin): Higher Kelvin temperatures, 5000K and above, result in cooler tones resembling daylight. This cooler spectrum is often chosen for portraits requiring a fresh, modern, or high-energy look.
Having a firm grasp of the Kelvin scale empowers photographers to intentionally set the tone and mood of their portraits. It’s a tool that transforms the technical aspect of lighting into a creative decision-making process.
Color Rendering Index (CRI): True Colors Unveiled
While the Kelvin scale sets the temperature, the Color Rendering Index (CRI) measures how accurately a light source reproduces the true colors of the subject. The CRI is expressed as a numerical value, with a higher number indicating better color accuracy.
- High CRI (90 and above): Light sources with a high CRI provide accurate and true-to-life colors. This is particularly crucial in portrait photography, where skin tones and subtle nuances must be faithfully reproduced.
- Low CRI (Below 80): Lower CRI values may result in a shift in color accuracy, leading to muted or distorted tones. While this might be acceptable in certain creative contexts, achieving accurate skin tones often requires a higher CRI.
Understanding the CRI ensures that your studio lighting accurately represents the colors of clothing, accessories, and most importantly, the natural hues of your subjects’ skin.
Balancing Act: Harmonizing Kelvin and CRI
Achieving professional-looking portraits involves striking a delicate balance between the Kelvin scale and the Color Rendering Index. A warm-toned environment with high CRI can enhance the richness of skin tones, while a cooler-toned setting with precise color rendering can create a contemporary and crisp aesthetic.
Types of Studio Lighting Setups
From the classic Rembrandt lighting to the dramatic Split lighting, each setup has its unique characteristics. Whether you’re going for a high-key or low-key look, mastering different lighting techniques adds versatility to your portfolio.
Rembrandt Lighting: Painting with Light

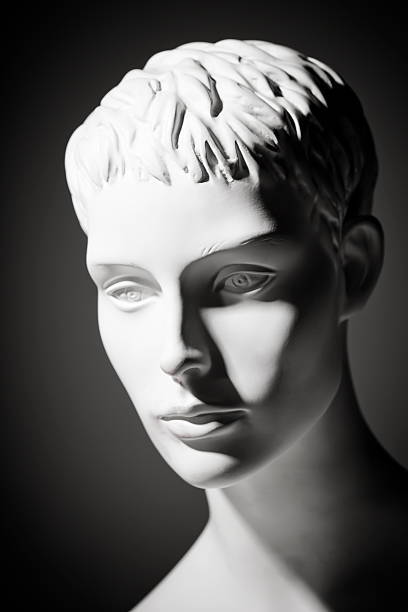
Named after the famous Dutch painter, Rembrandt lighting is a classic technique characterized by a small, triangular highlight on the cheek of the subject. Achieved by placing the key light at a 45-degree angle and slightly above eye level, this setup adds a touch of drama and dimension to the portrait. Rembrandt lighting is renowned for creating a timeless, painterly quality, emphasizing both light and shadow.
Butterfly Lighting: Elegant Symmetry
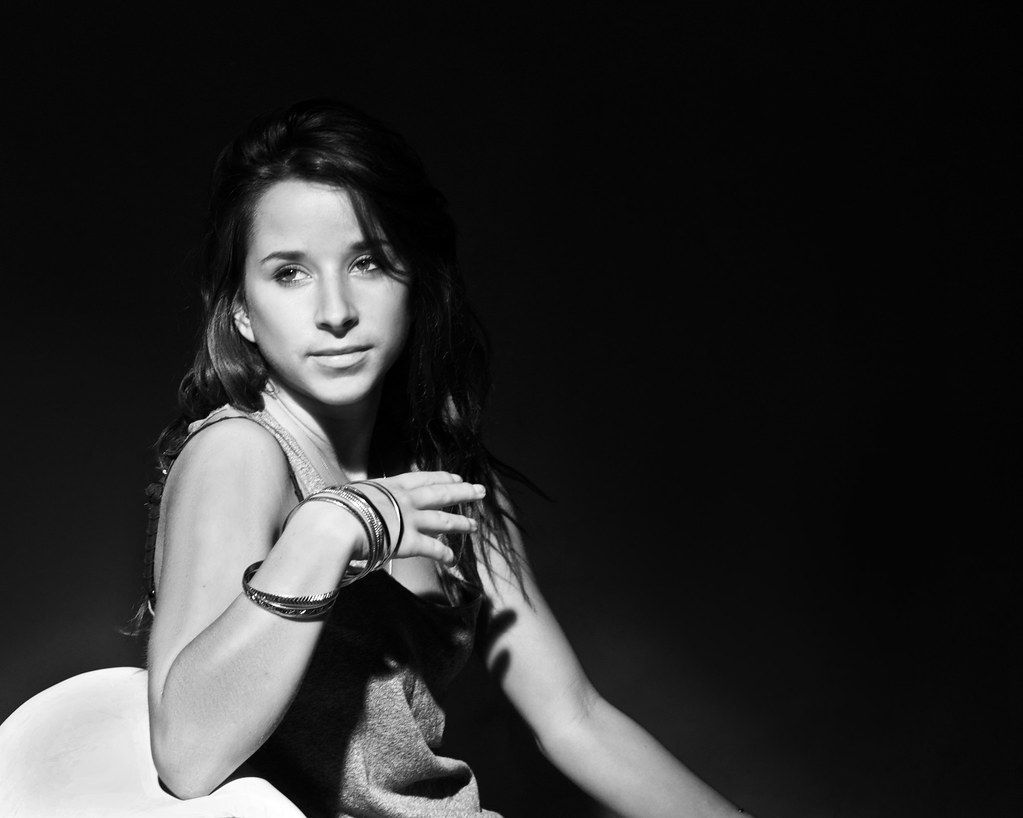
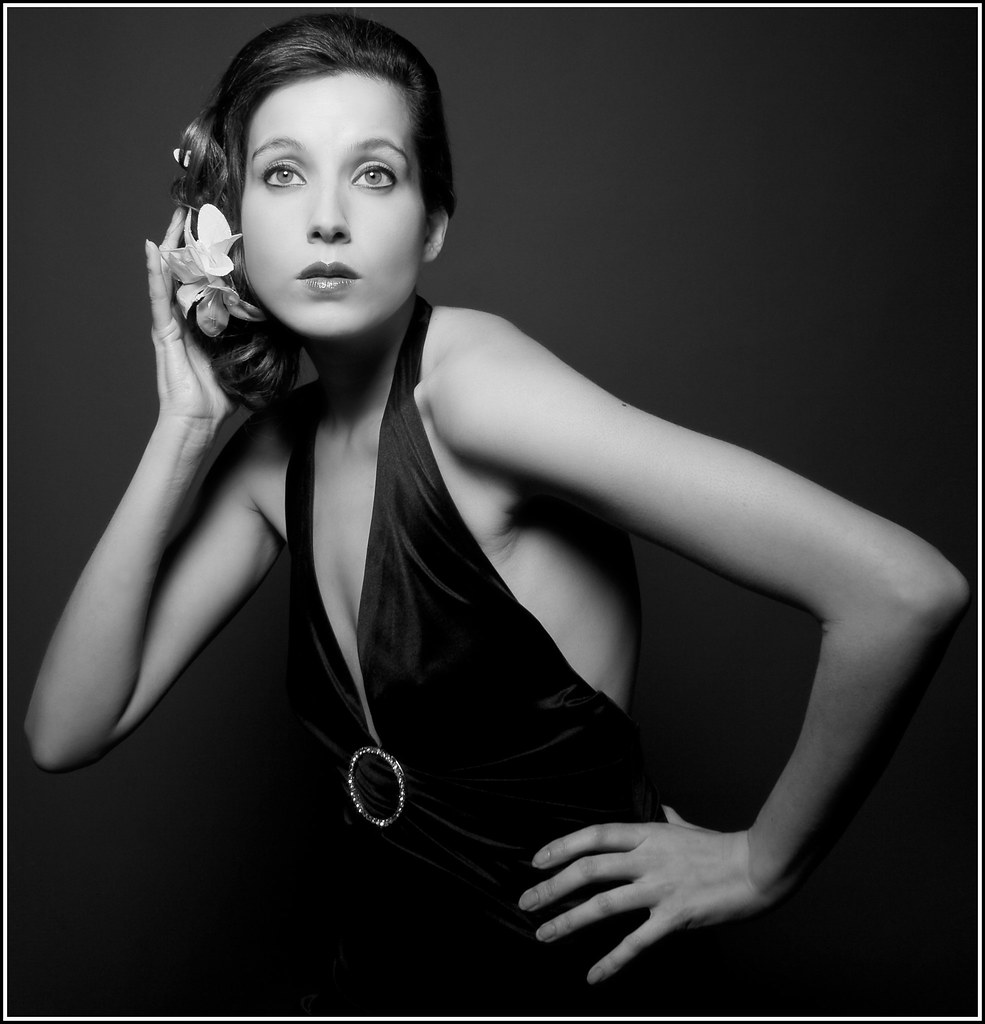
Also known as Paramount lighting, butterfly lighting is characterized by a distinctive butterfly-shaped shadow under the subject’s nose. Achieved by placing the key light directly in front and above the subject, this setup results in a soft, even illumination across the face. Butterfly lighting is often associated with classic Hollywood glamour, creating an elegant and symmetrical look.
Split Lighting: Dividing Light and Shadow
For a more dramatic effect, split lighting involves illuminating only one side of the subject’s face, leaving the other side in shadow. This technique adds a sense of mystery and depth to the portrait. Achieved by placing the key light to one side, split lighting is ideal for creating a bold and striking visual impact.
High Key and Low Key Lighting: Crafting Atmosphere
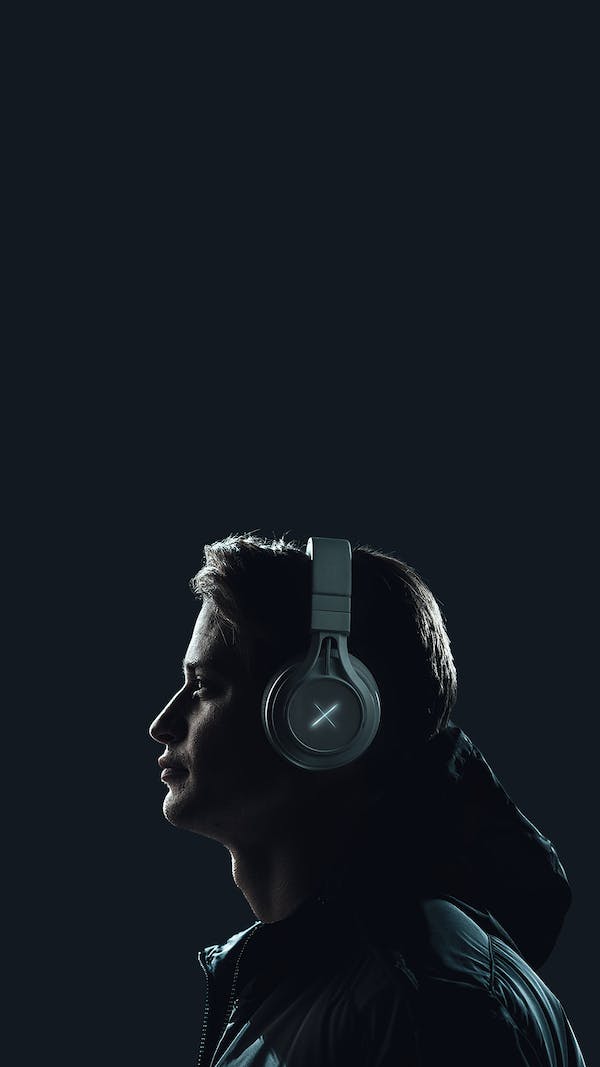
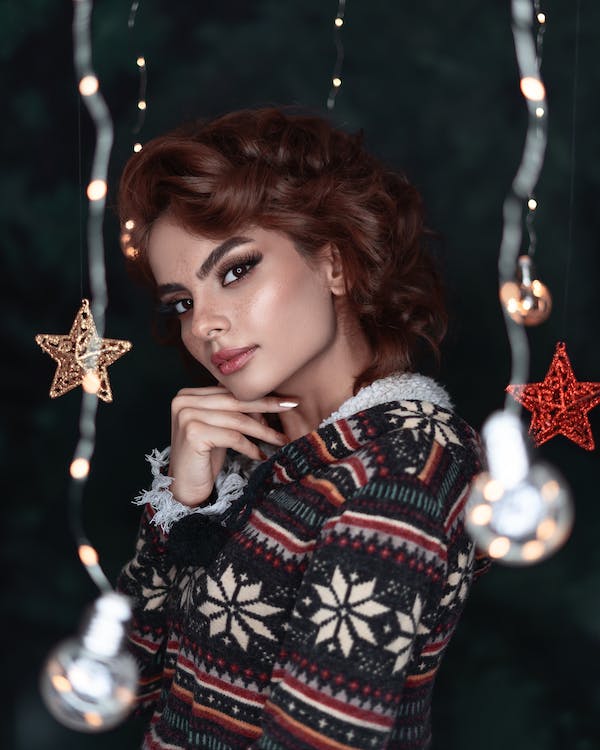
These lighting setups are about manipulating contrast to evoke different moods.
- High Key Lighting: This setup involves bright, even lighting that minimizes shadows. Often used in fashion and beauty photography, high key lighting creates a clean and upbeat atmosphere, perfect for showcasing details and textures.
- Low Key Lighting: In contrast, low key lighting embraces shadows to create a moody and atmospheric effect. This setup is ideal for adding drama and intensity to portraits, emphasizing selective areas of light and leaving much of the scene in shadow.
Broad vs. Short Lighting: Shaping the Face
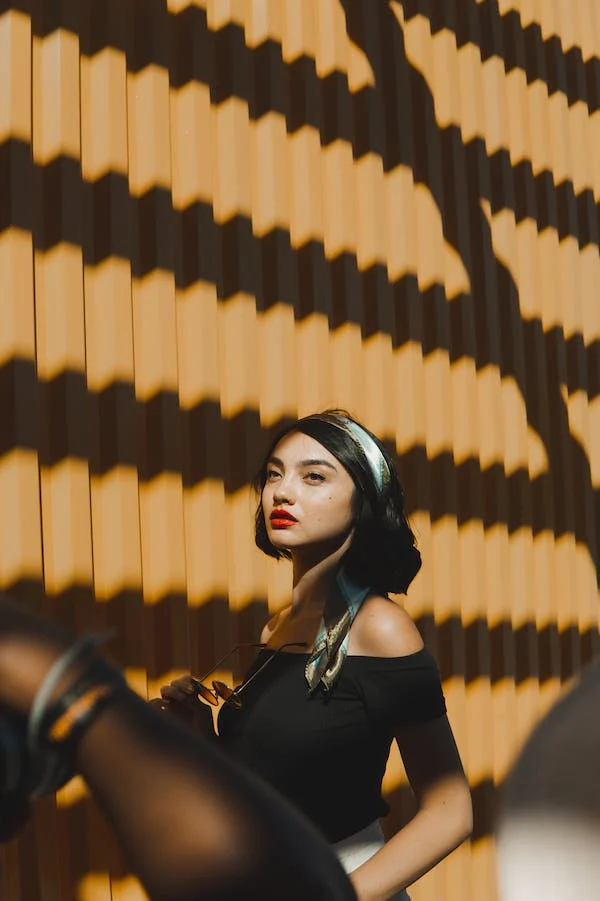
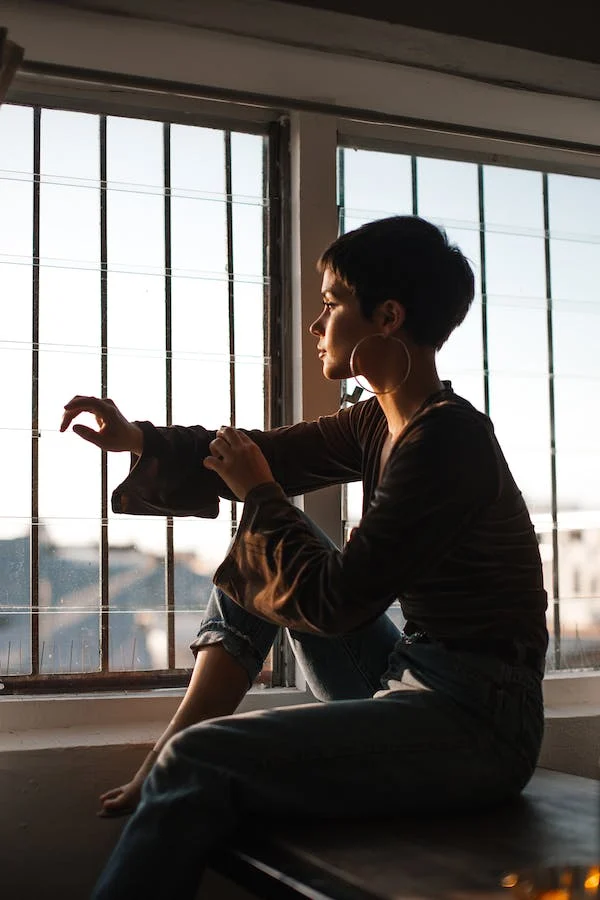
Broad and short lighting techniques play a crucial role in sculpting the subject’s face.
- Broad Lighting: The key light is directed towards the larger side of the subject’s face, creating a well-illuminated and flattering look. This technique is often used to minimize imperfections and highlight the subject’s best features.
- Short Lighting: The key light is directed towards the smaller side of the face, emphasizing shadows and creating a more sculpted appearance. Short lighting is excellent for highlighting cheekbones and adding depth to the portrait.
Mastering these studio lighting setups opens up a world of creative possibilities for photographers. Whether aiming for a classic and timeless aesthetic or a bold and contemporary look, understanding and experimenting with these techniques add depth and versatility to a photographer’s skill set.
Tips for Working with Different Skin Tones
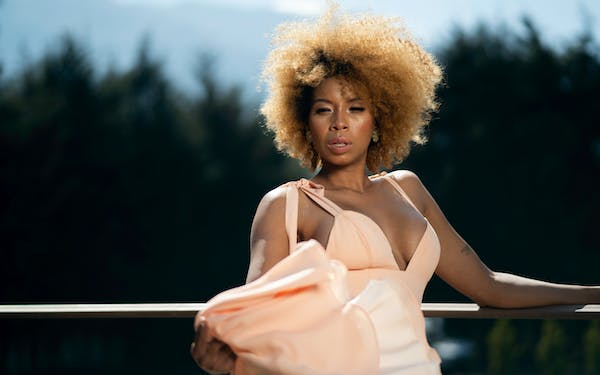
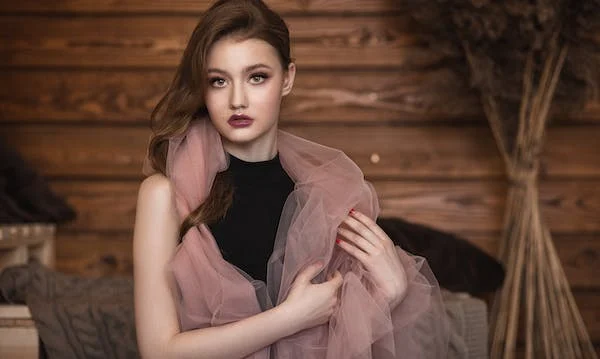
Capturing the natural beauty of diverse skin tones in portrait photography requires a nuanced approach to lighting and color correction. Understanding how different skin tones react to light and implementing effective techniques is key to ensuring that every subject looks their best in front of the lens.
Importance of Color Correction: A Balancing Act
Color correction plays a vital role in achieving accurate and flattering skin tones. It involves adjusting the color balance in post-processing to ensure that the tones in the final image reflect the true hues of the subject’s skin. This step is crucial as lighting conditions, camera settings, and even the chosen backdrop can impact the color accuracy of the photograph.
- White Balance Adjustment: Setting the correct white balance during the photoshoot is the first step in achieving accurate skin tones. However, in post-processing, adjustments may still be necessary to fine-tune the balance and correct any color casts.
- Targeting Specific Tones: Utilize color correction tools to selectively adjust tones in the image. This allows for addressing issues like redness or sallowness without affecting the overall color balance. Targeted adjustments contribute to a more natural and lifelike portrayal of the subject.
Understanding Undertones: A Guide to Precision
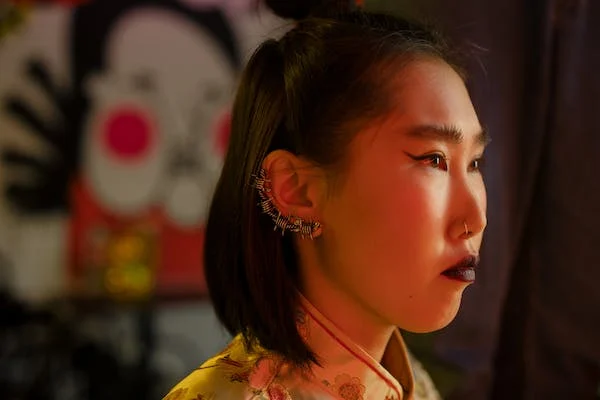
Different skin tones carry distinct undertones, and recognizing and enhancing these undertones contributes to the authenticity of the portrait.
- Cool Undertones (Bluish): For subjects with cooler undertones, a lighting setup that leans towards warmer tones can create a balanced and harmonious look. Be cautious with excessive cool lighting, as it may emphasize the bluish undertones.
- Warm Undertones (Yellowish/Reddish): Conversely, subjects with warm undertones benefit from lighting that complements their natural warmth. Adjusting the lighting temperature to enhance the golden or reddish hues ensures a vibrant and natural appearance.
Test Shots and Custom Profiles: Precision in Practice
Conducting test shots with subjects of varying skin tones is a proactive measure. It allows photographers to fine-tune their lighting setup and make necessary adjustments before the main shoot. Additionally, creating custom color profiles based on specific lighting conditions and skin tones can streamline the post-processing workflow, ensuring consistency across a series of portraits.
Portrait Lighting for Different Genres
Whether you’re capturing corporate headshots, family portraits, or experimenting with creative portraiture, adapting your studio lighting to different genres is essential for success.
Corporate Headshots: Professionalism with a Polished Touch

Corporate headshots demand a lighting approach that exudes professionalism and projects a polished image. Here are key considerations:
- Soft and Even Lighting: Opt for soft and even lighting to minimize harsh shadows and create a clean, corporate look. Softboxes and diffusers can help achieve this, ensuring that the subject’s features are well-lit without distracting elements.
- Neutral Backgrounds: Keep the background neutral and unobtrusive. This directs the focus onto the subject’s face, presenting a professional and cohesive image.
- Consistency in Lighting Setup: Maintaining consistency in lighting setups across multiple individuals ensures a uniform look for team photos. This can be achieved by using the same lighting equipment and positioning for each headshot.
Family Portraits: Warmth and Connection
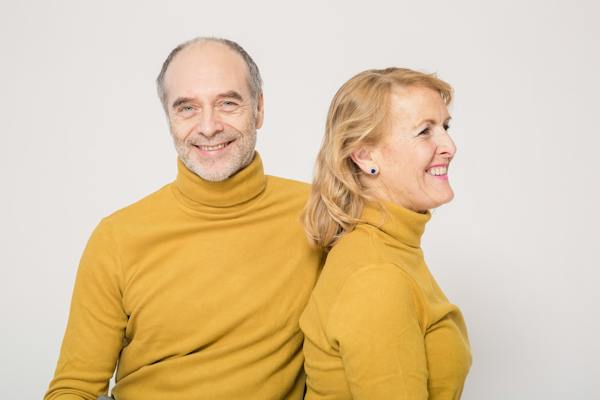
When capturing the essence of family dynamics, the lighting should evoke warmth and connection:
- Balanced Lighting: Aim for balanced lighting that illuminates each family member evenly. This ensures that no one is overshadowed or lost in shadows.
- Outdoor Natural Light: If shooting outdoors, take advantage of natural light during the golden hours. Soft, warm sunlight adds a natural glow to family portraits, enhancing the warmth and connection in the image.
- Group Lighting: For larger family groups, consider using multiple lights or reflectors to evenly illuminate everyone. This prevents individuals from getting lost in the shadows.
Creative Portraiture: Experimentation and Artistry
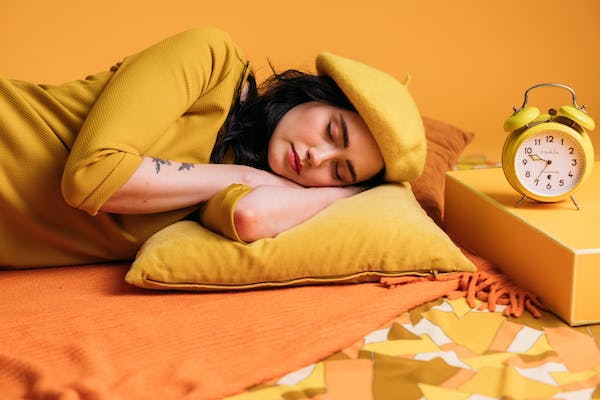
In creative portraiture, the goal is often to break away from conventions and experiment with unique and artistic lighting setups:
- Dramatic Lighting: Embrace dramatic lighting setups, such as split lighting or low-key lighting, to add an element of mystery and intrigue to the portrait.
- Contrast and Shadows: Play with contrast and shadows to create visually striking and dynamic images. Experimenting with unconventional angles and lighting placements can yield captivating results.
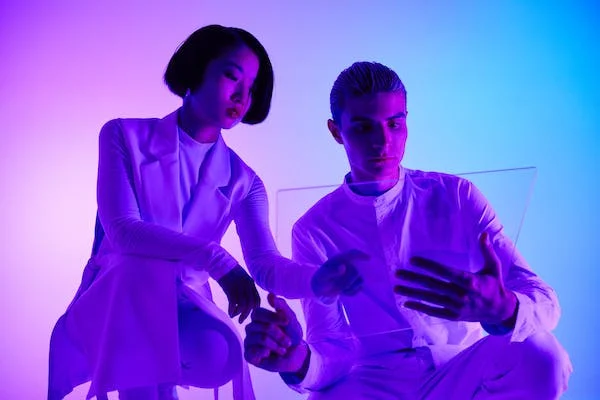
- Colorful Lighting Effects: Introduce colored gels or unconventional light sources to infuse creativity into the portrait. This can create a surreal or otherworldly atmosphere, enhancing the overall artistic impact.
Conclusion
In conclusion, studio lighting in photography is not just a technical aspect. It’s an art form that allows photographers to express their creativity. Mastering the nuances of studio lighting opens up a world of possibilities, enabling photographers to capture stunning portraits that leave a lasting impression.
FAQs
Is studio lighting necessary for portrait photography?
While natural light can be beautiful, studio lighting provides control and consistency, making it a valuable tool for professional portrait photographers.
What is the best lighting setup for beginners?
Beginners can start with a simple one-light setup, gradually adding more lights and modifiers as they gain experience.
How do I choose the right color temperature for my studio lights?
Consider the desired mood and the skin tones of your subjects. Neutral or slightly warm color temperatures are generally flattering.
Can I achieve professional results with DIY studio lighting?
Yes, with creativity and resourcefulness, DIY studio lighting can yield professional-looking results without breaking the bank.
Are smart lighting solutions worth the investment?
Smart lighting solutions offer convenience and versatility, making them a worthwhile investment for photographers looking to stay on the cutting edge.
Afterword
We hope that you find this article helpful. Thank you for reading and you’re always free to leave a comment. If you find this article interesting, consider checking out one of our recently published posts. A few of them showcase advancements in technology such as AI Art Generators. On the other hand, if you’re looking towards Photography, we also offer great articles for your inspiration. We also have multiple articles that talk about the various printing mediums for wall art. May these articles give you inspiration for your next print!
Find them here:
Discover the Secret to High-quality Canvas Prints
The 9 Best Canvas Print Companies in 2023
Acrylic Prints: Add Vibrance to Any Space
The Top Food Photography Trends to Try Now
The Ultimate Guide to Continuous Lighting for Photography
Stable Diffusion Tips and Tricks
Best AI Art Generator for Android Phones 2023
We enjoy reading your comments and insights with our posts! Should you have any questions or concerns, feel free to leave them below! -Mark

