

Capturing the perfect shot in dark conditions can be challenging yet rewarding. As the sun sets and darkness creeps in, the need for effective low light photo editing becomes crucial. Explore the in’s and out’s of enhancing your dark images, exploring techniques, tools, and professional tips to elevate your low light photography.
Table of Contents
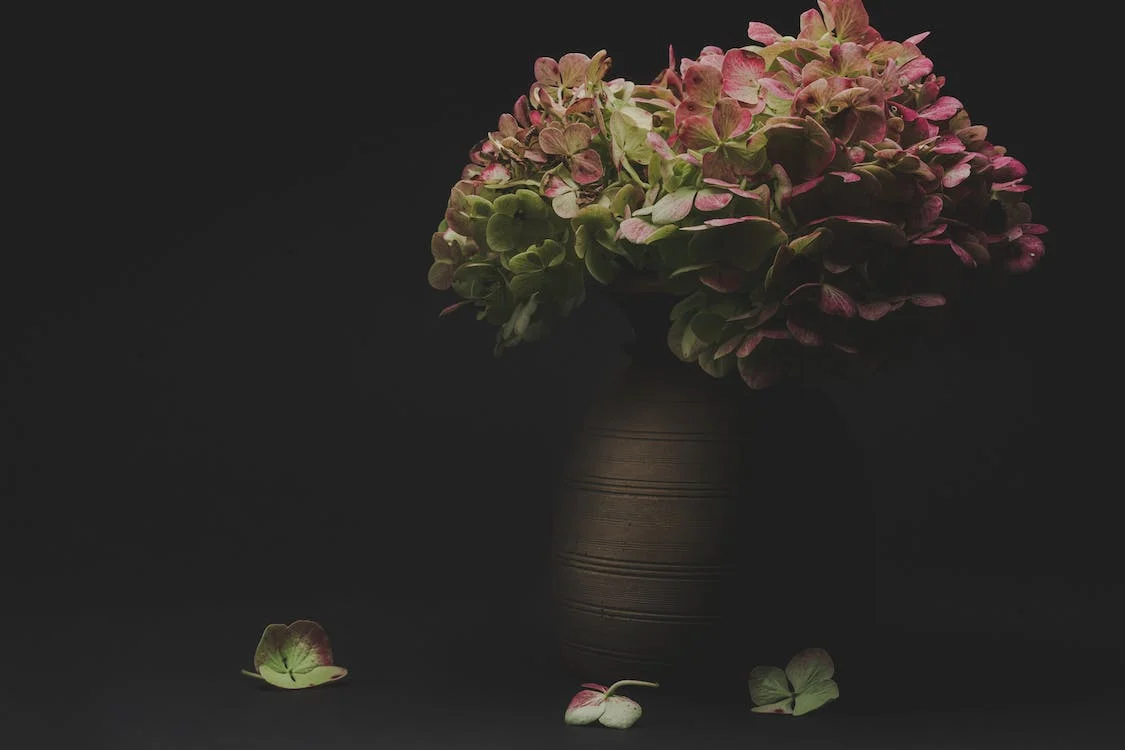
Understanding Low Light Photography
Low light photography occurs when the available light is scarce, such as during sunset, twilight, or indoor settings with minimal lighting. Understanding the nuances of shooting in low light is the first step towards creating stunning images.
Impact on Image Quality
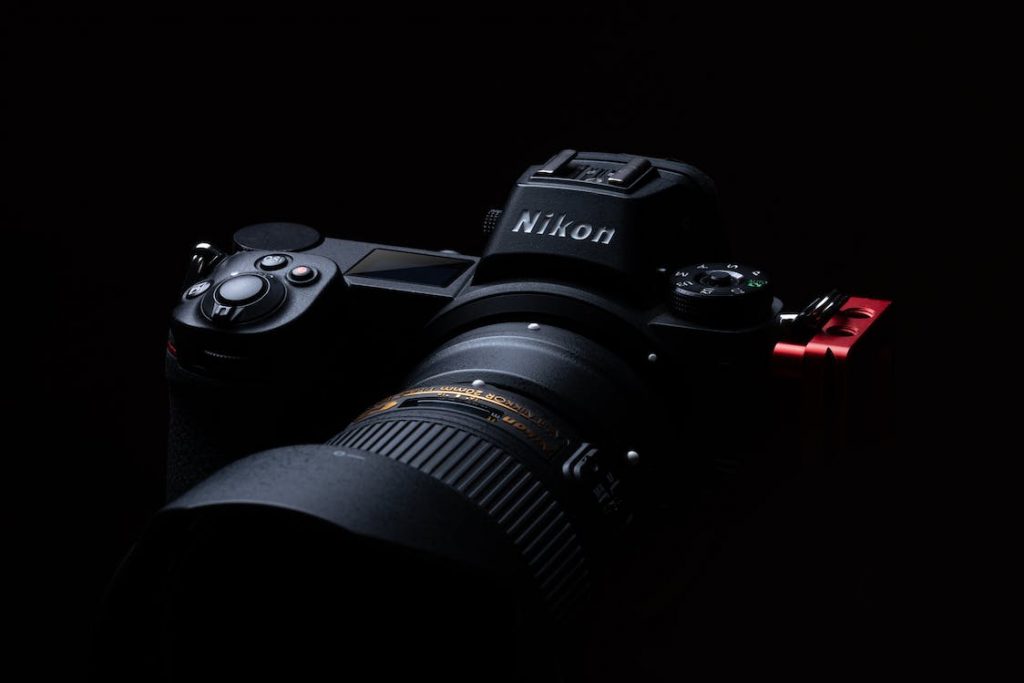
Low light conditions significantly impact the overall quality of your images, introducing challenges that can hinder the visual appeal of your photographs. Understanding these effects is crucial for photographers seeking to master the art of low light photo editing.
Noise
Noise manifests as graininess or speckles in your images, creating a visual distraction that detracts from the intended focus. The scarcity of light prompts the camera sensor to amplify the signal, inadvertently amplifying random electrical fluctuations as well—resulting in the unwelcome presence of noise.
Loss of Detail
Low light conditions often lead to a loss of intricate details in your photos. Shadows become dominant, obscuring the finer elements of your composition. This loss of detail is particularly evident in areas where the available light is insufficient to illuminate the subject adequately. As a photographer, this challenge requires a delicate balance during post-processing to recover essential details without sacrificing the natural look of the image.
Undesirable Shadows
Shadows, when used purposefully, can add depth and dimension to a photograph. However, in low light conditions, shadows can become overpowering and cast a gloomy atmosphere over your images. Managing these shadows is a crucial aspect of post-processing, requiring careful adjustment to strike the right balance between dramatic contrast and preserving the essence of the scene.
Color Shift
Low light can distort the colors in your photos, leading to an unwanted color shift. This phenomenon often results in images with unnatural hues that diverge from the true colors of the scene. Addressing color balance during post-processing becomes paramount, restoring the authenticity of the colors and ensuring that your low light images resonate with the viewer as intended.
Contrast Challenges
Low light conditions inherently reduce the contrast in your photographs. This reduction in the difference between the darkest and lightest parts of an image can result in a flat, uninspiring look. Skilled post-processing involves carefully adjusting contrast to breathe life back into your photos, enhancing the visual impact without compromising the natural aesthetics of the scene.
Dynamic Range Struggles
Low light scenarios often push the limits of a camera’s dynamic range—the ability to capture both shadow and highlight details in a single shot. Without adequate light, capturing the full spectrum of tones becomes challenging. Post-processing is the savior here, allowing photographers to selectively adjust exposure, shadows, and highlights to expand the dynamic range and unveil the hidden beauty within the image.
Soft Focus Dilemma
The scarcity of light can lead to a softening effect on your images, causing a loss of sharpness and clarity. This soft focus dilemma can undermine the impact of your photos. Skilled post-processing involves techniques like selective sharpening to bring back the crispness without introducing artifacts or unnatural-looking edges.
Key Elements of Low Light Photo Editing
Adjusting Exposure and Brightness
One of the paramount challenges in low light photo editing revolves around the delicate equilibrium of exposure and brightness. Achieving the right balance is akin to walking a tightrope – too much, and you risk overexposing your image; too little, and your photo may lack the vibrancy it deserves. Here’s a guide on how to master this crucial aspect of low light editing.
1. Gradual Adjustments for Precision
Begin by making gradual adjustments to exposure settings. Incremental changes allow you to gauge the impact on your image without the risk of drastic overexposure. Use exposure sliders or tools in your chosen editing software to finely tune the overall brightness.
2. Preserve Essential Details
As you enhance exposure, be vigilant in preserving essential details within your photo. The temptation to brighten dark areas might lead to a loss of intricate elements. Strike a balance that highlights key features while maintaining the integrity of the composition.
3. Histogram as Your Guide
Utilize the histogram tool provided by your editing software. A histogram displays the distribution of tones in your image, helping you identify areas that may be overexposed or underexposed. Aim for a balanced histogram to ensure a well-exposed photograph.
Managing Shadows and Highlights

Dealing with shadows and highlights is an art form integral to achieving a well-balanced composition in low light photography. Unchecked shadows can swallow details, while overly bright highlights can distract from the intended focal points. Explore techniques to navigate this challenge effectively.
1. Selective Adjustments for Shadows
In your editing software, embrace tools that allow for selective adjustments to shadows. Target specific areas that require illumination while leaving others untouched. This nuanced approach ensures that shadows contribute to the depth of your image without overpowering it.
2. Taming Overly Bright Highlights
To tone down overly bright highlights, experiment with highlight adjustment tools. Subtle tweaks can bring out details in these bright areas without sacrificing the overall mood of your photo. Be mindful not to overcorrect, as this may result in unnatural-looking highlights.
3. Blend and Merge for Harmony
Incorporate blending and merging techniques to seamlessly integrate shadow and highlight adjustments. This ensures a harmonious composition where each element contributes to the overall visual narrative. The goal is to strike a balance that enhances the depth and dimension of your low light photograph.
Correcting Color Balance
The distortion of colors in low light conditions can give your photos an unnatural and undesirable hue. Correcting color balance is a critical step in post-processing, allowing you to restore the natural beauty of your images and convey the intended atmosphere.
1. White Balance Calibration
Begin by adjusting the white balance settings in your editing software. White balance impacts the overall color temperature of your image. Experiment with different presets or manually adjust the temperature and tint sliders until you achieve a more accurate representation of the scene.
2. Targeted Color Correction Methods
Dive into targeted color correction methods for specific color distortions. Identify hues that appear off-balance and use selective adjustments to correct them. This level of precision ensures that each color in your photo contributes to a cohesive and visually pleasing composition.
3. Skin Tone Preservation
Pay special attention to preserving natural skin tones. Low light conditions can often cause shifts in skin color, leading to an unnatural appearance. Use tools designed for skin tone preservation to maintain the authenticity of portraits and keep your subjects looking true to life.
Choosing the Right Editing Software
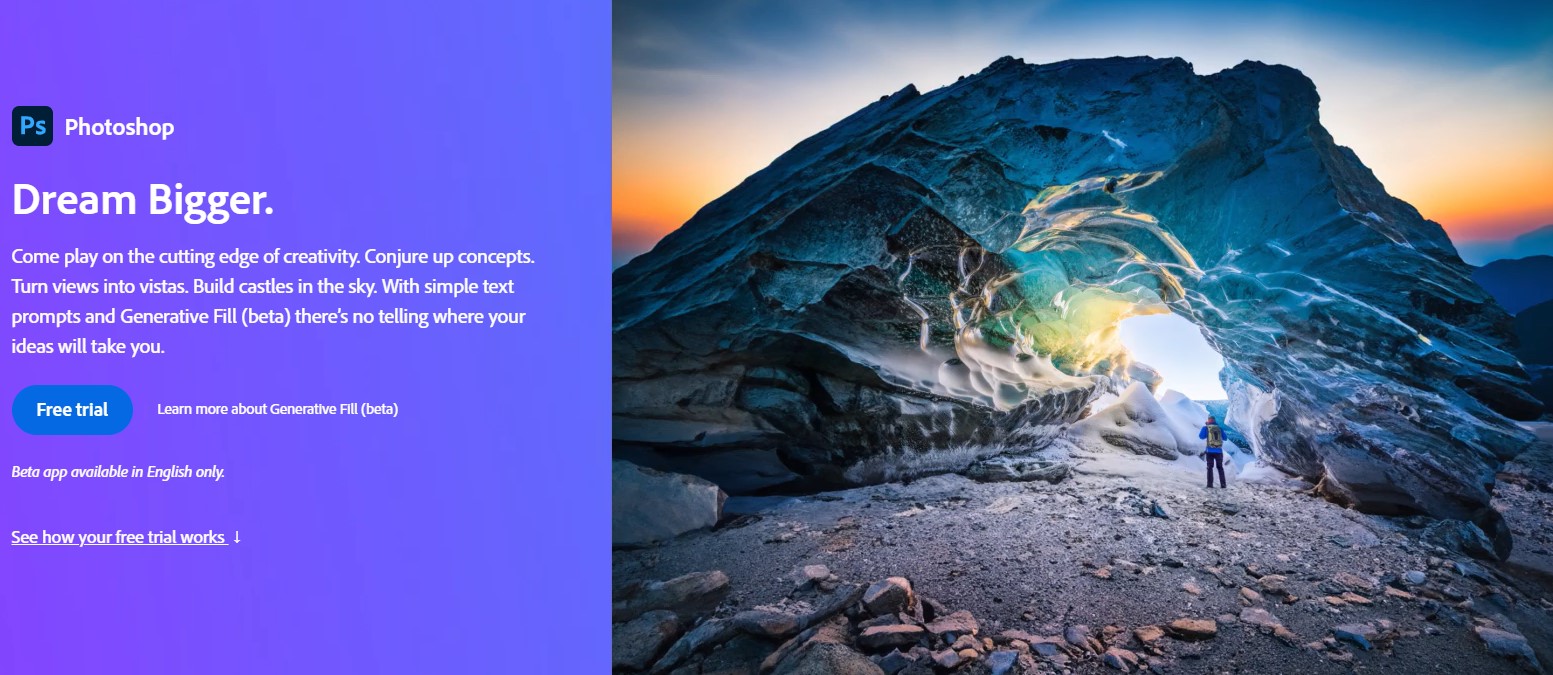
When it comes to low light photo editing, selecting the right editing software lays the foundation for achieving stunning results. The market offers a plethora of options, with Adobe Lightroom and Photoshop standing out as popular choices.
1. Adobe Lightroom: The Photographer’s Companion

Key Features:
- Non-Destructive Editing: Lightroom allows you to make extensive edits without altering your original image, ensuring flexibility in your creative process.
- Presets and Profiles: Access a range of presets and profiles designed specifically for low light conditions, streamlining your editing workflow.
- Advanced Color Grading: Precisely control the colors in your image, making it an excellent choice for correcting color balance in low light photos.
- Smart Sharpening: Enhance details without introducing artifacts, contributing to the clarity of your low light images.
2. Adobe Photoshop: The Powerhouse of Editing
Key Features:
- Layers and Masks: Photoshop’s unparalleled layering capabilities enable intricate edits, allowing for targeted adjustments in low light areas.
- HDR Imaging: Merge multiple exposures to expand the dynamic range, a valuable feature when dealing with challenging low light conditions.
- Content-Aware Fill: Effortlessly remove unwanted elements or distractions, ensuring a clean and polished final image.
- Noise Reduction Tools: Photoshop provides robust noise reduction features to combat graininess in low light photos.
Tips for Preserving Image Quality
Non-Destructive Editing
Opt for non-destructive editing techniques to safeguard your original image. Preserve flexibility in your workflow, allowing for future adjustments without compromising quality.
Saving in the Right Format
Understand the importance of choosing the right file format when saving your edited photos. Explore options that maintain image integrity and ensure compatibility across platforms.
Mobile Apps for On-the-Go Editing
In the fast-paced world of photography, having the ability to edit your photos on the go is a game-changer. Mobile apps offer a convenient solution for photographers who want to enhance their images without the need for a computer. When it comes to low light photo editing, several mobile apps stand out for their professional capabilities, making them ideal for quick fixes and edits on the go.
Best Apps for Low Light Photo Editing
1. Snapseed: Intuitive and Feature-Rich
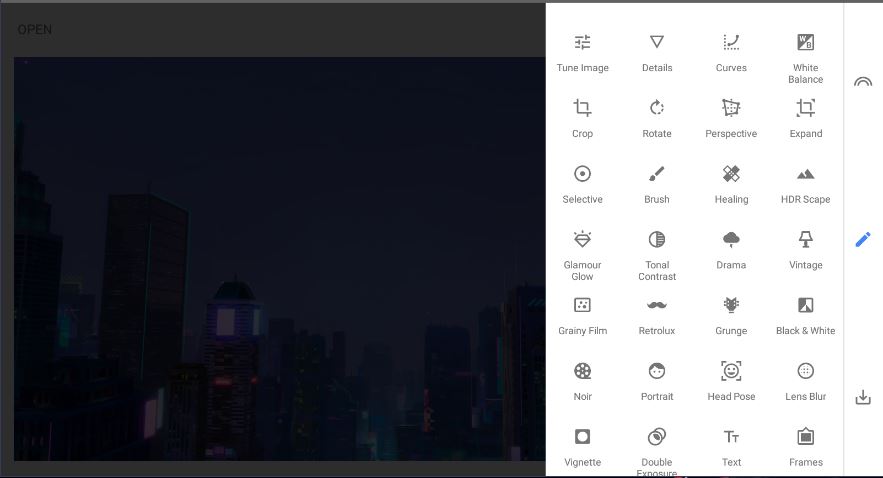
Key Features:
- Selective Editing: Choose specific areas for adjustments, allowing for targeted enhancements in low light areas.
- Ambiance Slider: Quickly adjust overall brightness and contrast, perfect for balancing exposure in challenging lighting conditions.
- Grainy Film Filter: Embrace the graininess of low light photos with the Grainy Film filter, adding a touch of artistic flair.
- HDR Scape: Enhance dynamic range in your images, crucial for dealing with contrast challenges in low light scenes.
2. Lightroom Mobile: Seamless Integration with Desktop Workflow
Key Features:
- Sync with Lightroom Desktop: Edit on your mobile device and seamlessly sync edits with the desktop version for a cohesive workflow.
- Presets for Mobile: Leverage low light presets designed specifically for mobile use, ensuring quick and effective edits.
- Selective Editing: Refine specific areas with precision, addressing shadows and highlights in your low light photos.
- RAW Editing Support: Ideal for photographers capturing in RAW format, allowing for maximum flexibility in post-processing.
3. VSCO: Artistic Filters for Low Light Vibes

Key Features:
- Film-Inspired Filters: Experiment with a variety of film-inspired filters, adding a unique touch to your low light images.
- Advanced Editing Tools: Access advanced editing tools for precision adjustments, perfect for tackling challenges posed by low light conditions.
- Grain and Fade Tools: Enhance the atmospheric feel of your low light photos with grain and fade tools, achieving a distinctive aesthetic.
4. Adobe Photoshop Express: Quick and Powerful Edits

Key Features:
- One-Tap Enhancements: Instantly improve your low light photos with one-tap enhancements, making on-the-go editing a breeze.
- Noise Reduction: Tackle graininess in low light images with built-in noise reduction tools, preserving image quality.
- Perspective Correction: Ensure straight lines and balanced compositions, vital for correcting distortions caused by low light angles.
5. Afterlight: Creative Editing at Your Fingertips

Key Features:
- Curves and HSL Controls: Fine-tune color balance and tone with curves and HSL controls, addressing color shifts in low light conditions.
- Dust and Light Leak Overlays: Add artistic elements to your low light photos with dust and light leak overlays, creating a moodier atmosphere.
- Selective Color: Emphasize specific colors in your low light images, adding a pop of vibrancy to the scene.
Common Mistakes to Avoid in Low Light Editing
While post-processing is a powerful tool for refining images, it’s essential to navigate this delicate balance to avoid common pitfalls that can result in unnatural and unappealing outcomes.
Over-Editing Pitfalls
1. Heavy-handed Use of Filters and Presets
While filters and presets can be valuable tools, their indiscriminate use can lead to over-editing. Avoid the temptation to apply these tools excessively, as each image has unique characteristics that may not benefit from a one-size-fits-all approach.
2. Ignoring Composition Principles
Over-editing can sometimes distract photographers from fundamental composition principles. Remember that enhancing an image should complement its composition, not overshadow it. Pay attention to elements like balance, symmetry, and focal points to maintain a visually appealing result.
3. Neglecting Original Intent
Stay true to the original intent of the photograph. If the initial goal was to capture a moody, low light scene, resist the urge to push the image into a completely different aesthetic. Over-editing may lead to a loss of the intended atmosphere and emotion.
4. Disregarding Viewer Experience
Consider the viewer’s experience when editing. Overly stylized images may alienate viewers who prefer a more natural look. Strive for edits that enhance the visual appeal without sacrificing the accessibility and relatability of the photograph.
Conclusion
In conclusion, mastering the art of low light photo editing opens up a world of creative possibilities. From understanding the basics to exploring advanced techniques, this guide equips you with the knowledge to enhance your dark images. Embrace the challenges, experiment with various tools, and witness the transformative power of thoughtful editing.
FAQs on Low Light Photo Editing
What is the best software for low light photo editing?
Each photographer has preferences, but popular choices include Adobe Lightroom and Photoshop for their robust features tailored to low light enhancement.
How can I prevent my photos from looking grainy after editing?
Use advanced noise reduction techniques during editing and avoid excessive adjustments that may introduce unwanted grain.
Are there any free apps for low light editing?
Yes, several free apps, such as Snapseed and LightZone, offer powerful low light editing capabilities.
What is the ideal color temperature for low light photos?
The ideal color temperature depends on the scene, but generally, a slightly warm temperature can enhance the mood of low light photos.
Can I use low light editing techniques for videos?
While some principles may apply, video editing has its nuances. Look for video-specific editing tools for optimal results.
Afterword
We hope that you find this article helpful. Thank you for reading and you’re always free to leave a comment. If you find this article interesting, consider checking out one of our recently published posts. A few of them showcase advancements in technology such as AI Art Generators. On the other hand, if you’re looking towards Photography, we also offer great articles for your inspiration. We also have multiple articles that talk about the various printing mediums for wall art. May these articles give you inspiration for your next print!
Find them here:
Discover the Secret to High-quality Canvas Prints
The 9 Best Canvas Print Companies in 2023
Acrylic Prints: Add Vibrance to Any Space
The Top Food Photography Trends to Try Now
The Ultimate Guide to Continuous Lighting for Photography
Stable Diffusion Tips and Tricks
Best AI Art Generator for Android Phones 2023
We enjoy reading your comments and insights with our posts! Should you have any questions or concerns, feel free to leave them below! -Mark