

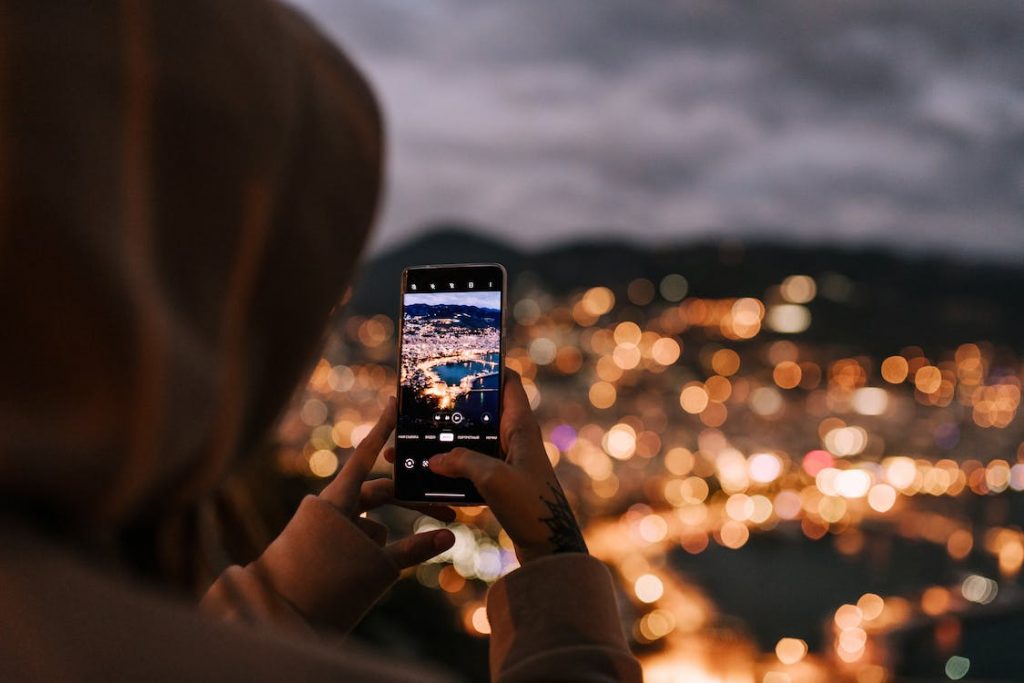
In the era of smartphone dominance, the quest for perfect photos is an ongoing adventure. One area that often challenges even seasoned photographers is low light photography. Capturing stunning images in low light conditions is not just a skill; it’s an art. In this article, we will explore the world of low light phone photography, providing you with tips and tricks to transform your smartphone into a powerhouse of creativity.
Table of Contents
Introduction
Low light photography involves capturing images in conditions with minimal available light. This can include indoor settings, night scenes, or environments with subtle lighting.
With the continuous improvement of smartphone cameras, more individuals are turning to their phones for photography. Low light photography, in particular, has gained popularity due to its unique challenges and the allure of capturing moments in atmospheric lighting.
Importance of Low Light Photography
Social Media Trends
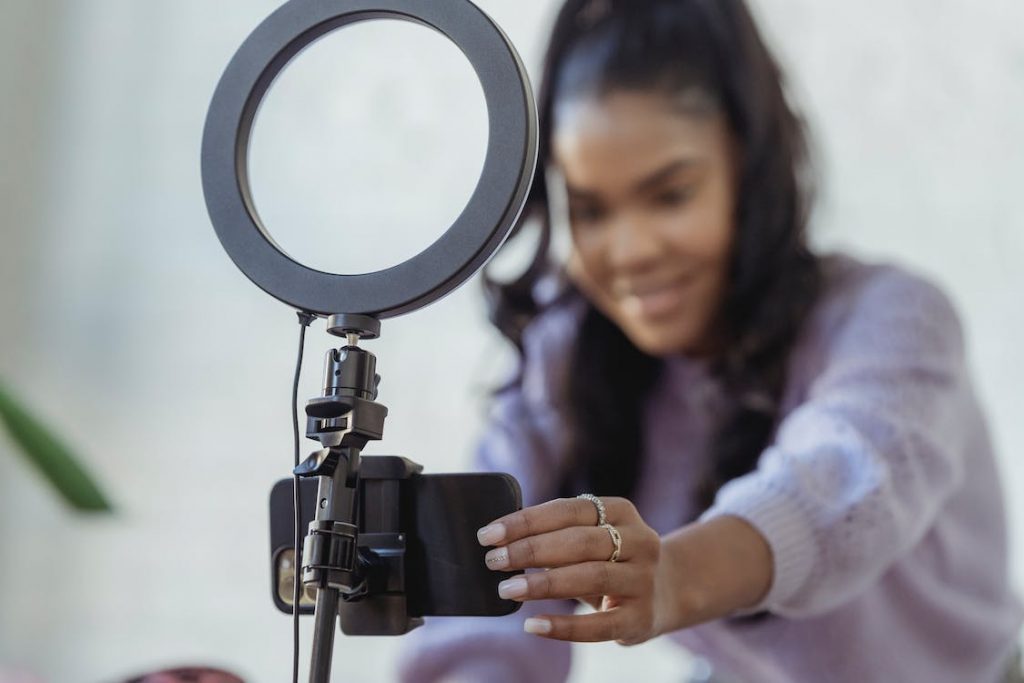
Visually appealing content is highly valued. Low light phone photography allows users to stand out by presenting captivating images that break away from the ordinary – all with the use of a smart phone.
Night Events and Memories
Whether it’s a candlelit dinner or a concert under the stars, low light conditions often accompany memorable events. Knowing how to master your phone’s camera in such situations ensures you don’t miss out on capturing these special moments.
Challenges in Low Light Phone Photography
Noise and Grain
One of the primary challenges in low light phone photography is the presence of noise and grain in images. Understanding how to minimize these unwanted elements is crucial for achieving clear and crisp photos.
Lack of Detail
In low light, details tend to get lost in the shadows. Overcoming this challenge involves a combination of camera settings, composition techniques, and post-processing skills.
Choosing the Right Smartphone
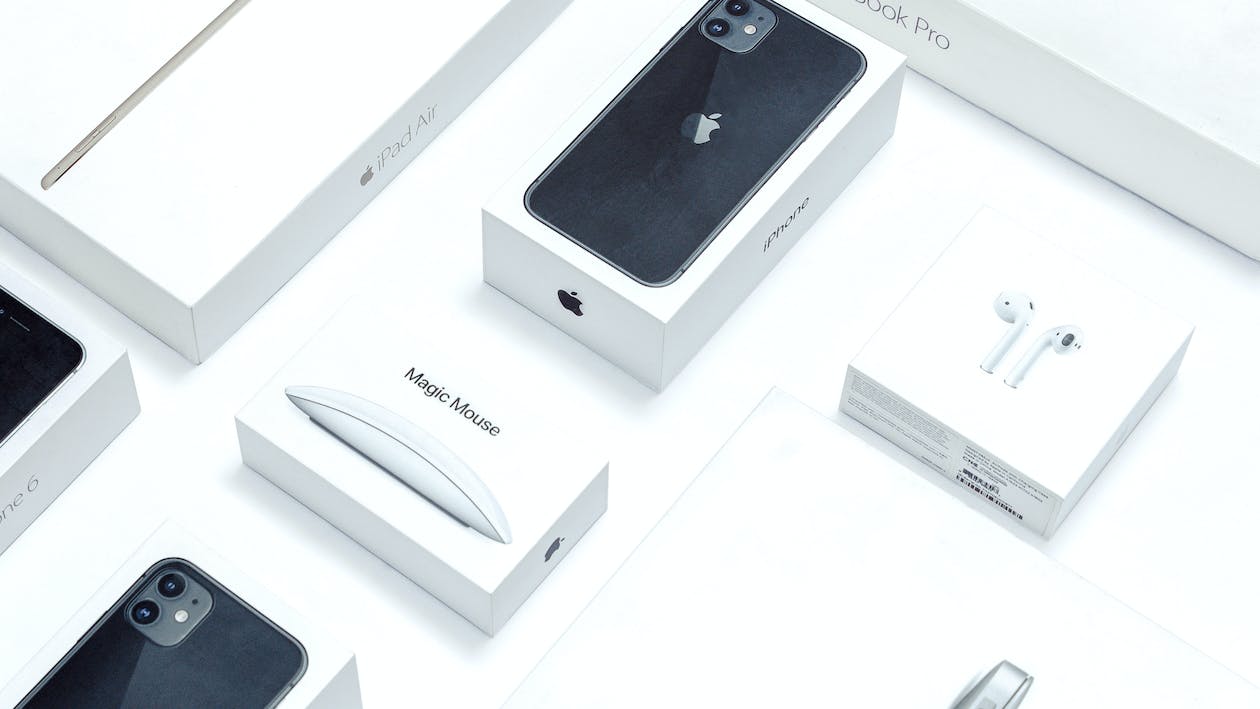
Camera Specifications
Not all smartphone cameras are capable of capturing low light scenes. Pay attention to camera specifications, especially the aperture size and sensor quality, when selecting a phone for low light photography.
Night Mode Features
Many modern smartphones come equipped with night mode features. Understanding how to use these features can significantly enhance your ability to capture well-lit, noise-free images in low light.
Camera Settings for Low Light Phone Photography
1. Activate Night Mode:
Purpose: Night mode is specifically designed to enhance low light photography.
How to Use: Enable Night Mode in your camera settings when shooting in dimly lit environments. This mode often extends the exposure time, allowing the camera to capture more light and details.
2. Adjust ISO Settings:
Purpose: ISO controls the sensitivity of your camera to light.
Recommended Range: Keep ISO levels as low as possible to minimize noise. Start with ISO 100-400 and adjust based on the available light. Higher ISO values may introduce more noise.
3. Open Aperture (Lower f-number):
Purpose: Aperture controls the amount of light entering the camera.
Recommended Setting: Use the lowest f-number available on your phone (e.g., f/1.8 or f/2.0). A wider aperture allows more light to reach the sensor, essential for low light scenarios.
4. Adjust Exposure Compensation:
Purpose: Compensation for underexposed or overexposed shots.
How to Use: In your camera settings, find Exposure Compensation and increase it slightly to brighten the image. Experiment to find the right balance without losing details.
5. Use Manual Focus if Available:
Purpose: Control the focus for better clarity in low light.
How to Use: If your phone allows manual focus, use it to ensure your subject is sharp. Autofocus may struggle in low light, and manual control gives you precision.
6. Enable Grid Lines:
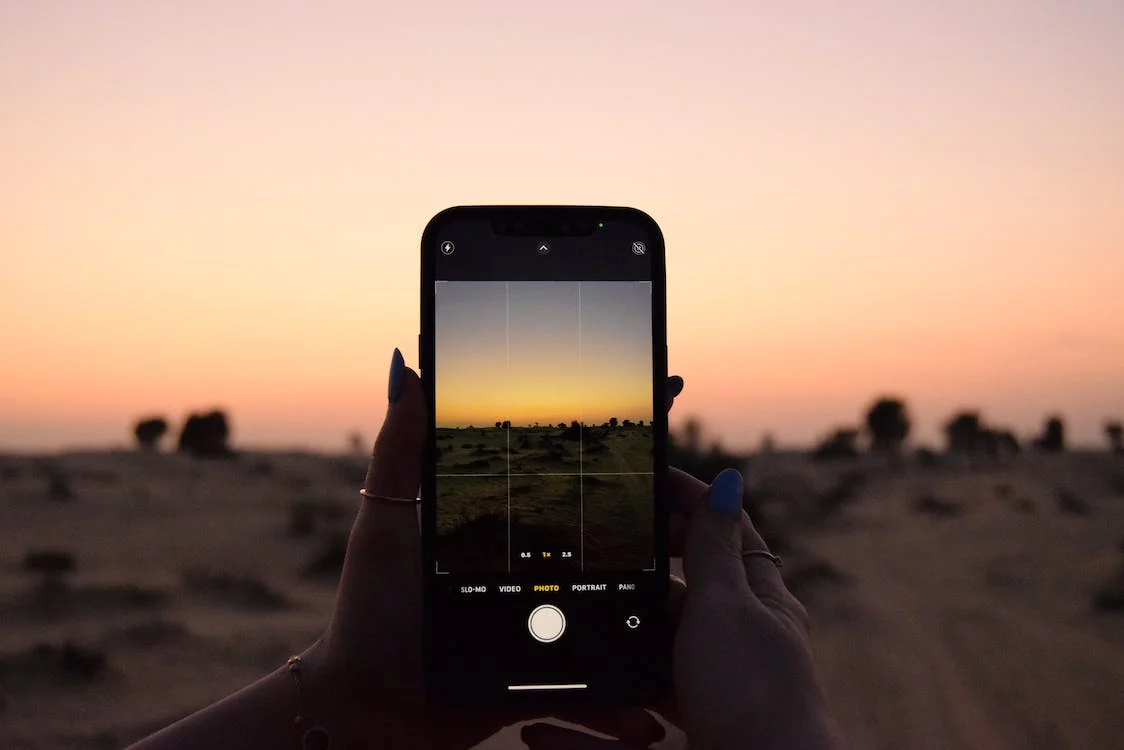
Purpose: Helps with composition using the rule of thirds.
How to Use: Turn on grid lines in your camera settings. Align key elements with the grid lines to create a balanced composition, even in low light.
7. HDR Mode for Dynamic Range:
Purpose: Enhances details in both bright and dark areas.
How to Use: Enable HDR (High Dynamic Range) mode for scenes with varying light levels. This mode combines multiple exposures to create a well-balanced image.
8. Stabilize Your Phone:
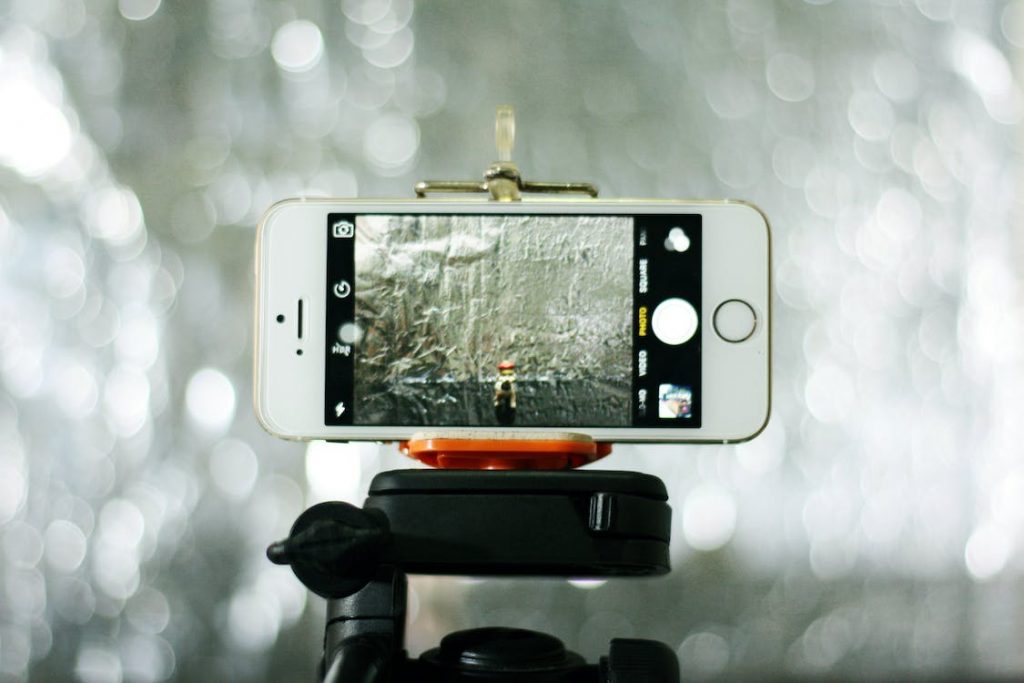
Purpose: Reduces motion blur in longer exposures.
How to Use: Use a tripod or stabilize your phone on a steady surface to avoid camera shake. This is crucial, especially in low light conditions where longer exposure times are common.
9. Experiment with White Balance:
Purpose: Adjusts color temperature for a natural look.
How to Use: Play with the white balance settings to match the ambient light. Incandescent or tungsten settings may work well in warm indoor lighting, while daylight settings are suitable for natural light.
10. Capture in RAW (if possible):
Purpose: Retains more data for post-processing.
How to Use: If your phone supports RAW capture, use this format to preserve more details. RAW files offer greater flexibility during editing.
Use of Accessories
Tripods and Stabilizers
Stability is key in low light conditions where longer exposure times are often necessary. Investing in a tripod or stabilizer can make a significant difference in the sharpness of your images.
External Light Sources
In situations with extremely low light, external light sources such as LED panels or smartphone flashes can be valuable tools for illuminating your subjects.
Editing Tips for Low Light Images
Best Editing Apps
Discover the power of editing apps to enhance your low light images. As smartphone cameras continue to advance, these editing apps empower photographers to overcome the challenges of low light conditions and transform their images into stunning visual narratives.
1. Adobe Lightroom

Platform: Android & iOS
Adobe Lightroom stands out as a powerhouse for mobile photo editing. Offering a comprehensive suite of tools, it enables you to adjust exposure, contrast, and color temperature with precision. The app’s noise reduction feature is particularly valuable for refining low light images, ensuring a clean and detailed result.
2. Snapseed
Platform: Android & iOS
Snapseed, developed by Google, is a user-friendly yet powerful editing app. Its versatility allows for detailed adjustments to brightness, contrast, and color saturation. Additionally, Snapseed provides unique filters and tools to enhance specific elements of your low light photos, such as the ambiance and details.
3. VSCO

Platform: Android & iOS
VSCO has gained popularity for its user-friendly interface and a variety of preset filters. In the context of low light photography, VSCO offers tools for adjusting exposure, contrast, and shadows, allowing you to strike the right balance in challenging lighting situations.
Tips for Effective Editing
1. Start with Basic Adjustments
Begin your editing process by adjusting basic elements like exposure, contrast, and saturation. This sets the foundation for more detailed enhancements.
2. Address Noise and Grain
Low light conditions often result in increased noise. Utilize the noise reduction features of editing apps to maintain clarity and detail in your images.
3. Experiment with Filters
While preserving the authenticity of your photos, don’t hesitate to experiment with filters. Some apps offer subtle presets that can enhance the mood and tone of your low light images.
4. Focus on Detail Enhancement
Use tools that specifically target details, sharpness, and clarity. This is crucial for bringing out the intricate elements within your low light photographs.
5. Maintain a Consistent Style
Develop a consistent editing style that aligns with your photographic vision. This helps create a cohesive and visually appealing portfolio of low light images
Common Mistakes to Avoid

Over-Editing
Over-Editing is a common pitfall that many photographers, both amateur and professional, may encounter in their creative journey. While the temptation to enhance every aspect of a photo can be strong, it’s essential to exercise restraint and maintain a delicate balance during the editing process.
Tips to Avoid Over-Editing
1. Preserve Original Elements
Before diving into extensive edits, take a moment to appreciate the original qualities of your photo. Identify the features that drew you to the scene in the first place and work to enhance those naturally.
2. Use Editing Tools Thoughtfully
Understand the functions of the editing tools you’re employing. Adjustments should be purposeful and contribute positively to the overall composition. Don’t apply edits simply for the sake of change.
3. Embrace Subtlety
Subtle adjustments often yield more profound results. Small tweaks to contrast, brightness, and color saturation can make a significant difference without overwhelming the viewer.
4. Take Breaks During Editing
Editing fatigue can lead to poor decisions. Take breaks during your editing process to return with fresh eyes. This allows you to reassess your adjustments with a clear perspective.
5. Seek Feedback
Share your edited photos with peers or mentors and seek constructive feedback. External perspectives can provide valuable insights and help you identify if you’ve crossed the line into over-editing territory.
Ignoring Composition Principles


Even in low light, the basic principles of composition still apply. While the challenges of shooting in low light may be distracting, adhering to fundamental composition principles remains crucial for creating compelling and visually engaging images.
1. Framing Matters
In low light conditions, where details might be more challenging to discern, framing becomes even more critical. Thoughtful framing directs the viewer’s attention to the subject, guiding them through the image and enhancing the overall narrative.
2. Utilize Leading Lines
Leading lines are powerful elements in composition, guiding the viewer’s gaze through the photo. Whether it’s a street disappearing into the distance or the subtle curve of a path, use leading lines to draw attention to key elements in your low light scenes.
3. Rule of Thirds Enhances Balance
The rule of thirds is a classic composition guideline that applies universally. Even in low light, dividing your frame into thirds both horizontally and vertically can help create a balanced and visually pleasing composition. Place key elements along these lines or at their intersections for maximum impact.
4. Consider Symmetry and Balance
Achieving symmetry and balance can be particularly impactful in low light photography. Whether capturing reflections on water or the play of light and shadow, symmetry adds a sense of harmony to your images.
5. Mind the Negative Space
Low light photography often involves capturing subtle details in shadows and highlights. Pay attention to negative space around your subject, allowing it to breathe and emphasizing the contrast between light and dark.
FAQs
How can I improve the quality of low light photos on my phone?
Improving low light photos involves a combination of understanding your phone’s camera settings, utilizing available light creatively, and post-processing with editing apps. Experiment with different techniques to find what works best for your specific phone model.
Are there specific camera settings for different smartphone brands?
Yes, different smartphone brands may have unique camera settings and features. Familiarize yourself with your specific phone’s capabilities and explore any dedicated night mode features for optimal low light performance.
Is it necessary to invest in external accessories for low light photography?
While not mandatory, investing in accessories like tripods, stabilizers, and external light sources can significantly enhance the quality of your low light photography. Consider these tools based on your photography needs and preferences.
What are the best editing apps for enhancing low light images?
Popular editing apps like Adobe Lightroom, Snapseed, and VSCO offer powerful tools for enhancing low light images. Experiment with these apps to find the one that aligns with your editing style and preferences.
How do I build an online presence as a low light phone photographer?
Building an online presence involves sharing your work on social media platforms, engaging with photography communities, and creating a personal online portfolio. Consistency and authenticity in your content will attract a dedicated audience interested in your low light photography journey.
Conclusion
In the realm of smartphone photography, mastering low light conditions opens up a realm of creative possibilities. Armed with the right knowledge, techniques, and a touch of inspiration, you can transform your phone into a low light photography powerhouse. Embrace the challenges, learn from mistakes, and let your unique perspective shine through your captivating images.
Afterword
We hope that you find this article helpful. Thank you for reading and you’re always free to leave a comment. If you find this article interesting, consider checking out one of our recently published posts. A few of them showcase advancements in technology such as AI Art Generators. On the other hand, if you’re looking towards Photography, we also offer great articles for your inspiration. We also have multiple articles that talk about the various printing mediums for wall art. May these articles give you inspiration for your next print!
Find them here:
Discover the Secret to High-quality Canvas Prints
The 9 Best Canvas Print Companies in 2023
Acrylic Prints: Add Vibrance to Any Space
The Top Food Photography Trends to Try Now
The Ultimate Guide to Continuous Lighting for Photography
Stable Diffusion Tips and Tricks
Best AI Art Generator for Android Phones 2023
We enjoy reading your comments and insights with our posts! Should you have any questions or concerns, feel free to leave them below! -Mark