

Portrait Photography is the most famous niche in the field of photography. Especially with the technological development with cameras on smartphones, people around the world capture portraits. Anyone can capture their family, friends, or loved ones to create portrait photographs.
On the contrary, not all portrait photographs are great portrait photographs. In this article, find out how to capture high quality portraits with tips, fundamentals, and creativity combined.
Table of Contents
Portrait Photography
Portrait Photography deals with capturing a person and their emotion, character, and identity in mind. It is not merely a standard point and shoot situation where a person looks at the camera and strikes a pose with a smile. This style of photography is meant to capture the being of a person by combining creativity and fundamental photography techniques.
Types of Portrait Photography
The three main types of portrait photography are Standard, Candid, and Creative. These types of portrait photography differ with the approach of capturing the subject. Some involve highly intricate setups that focus on bringing an idea to life. Others require minimal to no thought and focus on capturing the moment itself.
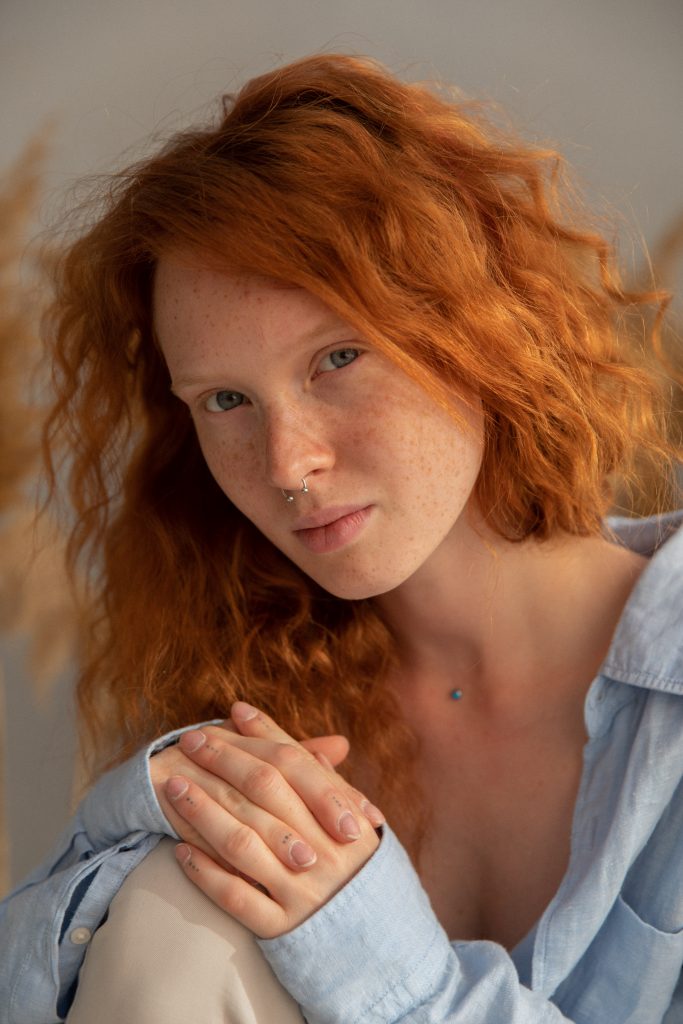
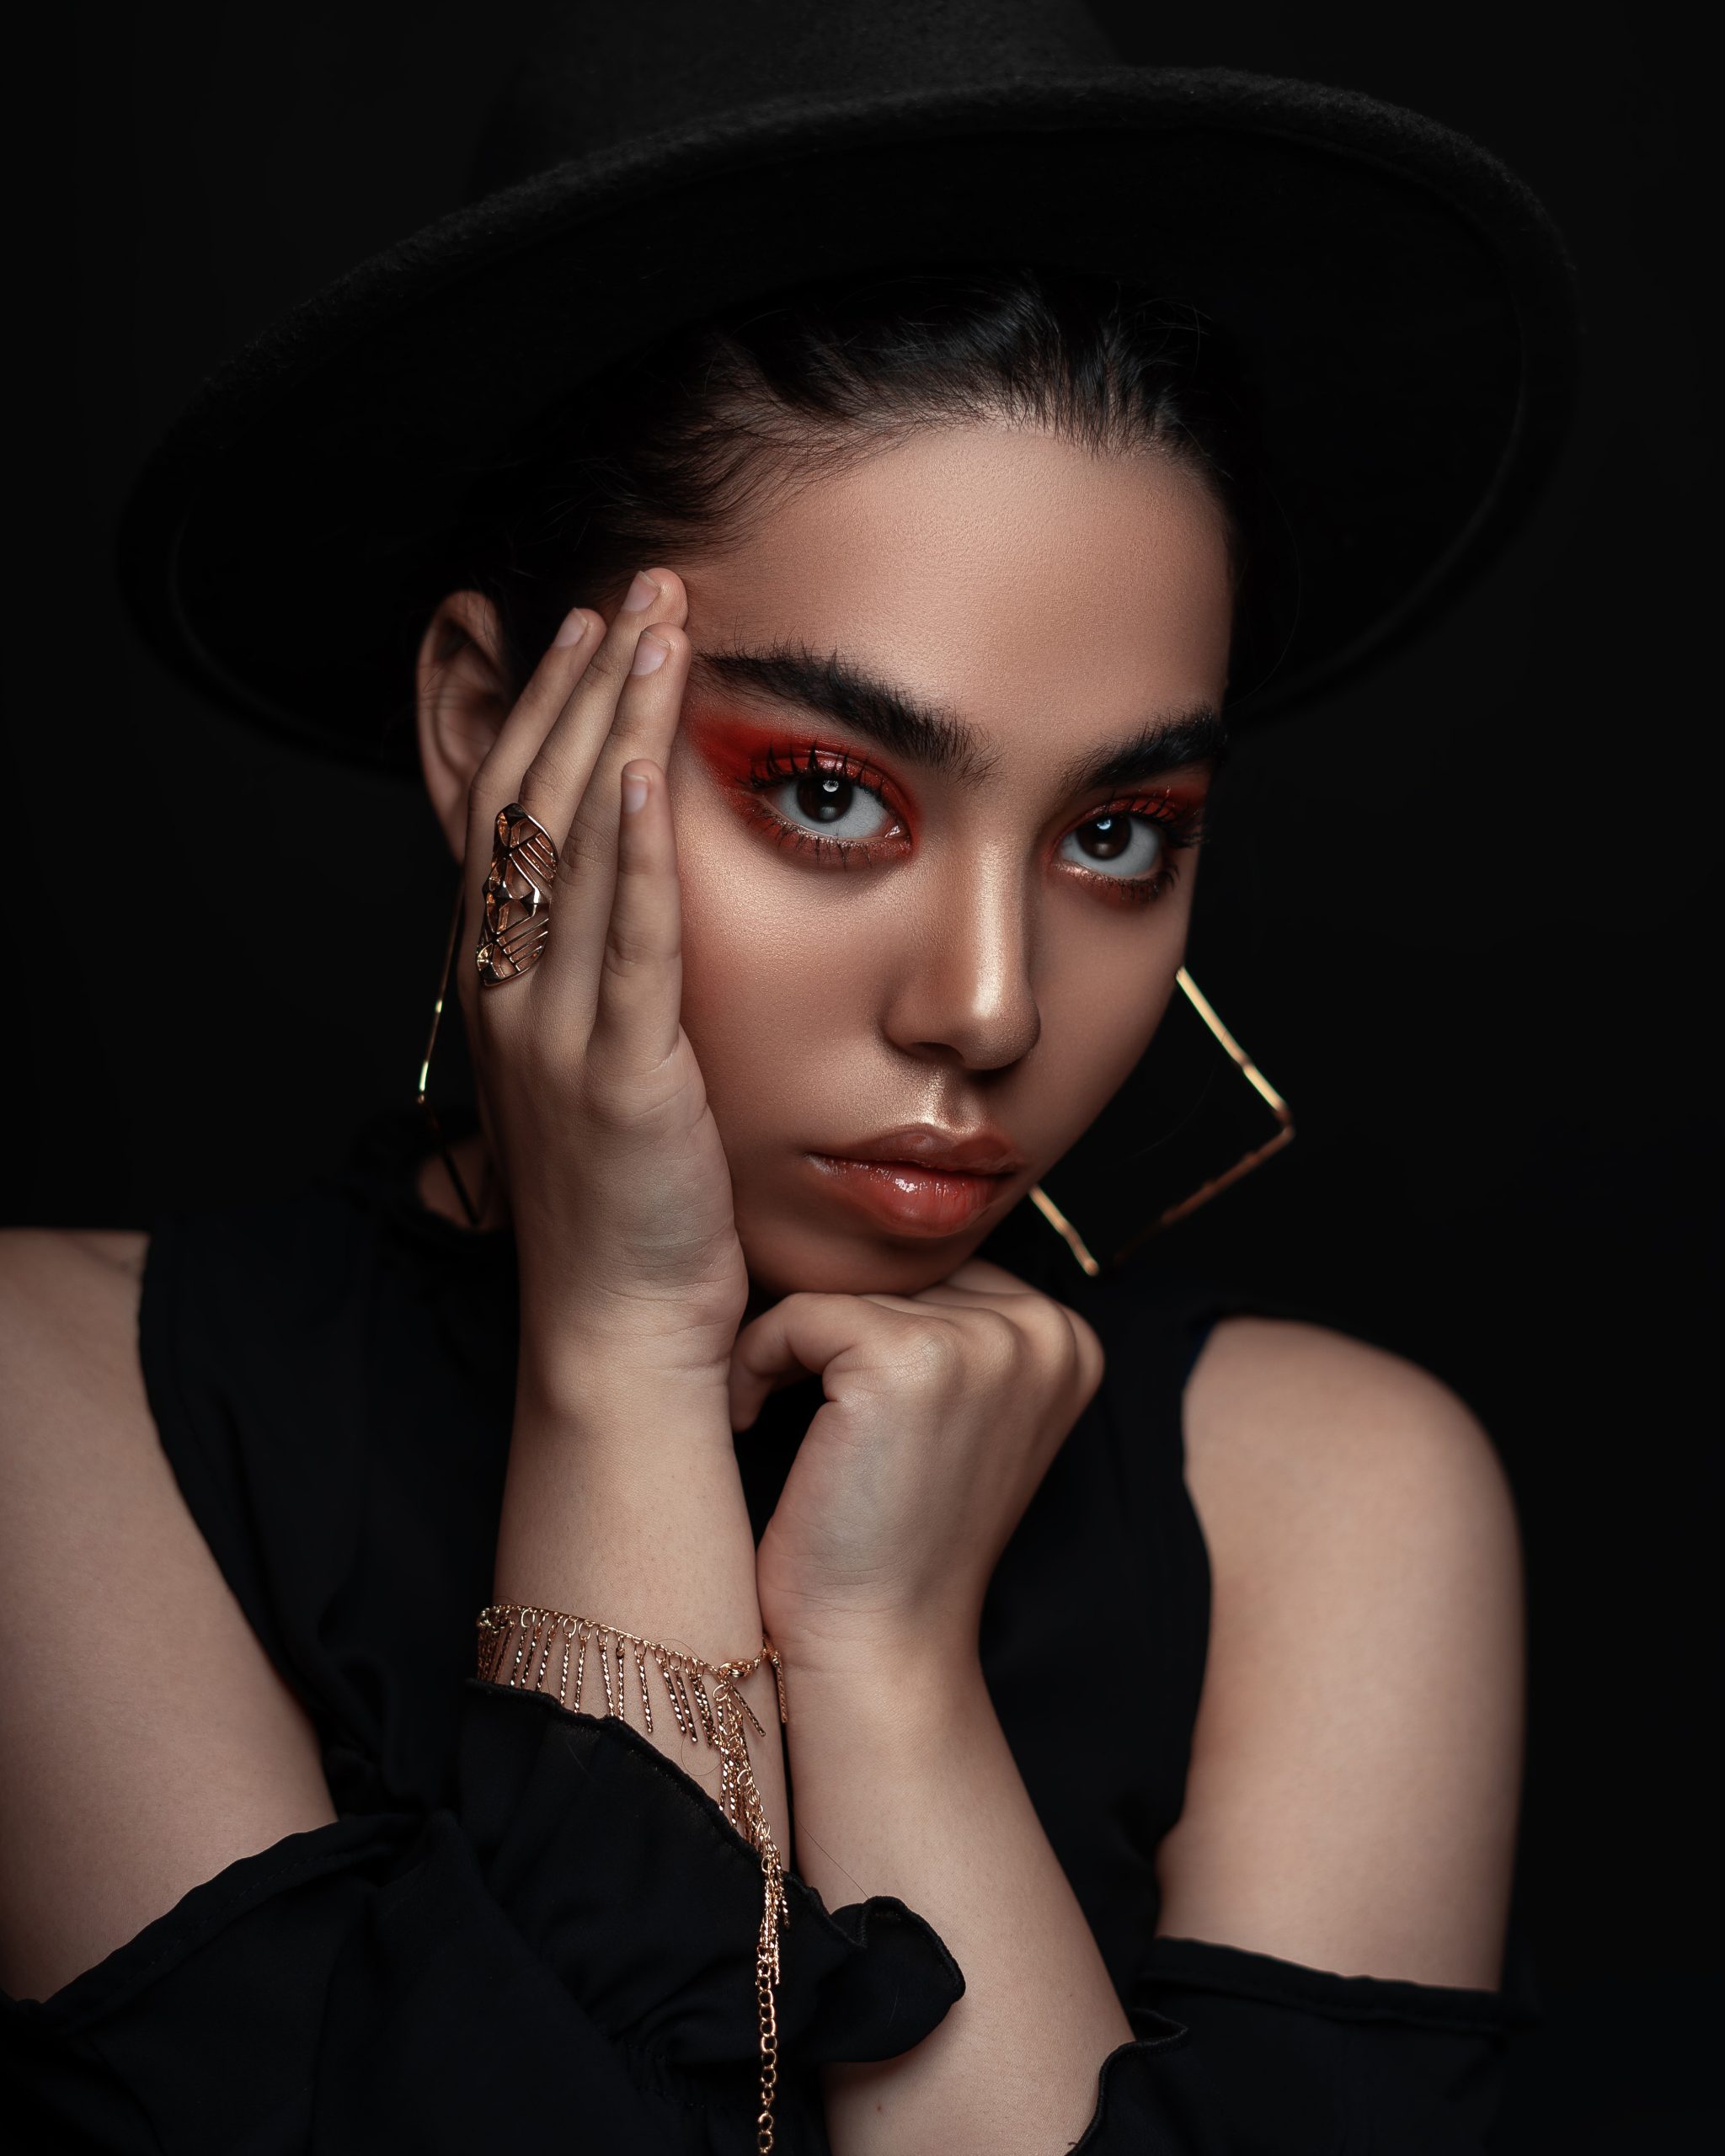
1. Standard Portrait Photography
Portrait Photographs in which the subject looks straight at the camera falls under Standard Portrait Photography. This type of portraits focuses on how a person’s emotion and character is seen through their facial expression.
When doing standard portrait photography, emphasize the eyes of your subject. Make sure that their eyes look alive and full of emotion. This can be done with proper lighting techniques that cast highlights to the eyes and at the same time provide shadows on areas of the face to provide contrast.
You can also pair outdoor photography with this type of portrait photography. Outdoor scenery together with natural lighting creates fantastic opportunities for bokeh backgrounds. Opting to use bokeh backgrounds for photography is a great way in bringing the focus to the subject.
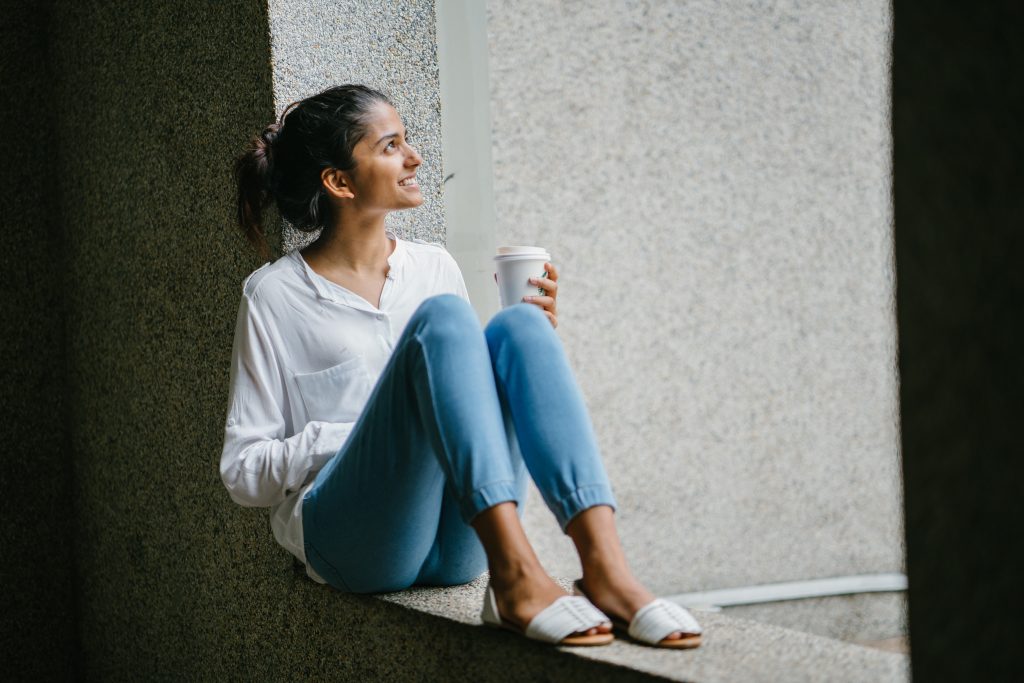
2. Candid Portrait Photography
The Candid Portrait Photography focuses on capturing the spontaneity of a person. This type of portrait photography captures a person in their most genuine self. The subject is unaware that they are being photographed thus there is no eye contact with the camera.
In Street Photography, the candid style is most visible. People make great subjects to photograph in scenarios where they are themselves. Here, the principal idea for candid photography is given light.
The most important thing to look for in Candid Portrait Photography is the relationship between the person and the elements in the scene. This is opposite to Standard Portrait Photography in which the subject is given the highlight by separating them from the background.
While the nature of candid portrait photography calls for natural lighting, you can still use creative lighting setups. In the scenario where you visualize capturing your subject in their work, you can set up lights especially if it’s indoors.
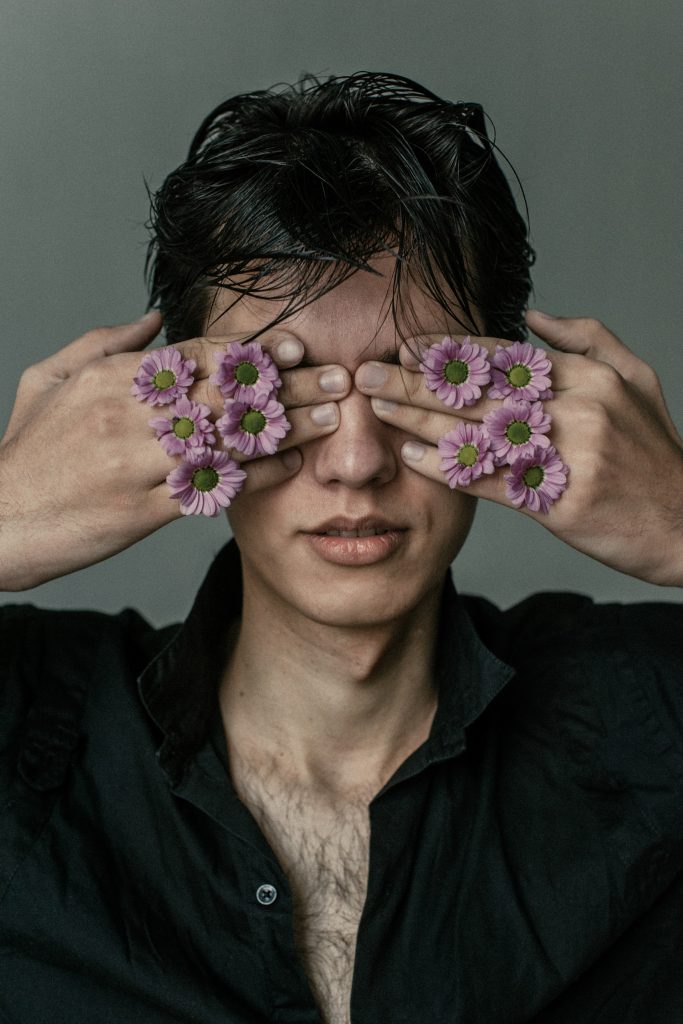
3. Creative Portrait Photography
Lastly, the Creative Portrait Photography style caters to the photographer’s imagination and ideas. The photographer takes full control with the lighting, set up, composition, and the subject’s pose and expression. While this steers away from capturing the subject’s identity and character, it still follows the main criteria for portrait photography.
Creative Portrait Photography captures a person in a creative scene to portray an idea. This also provides the most creative freedom. This type of portrait photography also utilizes photo editing software to further deliver an abstract concept.
Composition
The most common misconception about portrait photography is the orientation of the image. Image orientations are either portrait or landscape. While the name for the vertical orientation of photos is “Portrait”, you can still do portrait photography in both orientations.
Following the vertical orientation for portrait photography eliminates the other elements in the scene you capture. This gives you the ability to focus on the subject more and separate the background. On the other hand, using the landscape orientation gives you more freedom to play around composition. Using the landscape format in portrait photography can add more mood and emotion to your photo.
Note that the previous orientations are just guidelines in portrait photography. These are not set of rules to be properly followed. You can also explore using different angles to add impact to your photos. Taking photos from an angle unusual to the eye level adds a sense of new perspective in portraits. This creates a more interesting look and will definitely make your photos stand out more.
Lighting

Portrait photography benefits the most in lighting setups. Every variation in lighting setups provide different effects to a person’s face and body. Lighting is a powerful tool in portrait photography to set the tone and mood of the output.
1. Rembrandt Lighting
This lighting technique heavily draws inspiration from the Dutch painter Rembrandt Harmenszoon van Rijn. His paintings show off a gorgeous quality of light. Modern age photographers emulate this lighting in their work. A light is positioned overhead and at a 45 degree angle. This lighting technique produces a triangle shaped shadow off of the subject’s nose that connects to the shadow of the chin.
This lighting setup produces fantastic application of contrast. The great highlight for one side of the subject’s face while casting off a rich dark shadow on the other manifests contrast. Overall, the Rembrandt lighting setup for photography provides a picturesque feel to the portrait.
2. Split Lighting
Talking about contrast, this brings the most contrast among these lighting setups. Essentially, this is the same with side lighting. The light is placed directly on the side of the subject thus producing no trace of light to the opposite half. Most of the light is concentrated on one side of the subject slowly spreading to the subject’s face.
A clear division between the bright and dark parts of the subject can be seen. This division is equal between the nose. Similar to Rembrandt lighting, the amount of contrast in this setup is fascinating.
3. Broad Lighting
In this lighting setup, the light source is still oriented overhead. The main difference is the point in which this hits the subject. The orientation of the light source provides luminance to the back of the subject at an angle.
The Broad lighting setup creates a shadow for the front of the subject’s body. At the same time, the face has a dramatic mood due to the shadows casted on it. Direct your subject to tilt their head in a way where some light still touches part of their face.
4. Paramount / Butterfly Lighting
The Paramount or Butterfly lighting setup is a variation of front lighting. The light source is placed overhead directly in front of the subject. It is then angled to face downwards but still maintaining a direct impact to the subject’s face.
A shadow forms under the nose and chin. The shadow that forms below the nose appears like a butterfly, hence the name of this lighting setup. This setup focuses on bringing forth every detail of the subject’s face and providing little contrast.
5. Loop Lighting
The setup for Loop lighting directly follows that of Rembrandt lighting but avoids creating the trademark triangle shaped shadow from the nose. At a 45 degree angle overhead the subject, this lighting technique also provides fantastic application of contrast and detail.
3 Additional Tips for Portrait Photography

During the pursuit to make more standout portrait photography, we prepared three more additional tips. These are easy to do tips and will go a long way when consistently followed. While some of these take time and experience to master, the rewards are greatly beneficial to your photos.
1. Focus
A key aspect in Portrait Photography is the focus. You should make it a point that the main focus of the photo is the person. Learn how various apertures affect the focus of your photo.
Bokeh is a popular technique used in Portrait Photography. When taking photos outside or in a studio, bokeh is often used. Bokeh is the visual quality of the out-of-focus areas of a photograph. Low f-stops bring out the bokeh effect.
On the other hand, higher f-stops bring out sharpness in the photo. This is used if the photographer wants to highlight elements in the scene. May it be the use of props or just a cool scenic background.
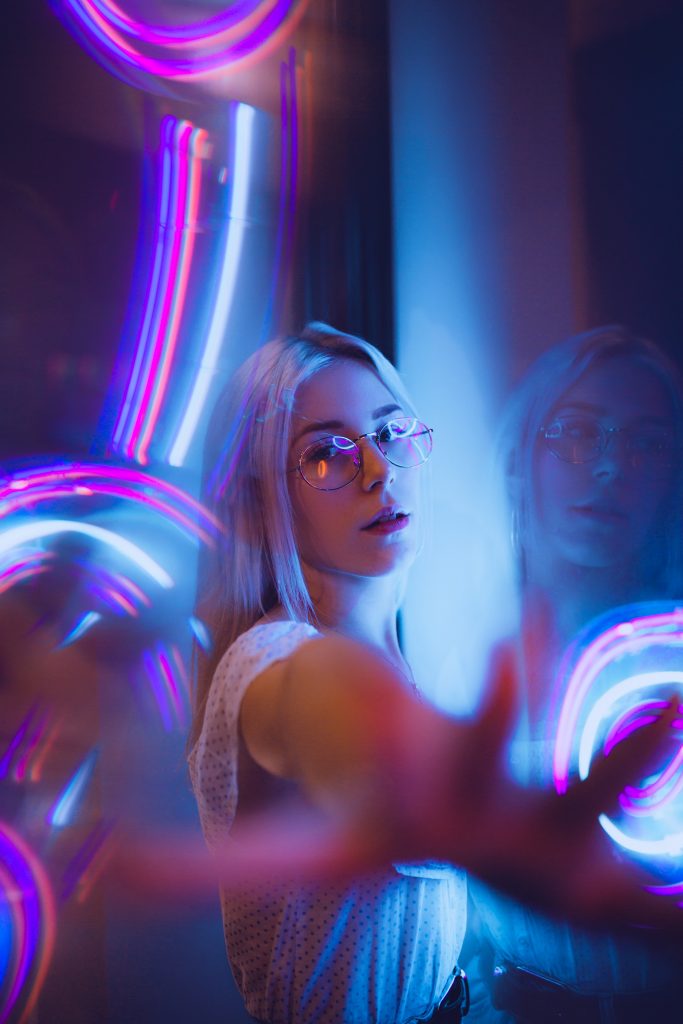
2. Color
Why not try spicing up your photos with the use of colored lights? This adds a different tone and mood to your photo and is not typical in everyday scenarios. The addition of colors in your photos can be done to add highlights or fill lights for the whole face of the subject.
Popular use of colors in portrait photography are seen in neon red and blue to create a vaporwave effect. This creates a nostalgic mood since the vaporwave style is widely popular in the 1980’s to 2000’s.
3. Editing and Post-Processing
It takes time and experience to create a distinct style to your photos. Continuous practice of editing and post-processing of your portrait photos gives you the opportunity to explore different styles.
Some styles that are dominant in portrait photography are: Black and White, High Contrast, and Retro or Vintage.
Black and White is dominant in portrait photography because it brings the focus not only to the subject’s appearance but also their emotion. It creates an emotional depth in the photo that people around the world surely appreciate. You can never go wrong with a black and white portrait!
On the other hand, High Contrast editing is extremely useful to enhance color in your portrait photography. This adds a great difference between the hues of your choice as well as the shadows and highlights of your photos. This editing style creates a great visual impact for your audiences!
Lastly, the Retro or Vintage editing style gives off a much more nostalgic feel to your portraits. It evokes a mood that is not typical with most portrait photographs. Explore the different vintage looks available, maybe mix and match editing styles, and surely you’ll fall to a distinct editing style.
Conclusion
Portrait Photography captures not just persons but also their identity, emotion, and character. This photography niche combines creativity and photography fundamentals to portray a story with just a subject.
There are three main types of portraits. Each has a different focus or goal in terms of bringing a mood or emotion to a photo. Their likelihood falls with the use of photography fundamentals such as lighting and composition.
Lastly, remember that there are no set of rules for portrait photography. Focus on bringing out emotion and telling a story in your photos and you’re all set. Paired with application of fundamentals with lighting, composition, and post-processing; your photos will surely be mesmerizing.