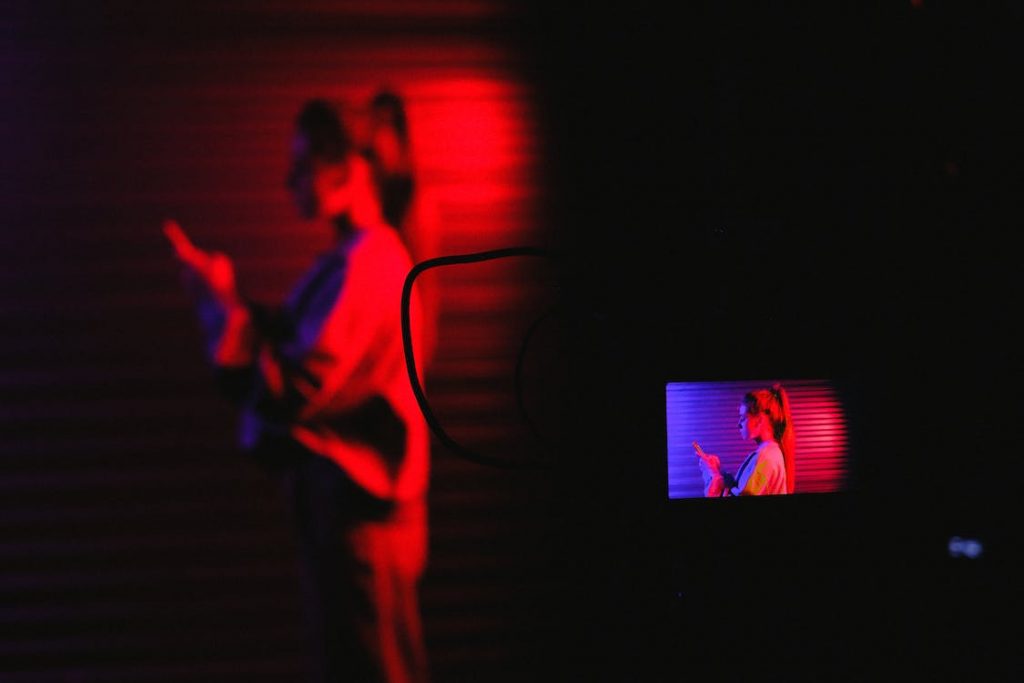
Mastering the art of low-light photography is akin to unlocking a hidden treasure trove of mesmerizing visuals. As the sun sets and artificial lights take over, capturing sharp and vivid images becomes a challenge worth conquering. In this guide, we’ll delve into the intricacies of achieving impeccable focus in low light, providing practical tips, techniques, and insights to elevate your nocturnal photography game.
Table of Contents
Introduction
Low-light conditions offer a unique canvas for photographers, presenting opportunities for creative expression that daylight often cannot match. From cityscapes illuminated by neon lights to intimate portraits bathed in soft evening glow, there’s a captivating allure to images captured in the dark.
Yet, the very conditions that make low-light photography enticing also pose challenges. Achieving sharpness in the absence of abundant light requires a nuanced understanding of both camera settings and the environment you’re shooting in.
Understanding Your Camera
Photography is an art, and mastering the craft involves understanding the intricate dance of settings within your camera. In low-light situations, where the interplay of light and darkness is particularly challenging, two critical elements come to the forefront: ISO settings and aperture adjustments, complemented by the masterful control of shutter speed.

ISO Settings and Their Impact for Focus in Low Light
One of the key players in low-light photography is the ISO setting. ISO, or International Organization for Standardization, is a measure of your camera sensor’s sensitivity to light. In low-light conditions, finding the delicate balance of exposure without compromising image quality hinges on your ability to navigate this crucial element.
1. ISO Sensitivity:
ISO values typically range from 100 to 6400 or beyond. A lower ISO provides cleaner images but may require longer exposure times, while a higher ISO increases sensitivity, aiding in low-light scenarios but potentially introducing noise. Balancing these factors is essential for achieving sharp and clear photos.
2. Gradual Adjustment:
Begin by setting your ISO to the lowest possible value for optimal image quality. As lighting conditions dim, gradually increase the ISO to maintain proper exposure. This stepwise adjustment helps you find the sweet spot where sensitivity meets minimal noise.
3. Customizing for Your Camera:
Different cameras have varying ISO capabilities. High-end models may handle higher ISO values more effectively, providing cleaner images in low light. Familiarize yourself with your camera’s ISO range and performance to make informed decisions based on your equipment.
4. Manual Control vs. Auto ISO:
While auto ISO is convenient, taking manual control offers a more tailored approach. Experimenting with manually setting ISO, especially in conjunction with aperture and shutter speed adjustments, empowers you to fine-tune your camera settings for optimal results.
5. Bracketing for Assurance:
For critical shots, consider bracketing exposures at different ISO levels. This technique involves taking multiple shots with varied ISO settings, providing a safety net to ensure at least one frame achieves the desired sharpness and exposure.
Aperture Adjustments for Low-Light Conditions
Understanding the role of aperture in controlling the amount of light entering your lens is pivotal. Discover how to optimize aperture settings for sharpness in low-light situations.
Understanding the role of aperture in controlling the amount of light entering your lens is pivotal in the quest for sharp and well-exposed photos in low-light conditions.
1. Aperture Basics:
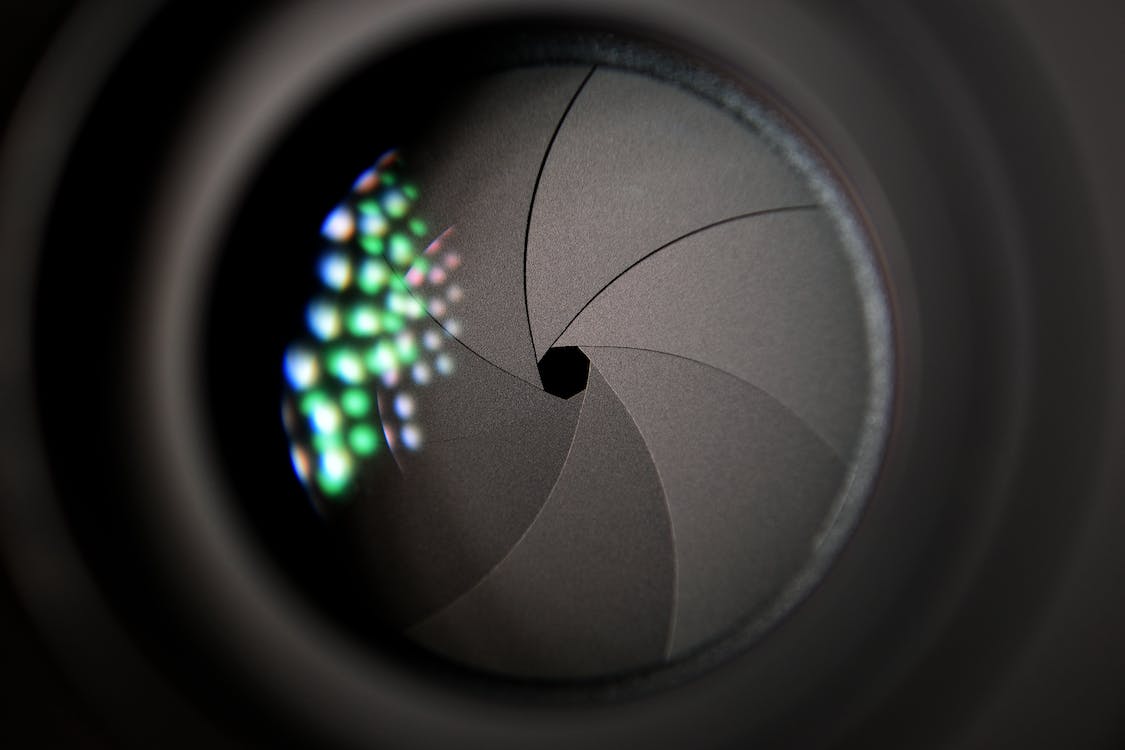
Aperture is represented by an f-stop number (e.g., f/2.8, f/4). A lower f-stop allows more light into the lens, making it ideal for low-light situations. Understanding how aperture values affect depth of field and light intake is fundamental.
2. Wide Aperture for Low Light:
In low-light conditions, opt for a wider aperture (lower f-stop) to maximize light intake. This helps maintain faster shutter speeds, crucial for freezing motion and capturing sharp images in challenging lighting environments.
3. Depth of Field Considerations:
While wide apertures enhance light intake, they also result in shallower depth of field. This can be advantageous for isolating subjects in low light but requires careful consideration to ensure the desired elements are in focus.
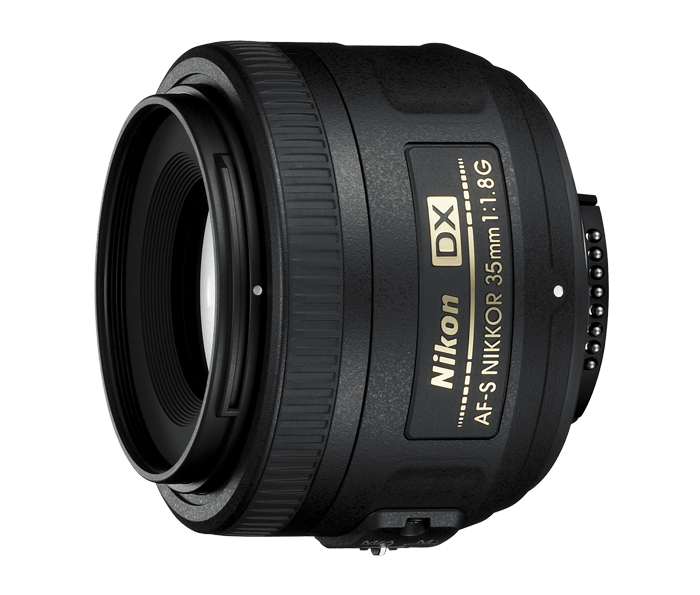
4. Lens Choice Matters:
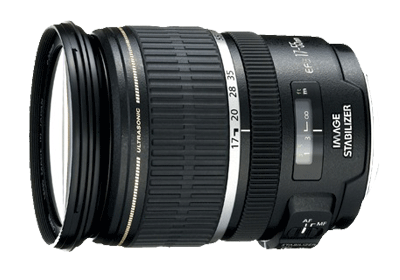
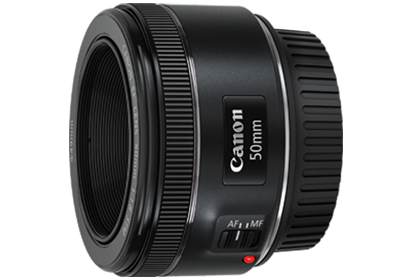
The type of lens you use influences your ability to achieve wide apertures. Prime lenses with fixed focal lengths often have wider maximum apertures than zoom lenses, making them valuable tools for low-light photography.
5. Balancing Aperture with Other Settings:
Achieving the perfect exposure involves a delicate balance between aperture, ISO, and shutter speed. Understanding how these settings interact ensures you make informed decisions to capture sharp and well-exposed images.
6. Experimenting with Aperture Priority Mode:
Many cameras offer an Aperture Priority mode that allows you to set the desired f-stop while the camera automatically adjusts shutter speed. This mode is useful for fine-tuning aperture settings in varying lighting conditions.
7. Practice for Precision:
Experimenting with different aperture settings in real-world scenarios is essential for honing your skills. Practice capturing scenes with varying light levels to understand how aperture impacts the overall look and feel of your photographs.
Shutter Speed Considerations for Focus in Low Light
Mastering shutter speed is essential for freezing motion in low light. Explore the ideal shutter speeds for different scenarios to ensure sharpness in your photos.
1. Freezing Motion in Low Light:
Shutter speed determines how long your camera’s shutter remains open, affecting the amount of light reaching the sensor. In low light, faster shutter speeds are crucial to freeze motion and prevent blurriness in your photos.
2. Ideal Shutter Speeds for Different Scenarios:
Different scenarios demand different shutter speeds. For static subjects, a moderately fast shutter speed may suffice. However, capturing moving subjects or scenes in dim light requires faster shutter speeds to maintain sharpness.
3. Handheld vs. Tripod Usage:
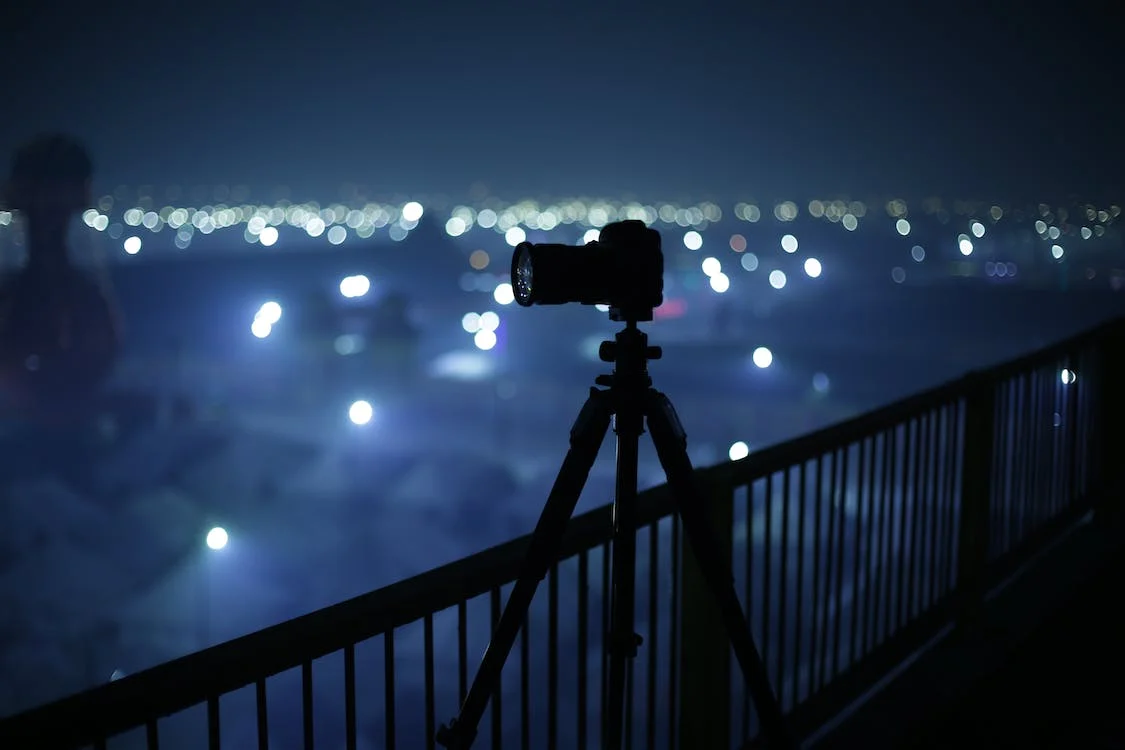
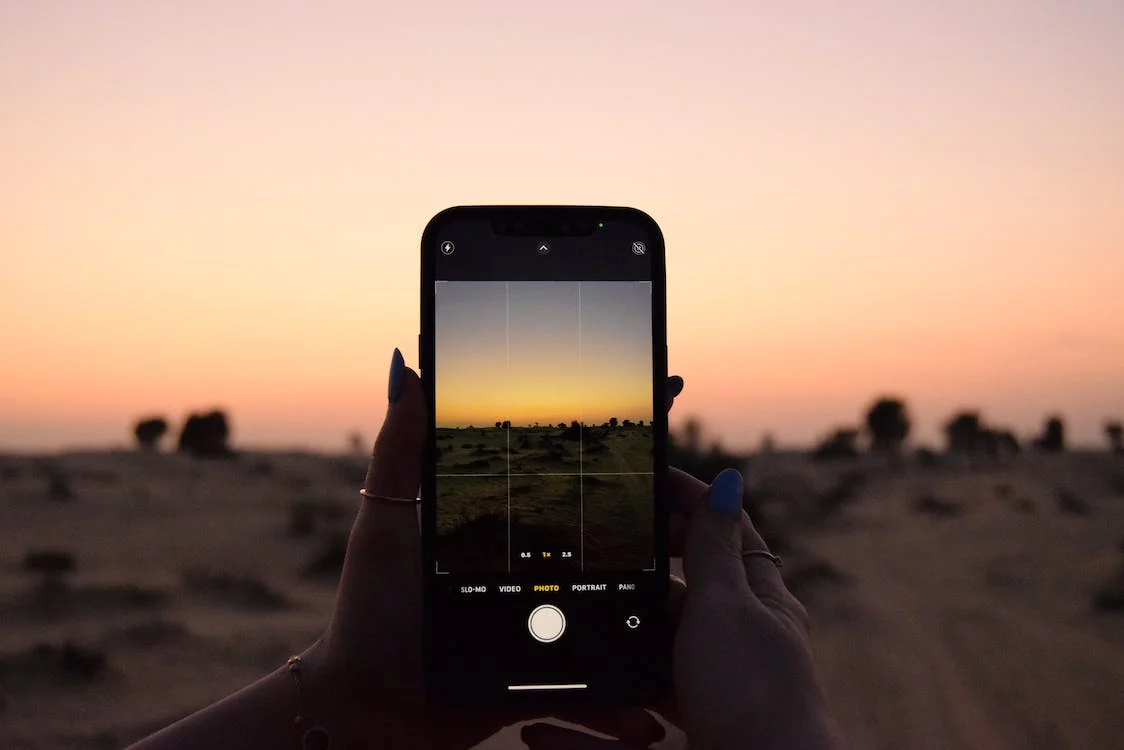
In low-light conditions, handholding your camera at slower shutter speeds can lead to camera shake and blurry images. Investing in a tripod or other stabilization methods becomes essential for achieving sharpness in challenging lighting environments.
4. Understanding the 1/Focal Length Rule:
A rule of thumb for handheld shooting is the 1/focal length rule. For example, if you’re using a 50mm lens, aim for a shutter speed of at least 1/50s to minimize the risk of camera shake. Adjust this rule based on your personal stability and shooting conditions.
5. High ISO and Wide Aperture Impact:
Achieving faster shutter speeds may involve a trade-off with other settings. Higher ISO values and wider apertures contribute to increased sensitivity and light intake, respectively, allowing for faster shutter speeds but requiring a delicate balance to avoid overexposure.
6. Practice Panning Techniques:
Panning involves tracking a moving subject with your camera while using a slower shutter speed. This technique can result in creatively blurred backgrounds while keeping the subject sharp, adding a dynamic element to your low-light photography.
7. Testing Shutter Speed Limits:
Push your camera’s shutter speed limits to understand its capabilities in low-light conditions. Conduct tests to determine the fastest shutter speed that still produces well-exposed images without compromising quality.
Equipment for Low-Light Photography
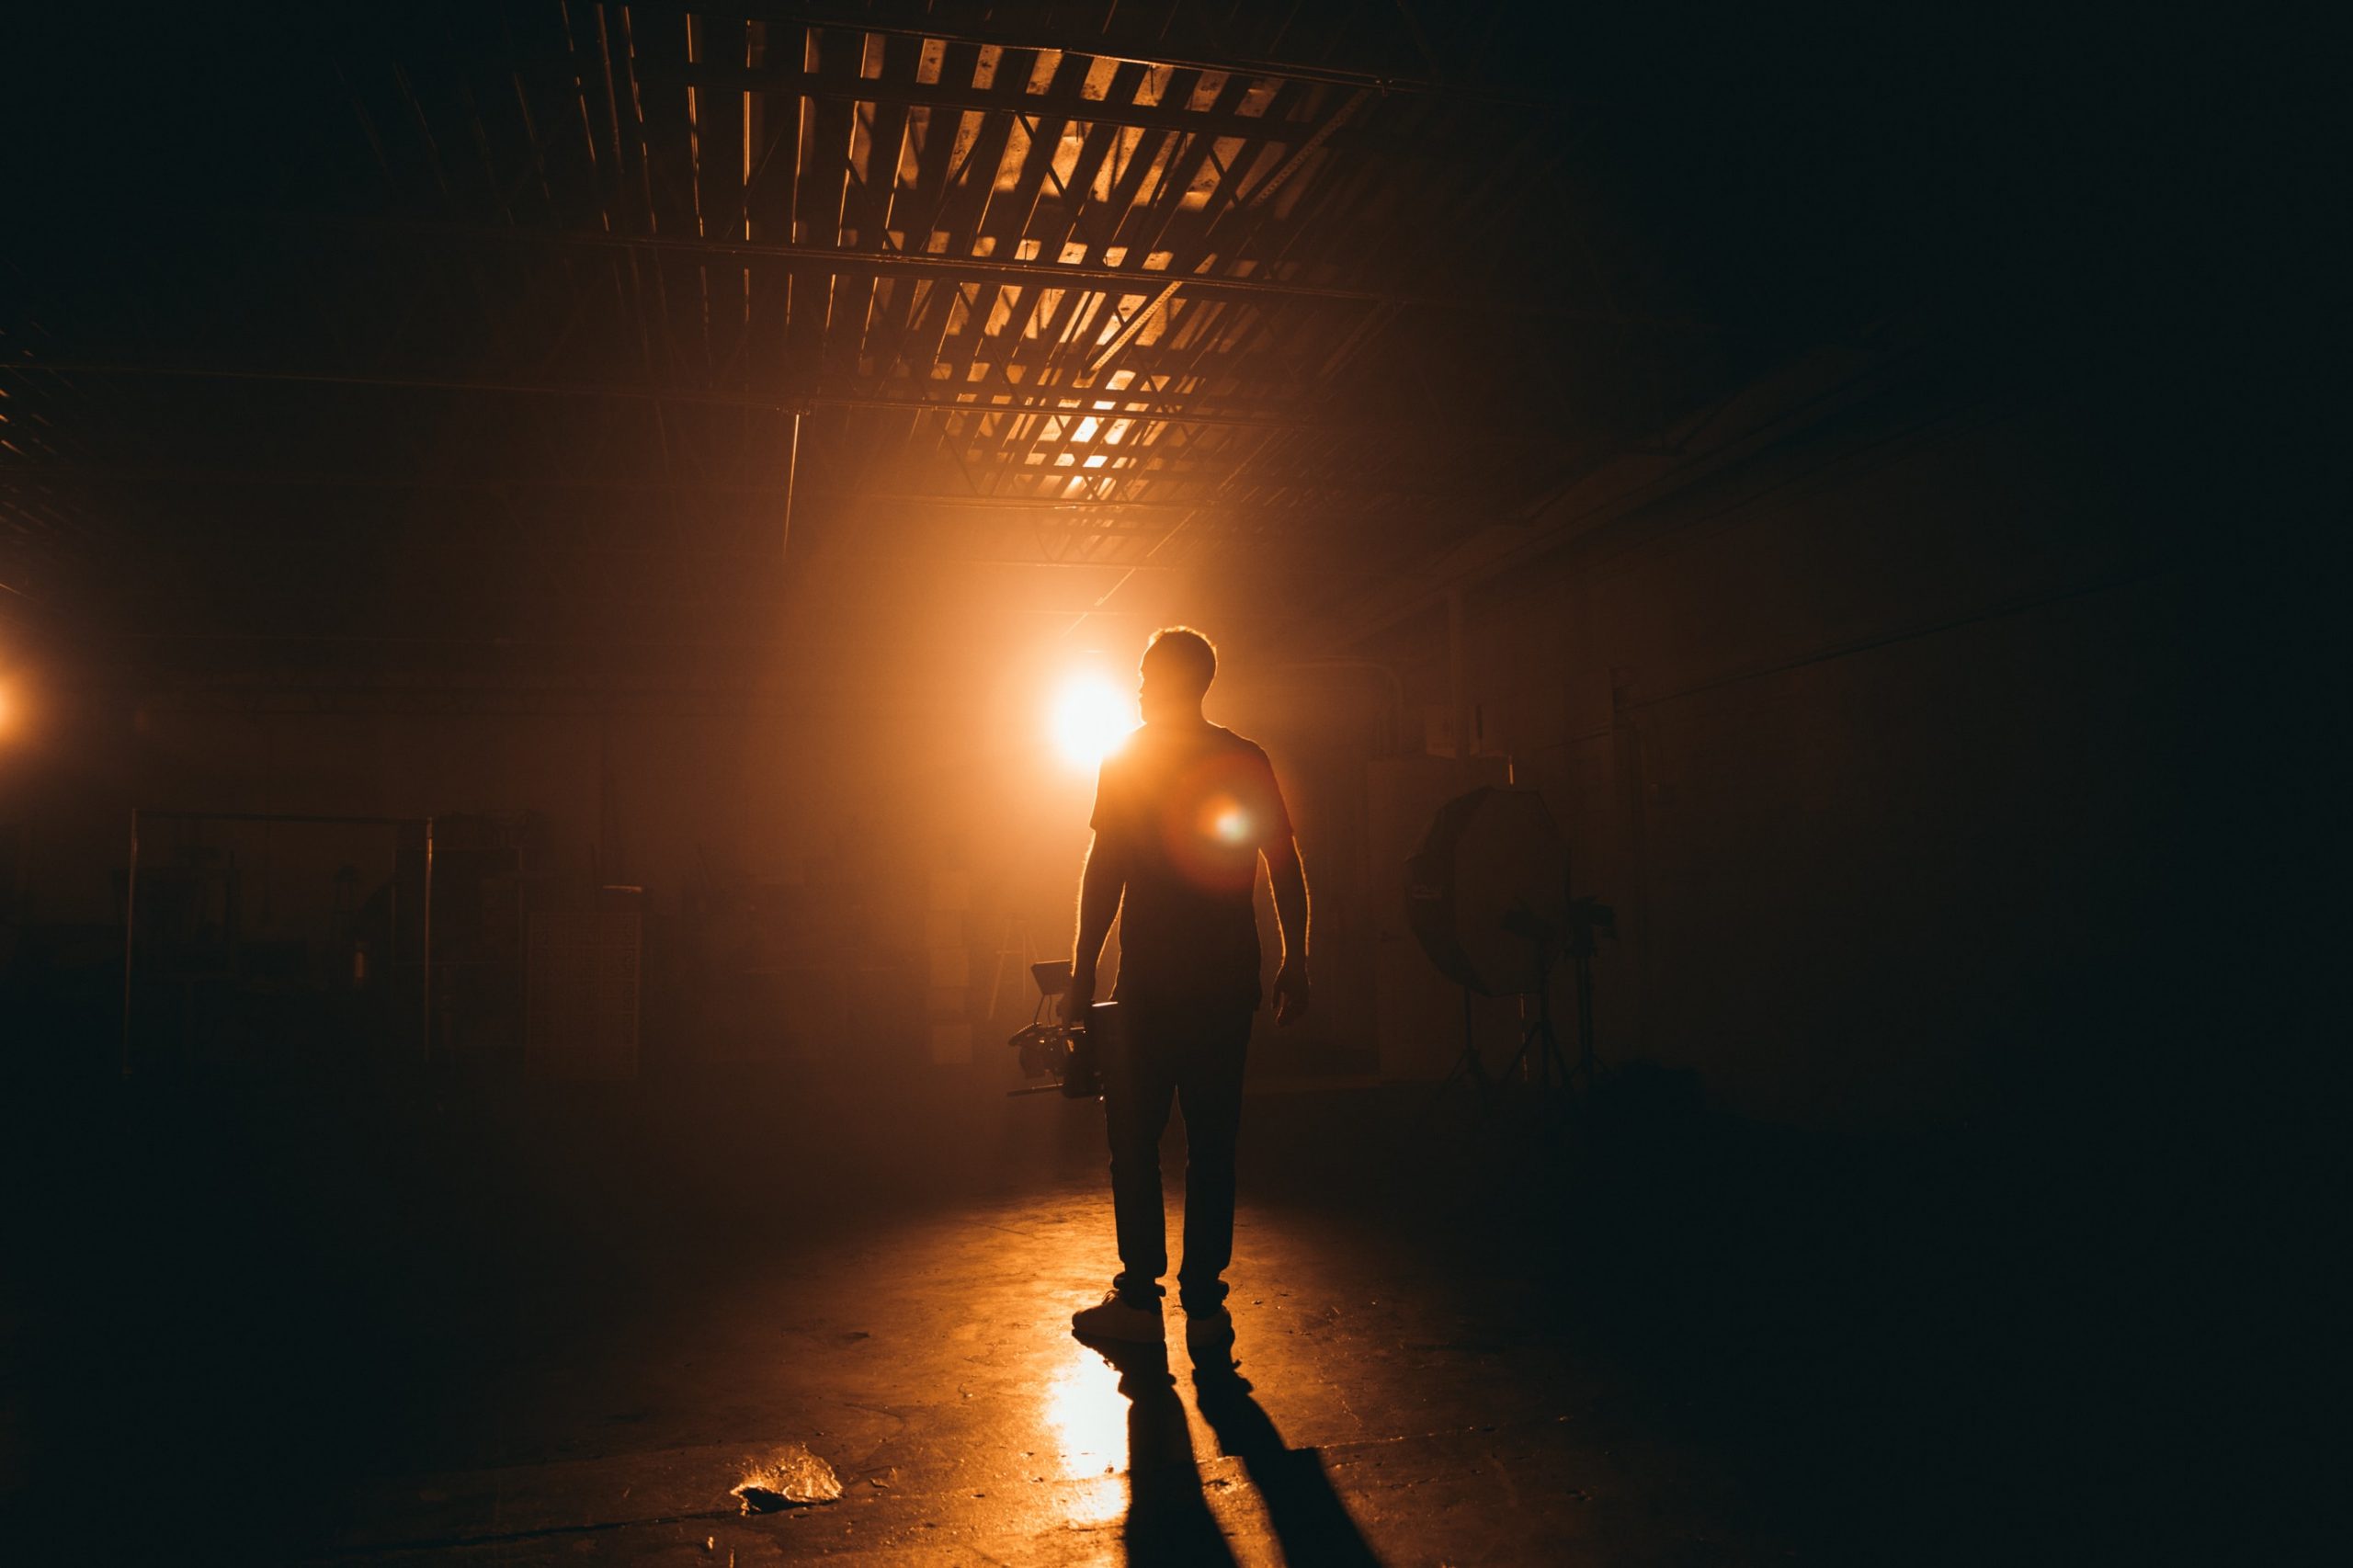
High-Quality Lenses
Investing in quality lenses designed for low-light conditions can make a substantial difference. Explore the options available and understand the impact of lens choice on image clarity.
Tripods and Stabilizers
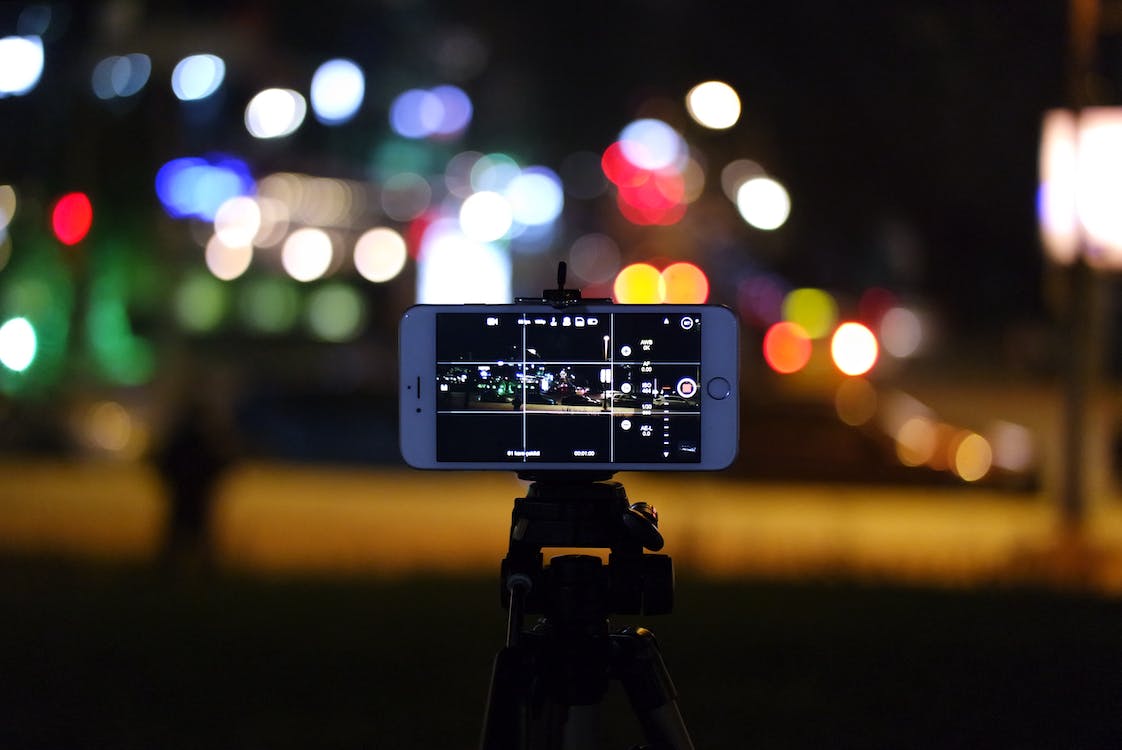
Stability is paramount in low-light scenarios. Learn about the benefits of tripods and stabilizers in ensuring a steady shot, even in challenging conditions.
Low-Light Accessories
Discover additional accessories, such as low-light filters and external flashes, that can enhance your ability to capture sharp images when the light is scarce.
Techniques for Achieving Sharp Photos
Achieving sharpness is a delicate dance between skillful techniques and an understanding of the unique challenges posed by diminished light. Let’s explore three key techniques—Manual Focus, Image Stabilization, and Autofocus Settings—each playing a crucial role in ensuring focus in low light.
Manual Focus in Low Light

In the dim glow of low-light situations, embracing the precision of manual focus becomes an invaluable skill. Achieving optimal sharpness relies on your ability to trust your instincts and make minute adjustments to the focus ring. Here’s how to master manual focus for focus in low light:
1. Trusting Your Instincts:
In low light, your eyes may struggle to discern fine details. Trust your instincts when adjusting the focus ring, relying on the visual cues in the viewfinder or LCD screen to gauge sharpness.
2. Practice and Familiarization:
Regular practice with manual focus, especially in low-light conditions, enhances your familiarity with your camera’s focus ring. This hands-on experience sharpens your ability to achieve precise focus even when visibility is limited.
3. Magnification Tools:
Many cameras offer magnification tools in live view mode. Utilize these features to zoom in on your subject, allowing for more accurate manual focus adjustments, particularly when capturing intricate details in low light.
4. Peaking Assist:
Some cameras provide focus peaking assistance, highlighting in-focus areas with a colored overlay. Activate this feature to make manual focus adjustments more intuitive, especially when focus in low light becomes challenging.
5. Patience and Persistence:
Achieving optimal sharpness with manual focus in low light may require patience. Take your time, make incremental adjustments, and be persistent in refining the focus until you capture the image with the desired clarity.
Utilizing Image Stabilization for Focus in Low Light
Image stabilization is a game-changer in low-light photography, countering the effects of hand movement and vibrations that can compromise the sharpness of your shots. Whether through built-in mechanisms or external stabilizers, here’s how to leverage image stabilization for focus in low light:
1. Built-in Stabilization:
Many modern cameras come equipped with built-in image stabilization (IS) systems. Activate this feature to reduce the impact of hand tremors and ensure a steadier frame, especially crucial when shooting in low light without a tripod.
2. External Stabilizers:
For cameras without built-in stabilization or when using non-stabilized lenses, consider external stabilizers such as gimbals or tripods. These tools provide added stability, allowing for longer exposure times without sacrificing sharpness.
3. IS Modes and Settings:
Familiarize yourself with the different IS modes your camera or lens offers. Some systems have specific modes for panning or adjusting stabilization based on the type of movement. Tailoring these settings to your shooting conditions maximizes their effectiveness.
4. Pre-focusing Techniques:
When preparing for a shot in low light, pre-focus your lens on the intended subject before fully depressing the shutter button. This minimizes the need for continuous focus adjustments during the exposure, enhancing the effectiveness of image stabilization.
5. Test and Calibrate:
Experiment with image stabilization settings in various scenarios to understand its impact on different types of motion. Calibrate the system based on your shooting style and preferences to achieve the best results for focus in low light.
Using the Right Autofocus Settings

Navigating through autofocus settings tailored for focus in low-light environments requires a nuanced understanding of your camera’s capabilities. Here’s how to uncover the nuances of focus modes and areas for capturing crisp and clear images in low light:
1. Single-Point Autofocus:
In low light, single-point autofocus often proves more reliable than multi-point options. Choose a single focal point and position it over your subject, allowing the camera to concentrate on achieving precise focus for enhanced sharpness.
2. Low-Light Autofocus Modes:
Many cameras offer specialized autofocus modes for low-light conditions. These modes often utilize advanced algorithms to improve focus accuracy in challenging lighting scenarios. Explore and experiment with these modes to optimize focus in low light.
3. Focus Assist Illumination:
Some cameras provide focus assist illumination—small beams of light that aid autofocus in low-light situations. Activate this feature to enhance visibility and assist the camera in achieving accurate focus, especially when focus points are less discernible.
4. Customization for Specific Scenarios:
Tailor autofocus settings to the specific scenarios you encounter in low-light photography. For static subjects, a different setting may be optimal compared to dynamic scenes. Understanding these nuances allows for precise focus adjustments.
5. Continuous Learning and Adaptation:
Autofocus technology evolves, and camera systems vary in their capabilities. Stay informed about firmware updates and advancements in autofocus technology, and adapt your approach based on the specific features of your camera for continual improvement in focus in low light.
Conclusion
In the pursuit of sharp photos in low light, understanding your camera, mastering techniques, and post-processing are all crucial elements.
Embrace the challenges low-light photography presents. With the right knowledge and perseverance, you can transform low-light conditions into opportunities for breathtaking images.
As you embark on your journey to master low-light photography, remember that each shot is a step forward. With dedication and a passion for the craft, you’ll unlock the full potential of capturing stunning images in the dark.
FAQs
How Can I Avoid Blurry Photos in Low Light?
To avoid blurry photos, use a tripod, increase ISO cautiously, and experiment with different shutter speeds until you find the right balance for sharpness.
Are Expensive Lenses Necessary for Low-Light Photography?
While quality lenses make a difference, there are affordable options with excellent low-light performance. Choose lenses with wider apertures for better results.
What Is the Best Autofocus Mode for Shooting in the Dark?
Single-point autofocus is often more reliable in low light. Experiment with focus modes and choose the one that consistently delivers sharp results.
Can Smartphone Cameras Excel in Low-Light Conditions?
Some smartphones excel in low-light conditions with advanced camera technology. Experiment with manual settings and use additional accessories for better results.
Are There Specific Post-Processing Tools for Low-Light Images?
Yes, various post-processing tools address common issues in low-light photography, such as reducing noise and enhancing details. Experiment with tools like Lightroom and Photoshop for optimal results.
Afterword
We hope that you find this article helpful. Thank you for reading and you’re always free to leave a comment. If you find this article interesting, consider checking out one of our recently published posts. A few of them showcase advancements in technology such as AI Art Generators. On the other hand, if you’re looking towards Photography, we also offer great articles for your inspiration. We also have multiple articles that talk about the various printing mediums for wall art. May these articles give you inspiration for your next print!
Find them here:
Discover the Secret to High-quality Canvas Prints
The 9 Best Canvas Print Companies in 2023
Acrylic Prints: Add Vibrance to Any Space
The Top Food Photography Trends to Try Now
The Ultimate Guide to Continuous Lighting for Photography
Stable Diffusion Tips and Tricks
Best AI Art Generator for Android Phones 2023
We enjoy reading your comments and insights with our posts! Should you have any questions or concerns, feel free to leave them below! -Mark

