

Studio lighting is the unsung hero behind every captivating photograph and video we come across. Whether you’re a seasoned photographer or just starting, understanding the nuances of studio lighting can significantly elevate your creative output. In this article, we’ll delve into valuable studio lighting tips, from the basics to advanced techniques, helping you illuminate your subjects with finesse.
Table of Contents
Introduction to Studio Lighting
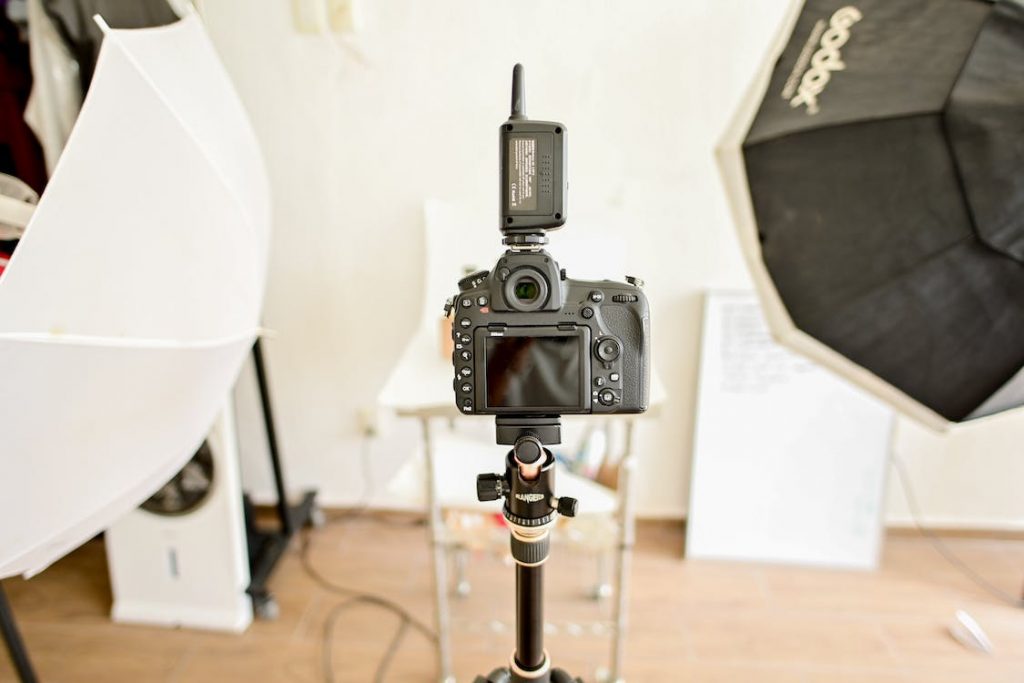
Photography, at its core, is capturing and manipulating light. Studio lighting provides photographers and videographers with a controlled environment to mold and shape light according to their vision.
In contrast to outdoor photography, where natural light is unpredictable, studio lighting offers a controlled environment. Every aspect of illumination, from the angle and intensity of light to the shadows it creates, can be carefully managed. This control empowers photographers to emphasize the beauty of their subjects and convey specific moods.
Importance of Proper Studio Lighting
Proper studio lighting is more than just brightening a scene. It sets the mood, emphasizes details, and breathes life into your compositions. Whether it’s a portrait, product shot, or a cinematic sequence, the right lighting can make all the difference.
Key Components of Studio Lighting Setup
Types of Lights
The choice of lights is a critical decision that significantly influences the outcome of your photographs or videos. Understanding the various types available empowers you to tailor your lighting setup to meet specific needs.
Continuous Lights
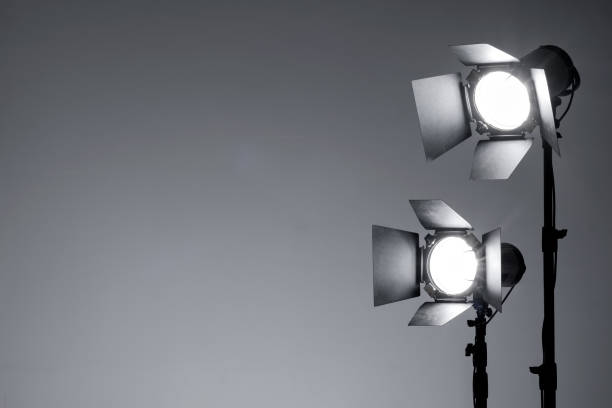
Continuous lights, as the name suggests, provide a constant source of illumination. These lights are beneficial for beginners as they offer a real-time preview of how light interacts with your subject. They are versatile and suitable for various scenarios, including video production where a consistent light source is essential.
Strobe Lights
Strobe lights, or flashes, produce short bursts of intense light. They are highly effective in freezing motion, making them ideal for capturing dynamic scenes. Strobes are a popular choice for portrait and fashion photography, allowing photographers to control ambient light and highlight specific aspects of the subject.
Speedlights
Speedlights, or portable flash units, are compact and versatile. They are often mounted on a camera’s hot shoe but can also be used off-camera for creative lighting setups. Speedlights are favored for their portability, making them an excellent choice for on-the-go photographers and those who require flexibility in their setups.
Light Modifiers
The type of light you choose sets the stage, but light modifiers play a crucial role in refining and shaping that light to achieve specific effects. Here are some essential modifiers that can elevate your studio lighting game:
Softboxes

Softboxes diffuse light, creating a gentle and even illumination. They are excellent for portraits, minimizing harsh shadows and producing a flattering, natural look. Softboxes come in various shapes and sizes, allowing for versatility in controlling the quality of light.
Umbrellas
Umbrellas are simple yet effective modifiers that spread light widely, producing a soft and diffused effect. They are particularly useful for large group shots or when you need to cover a broader area with a consistent light source. Umbrellas are budget-friendly and a popular choice for beginners.
Grids
Grids attach to the front of a light source to control the spread of light. They focus and direct the illumination, preventing light spillage and allowing for precise highlighting of your subject. Grids are valuable when you want to add drama or emphasize specific details in your photographs.
Light Stands and Accessories
While lights and modifiers take the spotlight, the supporting cast—light stands and accessories—plays a crucial behind-the-scenes role in ensuring a stable and flexible studio lighting setup.
Light Stands
Investing in sturdy light stands is paramount for stability. They provide a secure foundation for your lights and modifiers, preventing accidents and allowing you to position your equipment precisely. Look for stands with adjustable height and locking mechanisms for added versatility.
Accessories
Accessories like reflectors, diffusers, and gels contribute to the overall control and creativity of your lighting setup. Reflectors bounce and manipulate light, diffusers soften it, and gels add color effects. Having a well-equipped arsenal of accessories expands your creative possibilities and ensures you’re prepared for various shooting conditions.
Choosing the Right Studio Lighting for Your Needs
Selecting the appropriate studio lighting is a pivotal decision that directly impacts the quality and aesthetics of your photography or videography. This involves considering factors such as space, color temperature, and budget-friendly options to ensure your lighting setup aligns seamlessly with your creative objectives.
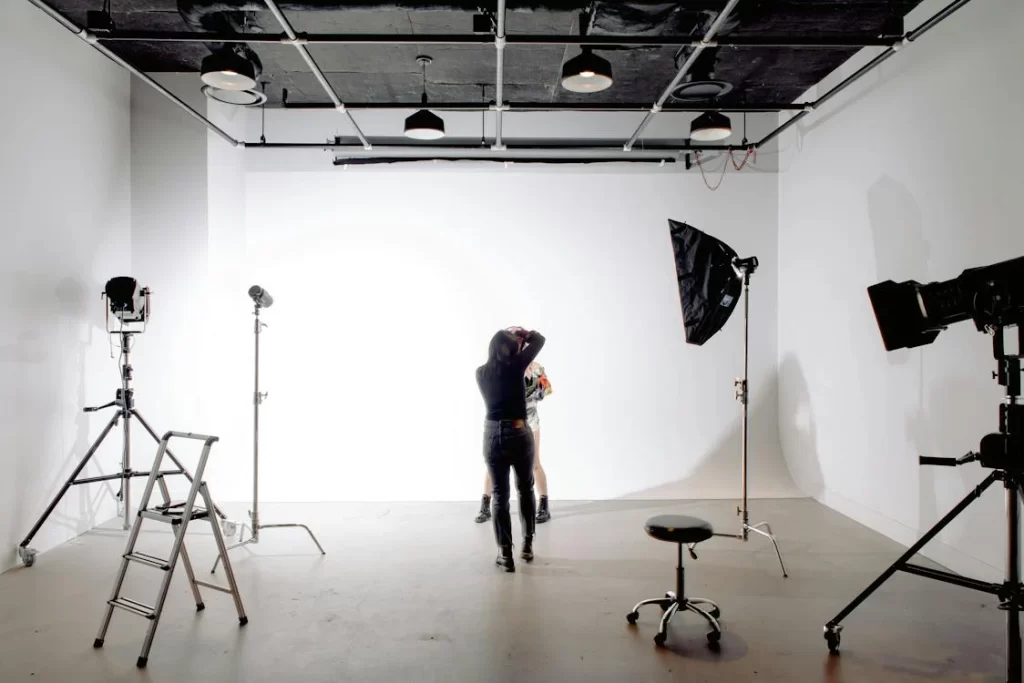
Consideration of Space
One of the first considerations when choosing studio lighting is the available space. The size and layout of your studio or shooting area significantly influence the type and placement of lights. For smaller spaces, compact lighting setups might be more suitable, preventing overcrowding and ensuring that light reaches your subject effectively. Conversely, in more extensive studios, you have the flexibility to experiment with multiple lights, creating intricate setups for varied effects.
Understanding the spatial dynamics allows you to position lights strategically, avoiding unnecessary shadows and ensuring consistent illumination across your subjects. This adaptability to space is crucial for achieving professional-looking results, regardless of the environment you’re working in.
Understanding Light Temperature
Color temperature plays a pivotal role in maintaining accurate and realistic colors in your photos and videos. Different light sources emit light with varying color temperatures measured in Kelvin (K). It’s essential to be aware of these variations to achieve the desired mood and color balance in your work.
For instance, natural daylight has a color temperature around 5600K, while tungsten lights tend to be warmer, around 3200K. Fluorescent lights fall in between. Matching your studio lights to the ambient color temperature or intentionally introducing a color cast can create specific atmospheres in your imagery.
Being cognizant of light temperature not only ensures color accuracy but also allows for intentional manipulation of tones to evoke emotions or enhance the visual narrative.
Budget-Friendly Options
While investing in high-quality lighting equipment is desirable, it’s also essential to explore budget-friendly options, especially for those starting or working within financial constraints. Cost-effective lighting solutions do not necessarily mean compromising on quality; it’s about finding the right balance between affordability and performance.
Consider starting with entry-level studio lights or exploring second-hand equipment markets. Many reputable brands offer budget-friendly alternatives that deliver reliable performance for beginners and enthusiasts. DIY solutions, such as homemade light modifiers or reflective surfaces, can also be effective in achieving professional-looking results without breaking the bank.
Exploring budget-friendly options not only makes studio lighting more accessible but also allows for experimentation and learning without the pressure of significant financial commitments.
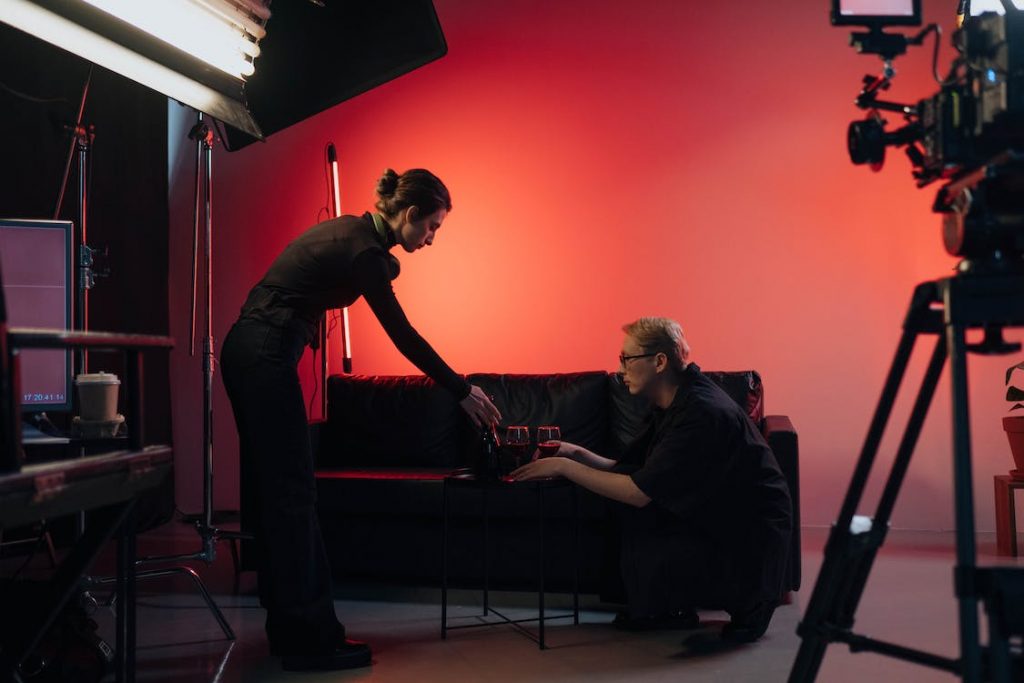
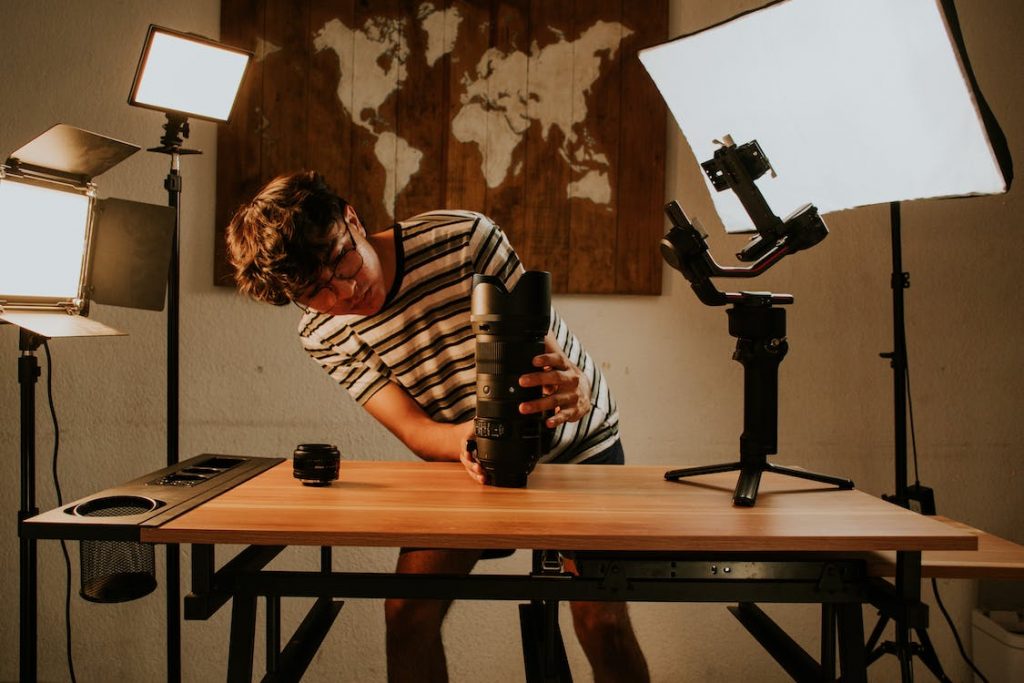
Setting Up Your Studio Lighting System
Setting up your studio lighting system involves more than just placing lights around your subject. It’s an art that requires a keen understanding of how light interacts with your subject, the environment, and the overall mood you want to convey. This process encompasses the strategic positioning of lights, finding the right balance between ambient and studio light, and learning from common mistakes to refine your skills.
Positioning Lights for Optimal Results
Mastering the art of light positioning is crucial for creating visually appealing and well-lit photographs or videos. The position of your lights significantly influences the shadows, highlights, and overall mood of the scene. Here are some key considerations:
Key Light
The key light is your primary light source and sets the overall tone of the image. Position it to the side of your subject, slightly above eye level, to create a flattering illumination that highlights facial features and adds dimension.
Fill Light
The fill light helps balance shadows created by the key light. Place it opposite the key light to soften shadows while maintaining a natural look. Adjust the intensity to control the level of contrast in your image.
Rim or Backlight
Adding a rim or backlight behind your subject separates them from the background, creating a three-dimensional effect. Position this light source behind and to the side of your subject for a subtle glow around their edges.
Experiment with angles and distances to achieve the desired effect, considering the mood and style you want to convey in your final visuals.
Balancing Ambient and Studio Light
Achieving a harmonious balance between ambient (existing natural or artificial) light and your studio lights is paramount for creating natural-looking results. Here’s how to strike the right equilibrium:
Understand the Ambient Light
Assess the existing light in your environment. Whether it’s sunlight streaming through windows or artificial lighting in the room, consider its color temperature and intensity.
Adjust Studio Lights Accordingly
Adjust your studio lights to complement the ambient light rather than overpowering it. This ensures a seamless integration of your artificial lighting with the natural or existing light sources, preventing unnatural-looking results.
Use Light Modifiers
Soften and diffuse studio lights using modifiers like softboxes or umbrellas to mimic the characteristics of ambient light. This helps avoid harsh shadows and creates a more natural, flattering illumination.
Avoiding Common Lighting Mistakes
Learning from common mistakes is an essential part of refining your studio lighting skills. Here are some pitfalls to avoid:
Overlooking Shadows
Pay attention to how shadows fall on your subject. Avoid harsh shadows on faces or distracting shadows on the background by adjusting the angle and intensity of your lights.
Ignoring Color Temperature
Ensure consistency in color temperature across all your light sources. Mismatched color temperatures can result in unnatural skin tones and an overall discordant visual.
Neglecting Background Illumination:
Consider how your lights affect the background. A well-lit subject against a poorly lit background can lead to an unbalanced composition. Use additional lights or modifiers to address this issue.
Forgetting Depth
Position lights to create depth in your images. Flat lighting can make your subject appear two-dimensional. Experiment with various angles and intensities to add dimension to your visuals.
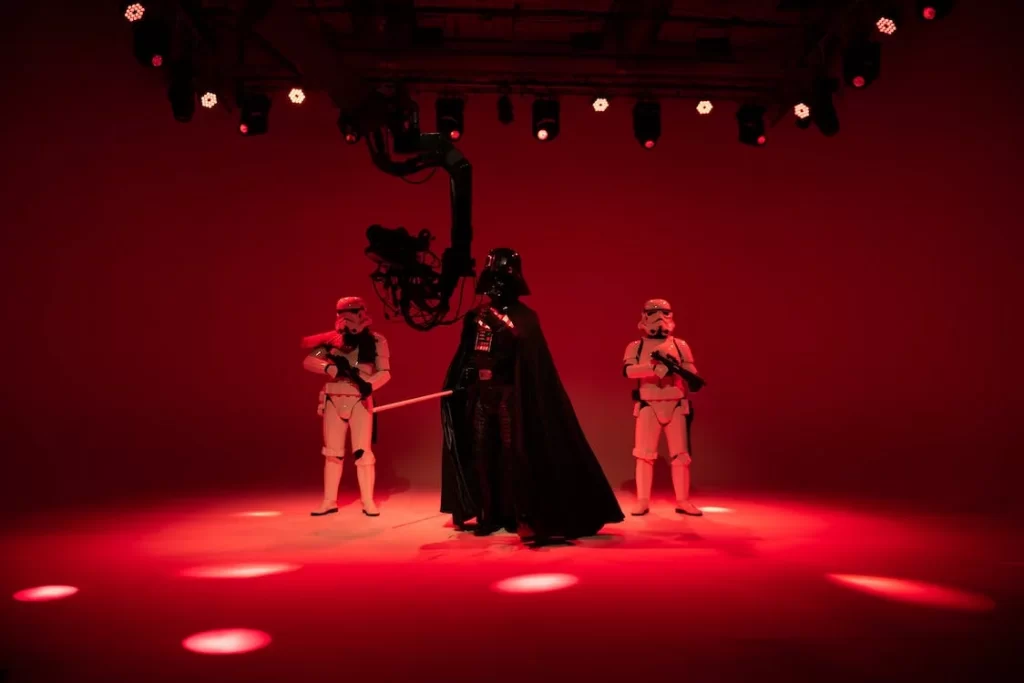
Creating Different Moods with Studio Lighting
The versatility of studio lighting allows photographers to explore a spectrum of moods and atmospheres in their work. By manipulating light strategically, you can evoke softness, drama, or balance in your photographs. Here’s how you can use studio lighting to create various moods:
Soft Lighting for Portraits
Soft lighting is a go-to technique for creating flattering and gentle portraits. It involves diffusing light to minimize harsh shadows and highlight facial features delicately. Achieve soft lighting with the following techniques:
Softboxes
Use large softboxes to produce even and diffused light. These modifiers spread light across the subject, creating a soft, wrap-around effect that beautifully illuminates facial contours.
Umbrellas
White or silver umbrellas can also create soft lighting. The reflected light from the umbrella’s surface results in a natural and gentle illumination ideal for portrait photography.
Bounce Light
Bouncing light off reflective surfaces, such as walls or ceilings, can soften its impact on the subject. This technique mimics the effect of natural light, providing a soft and flattering look.
Soft lighting is particularly effective for capturing the natural beauty of individuals, emphasizing their features while maintaining a pleasing and comfortable atmosphere.
Dramatic Lighting for Fashion Photography
Fashion photography often thrives on drama and intensity. Experimenting with dramatic lighting setups can elevate your fashion shots, adding flair and emphasizing details. Consider the following techniques:
Rembrandt Lighting
Create Rembrandt lighting by positioning the key light at a 45-degree angle to the subject, slightly above eye level. This produces a distinctive triangle of light on the cheek opposite the key light, adding drama and dimension.
Side Lighting
Positioning lights to the side of the subject enhances shadows and creates a bold, high-contrast look. This technique works well for showcasing textures and adding a sense of edginess to fashion photographs.
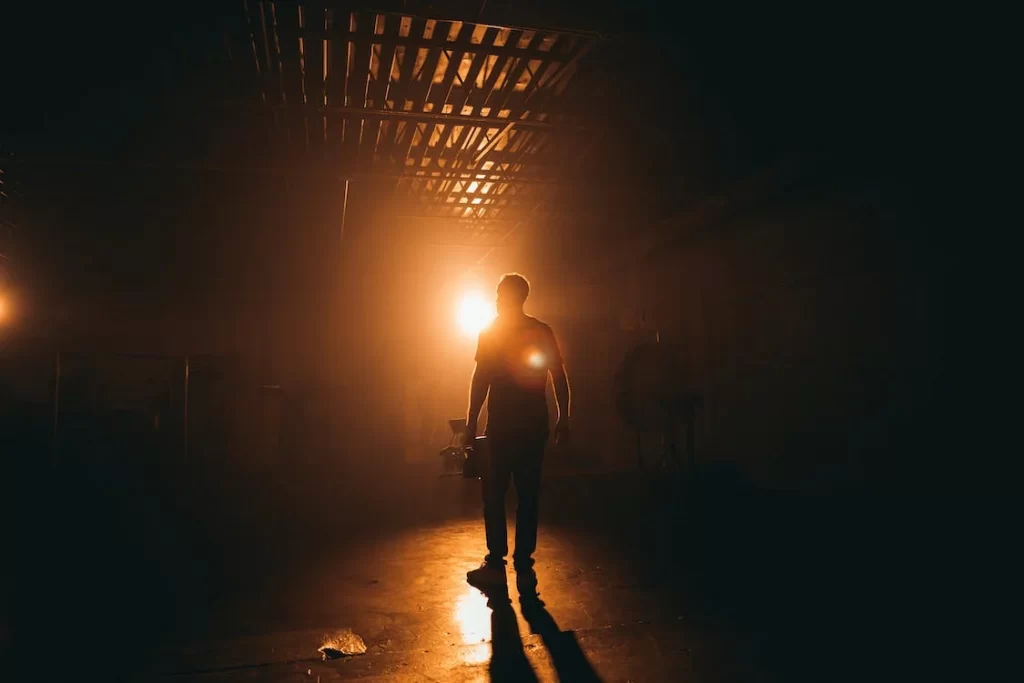
Low-Key Lighting
Embrace low-key lighting by using minimal, strategic illumination. This results in a dark, moody atmosphere, perfect for conveying a sense of mystery and sophistication in fashion shots.
Dramatic lighting in fashion photography allows you to experiment with shadows, highlights, and contrasts, adding a layer of visual storytelling to your images.
Balanced Lighting for Product Photography

Product photography demands a different approach, emphasizing clarity and detail. Achieve balanced lighting to showcase products effectively:
Diffused Lighting
Utilize softboxes or diffusers to create soft and even lighting. This minimizes reflections and ensures that products are well-lit without distracting highlights or harsh shadows.
Backlighting
Adding a subtle backlight can separate the product from the background, adding depth and dimension. This technique is especially effective for transparent or glossy items.
Fill Light
Incorporate fill lights strategically to balance shadows and highlights. This ensures that products are evenly illuminated, allowing customers to see every detail clearly.
Balanced lighting is crucial in product photography to present items in their true form, emphasizing features, textures, and colors accurately.
Conclusion
Mastering studio lighting is an ongoing journey that significantly impacts the quality of your visual creations. By understanding the principles, experimenting with different setups, and staying informed about industry trends, you’ll illuminate your path to becoming a proficient studio photographer or videographer.
FAQs
What is the primary purpose of studio lighting?
Studio lighting serves to illuminate subjects in a controlled environment, allowing photographers and videographers to manipulate light for creative and technical purposes.
How can I create a dramatic lighting effect for my portraits?
Experiment with side lighting and use shadows strategically to create a sense of drama and intensity in your portrait photography.
Are DIY lighting modifiers effective?
DIY lighting modifiers can be surprisingly effective and budget-friendly, offering creative solutions for achieving unique lighting effects.
What are the common mistakes to avoid in studio lighting?
Common mistakes include improper positioning of lights, neglecting color temperature, and not considering the overall space for optimal results.
Why is post-processing important in studio photography?
Post-processing allows photographers to fine-tune and enhance lighting effects, ensuring the final result meets their creative vision.
Afterword
We hope that you find this article helpful. Thank you for reading and you’re always free to leave a comment. If you find this article interesting, consider checking out one of our recently published posts. A few of them showcase advancements in technology such as AI Art Generators. On the other hand, if you’re looking towards Photography, we also offer great articles for your inspiration. We also have multiple articles that talk about the various printing mediums for wall art. May these articles give you inspiration for your next print!
Find them here:
Discover the Secret to High-quality Canvas Prints
The 9 Best Canvas Print Companies in 2023
Acrylic Prints: Add Vibrance to Any Space
The Top Food Photography Trends to Try Now
The Ultimate Guide to Continuous Lighting for Photography
Stable Diffusion Tips and Tricks
Best AI Art Generator for Android Phones 2023
We enjoy reading your comments and insights with our posts! Should you have any questions or concerns, feel free to leave them below! -Mark