

Studio lighting plays a pivotal role in capturing the perfect shot. Whether you’re shooting portraits, products, or videos, the right lighting setup can transform your images from amateur to professional. In this article, we’ll explore common studio lighting problems and solutions to help you overcome these challenges and improve your photography.
As an amateur photographer with a particular fondness for toy photography, I’ve encountered my fair share of studio lighting problems. From harsh shadows to uneven illumination, these challenges can significantly impact the quality of your final images. Without further ado, let’s begin with the common problems.
Table of Contents
Common Studio Lighting Problems
1. Uneven Lighting
One of the most frequent issues photographers face is uneven lighting. This occurs when certain parts of the subject are over-lit while others remain in shadow. Uneven lighting can make your photos look unbalanced and unprofessional, leading to hours of post-production work to correct the issue.
Causes of Uneven Lighting in the Studio
The primary causes of uneven lighting are improper light placement and inconsistent power settings. Sometimes, photographers use multiple light sources without ensuring they are balanced, or they position them too close to the subject. This imbalance results in one side of the frame being brighter than the other.
Impact of Uneven Lighting on Photography
Uneven lighting can distort the subject’s appearance, making textures look harsh or washed out. If not addressed during the shoot, it can require significant editing to fix later, which can degrade image quality.
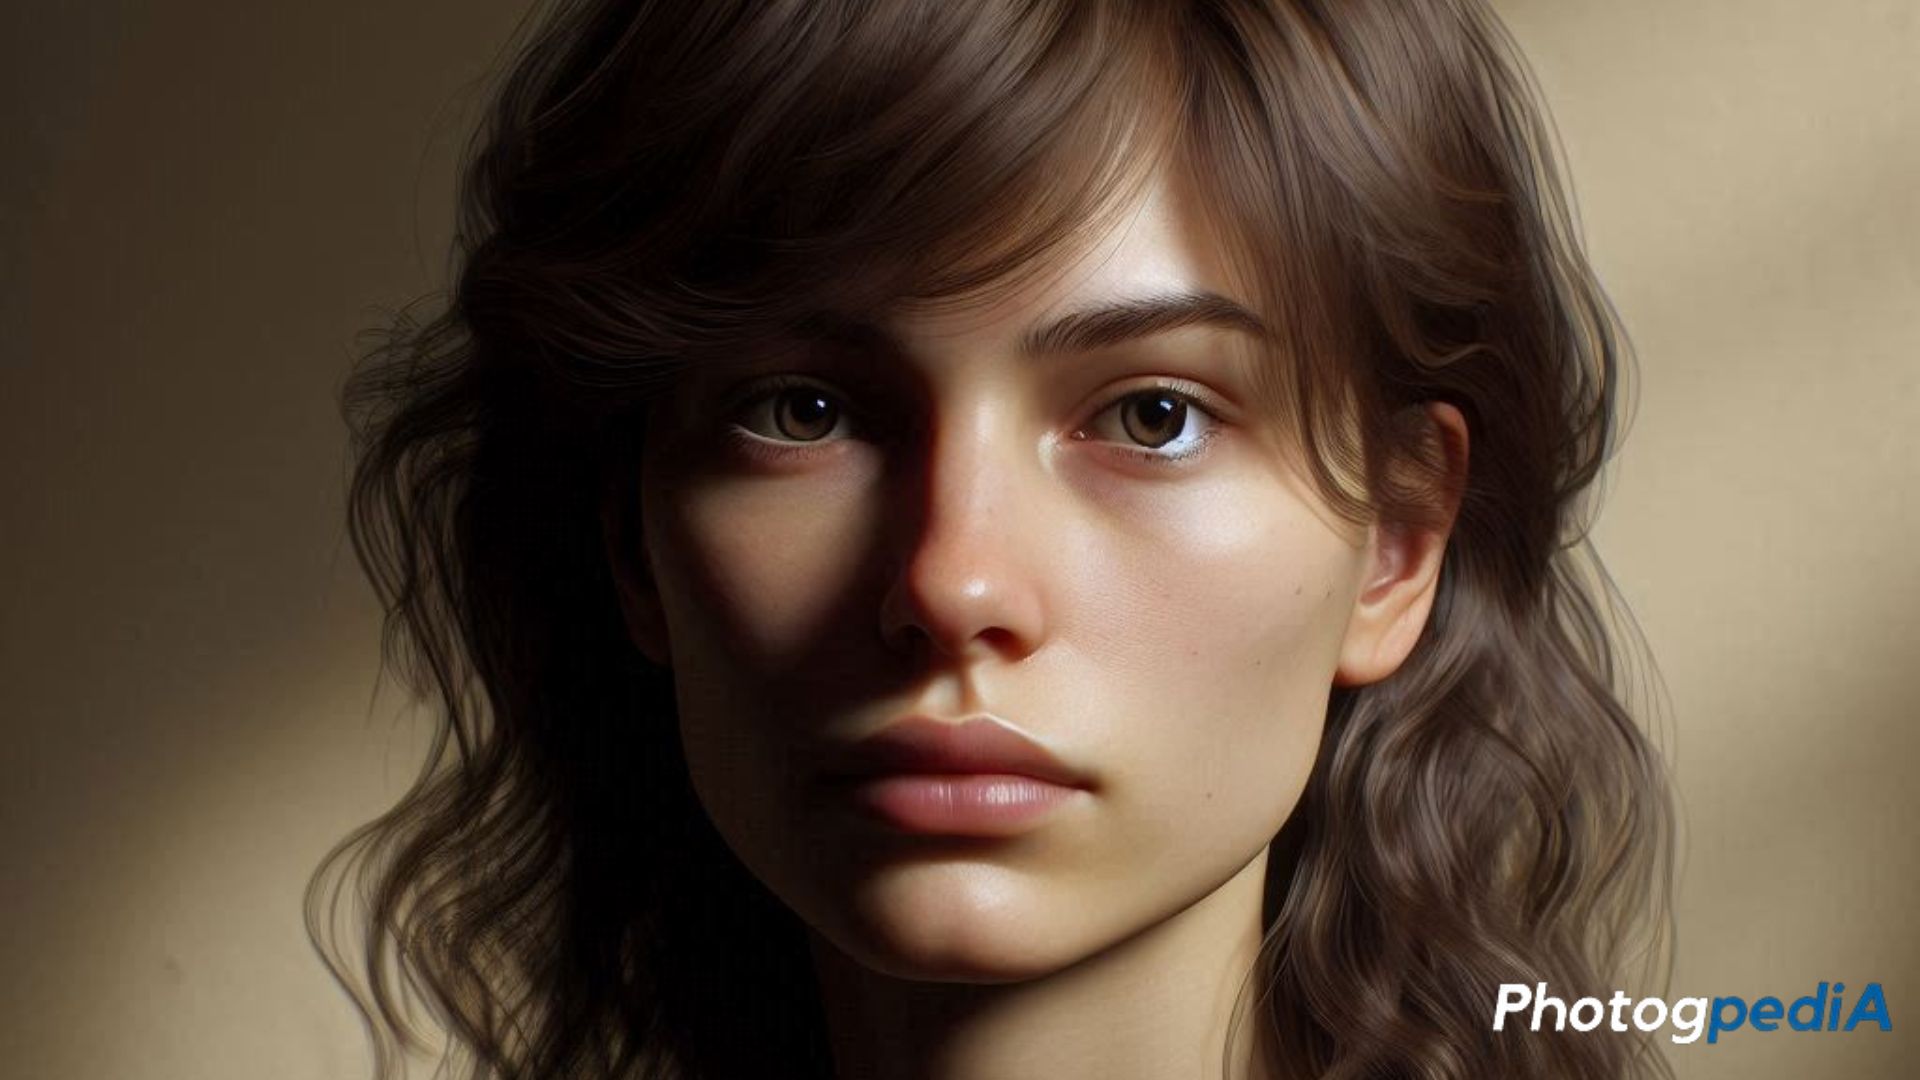
2. Harsh Shadows
Harsh shadows can create a dramatic look but are often unwanted in most studio photography settings. These shadows can obscure important details of the subject and create an unflattering appearance, especially in portrait photography.
How Harsh Shadows Occur
Harsh shadows are usually the result of placing light sources too close to the subject or using bare bulbs without diffusers. When light is too direct, it casts hard shadows, particularly around the face or product edges.
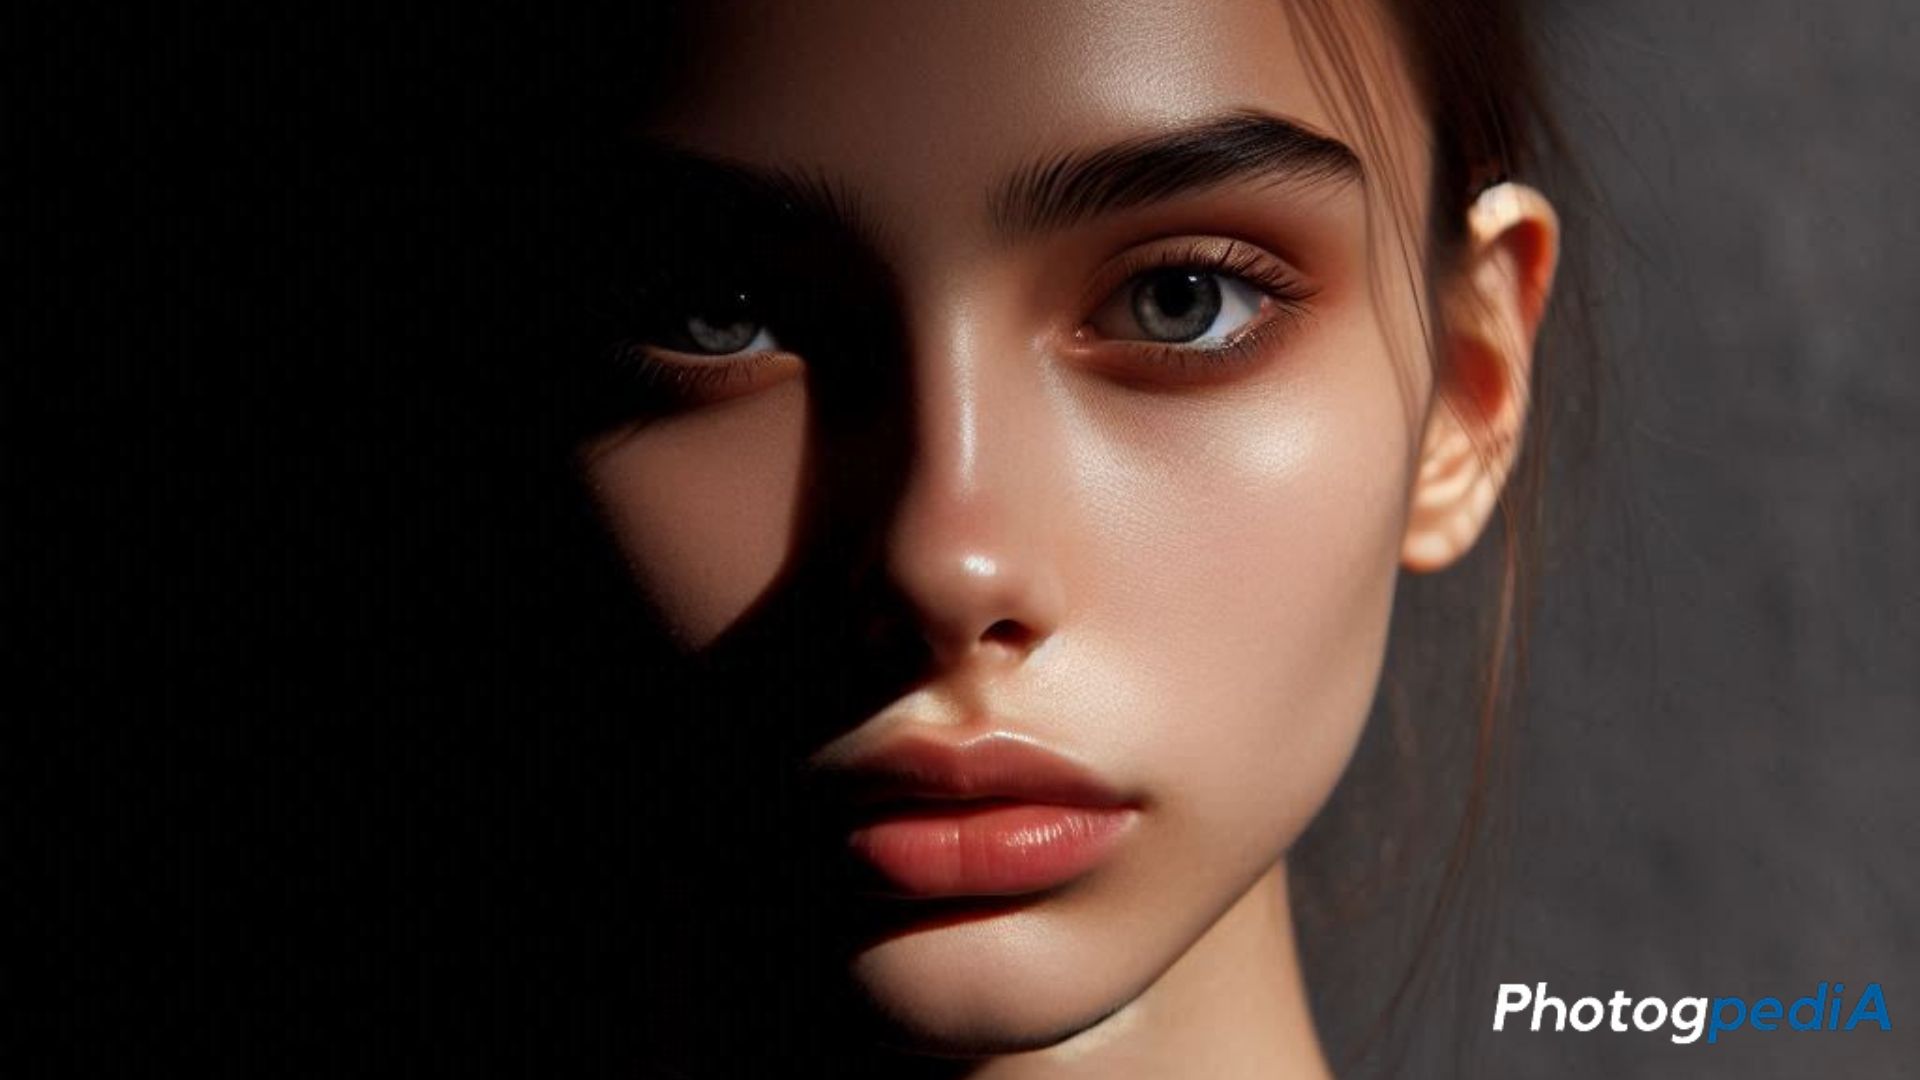
Why Shadows Can Be a Problem in Studio Photography
Too many dark shadows can ruin the composition and diminish the focus on the subject. They can also make your subject appear flat or too contrast-heavy.
3. Reflections and Glare
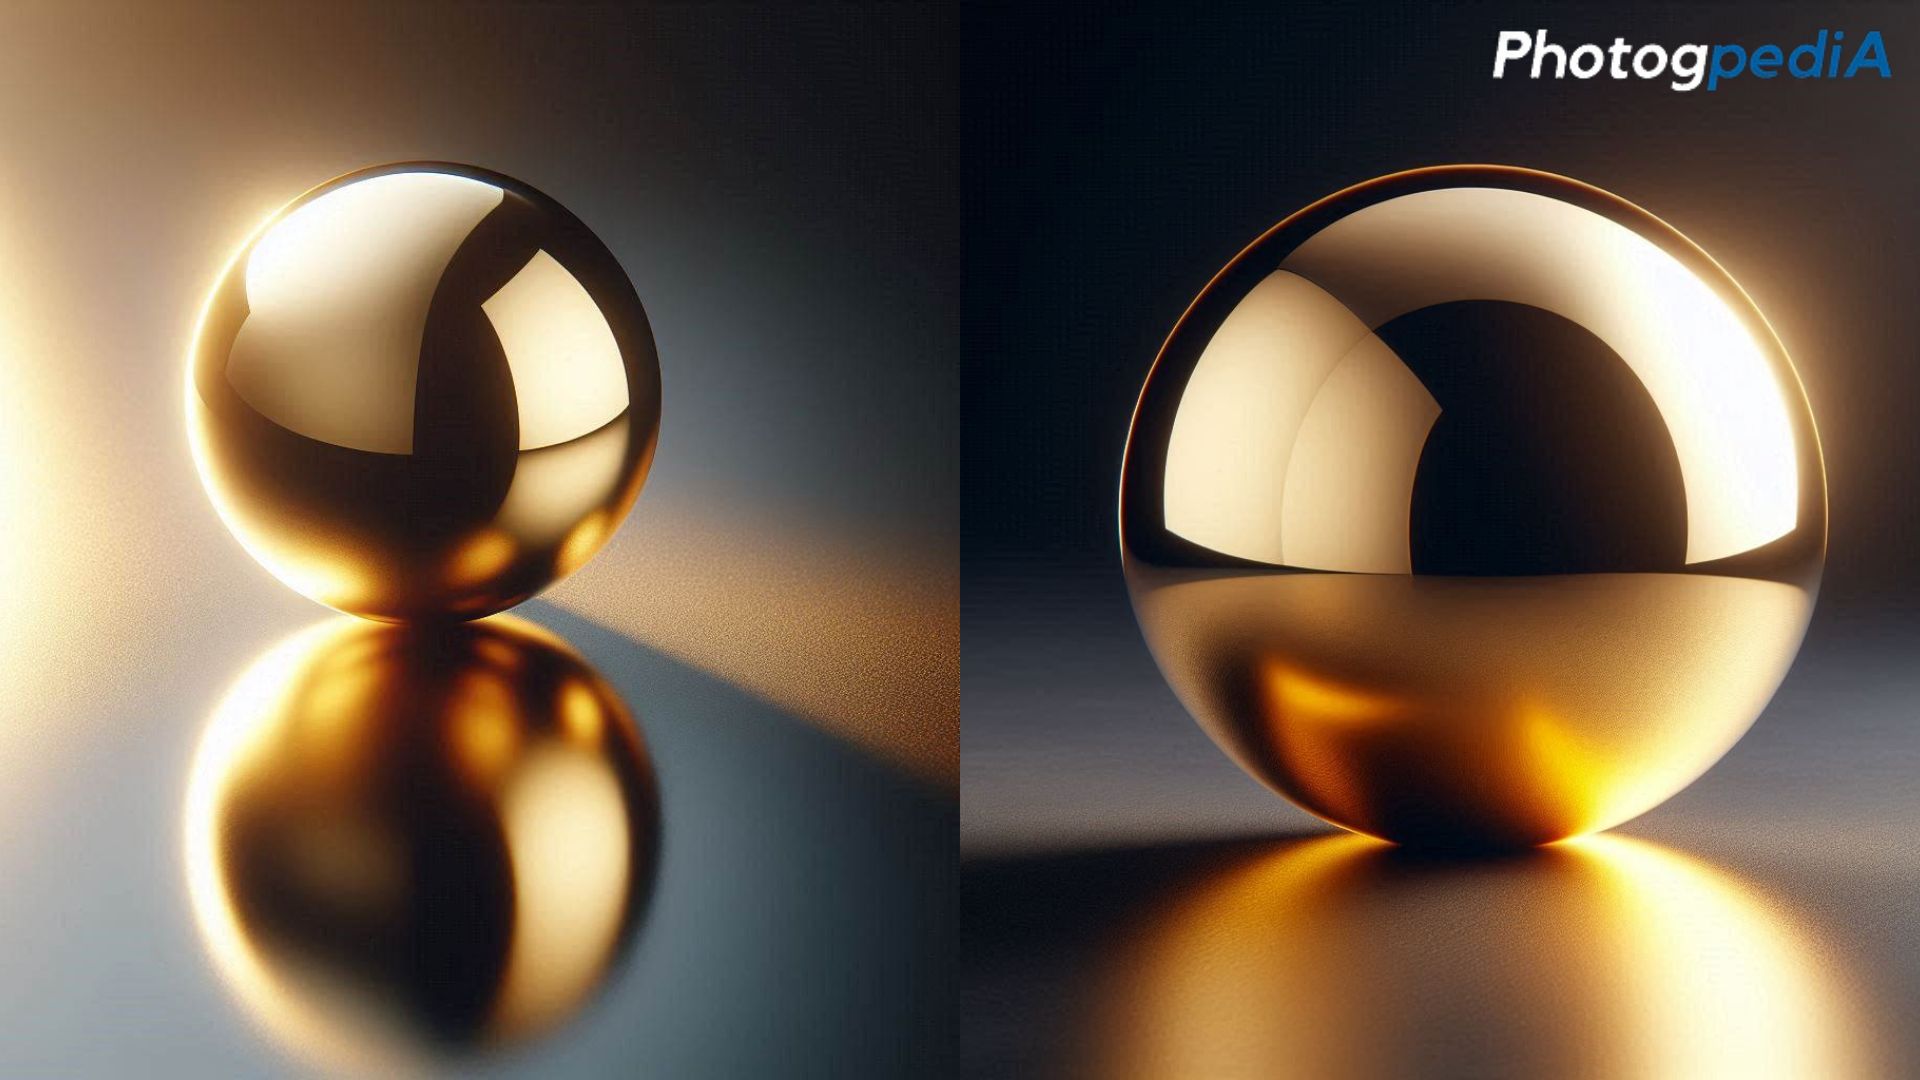
Reflective surfaces can often lead to unwanted glare or reflections, which can be incredibly difficult to manage in studio settings. Whether you’re photographing glass, metal, or any shiny object, these reflections can disrupt your shot.
How Reflective Surfaces Cause Glare
Reflections happen when light bounces off a shiny surface back into the camera, creating bright spots that can obscure details. Without careful positioning of the lights, these reflections become unavoidable.
Problems with Glass, Metal, and Shiny Objects
Glass and metal are notoriously challenging to photograph because they reflect almost all light. If not properly controlled, these reflections can overpower your subject and make your image look messy and distracting.
4. Color Temperature Imbalances
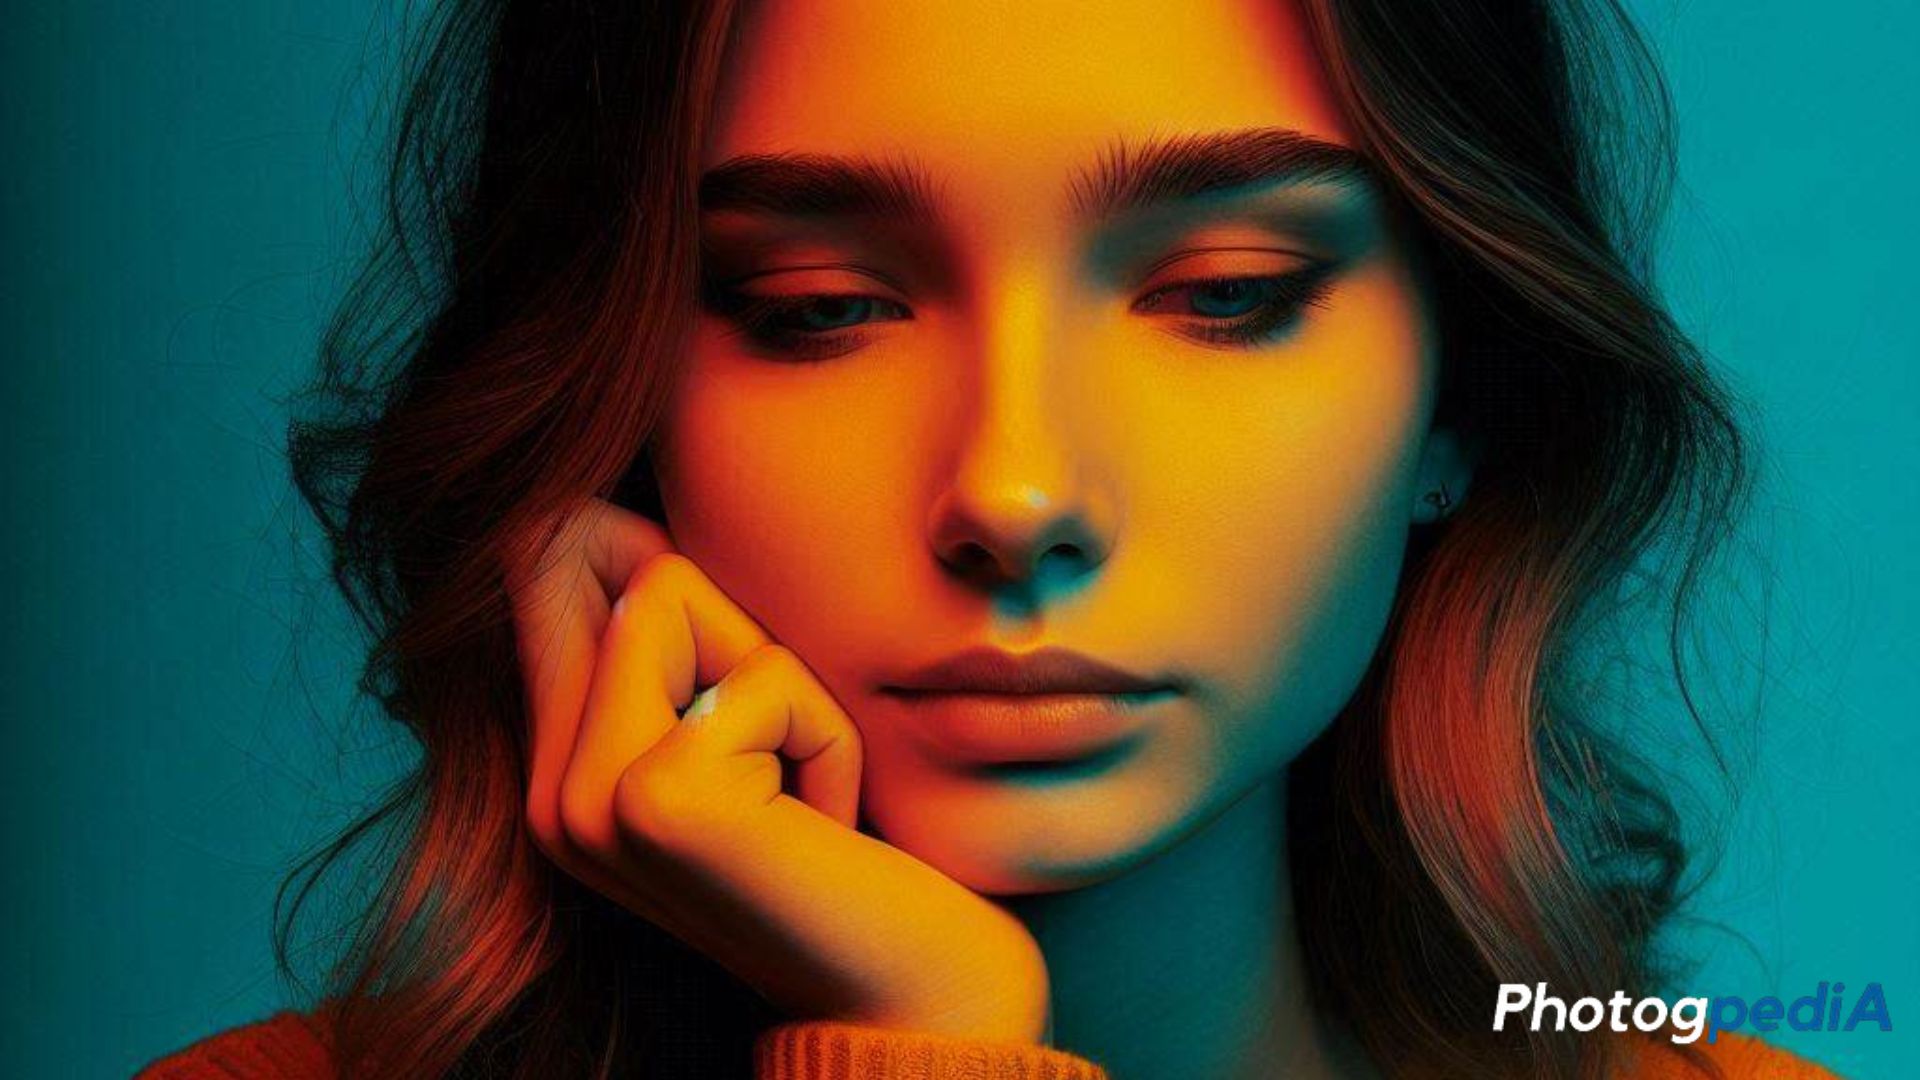
Getting the right color temperature is essential for accurate color reproduction. Inconsistent color temperatures can make your images look unnatural.
Understanding the Role of Color Temperature
Color temperature is measured in Kelvin and affects how warm or cool the light appears. Mixing light sources with different color temperatures, such as daylight and tungsten, can result in unnatural color casts.
How Mismatched Light Sources Cause Problems
When different lights have varying color temperatures, your camera struggles to balance the hues, leading to an inaccurate color representation. This imbalance requires tedious color correction during post-production.
5. Insufficient Light
Low lighting is another common issue, particularly in smaller studio spaces or when working with budget lighting kits. Insufficient light can result in dark, grainy images that lack the clarity and detail you need.
Causes of Dim Lighting in Studios
Dim lighting can result from underpowered lights, poor setup, or using only one light source when more are needed. It can also be due to the size of the studio, with walls absorbing more light than expected.
How Low Lighting Affects Image Quality
When the lighting is too low, cameras often struggle to focus, leading to blurry images. Additionally, low light can cause an increase in noise (grain) in the image, making it less sharp and vibrant.
6. Overexposure
Overexposure occurs when too much light enters the camera sensor, resulting in washed-out highlights and loss of detail.
What Leads to Overexposure in a Studio Setting
Overexposure typically happens when lights are too bright or placed too close to the subject. Using incorrect camera settings, such as a high ISO or a wide aperture, can also lead to overexposed images.
Challenges in Correcting Overexposed Shots
Once an image is overexposed, recovering the lost details can be very difficult in post-processing. The highlights may be so blown out that there’s no information left to retrieve, leaving the image with irreversible damage.
Solutions to Studio Lighting Problems
1. Fixing Uneven Lighting
To correct uneven lighting, use multiple light sources but ensure they are properly balanced. Start by positioning your key light (the main light source) and then fill the shadows with a secondary light source or a reflector.
Tips for Balancing Light Sources
Ensure that your key light and fill light are not at drastically different power levels. Use light meters if needed to measure and balance the light intensity. Keep your setup simple and test the lighting before shooting.
Using Reflectors and Diffusers
Reflectors can help bounce light into shadowy areas, while diffusers soften harsh light. This combination is effective in creating an even spread of light across your subject.
2. Eliminating Harsh Shadows
To avoid harsh shadows, invest in softboxes and diffusers. These lighting tools spread light more evenly, creating a softer and more flattering look.
Softbox and Diffuser Use
A softbox attaches to your light source to diffuse and soften the light, reducing harsh shadows. Similarly, using an umbrella or translucent fabric can achieve this effect by spreading the light more evenly.
Adjusting Light Angles
Changing the angle of your light sources can also help control shadows. Lighting your subject from a 45-degree angle instead of directly from above or the side will soften the shadows and create a more even lighting pattern.
3. Controlling Reflections and Glare
To manage reflections, you can reposition your lights so they do not reflect directly into the camera lens. Another effective strategy is using polarizing filters on your lens to reduce reflections from shiny surfaces.
Matte Surfaces and Anti-Reflective Coatings
Opt for matte surfaces or anti-reflective coatings on your backdrop and props to reduce the chance of reflections. When shooting objects like glass or metal, try using dulling sprays or gels to lessen the reflective surfaces.
Positioning Lights to Avoid Glare
Position your lights at an angle that doesn’t point directly at the reflective surface. Alternatively, light your subject from the side to prevent direct reflection into the lens.
4. Correcting Color Temperature Imbalances
To achieve consistent color temperature, use lighting equipment that has the same Kelvin rating. If you mix warm and cool lights, your images will have an undesirable color cast.
Using White Balance Correction Tools
If color temperature imbalances occur, you can use white balance correction tools in your camera or editing software. Manually set your white balance or use a grey card to capture accurate colors.
Choosing Consistent Light Sources
Stick to one type of light source throughout your shoot. For example, if you’re using daylight-balanced lights, make sure all of your lights have the same color temperature rating to avoid any inconsistencies.
5. Enhancing Low Light Situations
When you face insufficient lighting, there are several ways to boost light levels without compromising quality.
Best Practices for Increasing Light
You can increase the intensity of your lighting setup by adding more light sources or using stronger bulbs. Reflectors can also help bounce light back onto your subject, amplifying the available light.
Light Modifiers for Dim Environments
Using light modifiers like umbrellas or softboxes can help diffuse the light and brighten up your scene without creating harsh spots. You can also increase the ISO setting on your camera, but be mindful of noise.
6. Avoiding Overexposure
To avoid overexposure, you need to monitor your camera settings and adjust your lighting accordingly.
Techniques for Better Exposure Control
One way to prevent overexposure is by using a lower ISO setting and narrowing your aperture. Keep your shutter speed fast enough to limit the amount of light hitting the sensor, especially when using bright studio lights.
Camera Settings to Prevent Overexposure
Manually setting your exposure through the camera’s histogram is a good way to ensure you’re not overexposing your image. Make sure your highlights aren’t peaking too high, as this indicates potential overexposure.
Best Practices for Optimal Studio Lighting
Sometimes, guidelines need to be set in order to achieve optimal lighting for photographs. The following are solutions you can quickly implement for common studio lighting problems.
1. Choosing the Right Equipment
Investing in quality lighting equipment is key to avoiding many of the common studio lighting problems. Using the right tools allows you to create a professional-looking studio environment with fewer lighting headaches.
Overview of Essential Studio Lighting Gear
Studio lights, softboxes, reflectors, and tripods are essential gear for every photographer. Start small and build your kit as needed, but always focus on quality.
How to Use Lighting Kits Effectively
Using a complete lighting kit with multiple light sources allows you to control your lighting environment more precisely. Follow manufacturer guidelines for setup and positioning to get the best results.
2. Positioning Lights for Different Effects
The position of your lights plays a significant role in the overall feel of your photo. Experimenting with different lighting setups can create a variety of effects.
Lighting Setups for Portraits, Products, and More
For portraits, a traditional three-point lighting setup works best, while for product photography, top lighting combined with soft sidelights helps to showcase the object’s details.
How Light Placement Changes the Mood of the Image
Adjusting the position of your lights can make a huge difference in mood. For example, side lighting creates a dramatic, moody look, while overhead lighting offers a more even and neutral tone.
Conclusion
Navigating your way with the various studio lighting problems can be challenging, but with the right solutions, you can overcome common problems and elevate your photography. Understanding and addressing issues like uneven lighting, harsh shadows, and overexposure will ensure that your photos turn out professional and polished.
Afterword
As you’ve explored the common studio lighting problems and solutions in this article, you’ve taken a significant step towards improving your photography skills. Remember, practice makes perfect, so experiment with different lighting setups and techniques to find what works best for your unique style.
To further enhance your photography knowledge, be sure to check out these related articles:
- Photography Tricks You Need to Know: Discover hidden tips and tricks to elevate your photography game.
- How to Make Phone Photos Look Professional: Learn how to transform your smartphone photos into stunning works of art.
- Photography Editing Techniques: Explore essential editing tools and techniques to polish your images.
About the Author
Hi, I’m Mark – an amateur photographer that first started in 2020. I particularly capture action figures in miniature settings and dioramas. You can follow more of my work at the following social media channels:
- Instagram – iselandmarkventures
- Facebook – iselandmarkventures
- YouTube – The Iselandmarkventures