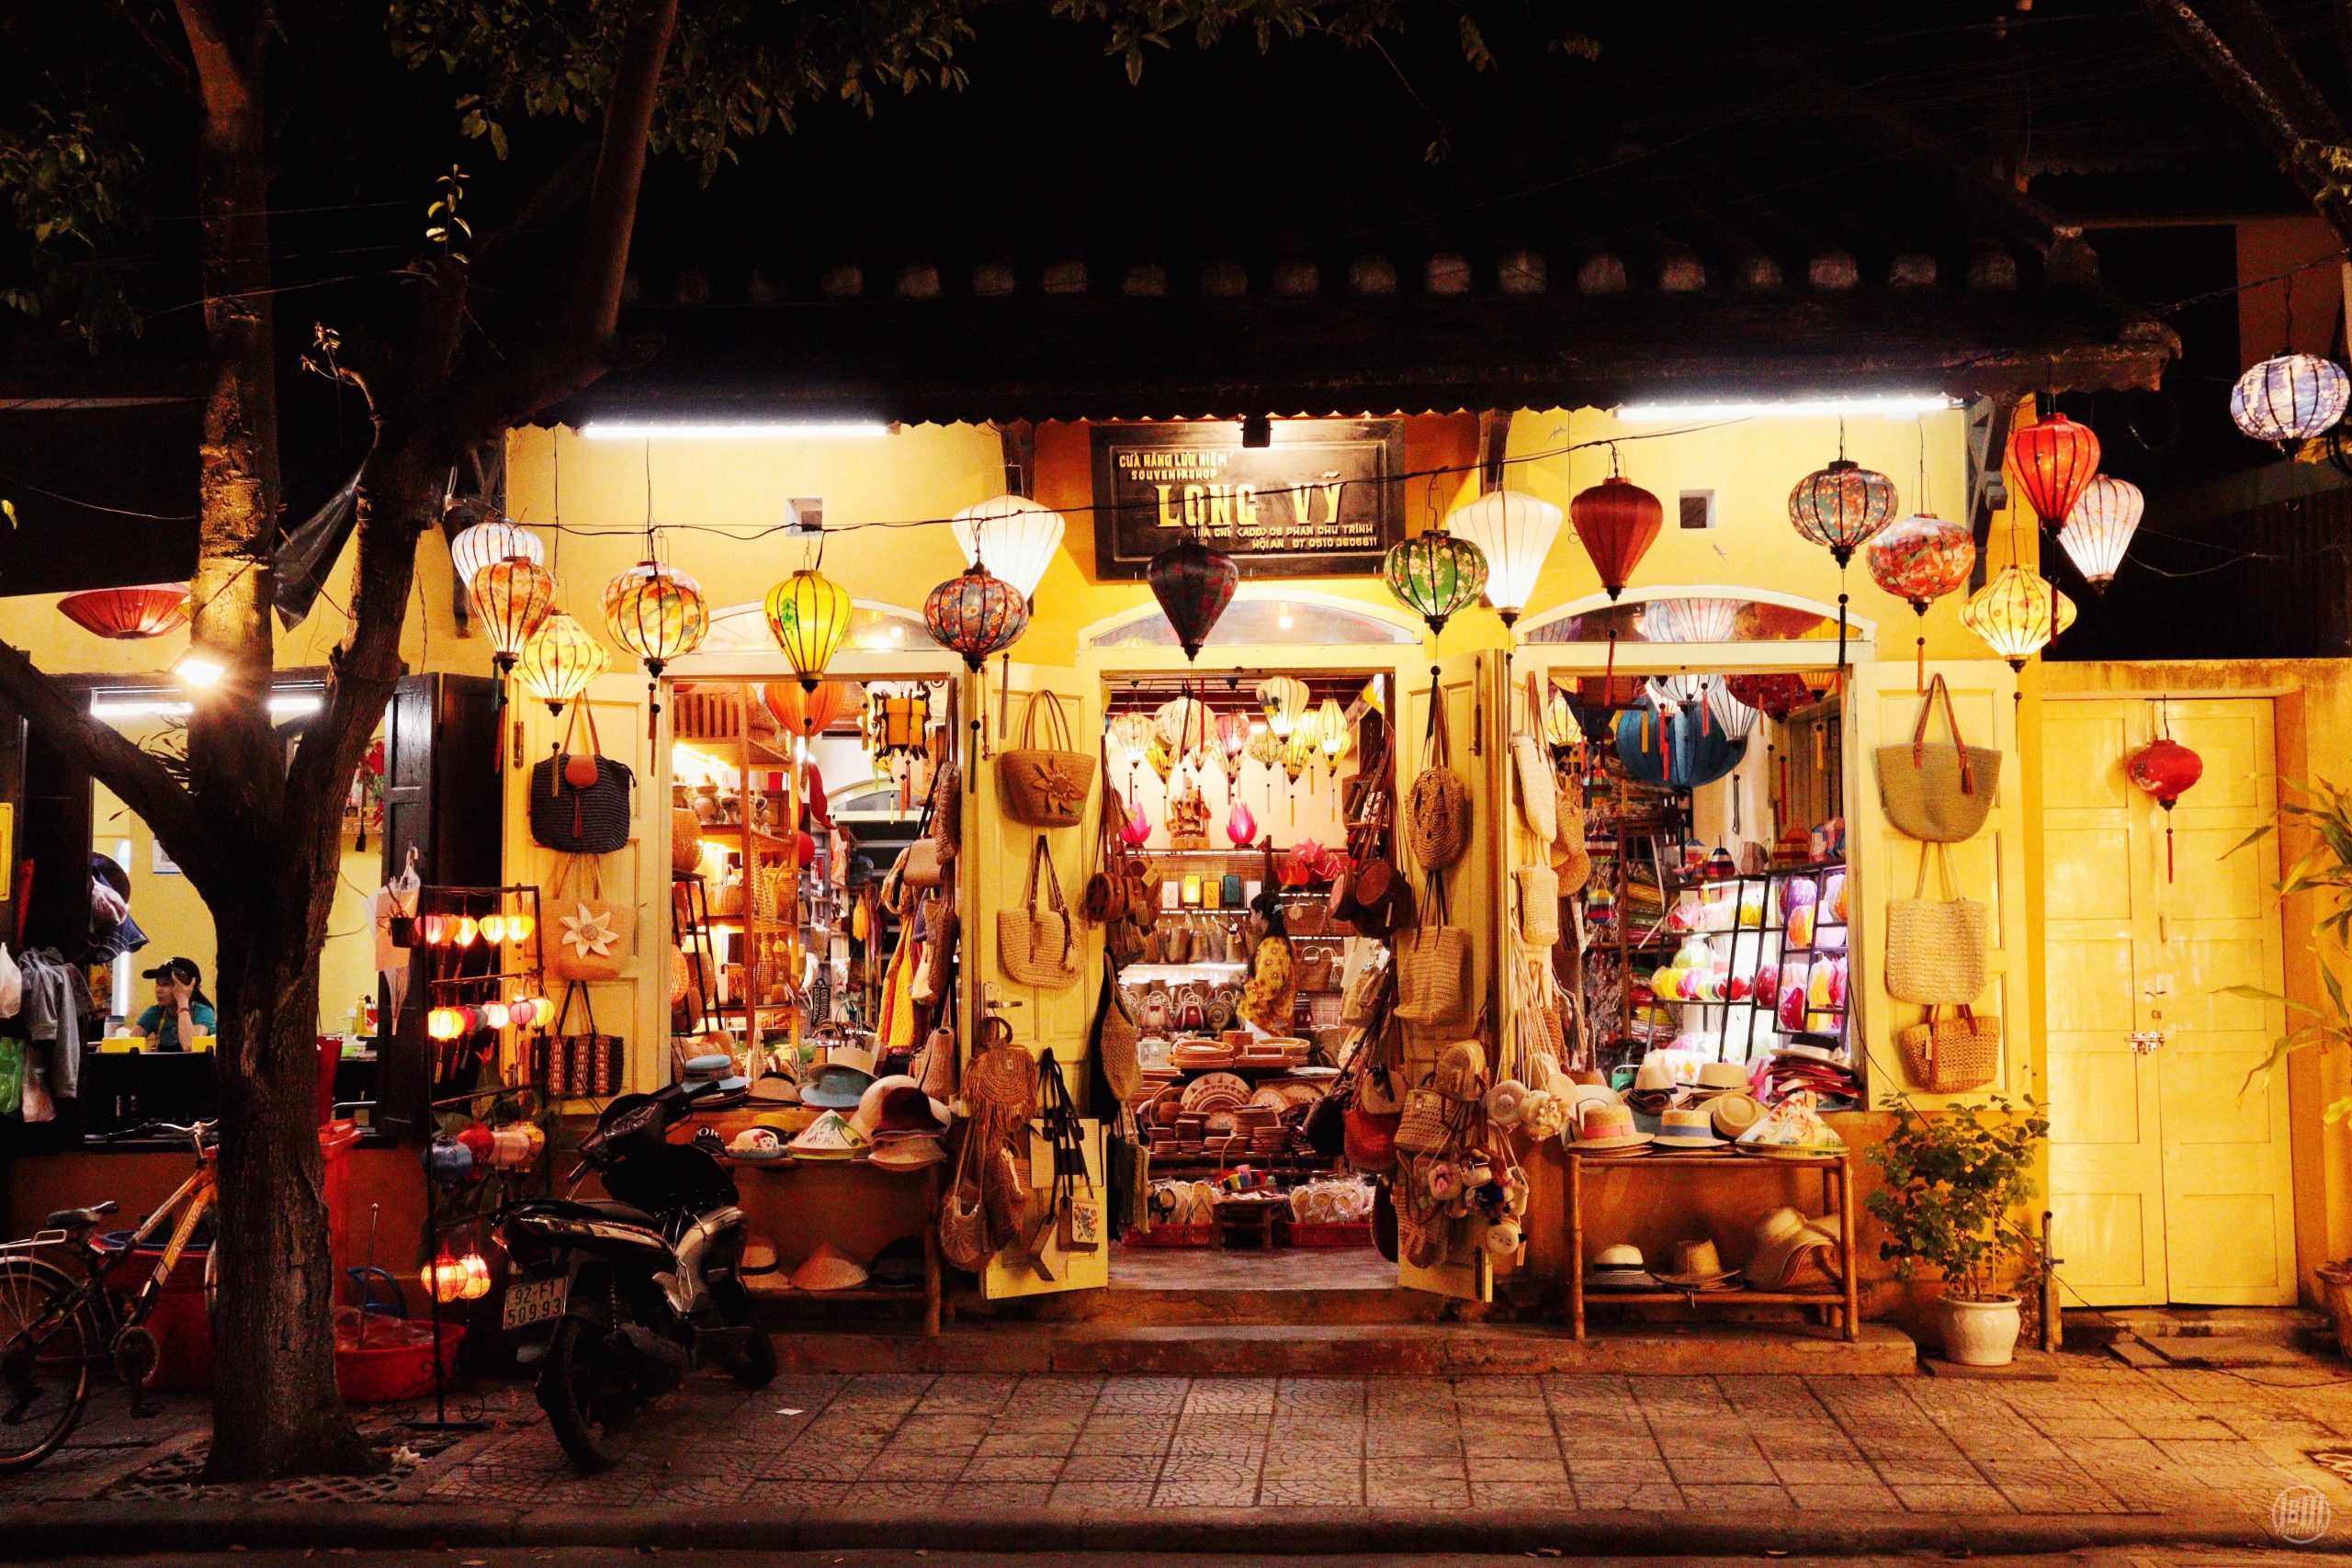
Low light photography is an enchanting yet challenging genre that can produce stunning images when mastered. But why struggle with grainy, blurry photos when you can harness the power of a 50mm lens? As an amateur photographer, I’ve always been drawn to the magic of capturing nighttime cityscapes and moody portraits. However, initial attempts with my standard kit lens often resulted in disappointing results – slow shutter speeds led to camera shake, and cranking up the ISO brought unwanted noise. This guide will equip you with practical tips to elevate your low light photography with 50mm lenses.
Table of Contents
Understanding Low Light Photography
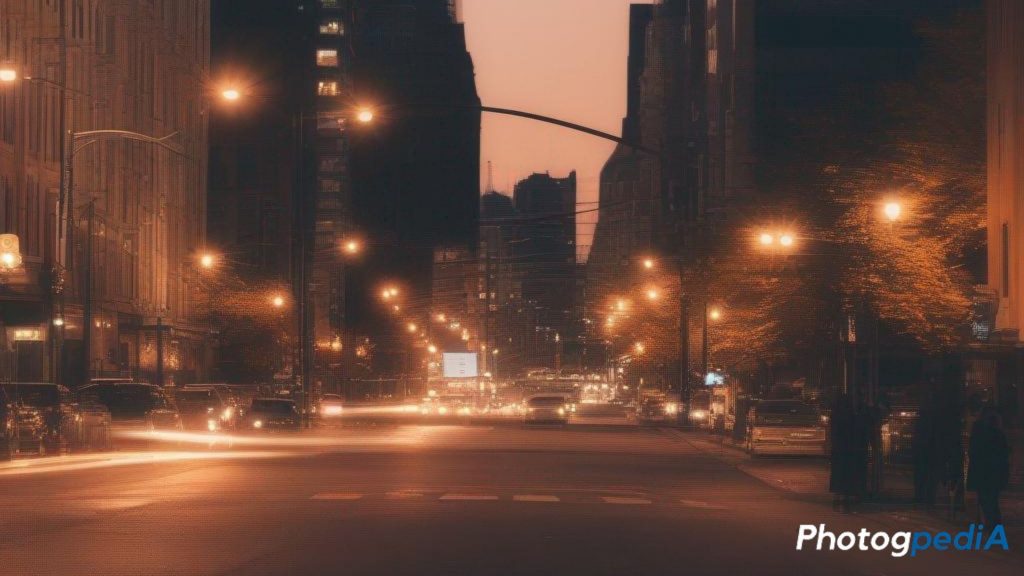
Low light photography, as the name suggests, involves capturing images in environments with minimal illumination. This could be anything from a candlelit dinner to a bustling cityscape bathed in the warm glow of streetlamps. However, unlike bright daylight situations where shutter speeds and aperture settings are more forgiving, low light presents a unique challenge.
The primary hurdle you’ll encounter is the scarcity of light reaching your camera’s sensor. This translates to several potential issues in your final image:
- Noise: When the camera struggles to capture enough light, it can introduce unwanted grain or “noise” into the photograph.
- Blur: In low light conditions, slower shutter speeds are often necessary to compensate for the lack of light. Unfortunately, slower shutter speeds also increase the risk of camera shake, resulting in blurry images.
- Poor Color Reproduction: With limited light, your camera might struggle to accurately capture the full range of colors in the scene.
Why Choose a 50mm Lens for Low Light Photography?
The 50mm lens has earned a well-deserved reputation as a favorite among photographers for a multitude of reasons. One of its most compelling strengths lies in its versatility and exceptional performance in low light conditions. But what exactly makes the 50mm lens such a powerful tool for nighttime photography?
The key advantage boils down to physics: aperture. A lens’s aperture is like the pupil of your eye, controlling the amount of light that enters the camera sensor. The wider the aperture (represented by a lower f-stop number), the more light it can gather.
So, what does a wider aperture translate to in practical terms?
- Faster Shutter Speeds: With more light reaching the sensor, you can utilize faster shutter speeds. This is crucial in low light situations to minimize camera shake and ensure sharp, crisp images.
- Reduced Noise: By relying less on boosting ISO (which introduces noise), you can achieve cleaner images with minimal grain, even in dimly lit environments.
- Beautiful Bokeh: A wider aperture also contributes to the creation of a pleasingly blurred background, known as bokeh. This effect can be particularly useful for isolating your subject and adding a touch of artistic flair to your low light photographs.
I vividly remember the frustration of trying to capture the energy of a nighttime street market with my kit lens. The slow shutter speed resulted in blurry figures and washed-out colors. That’s when I discovered the transformative power of a 50mm lens in low light. Its wider aperture allowed me to capture sharper images with faster shutter speeds, preserving the vibrancy of the scene.

Key Features of 50mm Lenses
Fixed Focal Length
Unlike zoom lenses that offer the convenience of framing your shot from a distance, a 50mm lens boasts a fixed focal length. This might seem like a limitation at first. However, it can be a blessing in disguise.
By forcing you to move around physically to frame your shot, you become more engaged with the scene and develop a deeper understanding of composition. In low light environments, where careful planning is crucial, this deliberate approach leads to more impactful and visually balanced photographs.
Wide Apertures
One of the most celebrated features of 50mm lenses is undoubtedly their wide apertures. Typically ranging from f/1.8 to a remarkable f/1.2, these wide apertures allow significantly more light to reach the camera sensor compared to standard kit lenses. As discussed earlier, light is the lifeblood of low light photography. With a 50mm lens, you can capture sharper images at faster shutter speeds, effectively minimizing camera shake and blurry results.
Compact and Lightweight Design
50mm lenses are renowned for their compact and lightweight design. This portability is a major advantage, especially for low light photography ventures.
Imagine strolling through a bustling night market or exploring a dimly lit cityscape. With a lightweight 50mm lens, you can easily maneuver through the environment, capturing fleeting moments and unexpected details without being weighed down by bulky equipment. This agility allows you to be more spontaneous and reactive in low light situations, a trait that can lead to truly captivating photographs.
In essence, the key features of a 50mm lens – fixed focal length, wide aperture, and compact design – combine to create a powerful tool for low light photography. They encourage a deliberate approach, maximize light gathering capabilities, and enhance mobility, ultimately empowering you to tell stories with light even in challenging lighting conditions.
Benefits of Using a 50mm Lens in Low Light
Having explored the key features of 50mm lenses, let’s delve into the tangible benefits they offer for low light photography. When paired with a camera in low light conditions, a 50mm lens truly shines, unlocking a world of creative possibilities:
Sharpness and Clarity
50mm lenses are known for their sharpness, especially in the center of the frame. This translates to crisp, detailed low light images that capture the essence of the scene without compromising on quality. Even in dimly lit environments, you can be confident that your 50mm lens will deliver sharp results, allowing you to showcase the intricate details of your subject, whether it’s the captivating smile of a friend in a candlelit restaurant or the architectural intricacies of a nighttime cityscape.
Natural-Looking Images
One of the often-overlooked benefits of a 50mm lens is its ability to produce natural-looking images. The focal length closely mimics the human eye’s field of view, resulting in photographs that feel true to life.
This characteristic is particularly valuable in low light genres like portraits and street photography, where capturing a realistic representation of the scene is paramount.
Ideal for Portraits and Street Photography
The 50mm focal length is ideal for portraits and street photography, two genres that often involve shooting in low light. The lens’s ability to create a shallow depth of field also helps in isolating subjects against blurred backgrounds.
- Shallow Depth of Field: The wider aperture of a 50mm lens allows you to achieve a pleasingly blurred background, known as bokeh. In low light situations, this effect can be particularly useful for isolating your subject and drawing attention to them amidst the surrounding environment. Imagine capturing a captivating portrait with the twinkling city lights softly blurred in the background – a feat easily achievable with a 50mm lens.
- Low Light Maneuverability: The compact and lightweight design of a 50mm lens, discussed earlier, becomes a significant benefit in these fast-paced genres. You can effortlessly navigate crowded streets or maneuver around a dimly lit venue, capturing fleeting moments and unexpected encounters that define street photography.
Setting Up Your Camera for Low Light Photography

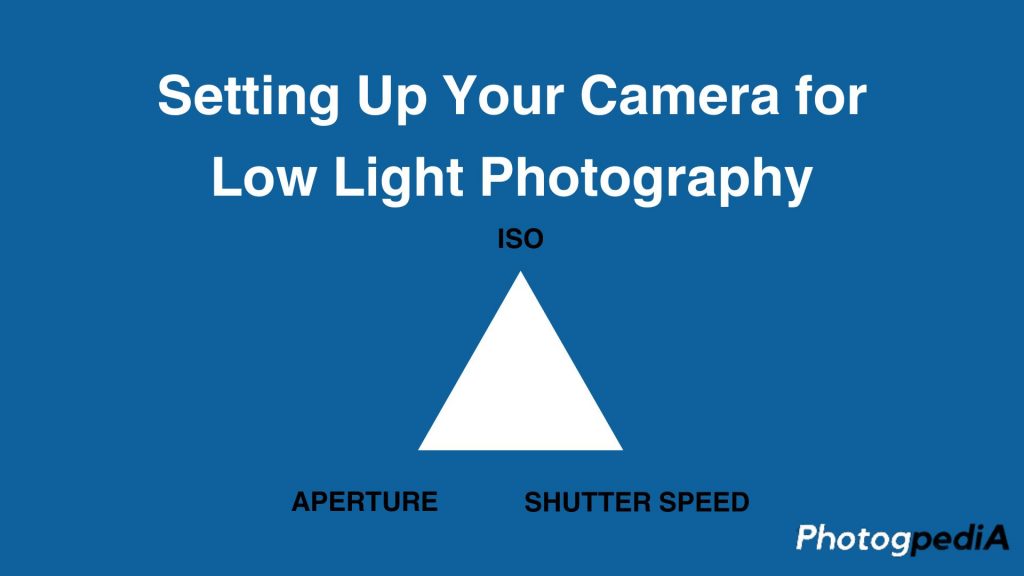
So you’ve chosen your trusty 50mm lens as your low light companion – fantastic! Here’s where understanding the exposure triangle becomes crucial.
Adjusting ISO Settings
Increasing the ISO setting essentially makes the sensor more receptive to available light, allowing you to capture images even in dim environments. This is a lifesaver in low light photography! However, there’s a catch. Higher ISO settings also introduce unwanted noise, which appears as grain in your photographs.
Choosing the Right Aperture
Remember, aperture controls the amount of light that enters the lens. This wider aperture also contributes to the creation of a shallow depth of field, where the background is pleasingly blurred, drawing focus to your subject.
Setting the Shutter Speed
In many situations, you utilize a faster shutter speed for low light photography with 50mm lenses to minimize blur while still capturing a well-exposed image. If you absolutely need to use a slower shutter speed, consider using a tripod to ensure camera stability and prevent blurry results.
Generally, experiment with different combinations of ISO, aperture, and shutter speed to find the perfect balance for your specific lighting conditions and creative vision.
Techniques for Better Low Light Photos
Using a Tripod
A tripod can significantly reduce camera shake, especially when using slow shutter speeds. It’s an essential tool for low light photography.
Leveraging Natural and Artificial Light Sources
Use any available light sources to your advantage. Streetlights, candles, or even the moon can add a unique ambiance to your photos.
Practicing Slow Shutter Speeds
Experiment with slow shutter speeds to capture more light. This technique is particularly useful for night photography and creating light trails.
Focusing in Low Light Photography with 50mm Lenses
While a 50mm lens delivers exceptional sharpness, low light conditions can sometimes present focusing challenges. Here are some techniques to ensure your low light images with a 50mm lens are crisp and clear:
Manual Focus vs. Autofocus
Autofocus systems, while incredibly convenient, can struggle in low light situations. The camera might hunt for contrast, leading to missed focus or a delay in capturing the fleeting moment. In such scenarios, switching to manual focus can be a game-changer.
Using Focus Peaking
Many modern cameras offer a fantastic feature called focus peaking. When activated, focus peaking highlights the areas in focus on your camera screen with a colored outline. This visual aid is invaluable for low light photography with a 50mm lens. By enlarging your image on the screen and using focus peaking, you can meticulously fine-tune your focus and ensure your subject is razor-sharp.
Tips for Achieving Sharp Focus
Here are some additional techniques specifically tailored for low light photography with a 50mm lens:
- Temporary Illumination: In a pinch, you can utilize a flashlight or even your phone’s screen light to briefly illuminate your subject. This temporary boost in light can significantly aid in achieving focus. Once you’ve locked focus, simply switch off the additional light source and capture your image.
- Focus on a Contrasting Element: If possible, try to focus on a well-defined, high-contrast area of your subject. This can be an edge, a line, or a prominent detail. Having a clear contrast point helps your camera (or you, in manual focus mode) achieve accurate focus.
- Use Live View for Precise Focusing: Live View displays the image directly from the camera sensor on your LCD screen. This can sometimes provide a clearer view compared to the viewfinder, especially in low light. Utilize Live View magnification to pinpoint your focus point and ensure critical sharpness.
Common Mistakes in Low Light Photography with 50mm Lenses

Actually, the major mistake one can make in low light scenarios is blurry images. This can be due to focus issues or too much noise.
Camera shake is a major culprit behind blurry images in low light photography. When using a 50mm lens handheld in low light conditions, the slower shutter speeds necessary to capture enough light can lead to camera shake. This manifests as a lack of sharpness in your final image. To combat this, there are two primary solutions:
- Embrace the Tripod: A tripod provides a stable platform for your camera, eliminating camera shake and ensuring crisp images. It’s particularly beneficial for low light situations where slower shutter speeds are unavoidable.
- Handheld Stabilization Techniques: If a tripod isn’t readily available, there are still ways to achieve relative stability when shooting handheld with your 50mm lens. Brace yourself against a solid object like a wall or a table. Additionally, shorten your breath and hold it just before pressing the shutter button to minimize camera movement. While not as effective as a tripod, these techniques can significantly improve your chances of capturing a sharp image.
Conclusion
Mastering low light photography with 50mm lenses opens up a world of creative possibilities. From capturing the subtle ambiance of a dimly lit room to the vibrant energy of a city at night, the 50mm lens is a powerful tool in your photography arsenal. So, grab your camera, venture into the night, and start experimenting. The perfect shot is waiting for you!
FAQs
How can I reduce noise in my low light photos?
To reduce noise, use a lower ISO setting and apply noise reduction during post-processing. A wide aperture and a slower shutter speed can also help minimize noise by allowing more light into the camera.
What is the best aperture for low light photography?
A wide aperture (low f-number) such as f/1.8 or f/1.4 is ideal for low light photography. It allows more light to reach the sensor and creates a shallow depth of field, which can add a pleasing blur to the background.
Do I need a tripod for low light photography?
A tripod is highly recommended for low light photography to stabilize your camera, especially when using slow shutter speeds. It helps prevent camera shake and ensures sharper images.
Can I use a 50mm lens for astrophotography?
Yes, a 50mm lens can be used for astrophotography, particularly for capturing wide-field shots of the night sky. Its wide aperture is beneficial for gathering light, though a tripod and a remote shutter release are essential for stability.
How do I improve my focusing skills in low light?
Improving focusing skills in low light involves practicing manual focus, using focus peaking, and illuminating your subject temporarily with a light source. Patience and practice are key to achieving sharp focus in challenging conditions.
About the Author
Hi, I’m Mark – an amateur photographer that first started in 2020. I particularly capture action figures in miniature settings and dioramas. You can follow more of my work at the following social media channels:
- Instagram – iselandmarkventures
- Facebook – iselandmarkventures
- YouTube – The Iselandmarkventures

