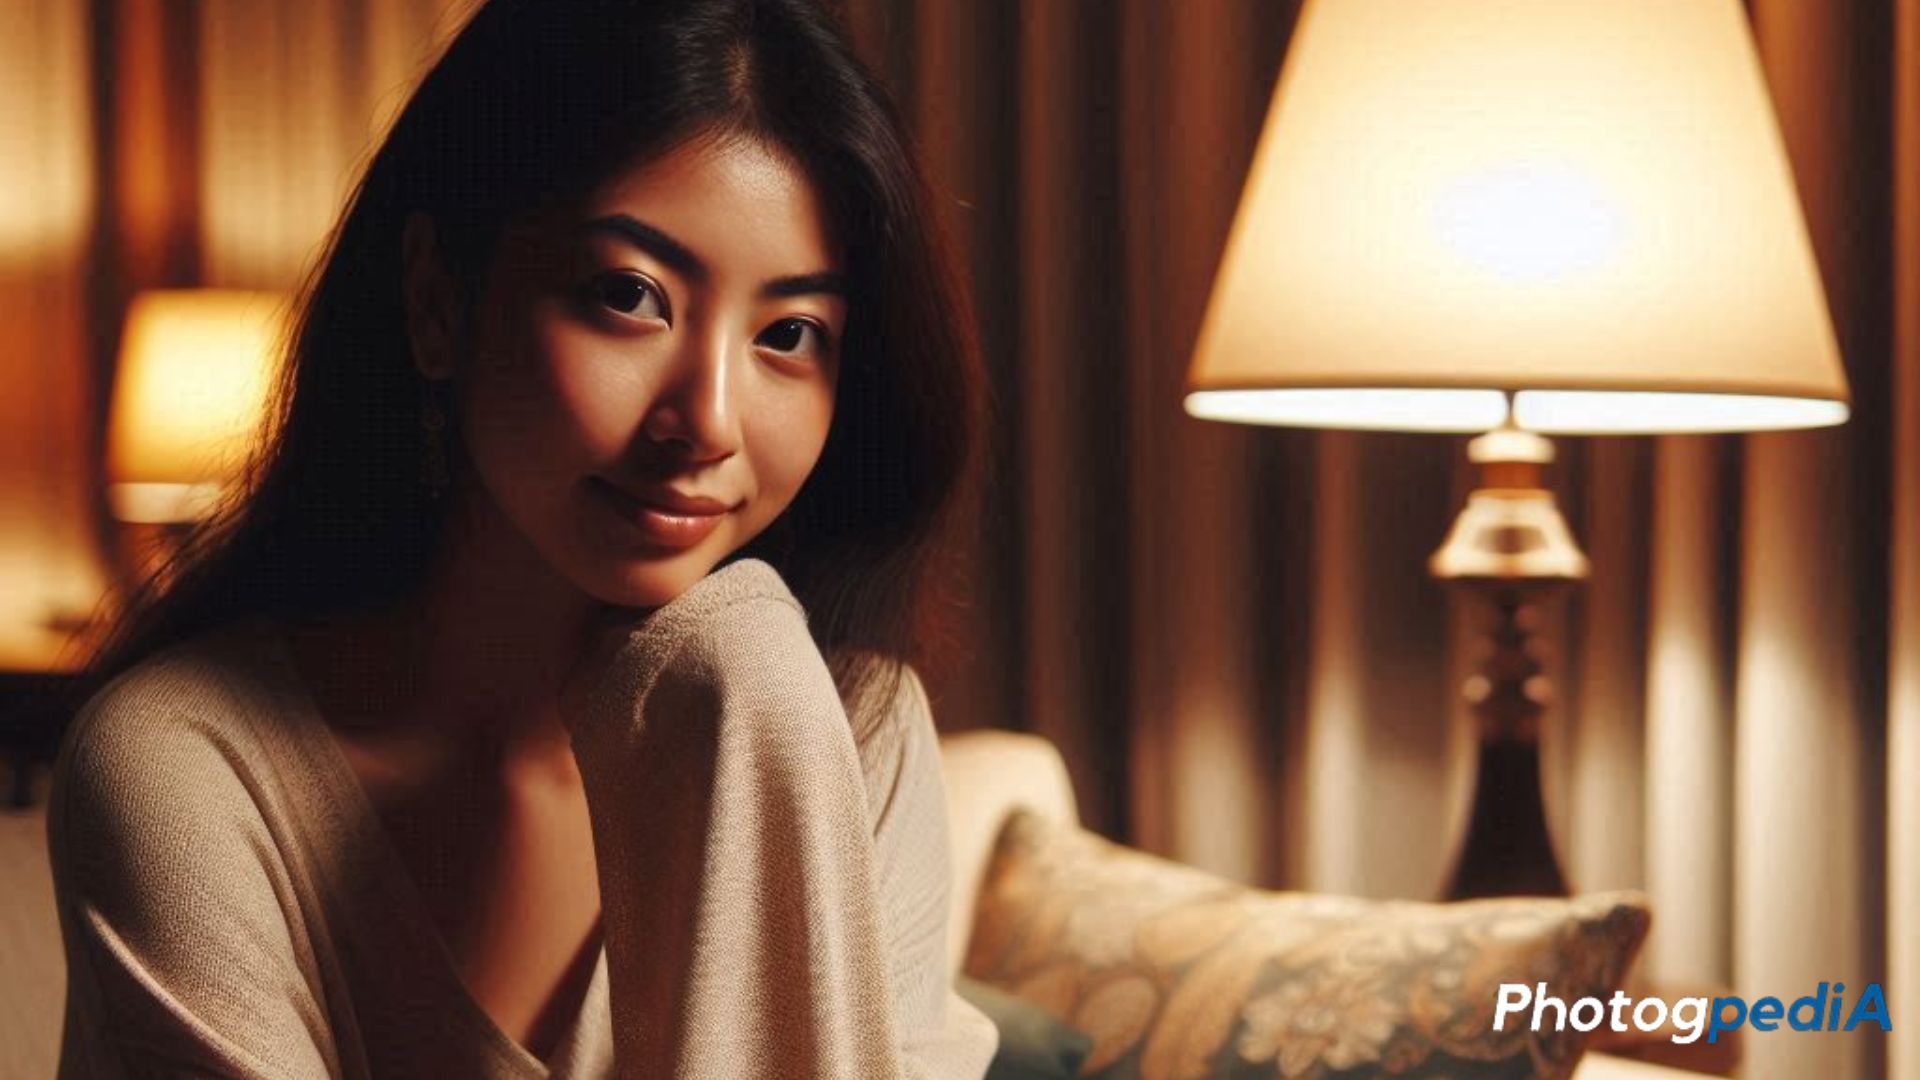
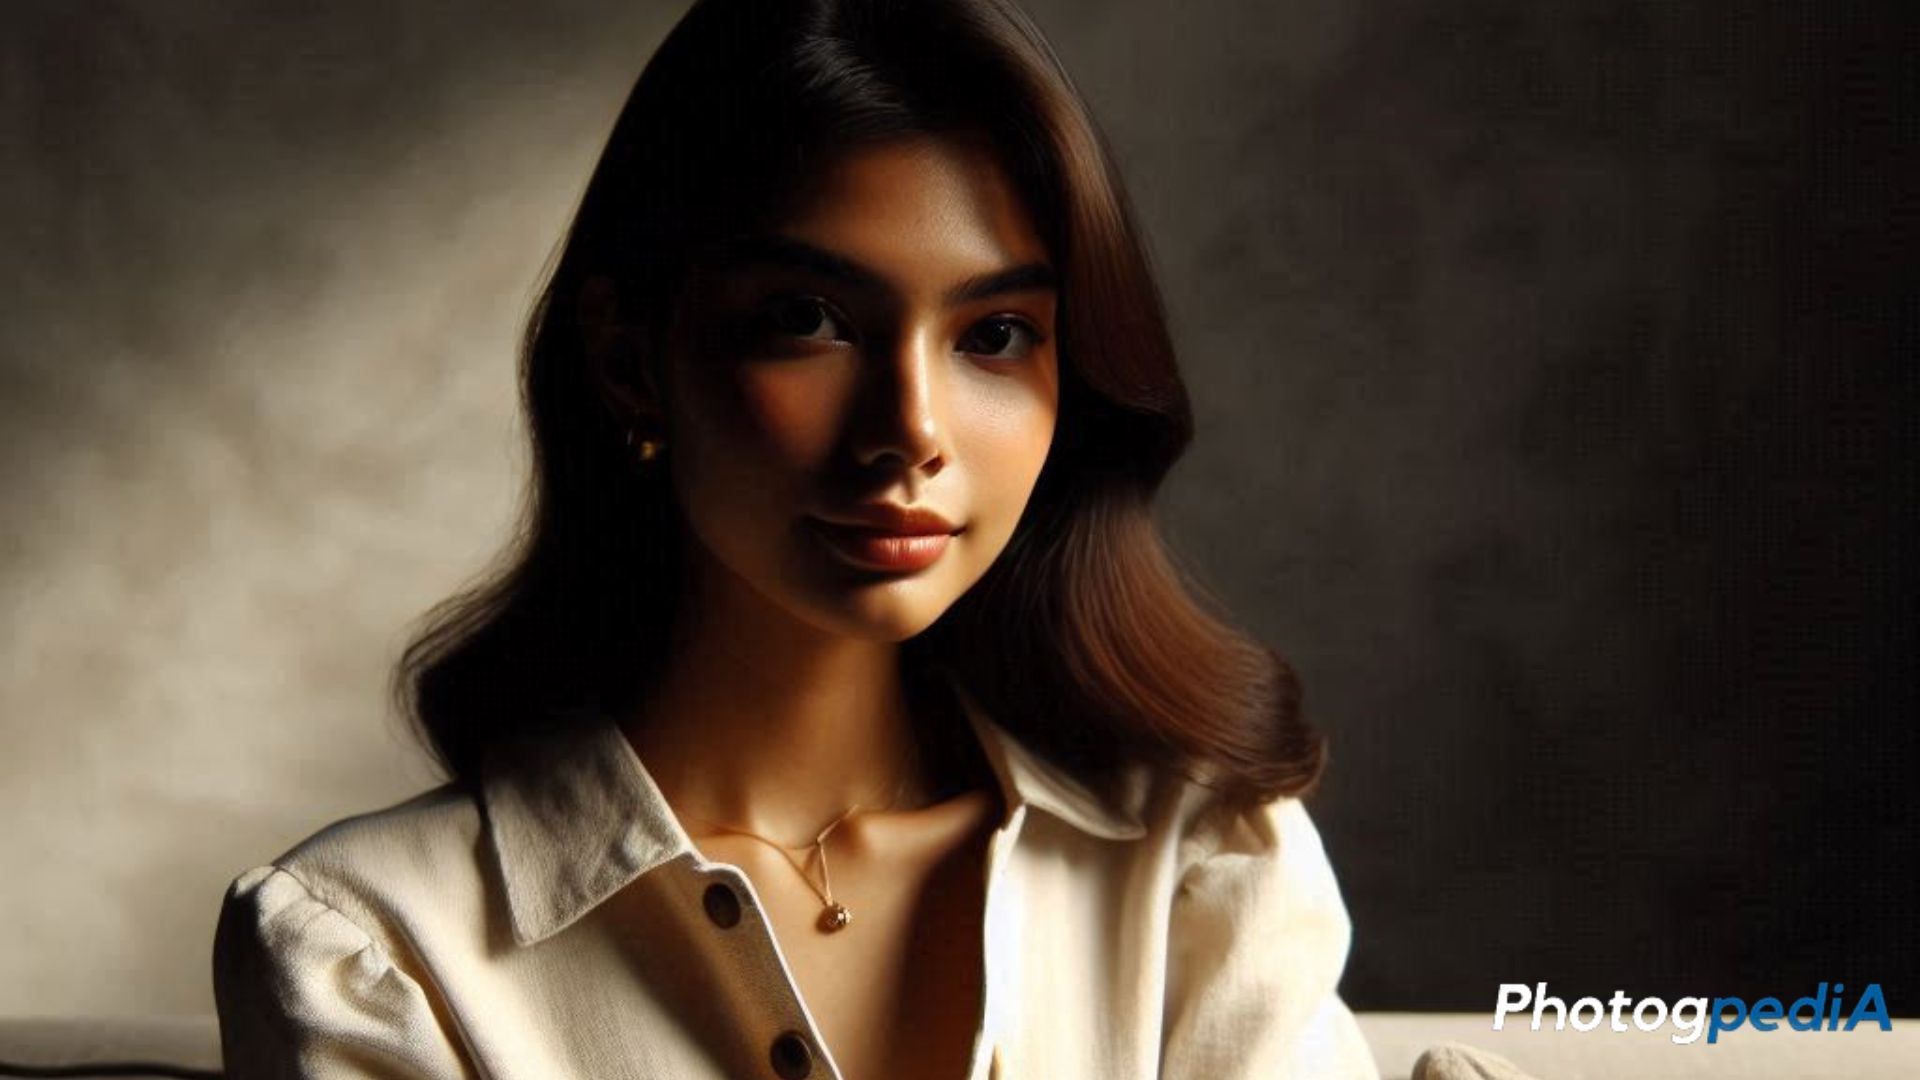
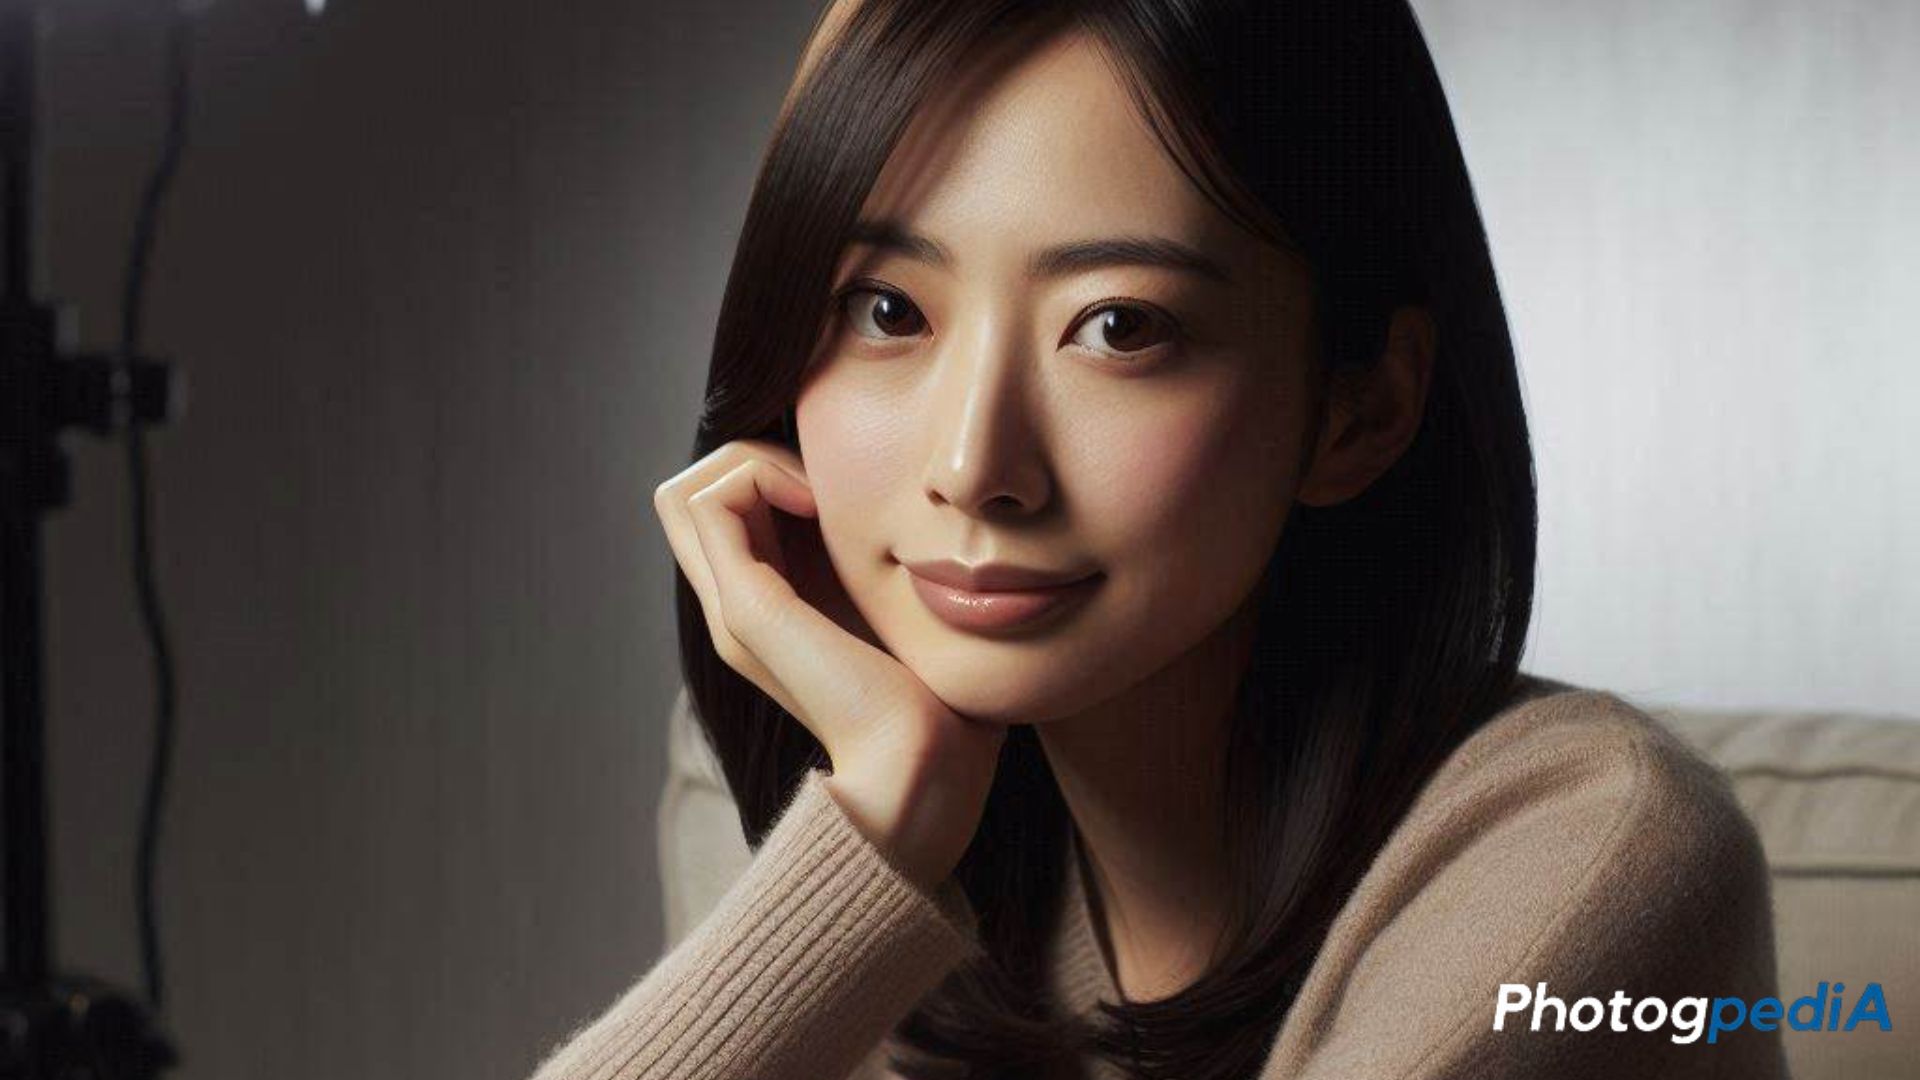
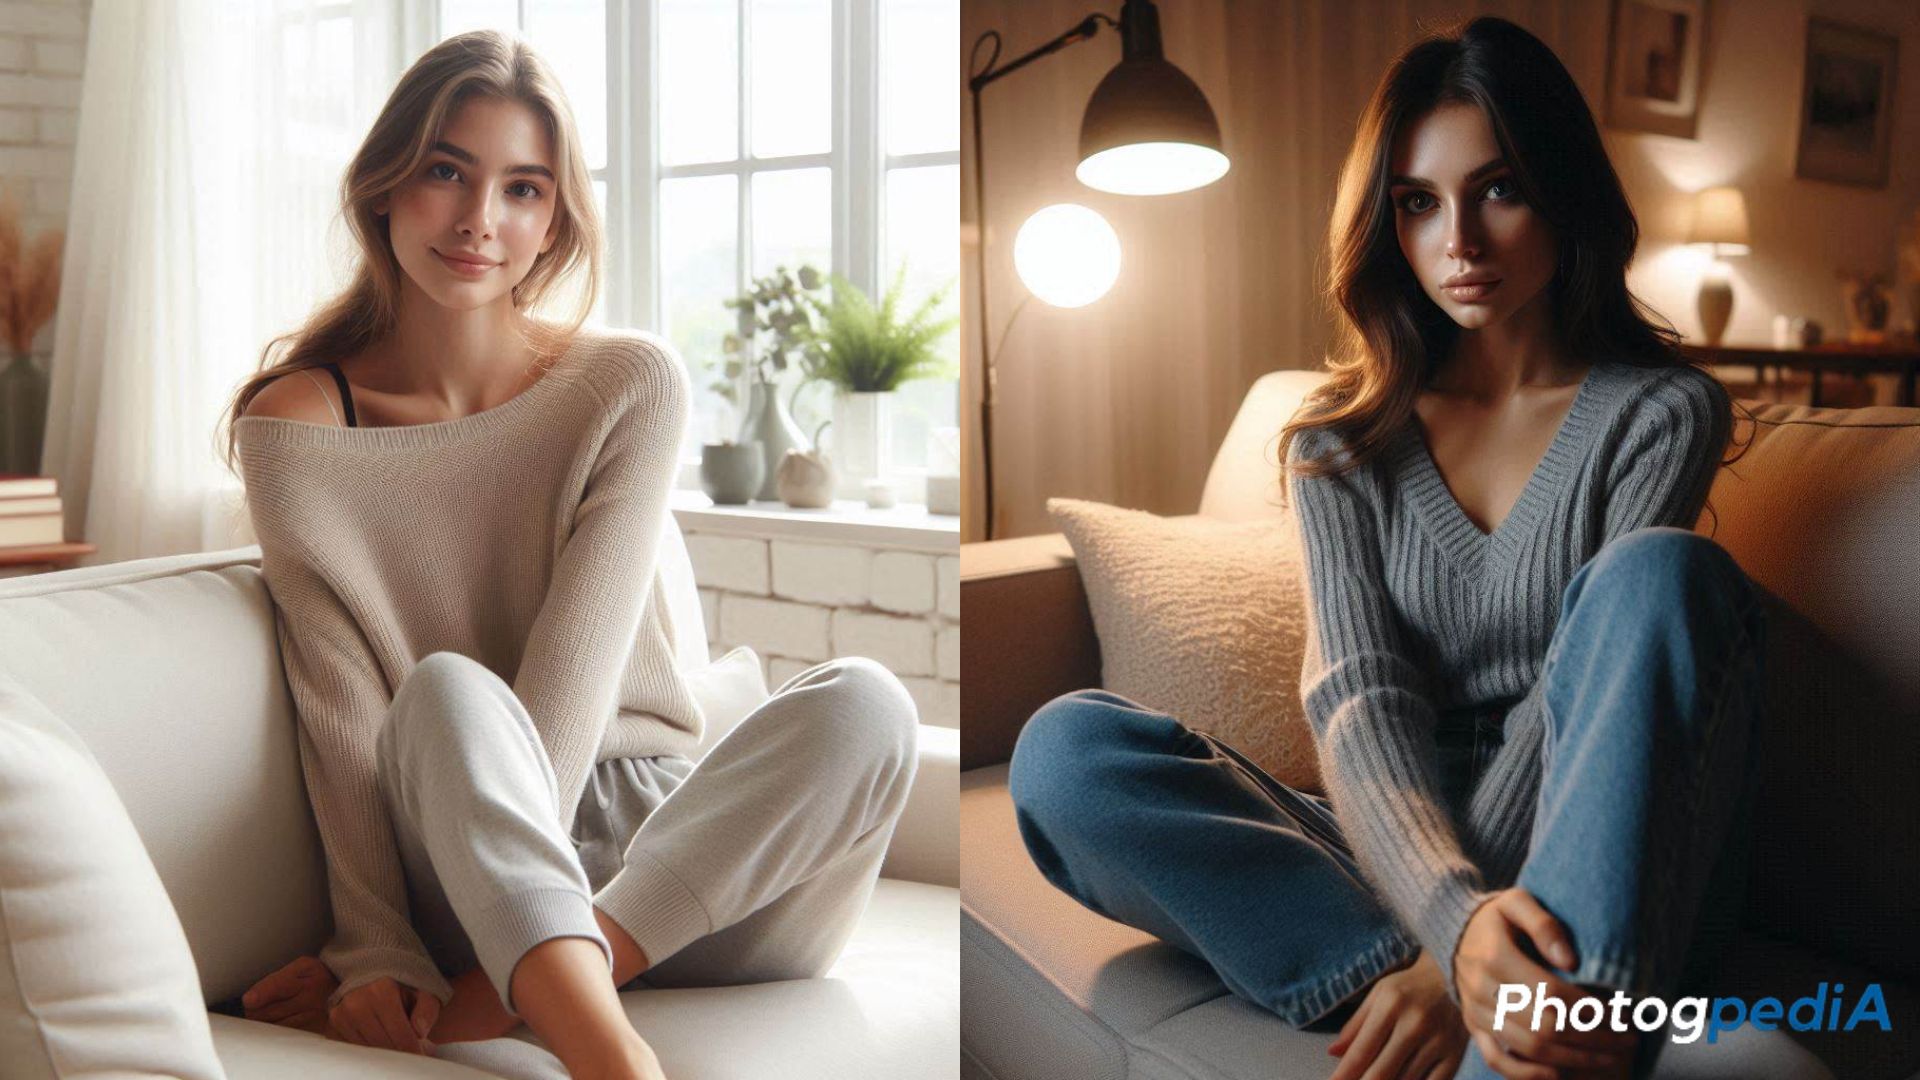
Creating quality DIY studio lighting for photography at home is absolutely possible and, honestly, can be a lot of fun. I’ve set up countless shots using household lights, from desk lamps to clamp lights found in the garage, and they’ve done wonders for my product photos. I experimented with everyday items like aluminum foil as reflectors or white shower curtains as diffusers and I’ve managed to create soft, flattering lighting without spending a fortune on gear. With a few basic materials and some creativity, you can achieve professional-looking lighting setups that highlight the details and textures of your products, making them stand out beautifully in photos.
Table of Contents
Understanding Lighting Basics
Natural vs. Artificial Lighting
Natural lighting can be beautiful, but it’s unpredictable. For consistent, controlled lighting, artificial lighting is typically best for studio setups. Artificial lighting allows you to manipulate brightness, direction, and warmth to achieve specific looks in your photos.
The Three Main Types of Lighting in Photography
Photography lighting generally involves key light, fill light, and background light. Key light is the main source, fill light softens shadows, and background light helps add depth to the scene. Understanding these basics will make your DIY setup much easier to arrange.
Essential Equipment for DIY Studio Lighting
Tools You’ll Need
Starting a DIY studio requires only a few essential items:
- Lamps (desk lamps, clamp lights)
- Bulbs (consider daylight LED for better color)
- Light stands or tripods
- Reflectors (or aluminum foil and white foam boards)
Budget-Friendly Alternatives to Professional Gear
If you’re looking to save, alternatives like clamp lights from the hardware store, bedsheets as diffusers, and DIY reflectors (made from aluminum foil or cardboard) are affordable solutions that can enhance your lighting quality.

Types of Lighting Sources for DIY Studio
Continuous Light
Continuous lighting, such as LED or fluorescent lamps, is ideal for beginners since it allows you to see how light interacts with your subject in real time. Desk lamps with daylight bulbs are affordable and effective continuous lighting options.
Strobe Light
Though more advanced, DIY strobe lighting can be achieved by using external flash units or modifying camera flash. This is great for capturing motion or freezing action in product and portrait photography.
LED Panels and Ring Lights
LED panels and ring lights are affordable, highly customizable options that are perfect for portraits and close-up shots. They provide consistent, soft light and are available at a range of price points.
Setting Up Key, Fill, and Background Lights
What is Key Light?
The key light is your main light source, often positioned to one side of the subject. To DIY, use a strong light source, such as a clamp light or LED panel, positioned at a 45-degree angle for the best results.
Setting Up Fill Light
A fill light softens the shadows cast by the key light. For this, a second lamp positioned on the opposite side of the key light works well. You can also use a reflector, like a white foam board, to bounce light back onto the subject.
Creating Background Light
Background lighting adds depth and separates the subject from the background. Aim a third light source at the backdrop to create subtle highlights and dimension in your shot.
DIY Softbox Techniques
How to Create a Softbox with Household Materials
Softboxes create a diffused, even light. To make one at home, line a cardboard box with aluminum foil, cut a window, and cover it with parchment paper. Place a light source inside, and you have an instant softbox!
Benefits of Soft Lighting
Soft lighting is crucial for minimizing harsh shadows, especially in portrait photography. DIY softboxes diffuse light and give your photos a more professional, polished look.
Using Reflectors for Better Lighting Control
Types of Reflectors
Reflectors come in silver, white, and gold. White reflectors soften light, silver brightens it, and gold adds warmth. For DIY, use aluminum foil as a silver reflector or a white foam board as a soft reflector.
DIY Reflector Options
Aluminum foil on a sturdy cardboard surface works well as a reflector. Foam boards from craft stores are also great for bouncing and softening light in a cost-effective way.
Backdrops and How to Create Your Own
Choosing the Right Backdrop Material
Backdrops can range from paper to fabric. Bedsheets, tablecloths, or colored paper make excellent DIY options, giving a polished look without the expense.
Tips for DIY Backdrop Creation
Choose neutral or subtle colors to avoid distracting from your subject. Attach your DIY backdrop to a wall, or hang it from a curtain rod or pipe for easy setup and takedown.
DIY Diffusers and Light Modifiers
Using Diffusers for Softer Lighting
Diffusers soften light and reduce harsh shadows. Parchment paper or frosted shower curtains make effective DIY diffusers when placed between your light source and subject.
Creating Your Own Diffusers
For a quick and easy diffuser, stretch white fabric or parchment paper over a lamp or light source. This disperses light, giving a soft, natural look to your photos.
Experimenting with Light Angles and Positioning
Importance of Light Position in Photography
Positioning impacts shadow and depth. Overhead lighting can create a dramatic look, while side lighting emphasizes texture. Experiment with angles to achieve different moods in your photos.
Common Lighting Setups and Techniques
Experimenting with classic lighting techniques can help you understand how different angles impact your photos. Here are some popular lighting setups to try:
Rembrandt Lighting

Rembrandt lighting is a technique that involves placing the light source at a 45-degree angle to the side of your subject and slightly above their eye level. This creates a triangle of light on the opposite cheek, adding depth and drama. Named after the famous painter, this setup is perfect for portraits, as it provides a soft but noticeable shadow, emphasizing facial features.
Butterfly Lighting

Butterfly lighting, also known as Paramount lighting, is achieved by positioning the light directly in front of and slightly above the subject, casting a butterfly-shaped shadow under the nose. This is a flattering setup for portraits, especially for glamour and beauty photography, as it minimizes shadows on the face and emphasizes the eyes and cheekbones.
Loop Lighting
Loop lighting is similar to Rembrandt but with a more subtle shadow on one side of the face. Position the light slightly off-center and a bit above the subject, so it creates a small shadow on one side of the nose. This technique softens features while still adding some depth, making it a versatile option for most subjects.
Split Lighting
For a highly dramatic effect, try split lighting, where the light source is positioned directly to one side of the subject, illuminating only half of the face and leaving the other half in shadow. This technique works well for bold, high-contrast portraits or any subject where you want to create a mysterious vibe.
Backlighting
With backlighting, the light source is positioned behind the subject, casting light toward the camera and creating a rim of light around the edges of the subject. This technique separates the subject from the background and can add a glowing, ethereal effect. To avoid overexposing your subject, use a fill light or reflector in front to balance the exposure.
Clamshell Lighting
Clamshell lighting involves positioning two lights in front of the subject: one angled slightly downward above the subject’s face and another angled slightly upward below it. This technique creates soft, even lighting with very minimal shadows, which is ideal for beauty and close-up photography.
Color Temperature and How to Control It
Warm vs. Cool Lighting
Color temperature changes the feel of a photo. Warm light (yellow/orange) gives a cozy tone, while cool light (blue) feels crisp and modern. Use color-correcting filters or select LED bulbs with adjustable temperatures to control this.
DIY Tips to Adjust Color Temperature
Colored cellophane or gels in front of a light source can alter temperature. Experiment to find what complements your subject best.
Tips for Setting Up Lighting for Different Types of Photography
Portrait Photography Lighting
For portraits, soft, flattering light is key. Use a softbox or diffused lamp as a key light, and position a fill light opposite to reduce shadows.
Product Photography Lighting
Products need balanced lighting. Use a DIY softbox for soft shadows and a reflector to illuminate all sides.
Video and Streaming Lighting
A ring light or LED panel positioned front and center works well for video. Add background light for a layered, dynamic shot.
Troubleshooting Common Lighting Issues
Avoiding Shadows and Hotspots
Uneven lighting creates hotspots and shadows. Adjust the distance of your light source and use diffusers to soften light across your subject.
Managing Overexposure
If a shot is too bright, try lowering your light intensity or using ND (neutral density) filters to reduce glare.
DIY Lighting for Outdoor Shoots
When it comes to DIY lighting for outdoor shoots, taking advantage of natural light can make a huge difference. Natural light provides a beautiful, soft quality that can bring out colors and details in a way artificial lights sometimes struggle to match. However, natural light also changes throughout the day, so knowing how to work with it—and supplement it when needed—can elevate your photography.
Using Natural Light in addition to DIY Studio Lighting Techniques
Firstly, it’s essential to use natural light to your advantage. For outdoor shoots, try scheduling your sessions during the “golden hour”—early morning or late afternoon—when the sun casts a warm, soft glow. This type of light is ideal for portraits and product photography, as it reduces harsh shadows and creates a flattering effect. However, even in shaded areas or on cloudy days, natural light can be enhanced with simple DIY tools.
For example, using reflectors is an excellent way to bounce light onto your subject. White foam boards, aluminum foil, or even large white poster boards work well as DIY reflectors. They’re especially useful in shaded areas where light might be uneven. Simply position your DIY reflector to direct light toward the darker parts of your subject, creating a balanced look. Another trick is to use translucent materials, like a sheer white cloth, to diffuse sunlight, softening shadows for a more even effect.
Portable DIY Lighting Tips
In outdoor photography, flexibility is key. It’s helpful to have portable light sources that you can easily set up or move to adapt to different locations. Battery-powered LED lights or small, rechargeable lamps are perfect for this, as they’re compact, lightweight, and don’t require an outlet. These lights allow you to add a bit of fill light to your scene, which is especially useful when natural light isn’t quite enough.
Moreover, portable LED lights with adjustable brightness let you control light intensity, which is great when transitioning between shaded and sunny areas. For instance, if the natural light is creating deep shadows under your subject’s face, a small LED light can add just enough fill light to balance out the shadows.
Another tip: clip-on lights can be attached to tree branches, poles, or even your tripod for additional lighting flexibility. Plus, with today’s tech, many portable lights allow you to change the color temperature, so you can match the natural warmth or coolness of outdoor light for a cohesive look.
Conclusion and Final Thoughts on DIY Studio Lighting
DIY studio lighting offers endless possibilities for creativity without the cost of professional equipment. With basic tools, a little creativity, and a good understanding of lighting principles, you can achieve professional-quality results from home.
If you found this guide on DIY studio lighting helpful, be sure to check out our related articles for more insights on creating the perfect lighting setup:
- Studio Lighting in Portrait Photography
Discover techniques for achieving flattering, professional lighting in your portrait photography, including tips for creating depth and dimension. - Studio Lighting: Tips on Controlled Lighting Environments
Learn how to manage and optimize your lighting environment, whether you’re shooting in a home studio or a dedicated workspace. - The Ultimate Guide to Continuous Lighting for Photography
Explore the ins and outs of continuous lighting, from choosing the right equipment to setting up ideal conditions for any photography style.
These articles provide valuable tips to help you elevate your photography with creative, controlled lighting setups. Happy shooting!
About the Author
Hi, I’m Mark – an amateur photographer that first started in 2020. I particularly capture action figures in miniature settings and dioramas. You can follow more of my work at the following social media channels:
- Instagram – iselandmarkventures
- Facebook – iselandmarkventures
- YouTube – The Iselandmarkventures

