Aperture stands as one of the fundamentals in photography. Being part of the exposure triangle, it’s important to fully grasp this key concept. Understanding aperture brings you closer to taking better looking photos.
Table of Contents
What is Aperture in Photography?
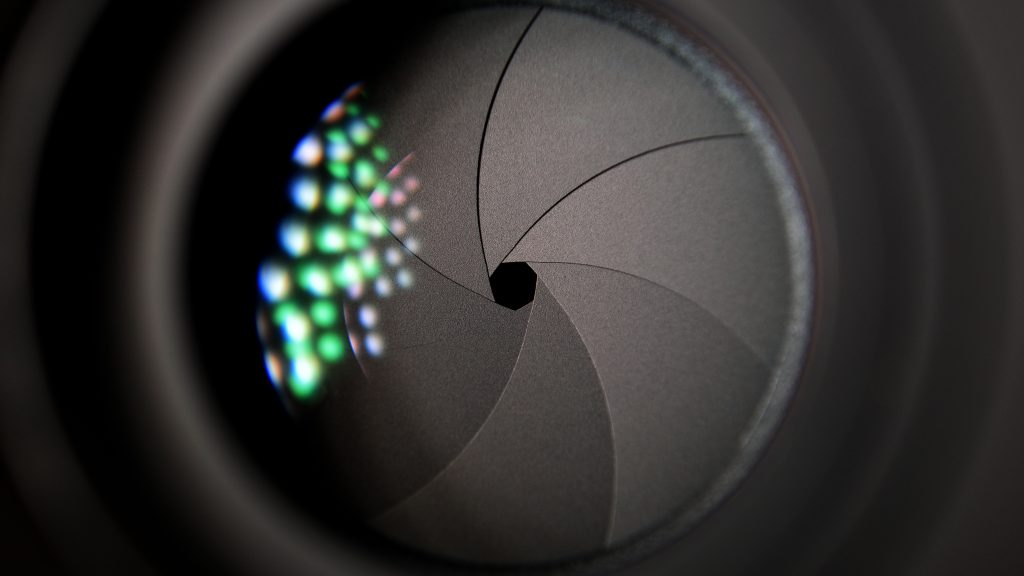
Aperture is a hole in which light travels. Essentially, we refer to this as the opening of the lens. The wider the opening, the more light is able to travel.
In photography, Aperture can be controlled to adjust the amount of light in taking a photo. Moreover, Aperture can control the depth of field. This means making the foreground and background of your photo blurred or sharp.
Previously said, Aperture is part of the exposure triangle together with Lighting and Shutter Speed. The following sections highlight the importance and interaction of Aperture with other photography elements.
1. Aperture in the Exposure Triangle
The exposure triangle consists of Aperture, ISO, and Shutter Speed. All of which correlate to each other. A proper balance between these values would yield to an exceptional image. One must not be sacrificed so that harmony and balance would be properly depicted in your photos.
In sports photography, it is essential to note that a fast shutter speed is required so that the subject’s quick actions are captured. But by making the shutter speed faster, the photo inherently becomes dark. To balance this, the Aperture should be largely opened thus taking in more light to the sensor making the photo brighter. The ISO then follows the trend of Aperture needing to be high in value to additionally compensate for the fast shutter speed.
2. Aperture and Exposure
As each of these exposure triangle pillars increase in value, a distinct increase in the brightness of the photo is visible. When Aperture, the opening of the lens, is larger; the brighter the photograph becomes.
In bright environments, you can get away with using a smaller Aperture since light is abundant. In dark areas and at night, a bigger Aperture is greatly beneficial to take in as much light as possible.
3. Aperture and Depth of Field
A distinct property of portrait photography is how much separated the subject is to the foreground or background. The main factor of this is the depth of field. On the other hand, the main controlling factor to alter the depth of field is Aperture.
A larger aperture yields a greater background and foreground blur. Thus, portrait photography uses higher apertures.
Diving Deeper Into Aperture

After understanding the relationship of Aperture to the essential concepts in photography, it’s time to move forward. The next thing to tackle is the jargon and most importantly the camera settings to properly highlight Aperture in photography
1. F-Stops
The f-stops are the values that describe the aperture. These follow the format “f/number”. Typical values are f/1.4, f/2.8, f/4.0, f/5.6, f/11, and f/13.
The weird thing about f-stops is that they are inversely proportional. A smaller number translates to a higher f-stop. A bigger number translates to a lower f-stop. It takes time getting used to, but what’s more important is the understanding of the concept of Aperture in photography.
A higher f-stop (f/1.4) would let in more light thus making the photo brighter. A lower f-stop (f/13) would let in less light making the photo darker. As previously discussed, a higher f-stop also produces larger background and foreground blur.
2. Camera lenses
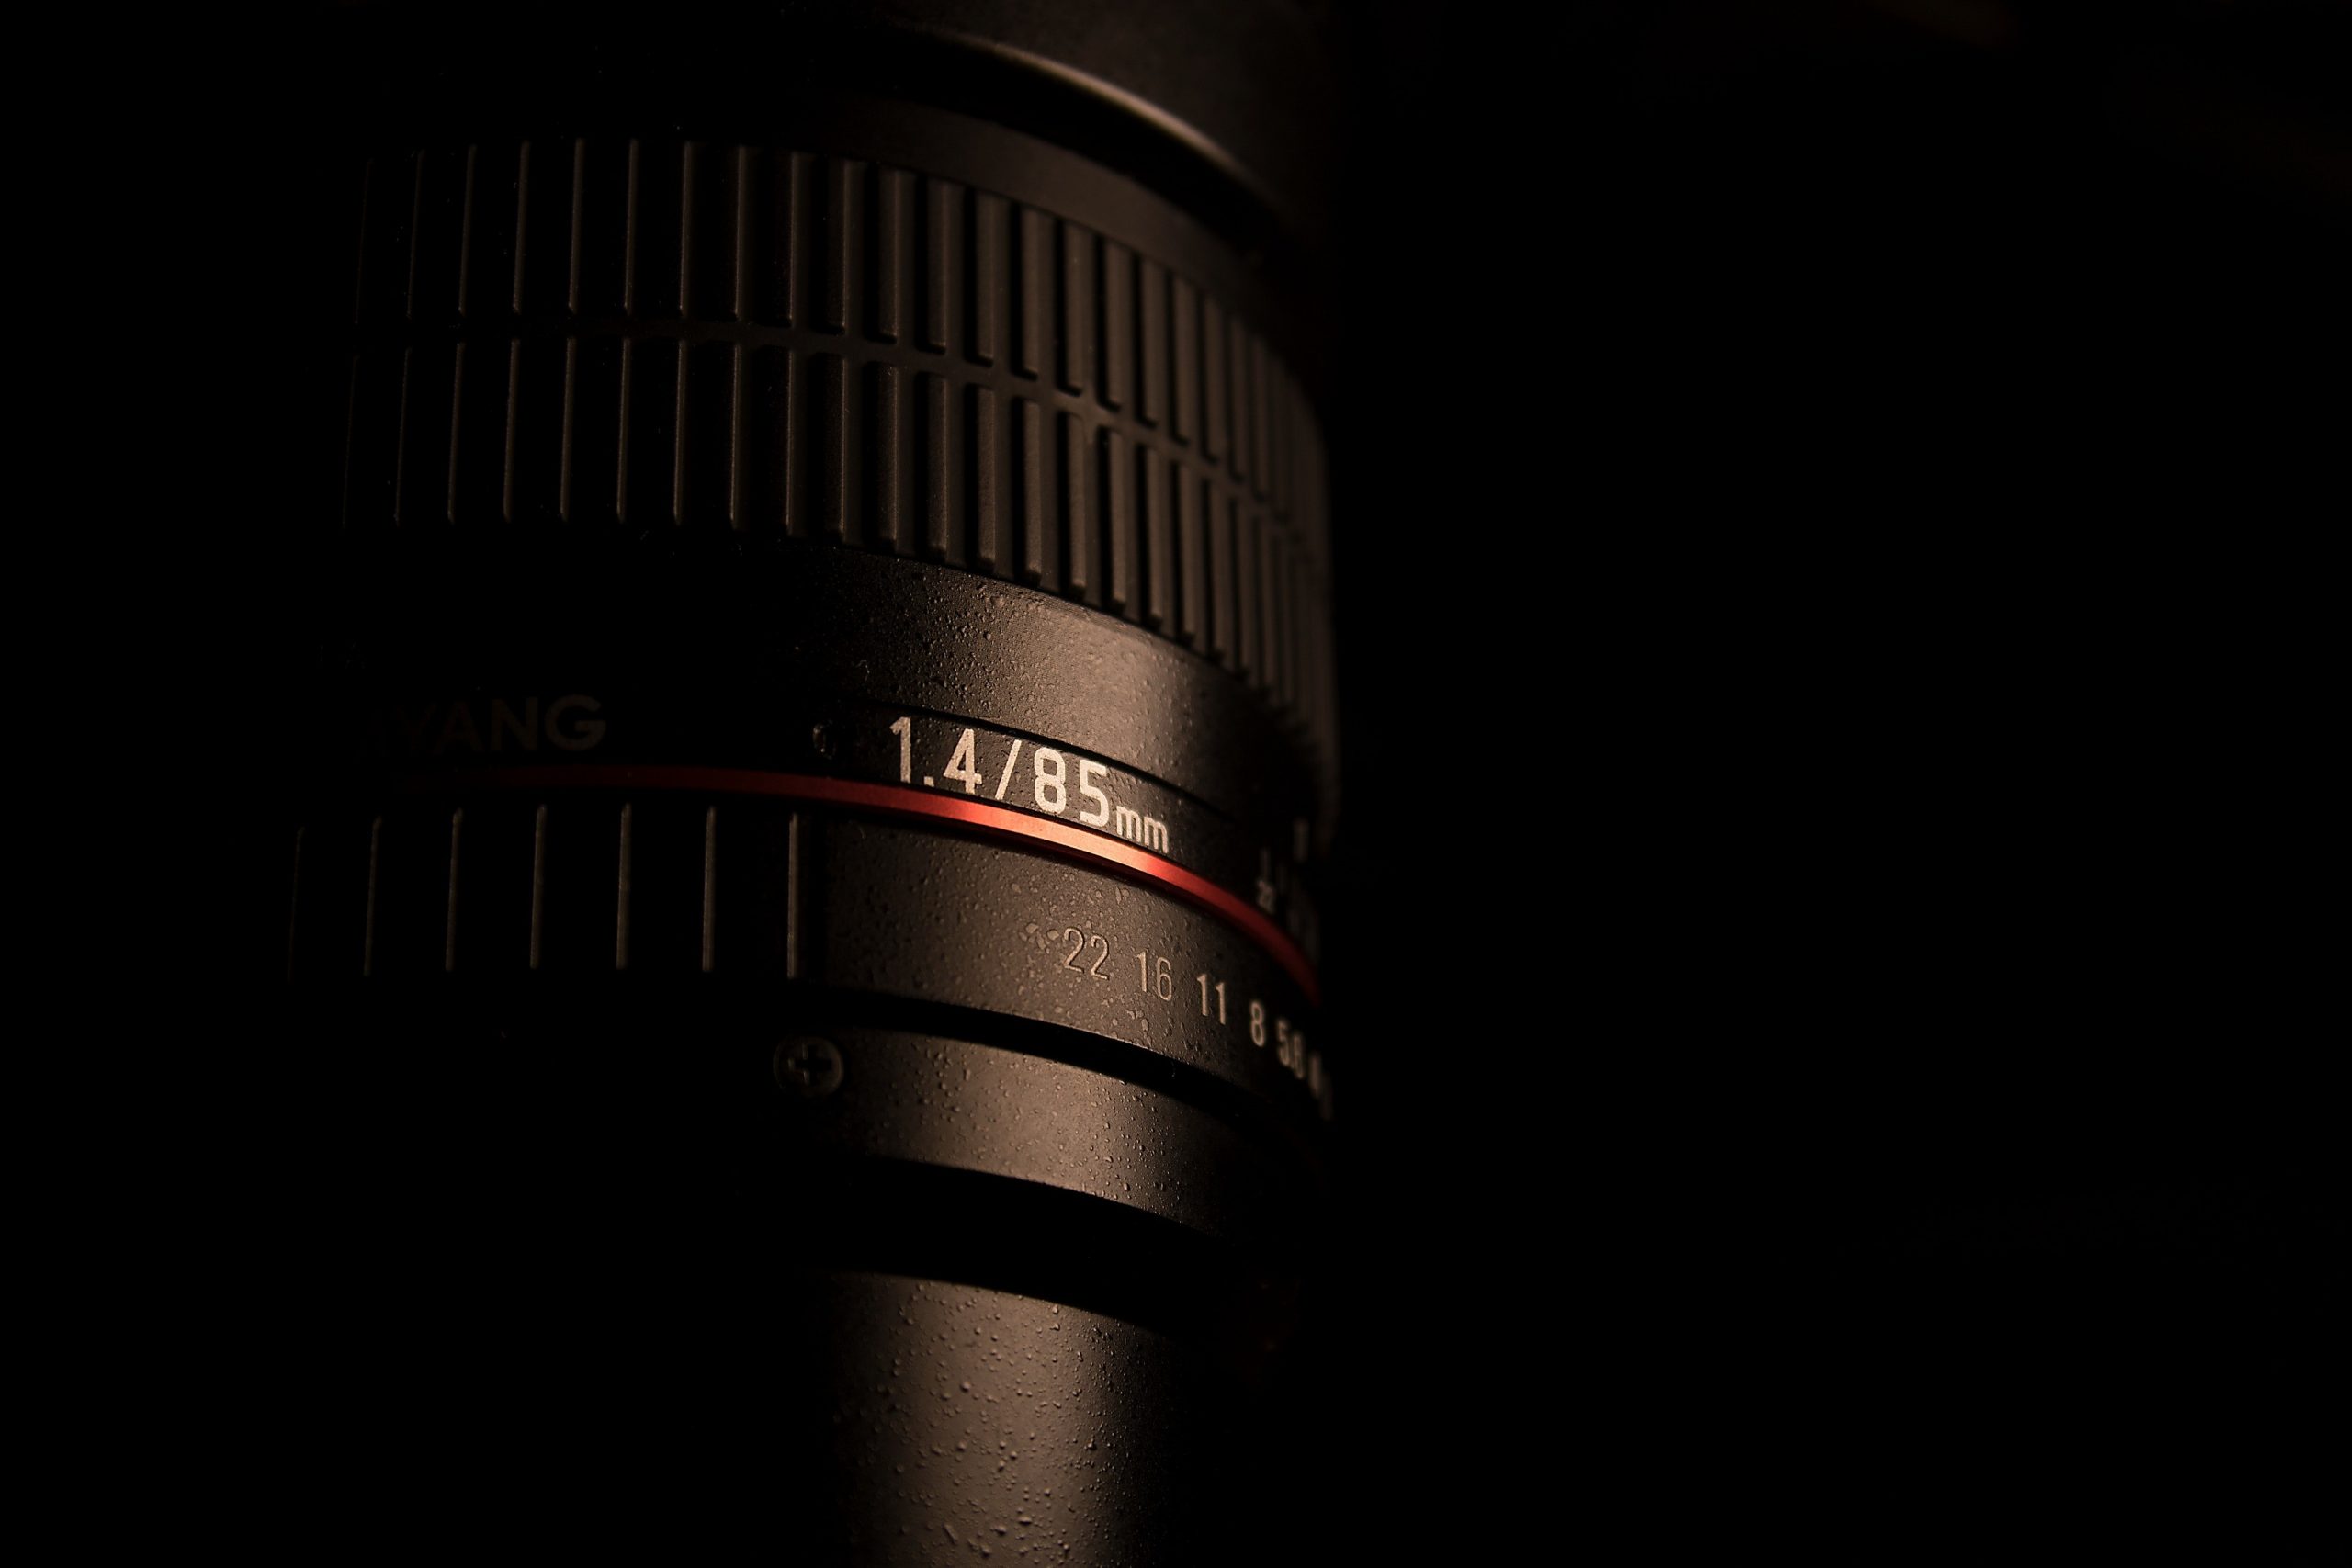
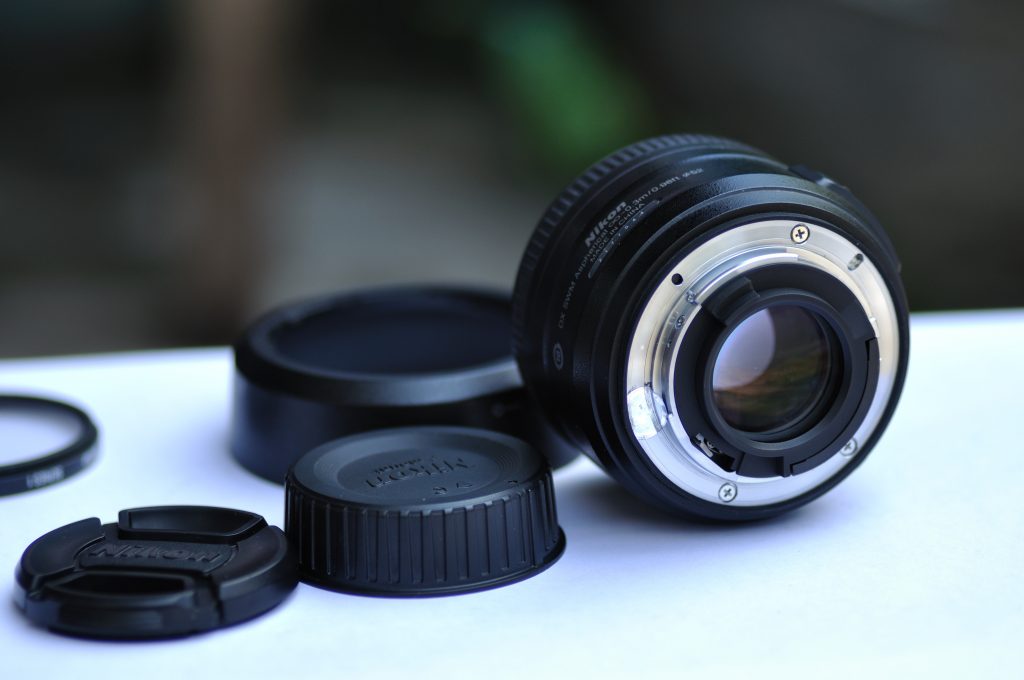
Camera lenses also play a huge impact with regards to aperture. You’ll notice that lenses indicate an f-stop. This indicated f-stop shows the highest aperture the particular lens can go.
Zoom lenses provide varying f-stops for different lengths. Typically, a zoom lens ranges from f/3.5 to f/5.6 in wide to longer focal lengths. As the price point goes higher for zoom lenses, it becomes capable of having higher f-stops.
Prime lenses on the other hand are fixed and not able to change focal lengths. The advantage of these are their capability to use higher f-stops. Usual f-stops for prime lenses are f/1.8 and f/2.0.
3. Camera Settings
Finally, after understanding the theoretical applications of Aperture, it’s time to put it into work. It’s highly recommended to manually control the aperture of the camera. This gives you an edge in producing photos than simply using the auto mode.
The two modes capable of manually adjusting the Aperture are the aperture priority mode and the manual mode. On the top dial of cameras, “A” or “Av” stands for Aperture Priority mode and “M “for Manual mode.
The Aperture Priority mode lets you adjust the f-stops and automatically finds the proper settings for the Shutter Speed. The ISO posses the option for manual or automatic adjusting as well. This mode is a great tool to practice the exposure triangle. Go ahead and set different settings for Aperture then see how the ISO and Shutter Speed automatically adjust to balance it.
The Manual mode on the other hand lets you take full control of the exposure triangle. After understanding the importance and harmony of the exposure triangle, it is beneficial to master the manual mode as well.
Applying Aperture in Photography

After fully grasping Aperture and all that comes with it, it’s time to put it into practice. When opting to use the Aperture Priority mode, we know that the camera automatically adjusts the ISO and Shutter Speed. This in turn brings out a balanced look to the photo – well lit with the depth of field of your chosen aperture. To bring our understanding of Aperture to the next level,
Being able to control all the elements in the exposure triangle gives us more creative freedom. We can use this fact to achieve much more imaginative scenes. Example of which is bringing out mood into a photograph.
Composition wise, aperture takes part by controlling the depth of field. While maintaining the aperture to cast off the desired blur, the ISO and Shutter Speed can be manually set. These two can be set either higher or lower values to portray joy or drama. Though these moods can be achieved through post-processing, it is recommended to achieve these right from the bat.
1. Portrait Photography
Bokeh is a popular technique used in Portrait Photography. When taking photos outside or in a studio, bokeh is often used. Bokeh is the visual quality of the out-of-focus areas of a photograph. Low f-stops bring out the bokeh effect.
On the other hand, higher f-stops bring out sharpness in the photo. This is used if the photographer wants to highlight elements in the scene. May it be the use of props or just a cool scenic background.
2. Landscape Photography
In Landscape Photography, it is of utmost importance to capture every detail. Looking back to the theories and fundamentals, the choice to go with is to minimize the blur. This is achievable with high f-stops. Typical ranges are f/22 to f/32 depending on the quality of lens used.
3. Wildlife Photography
Wildlife Photography uses telephoto lenses . Telephoto lenses allow the photographer to capture subjects from long distances. These lenses don’t possess wide apertures.
Long focal point lenses generally possess shallow depth of field. Unable to use lower f-stops, the ISO and Shutter Speed compensate for it. In the wild, animals are fast moving creatures therefore a faster shutter speed is necessary.
Thus, in wildlife photography, keeping the aperture as wide as possible is a benchmark.
4. Sports Photography
Sports Photography follows the same concept as Wildlife Photography. In both styles, the use of telephoto lenses as well as fast shutter speed is valuable. Both styles have fast paced action. The photographer’s distance to the subject is also a factor to choose telephoto lenses.
5. Macro Photography
In Macro Photography, the ideal depth is the mid range typically between f/5.6 to f/11. This allows sharpness of the whole subject matter. Even though macro lenses generally offer wide apertures, it does not mean you should set it that way. Generally, set the aperture to a value that would still be able to set a fast shutter speed to remove motion blur.
Aperture Side-Effect
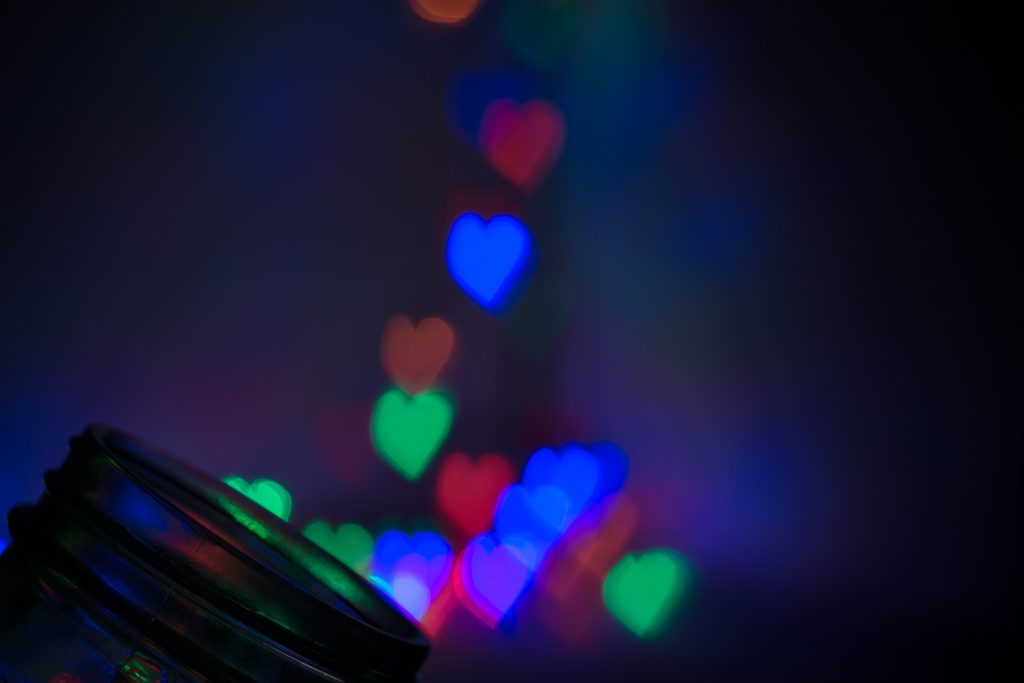
Moving forward towards creativity, aperture can produce stunning effects to photos. A stunning phenomenon can be made more majestic by playing with aperture. The bokeh effects created on photos show the opening of the lens. The bokeh effect is changeable.
By placing a cutout paper to alter the aperture opening, the shape of the bokeh changes. The bokeh follows the shape of the lens opening. The circular opening of lenses causes the usual circle bokeh. Creative shapes such as hearts or stars and even letters can be casted off.

Summary
- Aperture is a pillar in the Exposure Triangle together with ISO and Shutter Speed.
- It deals with the sharpness of the subject matter as well as the depth of field.
- Aperture follows the notation of f-stops in the form of “f-number”. These represent the fraction of the aperture opening.
- Camera Lenses affect the maximum aperture you’re able to use. Prime lenses usually have wider apertures than zoom lenses.
- Use the Aperture Priority mode and Manual mode to fully practice the fundamentals of aperture in photography.
- The choice of aperture changes together with different photography styles.
Conclusion
Understanding the fundamentals in photography is essential to improve your craft. Aperture is undoubtedly of the highest importance in this field. Stunning imagery with the play of depth of field is achievable by proper understanding of aperture.
Aperture is an important pillar of the exposure triangle. The understanding of one pillar must always come with understanding the whole. Using aperture priority mode on your camera is a great way to practice and fully understand the exposure triangle relationship.
You must also understand your gear, especially your lenses, to properly execute the fundamentals of aperture in photography. Understand the variation between prime and zoom lenses as well as their indicated f-stops.
All of these theories together with time spent on practice will definitely bring you confidence in capturing photos. Always remember that improvement in photography takes not only by research but importantly, practice.
Also check out:
1. Lighting in Photography
2. Tips and Tricks to be A Pro in Mobile Photography

